Call of Juarez Gunslinger: Episode 5 - The Magnificent One
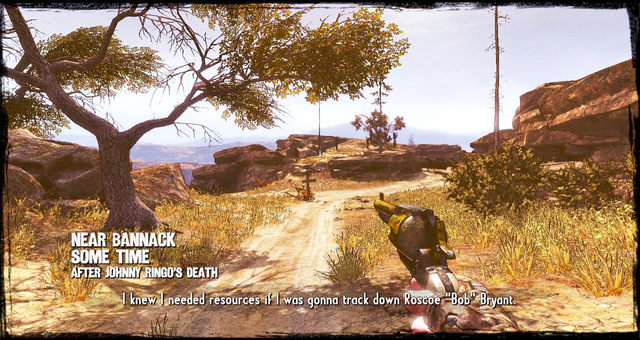
This time you'll find yourself on a dirt road which leads to a gold mine. The crossroads in front gives you two choices; you can go either right, or left. Both ways lead to the mine's entrance, but the right one is quicker, so that's the one described below. Walk past a damaged wagon.
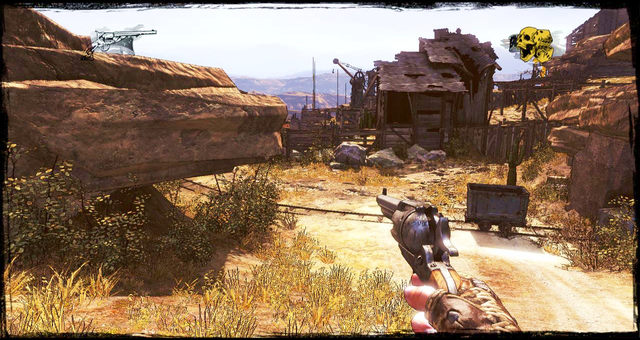
Go down the road until you reach a gold mining cart. Step on the tracks and follow them. You'll hear the first conversation between bandits.
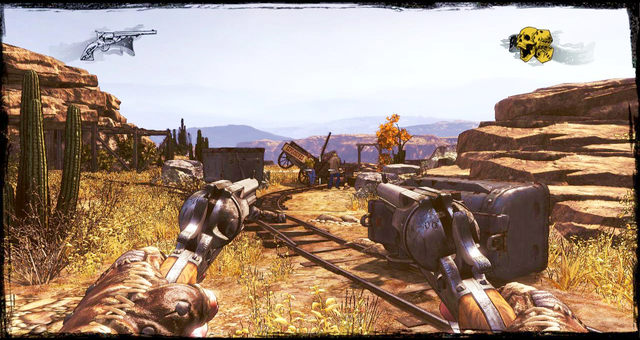
Continue forward, and you'll see three guards standing next to a damaged cart, and another one on a rock, above the entrance to a smaller mine. You can take them out as usual, or shoot the exploding barrel right next to them.
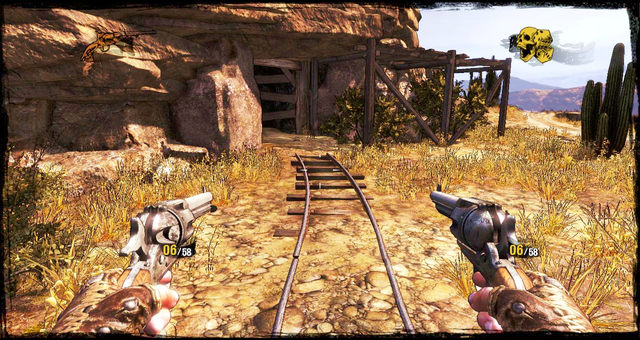
If you want to switch weapons, you can go inside the nearby smaller mine. The tracks will lead to the entrance.
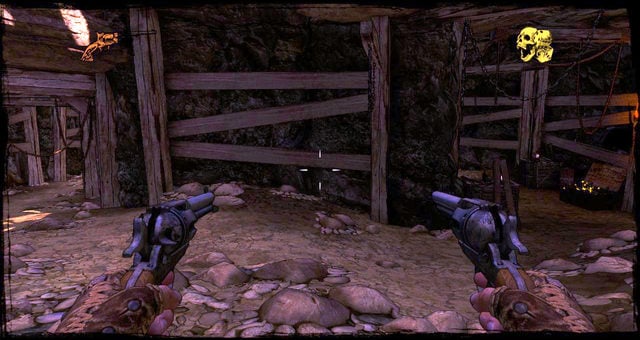
Inside, make your way forward until you reach a crossroads. On your right, there is a nook full of ammo, where you can also switch your pistol for a sawed-off, or the rifle for a shotgun. Once you've taken what you need, backtrack to the entrance.
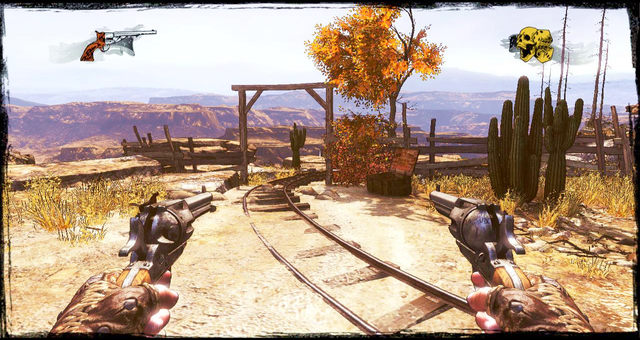
Walk past the overturned cart and go through the gate, as seen above. Silas will also notice dynamite in a crate.
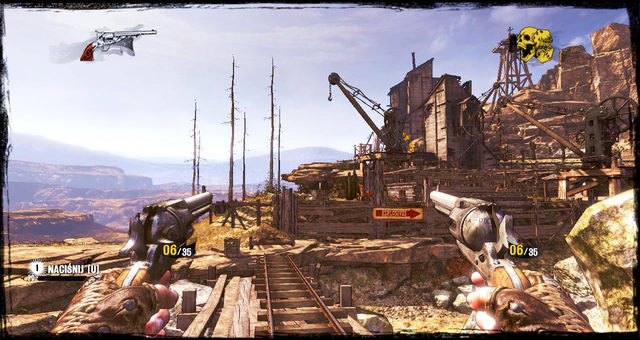
Once you're through the gate, you can finally see the site of the mine and some more enemies. They will throw dynamite sticks at you, but you can shoot them mid-air. Make sure not to get hit, if you want to stay alive.
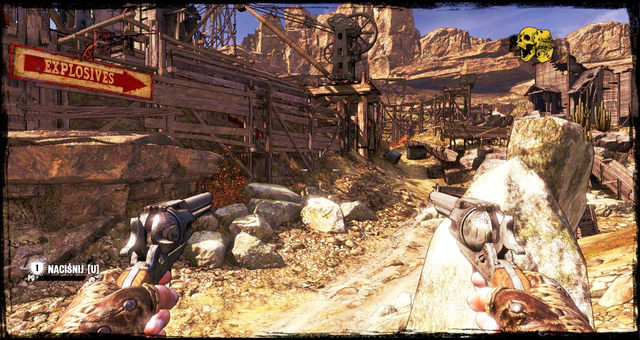
While shooting and dodging, take the right path. Follow the "Explosives" sing.
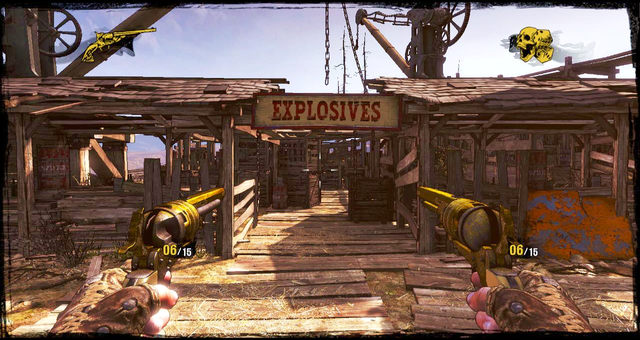
Go through the explosives storage, killing more enemies on the way. Use the barrels that are conveniently put there.
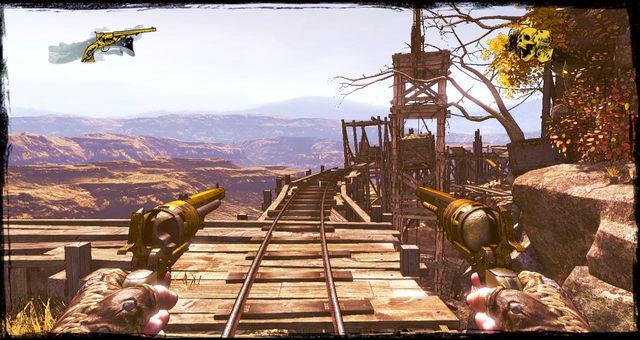
Once you're trough, follow the road until reach tracks laid out above ground. Step on them to trigger another cutscene. Silas will notice an entrance to a mine next to him. Use it.
You'll stumble upon new enemies, as well as another spot where you can switch weapons. Move forward, to a fork in the road. It's a little problematic, because according to what Silas is saying, you can easily get lost in this mine. Luckily, this guide will show you the right way.
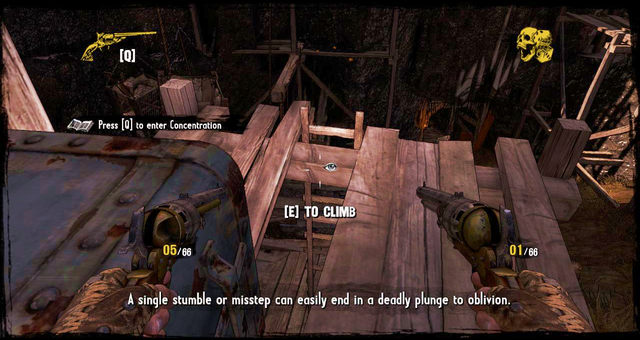
Turn right and go straight ahead until you reach a ladder. Go down and kill some enemies on your way.
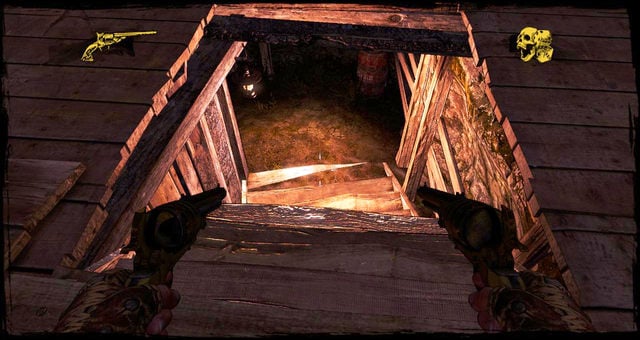
Eventually, you'll reach stairs that lead further down. There will be plenty of explosives around, so make sure you know what you're shooting. Two bandits are guarding the place, so kill them carefully and move out to the right.
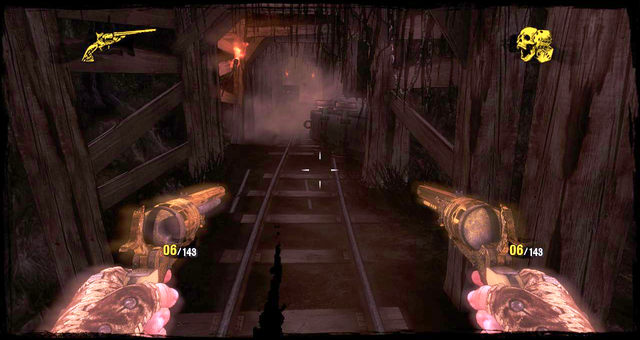
When you exit the storage area, an enemy will fire a single bullet your way. Dodge it with the Sense of Death, the run as fast as you can. The bullet that missed you hit the explosives, causing the passage to collapse.
Run at full pelt; a moment of delay will be the cause of your death. Luckily, there are no paths to choose between; the route is straightforward, without any large turns.
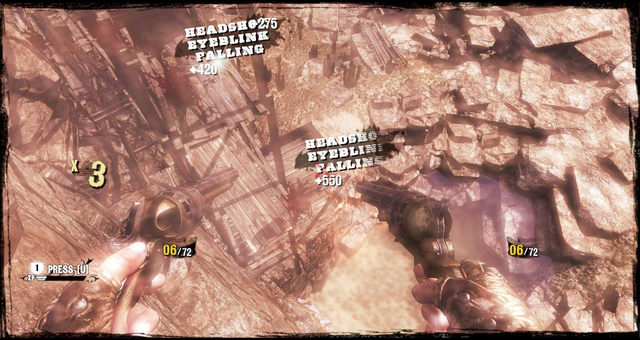
Jump into the water, but while in mid-air, deal as much damage as you can. Once in the water, you'll get hit by a falling cart. The game over screen will be displayed. Hit the resurrection button.
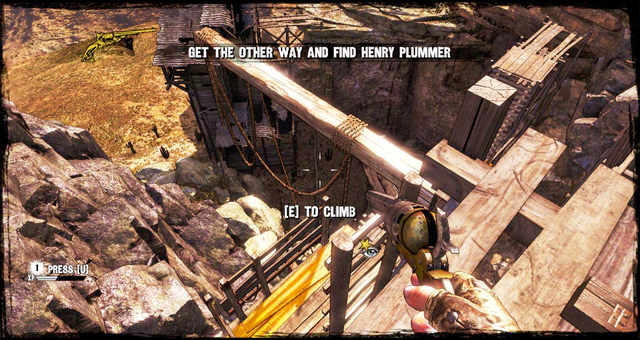
You'll find yourself in front the mine's entrance. Get to the ladder on the left side of the tracks. Make your way down the scaffolding, listening to what Greaves has to say about this whole business.
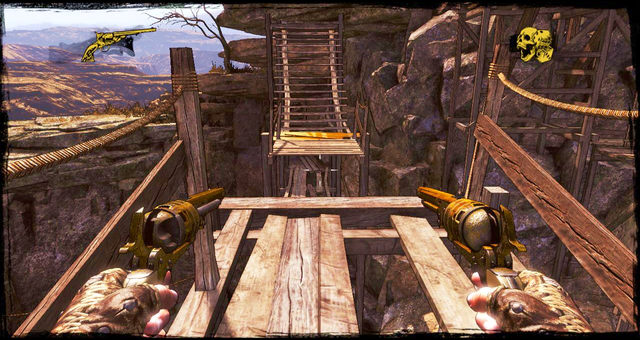
After a while, you'll be forced to jump over to another scaffolding. Take a run-up before you jump, otherwise there will be no jumping to speak of.
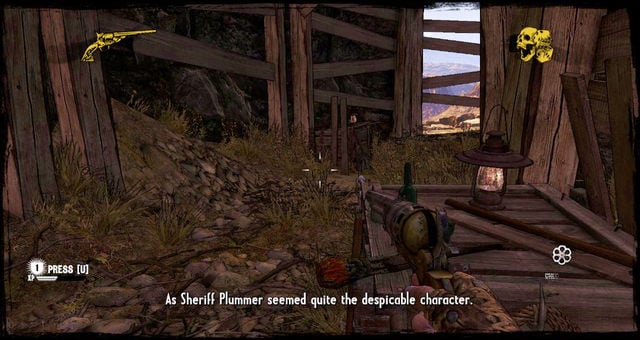
Once the leap of faith is behind you, enter the mine and move straight ahead. You'll run into some enemies on the way, but don't let them stop you. At the end of the tunnel, you'll have to make a choice.
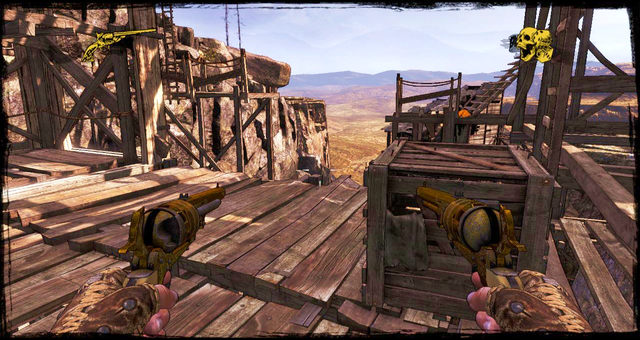
You can use either the lift or the ladder.
If you choose the lift, you'll be able to grab a Nugget of Truth, but there will be two enemies waiting for you up. If you choose the ladder, you can flank these two same enemies, but you won't collect the secret.
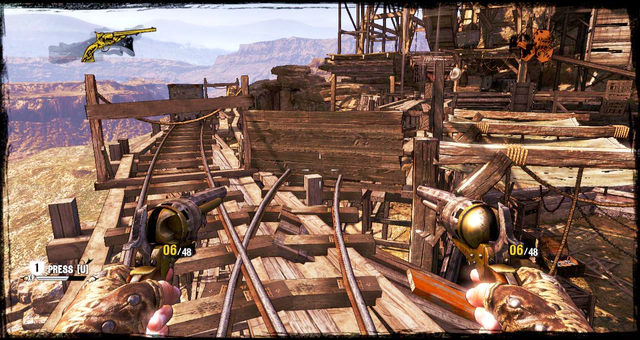
Regardless of the path, step on the new tracks and follow them. Watch out for dynamite sticks flying your way; try to shoot them mid-air.
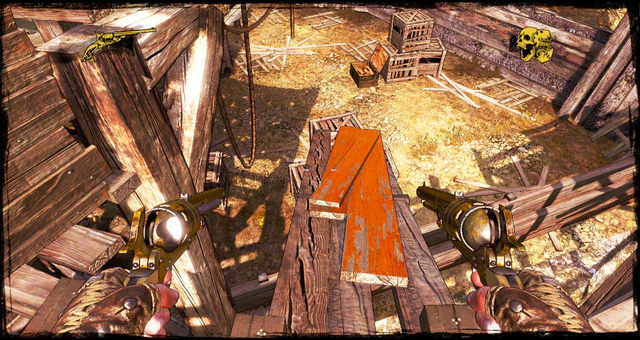
Kill whoever threw them, reach the end of the tracks, then turn right and go down the red planks.
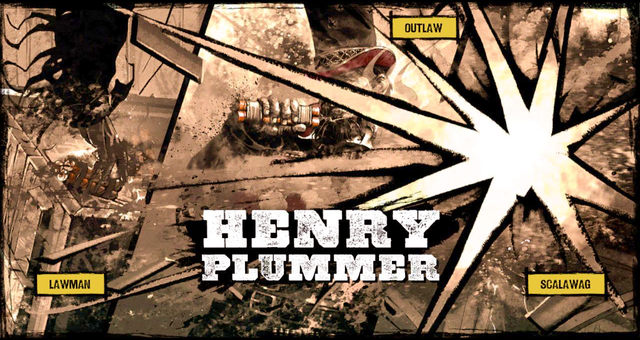
Here's where the boss shows up, which is as usually announced by a cinematic cutscene. The opponent will be throwing large amounts of dynamite to kill you, which you're going to have to shoot down mid-air.
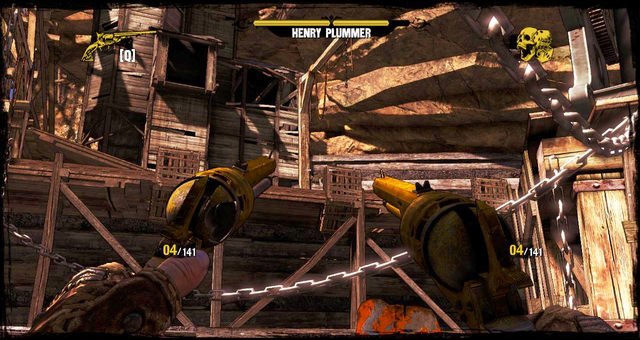
Unfortunately, he's standing on a platform which is out of your reach, so you need to evade the dynamite sticks, throw your own or shoot him with firearms.
Halfway through the battle, his health bar will disappear, and he'll call his men to help him out, while retreating himself. You're left with killing the goons, who are hiding in the same spots as the boss before, but don't throw dynamite.
When you take them out, the sheriff will be back and the whole hide-and-seek fun will start again, but this time he'll be calling the goons too.
The battle is pretty hard, given the two dynamite sticks at once, but if you keep your eyes out, you shouldn't have any major problems ending it.
- Call of Juarez: Gunslinger Game Guide & Walkthrough
- Call of Juarez Gunslinger: Game Guide
- Call of Juarez Gunslinger: Walkthrough
- Call of Juarez Gunslinger: Episode 1 - Once Upon a Time in Stinking Springs
- Call of Juarez Gunslinger: Episode 2 - A Fistful of Hot Lead
- Call of Juarez Gunslinger: Episode 3 - A Bullet for the Old Man
- Call of Juarez Gunslinger: Episode 4 - Gunfight at the Sawmill
- Call of Juarez Gunslinger: Episode 5 - The Magnificent One
- Call of Juarez Gunslinger: Episode 6 - Be Quick or Be Dead
- Call of Juarez Gunslinger: Episode 7 - Dances With Renegades
- Call of Juarez Gunslinger: Episode 8 - They Call Me Bounty Hunter
- Call of Juarez Gunslinger: Episode 9 - Bounty Hunter is Still My Name
- Call of Juarez Gunslinger: Episode 10 - Not So Great Train Robbery
- Call of Juarez Gunslinger: Episode 10 - 1:30 to Hell
- Call of Juarez Gunslinger: Episode 12 - Death Rides a Steel Stallion
- Call of Juarez Gunslinger: Episode 13 - Without Forgiveness
- Call of Juarez Gunslinger: Episode 14 - The Good, the Bad and the Dead
- Call of Juarez Gunslinger: Walkthrough
- Call of Juarez Gunslinger: Game Guide
You are not permitted to copy any image, text or info from this page. This site is not associated with and/or endorsed by the developers and the publishers. All logos and images are copyrighted by their respective owners.
Copyright © 2000 - 2026 Webedia Polska SA for gamepressure.com, unofficial game guides, walkthroughs, secrets, game tips, maps & strategies for top games.
