Call of Juarez Gunslinger: Episode 10 - 1:30 to Hell
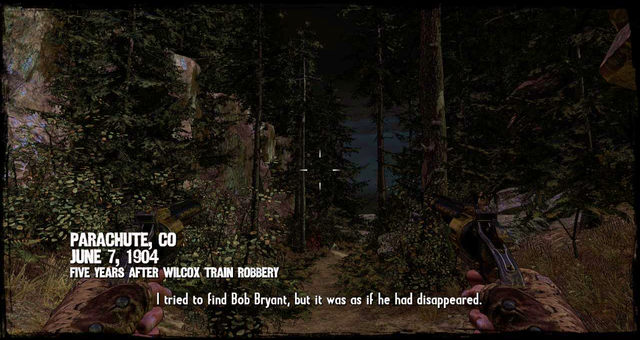
Follow the path ahead. There won't be anything interesting on the way, so there's no point leaving it. Eventually, you'll hear some conversations nearby.
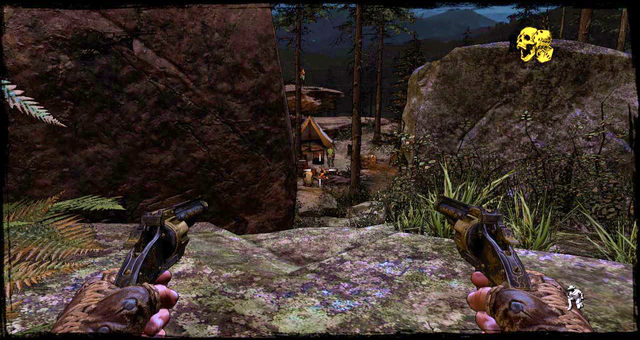
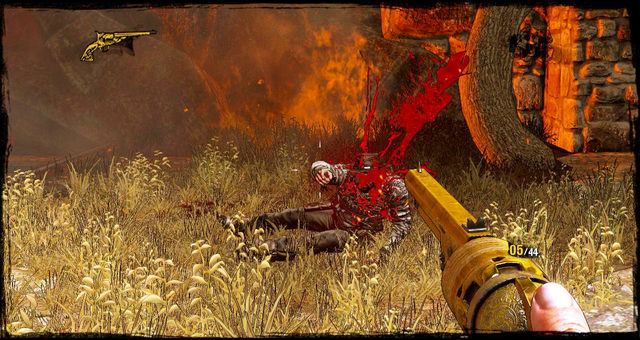
If you look closely, you'll see you've stumbled upon a bandits' camp. The only way to get rid of them is to eliminate them the old cowboy way.
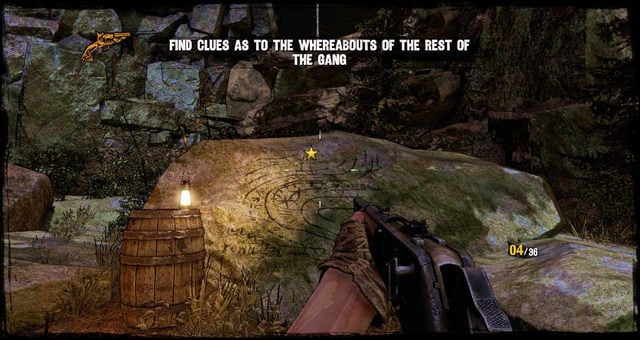
Afterwards, go down inside the camp, replenish your ammo and grab a Nugget of Truth from one of the tents. You'll see a rock with a map drew on it. Examine it.
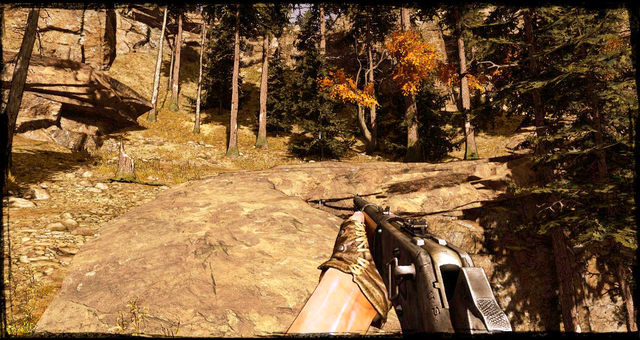
The game will take you near railway bridge that the Wild Bunch wants to blow up. Turn left and proceed towards your destination.
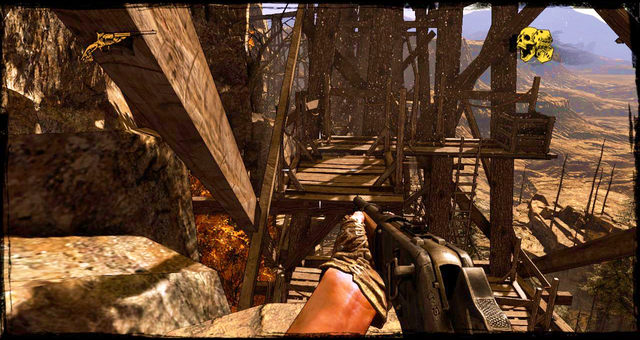
Climb the rock shelves, then jump over to the bridge. Use the ladder to get on the same level as the first dynamite bomb.
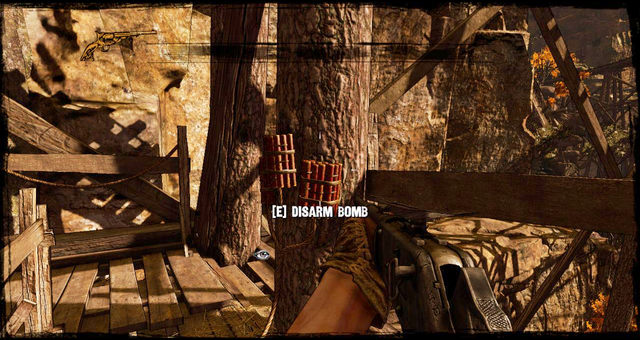
You'll see it a few steps further. Disarm it using the interact button and go left towards another ladder. Go down.
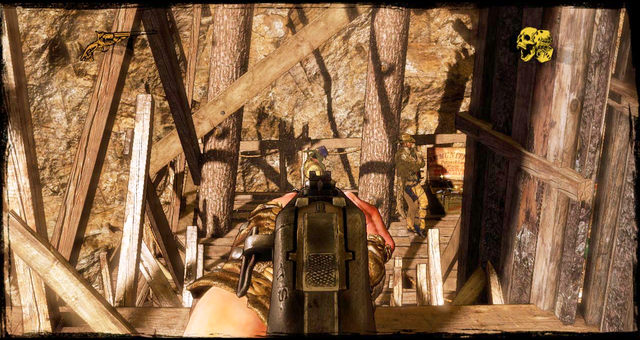
Walk across a single plank, then the stairs. The first members of the Wild Bunch will be waiting for you there. Take care of them and turn right.
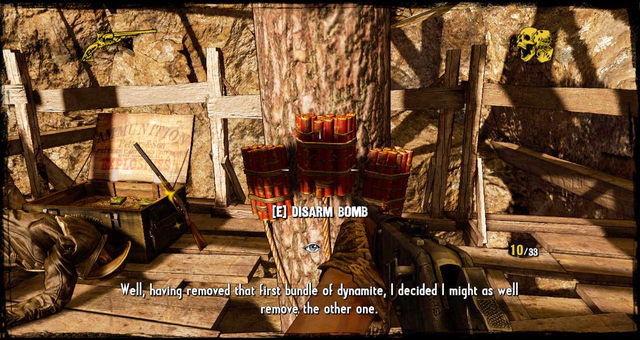
Another dynamite bomb will be right in front of you. Take it down, grab some ammo from a nearby box and follow the given path.
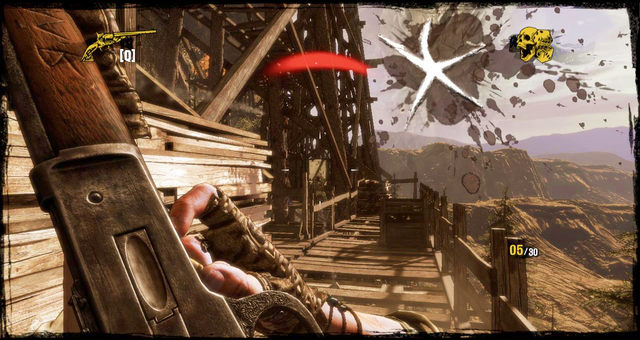
Moving alone the wooden bridges, keep going forward. Tons of enemies will be attacking you at this point, so take cover and slowly, but steadily, diminish their numbers.
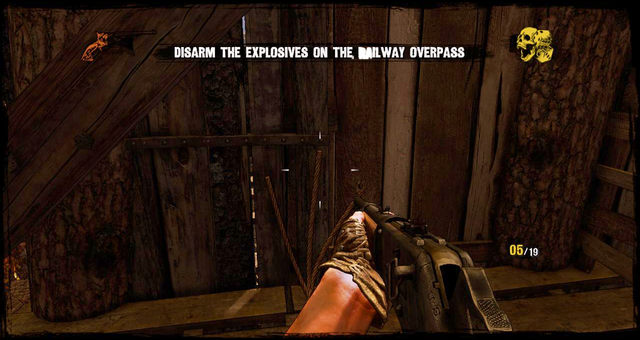
When you come across the third dynamite bomb, take it down as the rest of them.
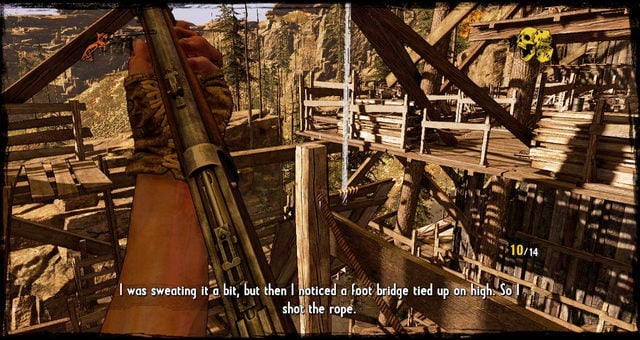
The game will turn your attention to a foot bridge tied on a rope. Shoot the rope, and when the bridge collapses, go down the ladder and walk across the newly made floor.
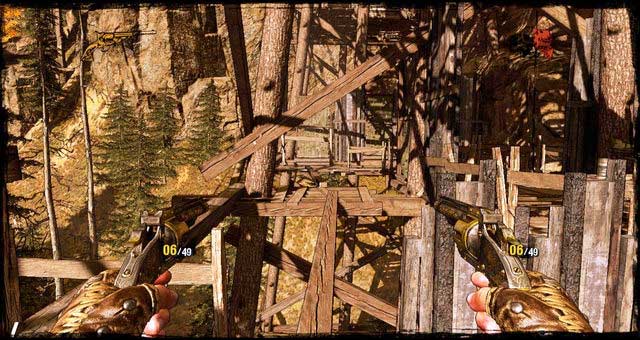
After several turns, the bridge underneath you will collapse, time will go into slow-motion and you'll be given a chance to kill some enemies. Afterwards, turn around and walk across the single plank.
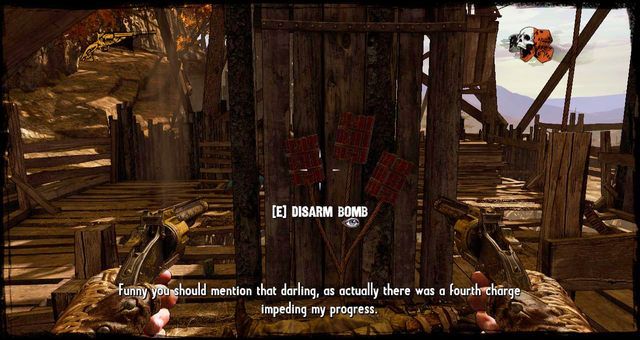
Several steps later, you'll see the fourth dynamite bomb, so treat it same as the rest. Go round the beam on the left and move forward.
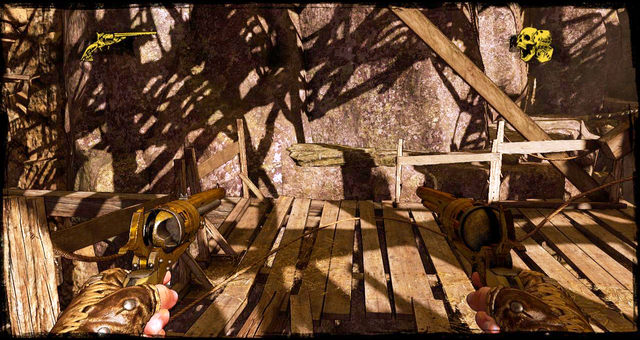
Keep running ahead until you reach a ladder on the right. Turn your back to it and you'll see a rock ledge. Take a run-up and jump over to it.
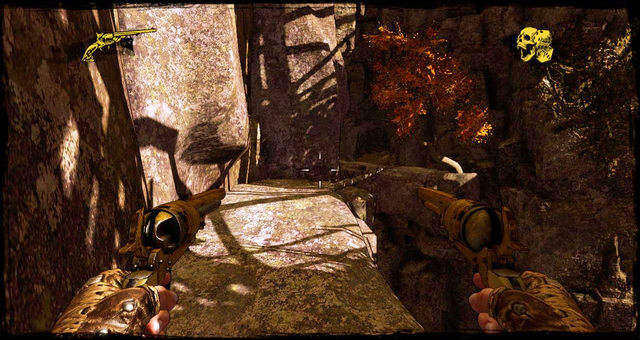
Continue onwards, crouching underneath a collapsed tree, then enter a cave. A short cutscene will trigger in a moment.
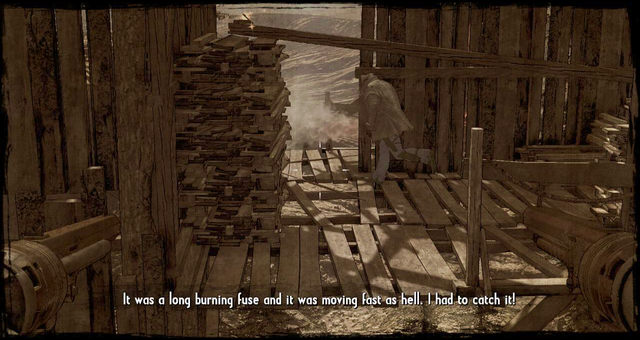
Jump back on the bridge and run after the spark as fast as you can. The long burning fuse will show you the way.
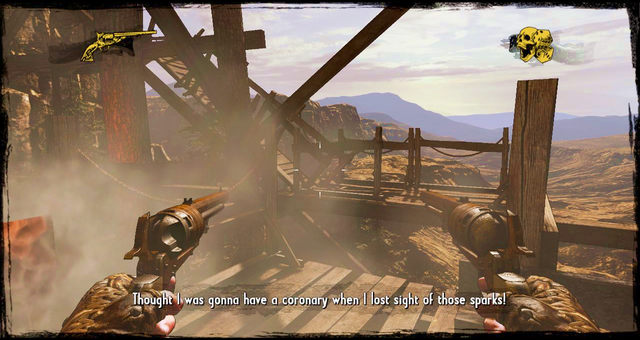
When the fire goes up, turn right and quickly jump over to the second plank. Run as if the devil himself were on your tail.
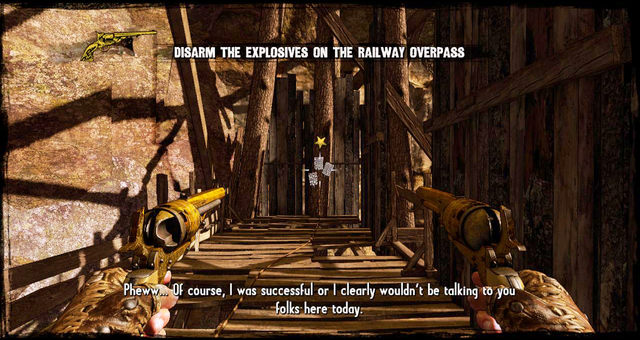
As soon as you manage to put the spark out, approach the last dynamite bomb and take it down. The path to the left will unlock. Climb on the rock and move close to the wall.
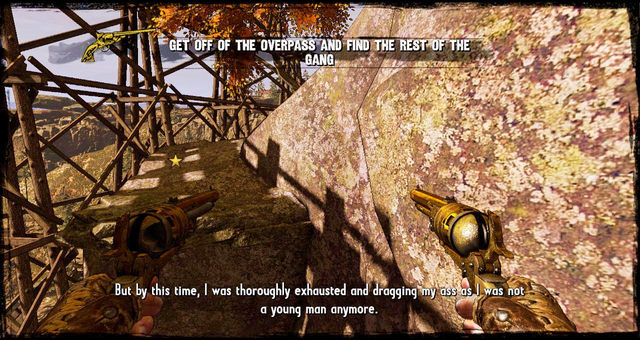
Run across the ledges, jumping when needed, until you reach the tracks.
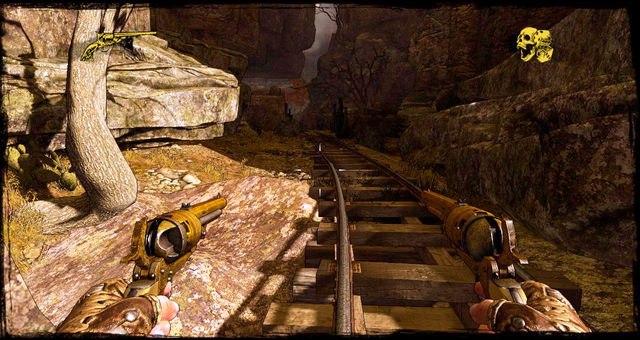
As you move towards the canyon, more enemies will show up. Take care of them with the help of the familiar mini game.
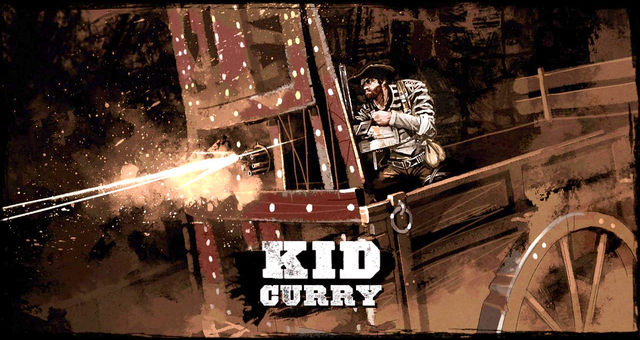
A while later, you'll see your opponent, Kid Curry, who'll want to end you with a gatling gun set in the tunnel.
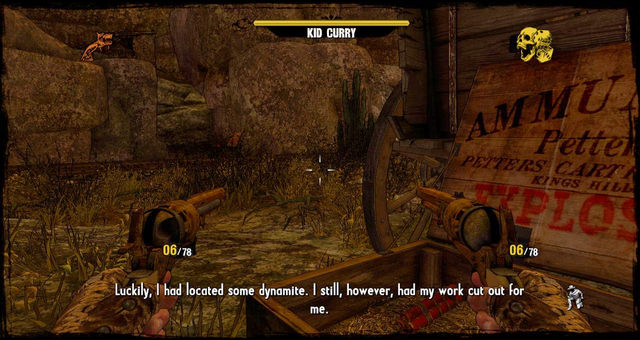
The game will tell you to destroy the gatling gun with dynamite. To that end, you need to come closer. Unfortunately, the boss isn't alone, and his minions will stop at nothing to try and shoot your brains out. Take them out first, then make your move towards the boss.
The battle is now pretty schematic. Wait until the boss stops shooting, run to the next cover, wait until the boss stops shooting... etc.
Get close enough so as to be able to throw the dynamite. Don't worry if you don't have any. Take cover behind a cart and you'll find plenty of explosives. Now get to the nearest rocks and start throwing.
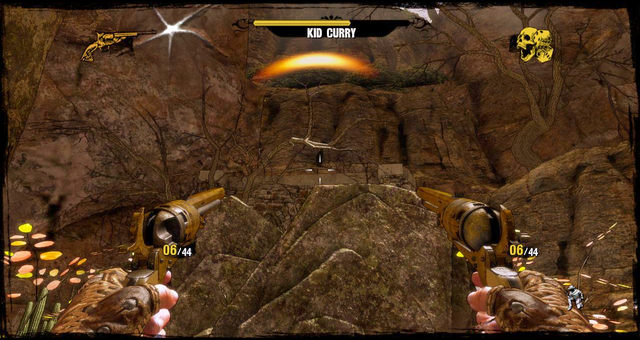
The boss won't be able to hit you from the spot pictured above, but you will be able to pester him. Watch out, though, because at one point he'll call his goons, so before you do anything else, get rid of them first.
Remember that the boss can be hit ONLY with dynamite, but luckily, its reserves renew at the cart.
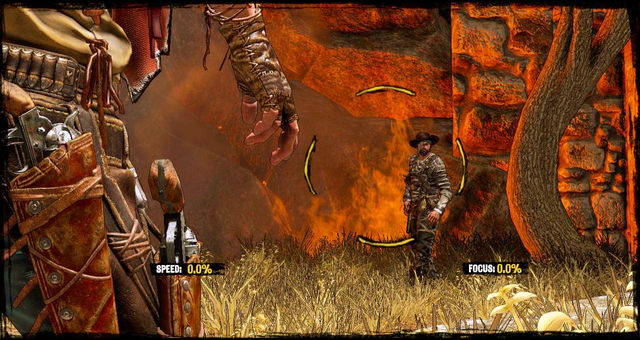
When his health drops to one fourth, a cutscene will show him meeting you on open ground. The duel looks exactly like the rest.
When you win, it's not over yet - you've only wounded him. He'll shoot a bullet which only the Sense of Death can help you avoid.
- Call of Juarez: Gunslinger Game Guide & Walkthrough
- Call of Juarez Gunslinger: Game Guide
- Call of Juarez Gunslinger: Walkthrough
- Call of Juarez Gunslinger: Episode 1 - Once Upon a Time in Stinking Springs
- Call of Juarez Gunslinger: Episode 2 - A Fistful of Hot Lead
- Call of Juarez Gunslinger: Episode 3 - A Bullet for the Old Man
- Call of Juarez Gunslinger: Episode 4 - Gunfight at the Sawmill
- Call of Juarez Gunslinger: Episode 5 - The Magnificent One
- Call of Juarez Gunslinger: Episode 6 - Be Quick or Be Dead
- Call of Juarez Gunslinger: Episode 7 - Dances With Renegades
- Call of Juarez Gunslinger: Episode 8 - They Call Me Bounty Hunter
- Call of Juarez Gunslinger: Episode 9 - Bounty Hunter is Still My Name
- Call of Juarez Gunslinger: Episode 10 - Not So Great Train Robbery
- Call of Juarez Gunslinger: Episode 10 - 1:30 to Hell
- Call of Juarez Gunslinger: Episode 12 - Death Rides a Steel Stallion
- Call of Juarez Gunslinger: Episode 13 - Without Forgiveness
- Call of Juarez Gunslinger: Episode 14 - The Good, the Bad and the Dead
- Call of Juarez Gunslinger: Walkthrough
- Call of Juarez Gunslinger: Game Guide
You are not permitted to copy any image, text or info from this page. This site is not associated with and/or endorsed by the developers and the publishers. All logos and images are copyrighted by their respective owners.
Copyright © 2000 - 2025 Webedia Polska SA for gamepressure.com, unofficial game guides, walkthroughs, secrets, game tips, maps & strategies for top games.
