Amnesia Rebirth: The Arsenal - walkthrough, secrets
This page of the Amnesia Rebirth guide contains the walkthrough for The Arsenal chapter. You will learn how to avoid a grenade trap and create a tank shell.
This page of the Amnesia Rebirth guide provides a walkthrough of The Arsenal chapter. In the following walkthrough you will learn how to avoid a grenade trap and other traps around the fort, how to craft a shell and how to fire the tank.
- List of secrets
- Obtaining charcoal and first exploration of the arsenal
- Obtaining sulfur and the puzzle involving the corpse with a grenade
- Crafting a shell for the tank
- Firing the tank
List of secrets
In The Fortress stage you can find 12 secrets:
- The Arsenal x7
- Matches x5
The locations where you can obtain collectibles have been included in the walkthrough below. You can also find other interactive items, but they don't necessarily have to be used.
Obtaining charcoal and first exploration of the arsenal
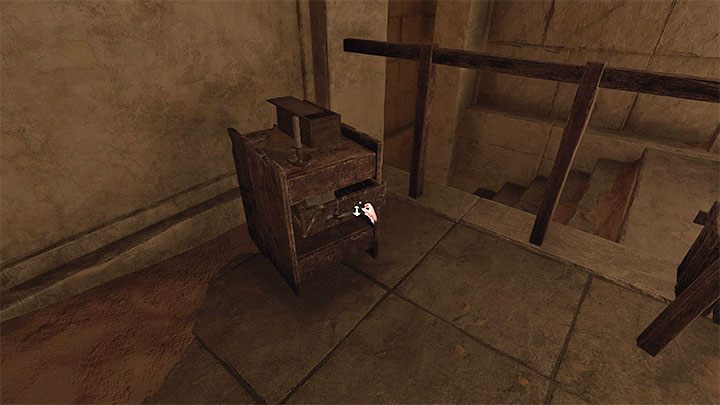
After entering the arsenal, check the nearby cabinet. Open one of its drawers to reveal a collectible - The Arsenal: Good Ledger.
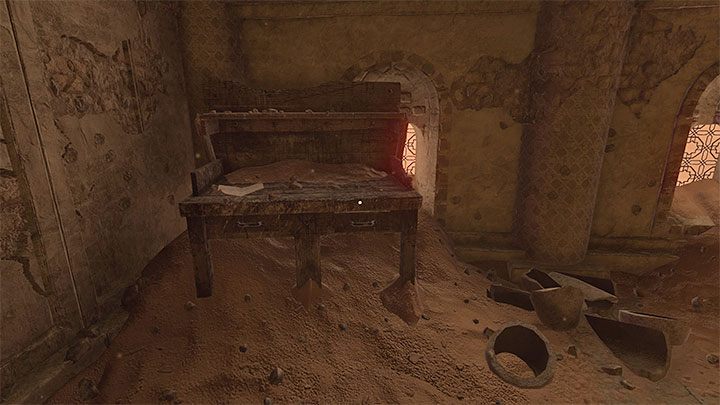
Go down the stairs and in front of you, you will find a workbench with another secret - The Arsenal: Sulfur Note.
On the left side, there is a desk shown in the picture above. There are 3 secrets:
- The Arsenal: Saltpeter Note - lying in plain sight
- The Arsenal: Store Shifts Note - it's in the right drawer
- Matches - they are in the left drawer
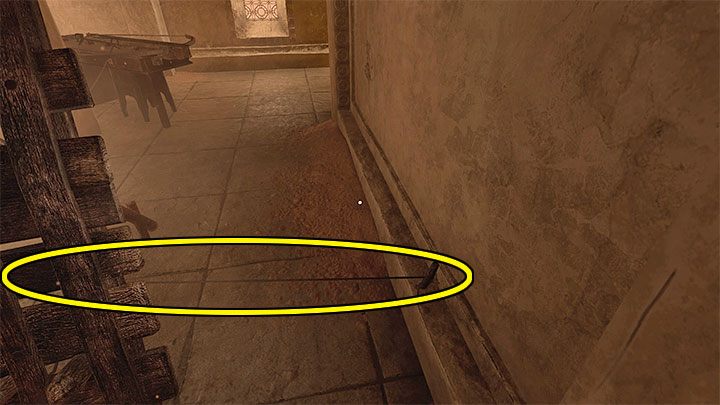
Go through the adjacent corridor, but watch out for the rope trap shown in the picture above. It's best to do a running jump over it. Touching it does not entail dying, but it will scare the protagonist well.
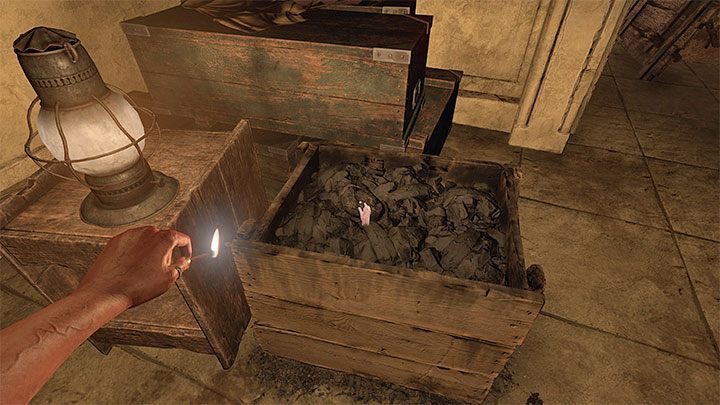
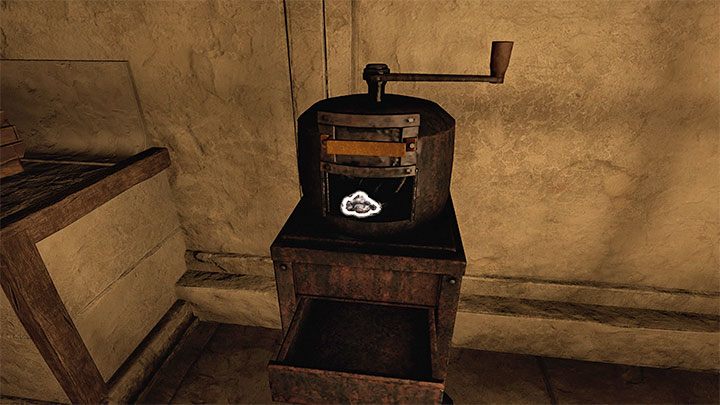
On the first occasion, enter the room on the right. In one of the upper cabinets, you will find matches and to the right of the entrance - Lump of Charcoal (picture 1).
Place the coal in the machine shown in picture 2 and start spinning the reel. Ultimately, you will receive Milled Charcoal .
Go to the next room where you should light the surrounding light sources. On the other side of the bars, you will see a corpse with a grenade, which you will reach in a moment.
Start by exploring the area on the right:
- There are matches on one of the shelves on the right.
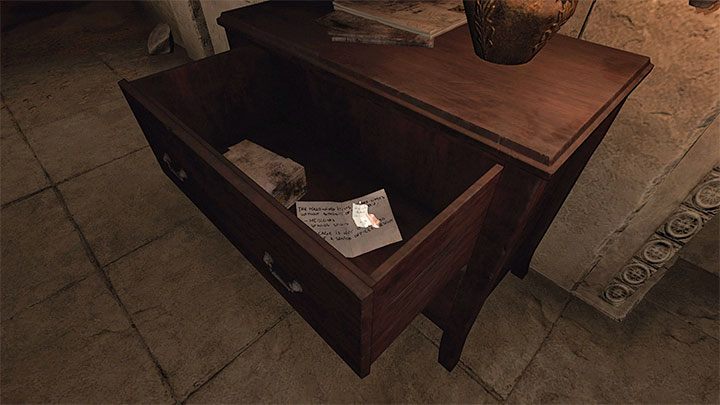
- In the drawer (see the picture above), you will find more matches and a secret - The Arsenal: Off-limits Items Note.
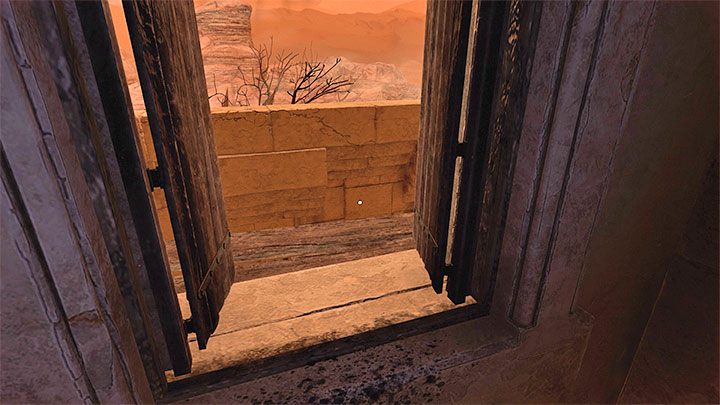
Now, for a change, go to the left of the cage. Open the shutter shown in the picture and carefully climb onto the scaffolding. Consider saving the game here.
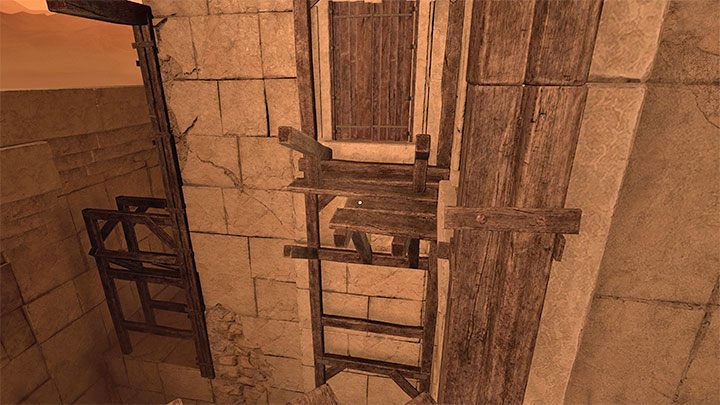
Walk through the scaffolding until you reach the place shown in the picture. You have to do a running jump here to land on the adjacent scaffolding. Go through another window and you will find yourself inside an area surrounded by bars.
Obtaining sulfur and the puzzle involving the corpse with a grenade
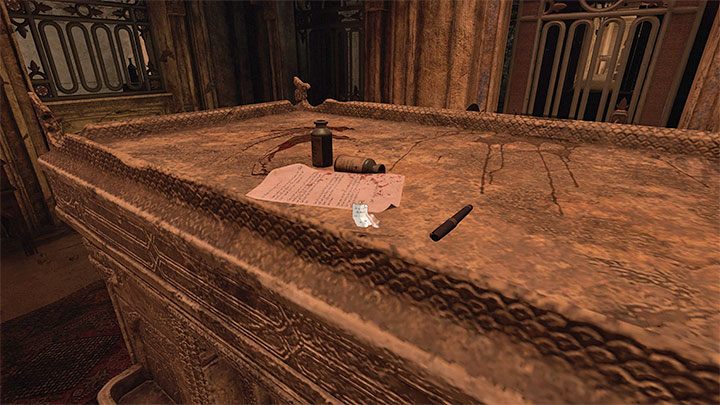
Behind the corpse with a grenade, there is a large sarcophagus, on which you will find a note - The Arsenal: Captain's Final Note.
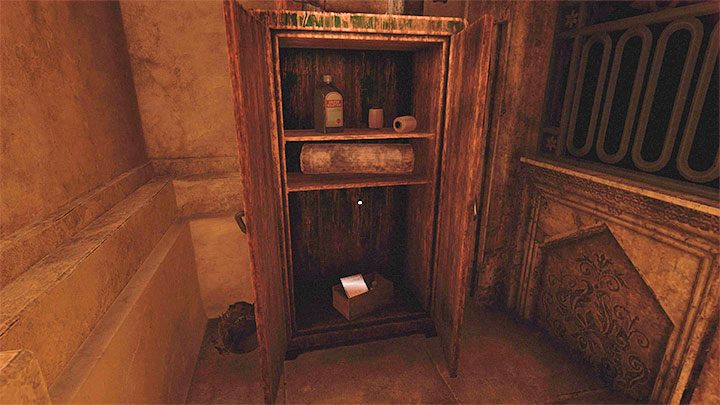
Examine the left corner of the room. In the wardrobe shown in the picture you will find Sulfur Ointment and a note - The Arsenal: Laudanum Guidelines. Additionally, opening the drawer on the right side will reveal matches.
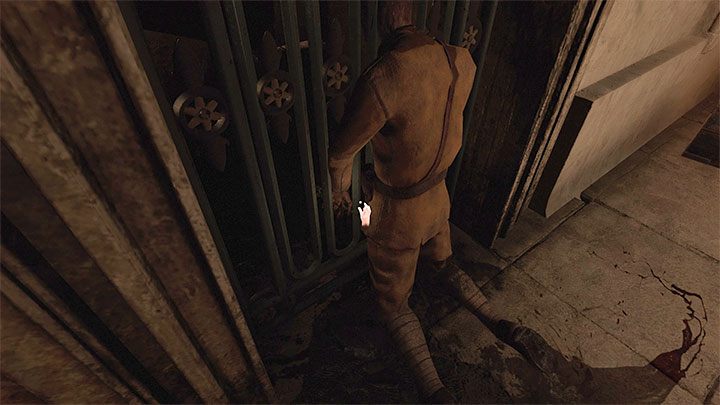
Now look around for the second corpse shown in the picture above, which is leaning against the bars. They're holding the Cage Key in their left hand.
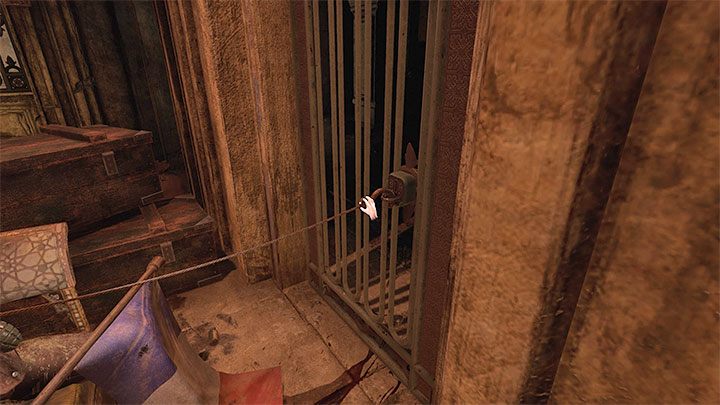
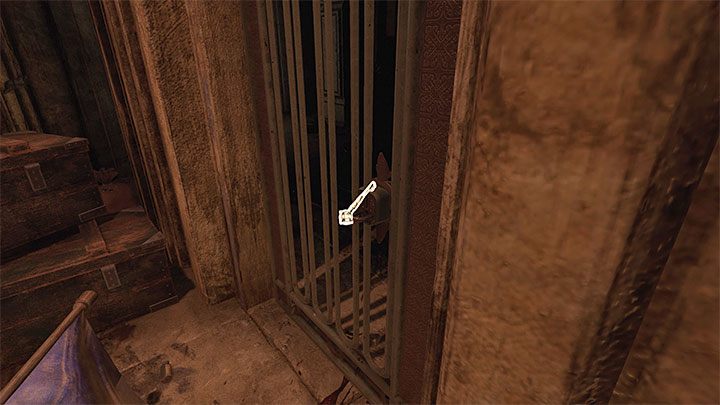
Save the game because the protagonist can easily die here. Thanks to saving the progress here, in case you die, you will be able to restart the game (without saving) and try again.
You have to carefully remove the hook attached to the door. If you move it slowly, the grenade will not explode. Now use the key to open the cage. Getting out of it without detonating the grenade will earn you the Escape Artist trophy.
Crafting a shell for the tank
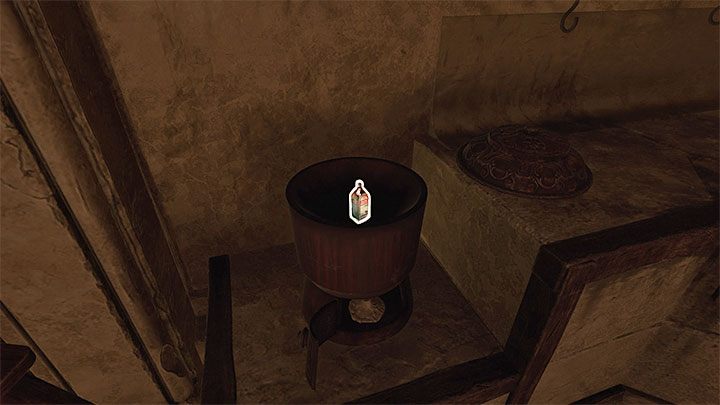
Go back to the room where you obtained the milled charcoal earlier. This time, have a look at the vessel shown in the picture above. Take off its cover and put the recently obtained sulfur inside.
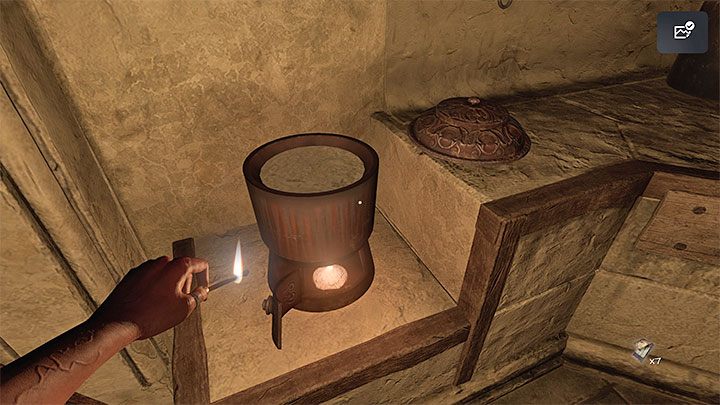
Use a match to light a fire under the vessel, then place the lid on top of it and wait for cooking to end automatically. You will get Sulfur Grains.
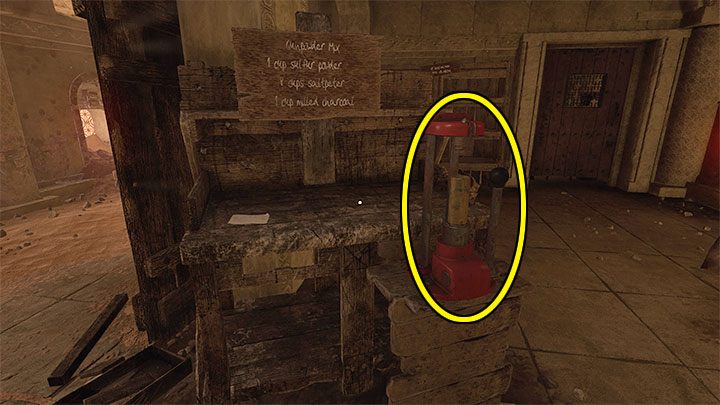
Now you have to return to the first workbench. While on your way, jump again over the rope next to the big crossbow. Have a look at the tube shown in the picture. You have to put inside the following things, in this specific order:
- Sulfur Grains
- Saltpeter - this is an item that you could obtain in the previous chapter: The Fortress. If necessary, return to the main building of the fort.
- Milled Charcoal
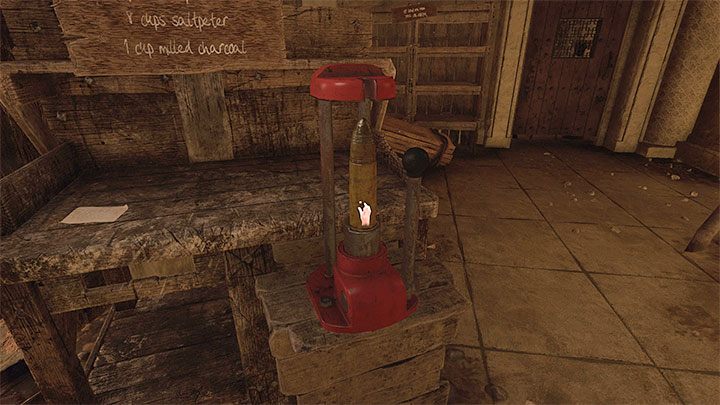
Pull the black lever. Completing all the steps should result in producing a Tank Shell.
Firing the tank
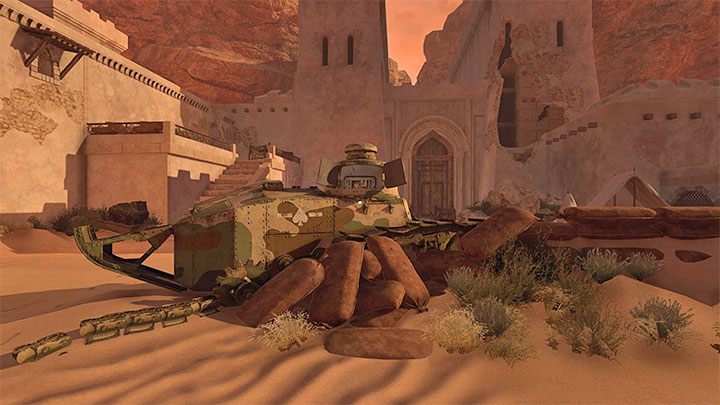
Go towards the exit from the arsenal to return to the courtyard of The Fortress. Once again you have to go to the previously visited tank wreck and squeeze through the hole into its cabin.
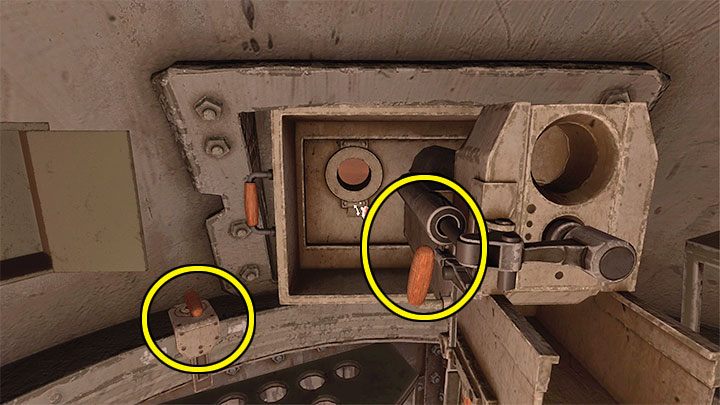
In the cabin, first examine the lever on the right so that you can insert the shell into the mechanism (you have to select the shell from your inventory).
Then use the left lever to enable the possibility to rotate the tank's gun freely.
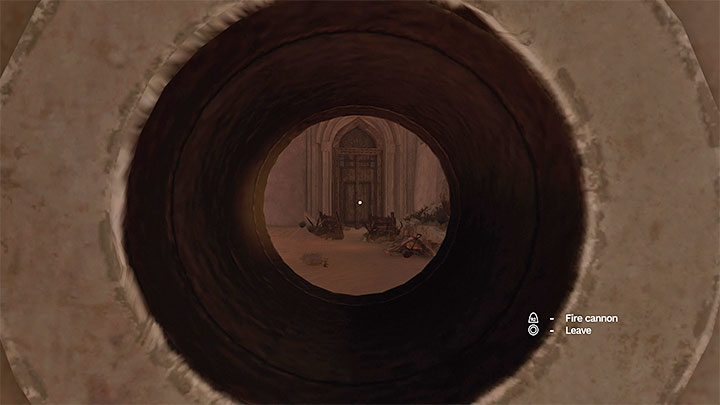
Find the viewpoint and press the button to start looking through it. You have to rotate the turret to aim at the gate shown in the picture. Press the shooting button for the ending cutscene to begin.
- Amnesia Rebirth Guide
- Amnesia Rebirth: Game Guide
- Amnesia Rebirth: Walkthrough
- Amnesia Rebirth: List of all chapters
- Amnesia Rebirth: The Cassandra - walkthrough, secrets
- Amnesia Rebirth: The Caves - walkthrough, secrets
- Amnesia Rebirth: The Dark World - walkthrough, secrets
- Amnesia Rebirth: The Deeper Caves - walkthrough, secrets
- Amnesia Rebirth: The Desert Path - walkthrough, secrets
- Amnesia Rebirth: The Fortress - walkthrough, secrets
- Amnesia Rebirth: The Arsenal - walkthrough, secrets
- Amnesia Rebirth: The Cistern - walkthrough, secrets
- Amnesia Rebirth: The Oasis - walkthrough, secrets
- Amnesia Rebirth: The Alchemist's Chambers - walkthrough, secrets
- Amnesia Rebirth: The Tomb of Tin Hinan - walkthrough, secrets
- Amnesia Rebirth: The Portal Chamber (1st visit) - walkthrough, secrets
- Amnesia Rebirth: The Chamber of Pillars - walkthrough, secrets
- Amnesia Rebirth: The Portal Chamber (2th visit) - walkthrough, secrets
- Amnesia Rebirth: The Hunting Grounds - walkthrough, secrets
- Amnesia Rebirth: The Portal Chamber (3rd visit) - walkthrough, secrets
- Amnesia Rebirth: The Catacombs - walkthrough, secrets
- Amnesia Rebirth: The Portal Chamber (4th visit) - walkthrough, secrets
- Amnesia Rebirth: The Theater - walkthrough, secrets
- Amnesia Rebirth: The Laboratory - walkthrough, secrets
- Amnesia Rebirth: The Factory - walkthrough, secrets
- Amnesia Rebirth: The Lower Factory - walkthrough
- Amnesia Rebirth: The Town - walkthrough, secrets
- Amnesia Rebirth: The Mines - walkthrough, secrets
- Amnesia Rebirth: The Tower - walkthrough
- Amnesia Rebirth: The Throne Room - 3 endings
- Amnesia Rebirth: Walkthrough
- Amnesia Rebirth: Game Guide
You are not permitted to copy any image, text or info from this page. This site is not associated with and/or endorsed by the developers and the publishers. All logos and images are copyrighted by their respective owners.
Copyright © 2000 - 2025 Webedia Polska SA for gamepressure.com, unofficial game guides, walkthroughs, secrets, game tips, maps & strategies for top games.
