Alan Wake: Episode 1 Ransom Part 1 - walkthrough
On the run (1). This guide page for Alan Wake contains a walkthrough for On the run (1) from Episode 3 - Ransom.
 |  |
Talk for a while to Randolph, then follow him to Rose's home. Once you get there, knock to her door.
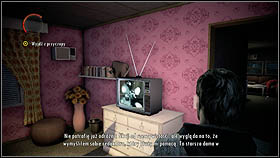 |  |
After the cut-scene, watch the TV show. Walk out the room and go to Barry and Rose. Get out of the house and get back to the car the same way you got here before.
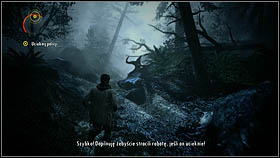 | 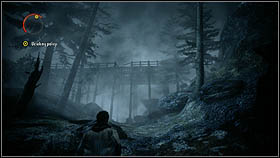 |
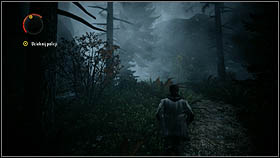
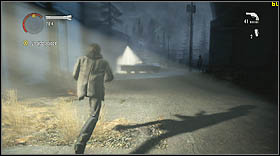
Looks like now you've got police looking for you. Run forward and when you'll notice cops on the right, turn left. Ignore police gunshots, just run forward, under a wooden bridge. Continue your journey, even when your enemies will launch a flare in the air.
 | 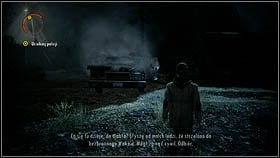 |
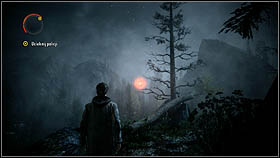
Once you reach the wall of rocks, turn left. The path here is simple and narrow, it is impossible to get lost in here. Once you reach the light, a police cruiser will crash right next to you. Walk to the light post nearby. From there, take the narrow mountain path. You will see another flare launched by the cops. Don't stop running.
 | 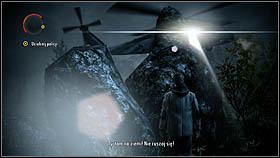 |
You'll reach another light post, but its light will turn off soon. Move forward, passing by another police car. A helicopter will join the party very soon. Keep moving forward, but try using the rocks on your left in order to avoid bullets.
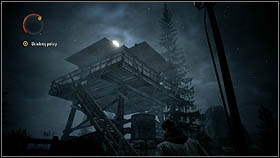 | 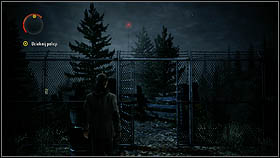 |
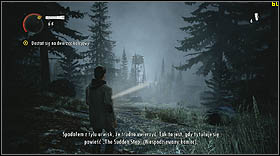
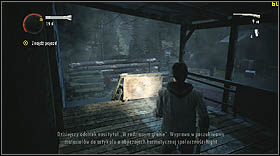
The helicopter will be sooner or later destroyed by birds, and you'll reach a wooden watchtower. If you want, walk up the stairs and take a look through binoculars located on that watchtower. Anyway, the way to your objective leads through a metal gate.
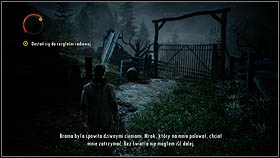 |  |
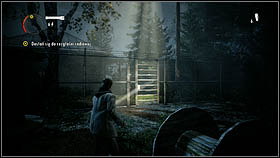
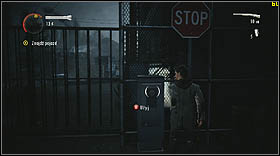
You'll reach a gate, which rattles in a very unnatural way. Turn left and you'll reach a spotlight. Follow its cable to get to the generator. Turn it on and then run quickly to the spotlight. Use it to light up the weirdly rattling gate.
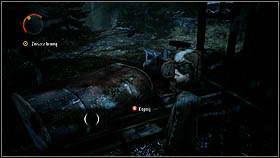 | 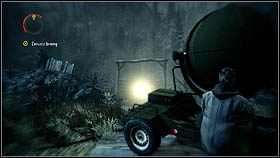 |
It is possible that the generator will break down and you won't be able to enlighten the gate. In this case, get back to the generator, kick it and then repeat the whole thing. The gate will disappear after enlightening (remember to focus the light with [LT]) and you'll be able to mover forward.
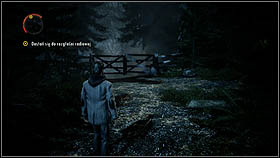 | 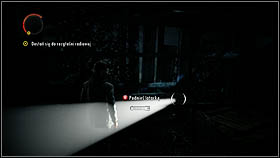 |
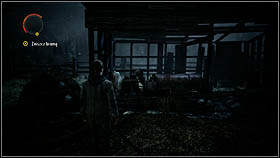
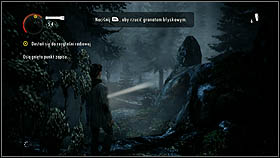
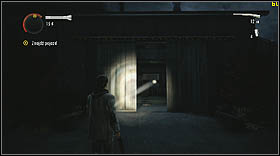
You'll reach another haunted gate. Turn left and take the flashlight from the shed. Get back to the gate and light it up.
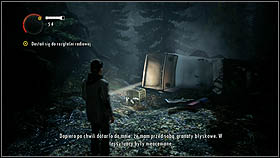 |  |
Once you'll open your way to the next part of the level, move forward. You'll reach another crashed police car. Take flashbangs from a crate nearby and continue your journey.
 | ![Once you encounter some enemies, keep pressing [RB] to throw flashbangs - Alan Wake: Episode 1 Ransom Part 1 - walkthrough - Walkthrough - Alan Wake Game Guide & Walkthrough](/alanwake/gfx/word/-1789085640.jpg) |
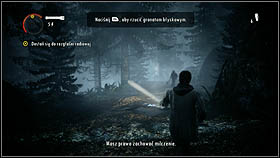
Once you encounter some enemies, keep pressing [RB] to throw flashbangs. As you will see, it is a weapon quite similar to the flare gun - it liquidates several enemies at the same time. Make your way through all the monstrosities in the woods and get to the light post. You'll find some extra equipment over there. Move forward through a little bridge, towards the radio station.
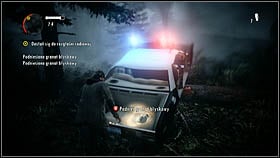 |  |
Kill the enemies coming for you. You'll find another destroyed police cruiser, take the flashbangs from the trunk and run forward. Once you get to the radio station, walk right through a metal gate on the right.
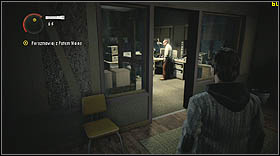 |  |
Enter the building and find the room, where Pat is doing his job. After a cut-scene, continue the walk, but now toward the railway station. Take the mountain path. On your way, you'll find an emergency box with two flares inside.
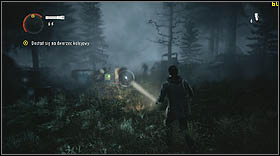 | 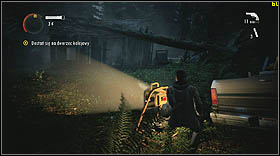 |
Run forward and you'll reach a generator. Scare your enemies off with a grenade or a flare and turn on the generator to make the light post nearby work. In its light, you'll find a gun and some ammunition. Run further toward the railway station. You'll reach a car and a lamp nearby. Turn it on and search the area.
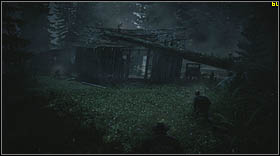 | 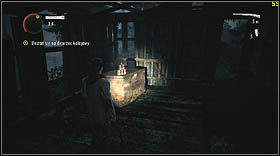 |
There is a small cabin nearby, with a shotgun and some ammo inside. Take it all prepare to fight several enemies. Walk out of the cabin and turn on the map nearby. Let the enemies walk to you, into the light, and then throw a flashbang. Remaining enemies should be removed with firearms, in the shed nearby you'll find some batteries and ammunition.
 | 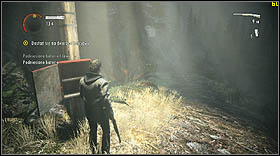 |
Run toward the railway station. You'll reach the tracks, follow them. On your way, you'll run into a red emergency box, better take the equipment inside.
 | 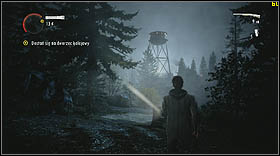 |
Move forward. You'll reach a little meadow, from which a water tower can be seen. If you go left, you'll find a crate with extra equipment. Go right in order to continue the walk towards the railway station.
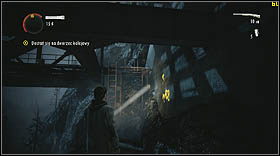 | 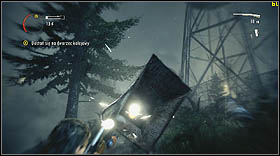 |
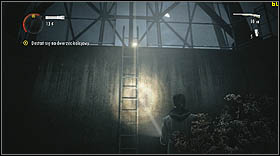
Walk under the bridge. Climb up the ladder located there. Run along the bridge, but be careful, as the are lots of haunted objects in there, Dodge them, when they're flying in you direction. Use your flashlight to destroy them.
 | 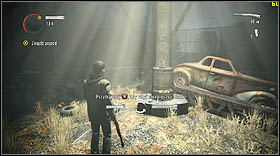 |
Walk out of the bridge and approach the fence. Go left until you reach a ladder. Climb it up and step into the light. Right there, you'll find a better flashlight, hold [B] to exchange your current flashlight for a better one.
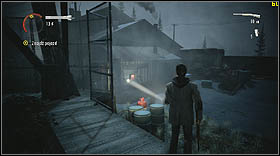 |  |
Now you need some kind of a vehicle. Walk into the railway station and open the gate nearby. Once you do it, a group of Taken will attack you. Finish them off with a flashbang, kill the remaining ones with your shotgun. Take the equipment from the emergency box nearby.
 |  |
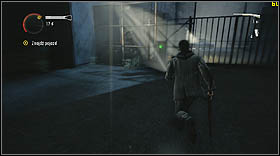
Walk through the gate you just opened. Walk into the building and kill all the enemies inside. Get to the upper floor, take all the equipment from the desks and get to the wooden balcony. From that balcony, walk the stairs down to the ground.
 |  |
You'll reach a rather big field with some enemies and a bulldozer. Eliminate the Taken with traditional methods, but if it comes to the bulldozer, I suppose you should just run to the other side of the field and open the gate you can find in there. Once you do it, walk through it, so the bulldozer won't be able to reach you. Get in the car parked nearby.
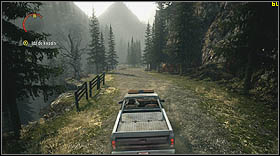 | 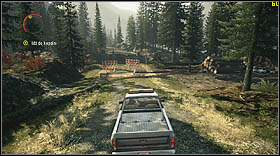 |
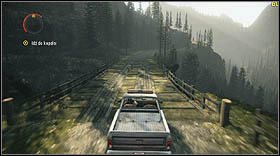
After the cut-scene, get in the car and drive toward the coal mine. Once you reach the destroyed bridge, turn right and continue your journey.
 | 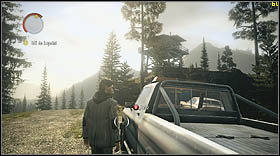 |
Sooner of later, you'll get back on the main road again. Drive forward, passing by a wooden watchtower (by the way, there's a lovely car parked near that tower). In the end, you'll reach the mine.
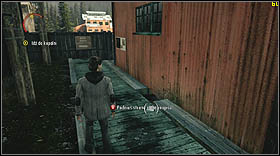 | 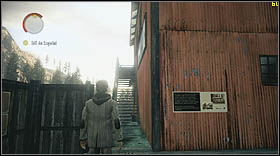 |
In the coal mine, get out of the car and walk right next to the red building. Go up the stairs and enter the building.
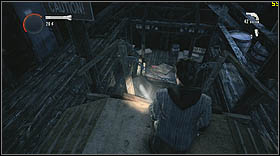 | 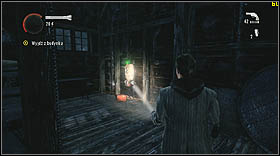 |
After the cut-scene, walk down to the ground below. Collect all the equipment you can find here and use the lever placed on one of the walls. A hatch in the floor will open.
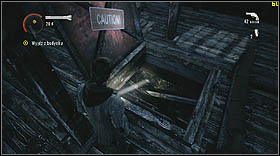 | 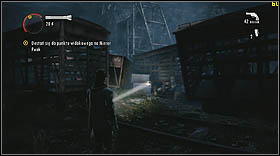 |
Use that hatch to get out of the building. Move forward, and you will find a revolver and a lot of ammunition to that gun. Arm yourself and continue your journey. You will encounter some enemies, but they do not pose a serious threat. Haunted objects will join the fight soon, so be careful.
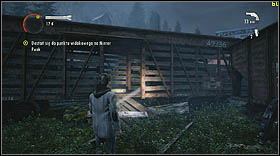 | 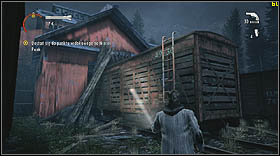 |
Once you eliminate all your enemies, walk through one of the wagon (you'll find some flashbangs inside) and continue the journey. Finish off two guys that will stand in your way, and then climb up the ladder nearby.
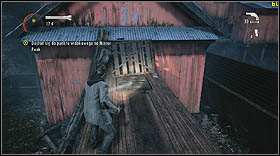 | 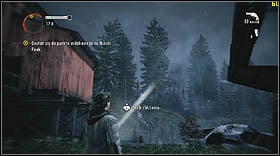 |
You'll get on top of the wagon. Open the hatch nearby and throw a flashbang inside. The haunted objects inside will disappear, so jump down into the wagon and continue the walk. Once you walk outside, you'll notice the Dark Presence in the distance.
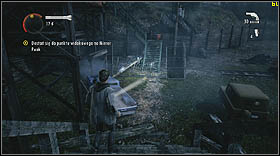 | 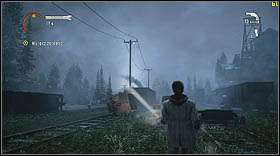 |
Move forward. There's and electrified fence in front of you. Walk (or drive) along the high voltage cable. You'll encounter some enemies, but with a gun and flashbangs you should handle this problem with ease.
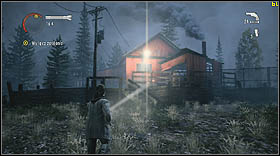 | 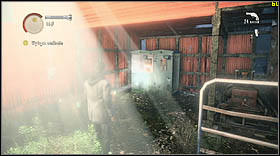 |
Walk to the enlightened, red building. Take the flare gun and ammunition located in there. Use the machinery, which is also located there.
- Alan Wake Game Guide & Walkthrough
- Alan Wake: Game Guide
- Alan Wake: Walkthrough
- Alan Wake: General tips - walkthrough
- Alan Wake: Episode 1 Nightmare Part 1 - walkthrough
- Alan Wake: Episode 1 Nightmare Part 2 - walkthrough
- Alan Wake: Episode 1 Taken Part 1 - walkthrough
- Alan Wake: Episode 1 Taken Part 2 - walkthrough
- Alan Wake: Episode 1 Ransom Part 1 - walkthrough
- Alan Wake: Episode 1 Ransom Part 2 - walkthrough
- Alan Wake: Episode 1 The Truth Part 1 - walkthrough
- Alan Wake: Episode 1 The Truth Part 2 - walkthrough
- Alan Wake: Episode 1 The Clicker Part 1 - walkthrough
- Alan Wake: Episode 1 The Clicker Part 2 - walkthrough
- Alan Wake: Episode 6 Departure - walkthrough
- Alan Wake: DLC 1 The Signal Part 1 - walkthrough
- Alan Wake: DLC 1 The Signal Part 2 - walkthrough
- Alan Wake: DLC 1 The Signal Part 3 - walkthrough
- Alan Wake: DLC 2 The Writer Part 1 - walkthrough
- Alan Wake: DLC 2 The Writer Part 2 - walkthrough
- Alan Wake: DLC 2 The Writer Part 3 - walkthrough
- Alan Wake: Walkthrough
- Alan Wake: Game Guide
You are not permitted to copy any image, text or info from this page. This site is not associated with and/or endorsed by the developers and the publishers. All logos and images are copyrighted by their respective owners.
Copyright © 2000 - 2025 Webedia Polska SA for gamepressure.com, unofficial game guides, walkthroughs, secrets, game tips, maps & strategies for top games.
