The Witness: Walkthrough Temple of the Sun
This chapter focuses on the Temple of the Sun, one of the locations in The Witness. Here, you will find general information about the puzzles and the locations of various objects. Check Puzzle solutions to get solutions for the puzzles found in this area.
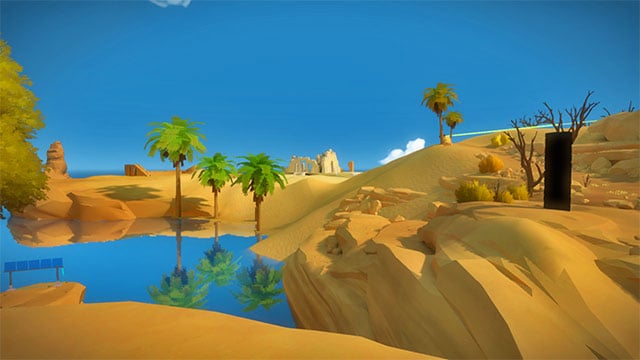
The Temple of Sun is located to the left from the entrance to the Quarry. You will find them in the middle of the desert.
In the Temple of Sun , there are several sets of puzzles, connected with a cable (similarly to previous locations). Every next set can be found one level lower than the previous one. To complete all of them, you will have to use the light from the sun and also position yourself so that you don't block it. At first, it may seem to you that the first panel is impossible to solve. However, you simply need to move and the soon will show you the solution. There are a lot of starting and ending points and the structure is circular, but most of the puzzles on the surface are rather easy.
There are a few difficulties on the surface. The first one is the shadow that some objects cast. Because of it, you will sometimes have to guess. The second one is altitude. You will have to look at some panels from above and at others from below. What's more, one of them is constantly on the move and you will have to quickly go up and look at it from the right perspective. Fortunately, using the button, you can change the rotating direction, which is not too fast anyway. Turning the panels is possible in the case of more than one puzzle.
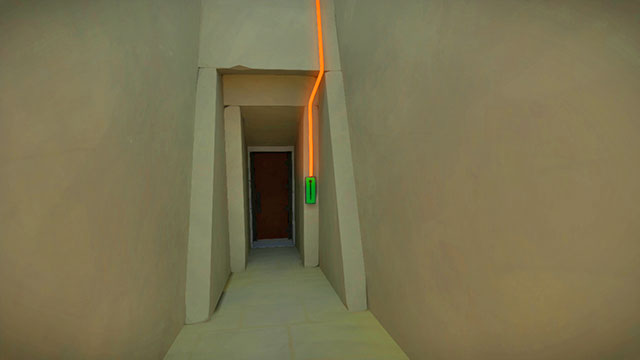
After solving all the puzzles, go downstairs and open the door.
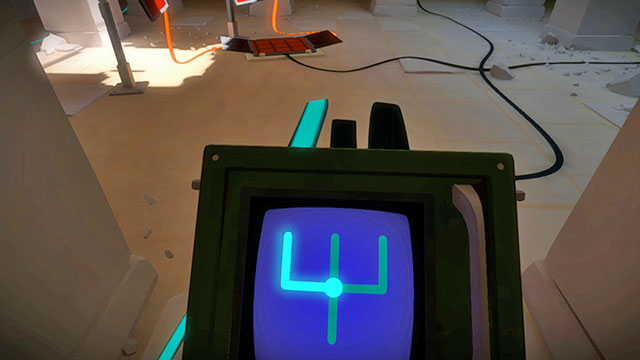
On the first level of the underground part, you will have to use the light as well. There are only three puzzles to solve here and your light source will be lamps. Only one of them can remain lit, so be prepared to sketch. The notebook will be especially useful during the last puzzle, because the lamps will be casting light on only pieces of it. Without the notebook or good memory, you will be forced to guess.
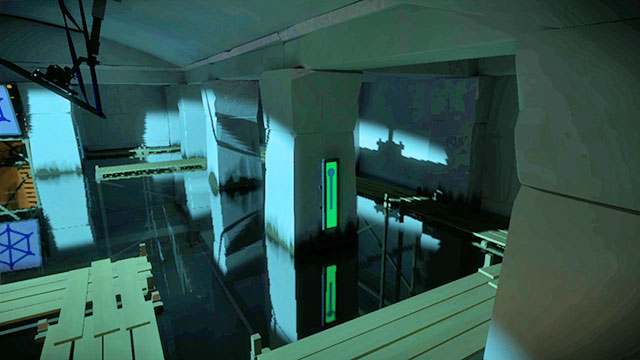
On the next level, the perspective will become even more important. Notice that every panel has its mirror image. You have to position yourself in such a way so that you can not only see the mirror image, but also the solution on it. The first few solutions are easy to see - you just need to position yourself right. However, later you will have to take notes. The columns and the distance between the panel and its mirror image will force you to change your position frequently.
On the third level, you will have to use not only the light and proper positioning, but also the water level. On your right and on your left, you will find a pair of switches. One of them is raising the water and the second one is lowering it.
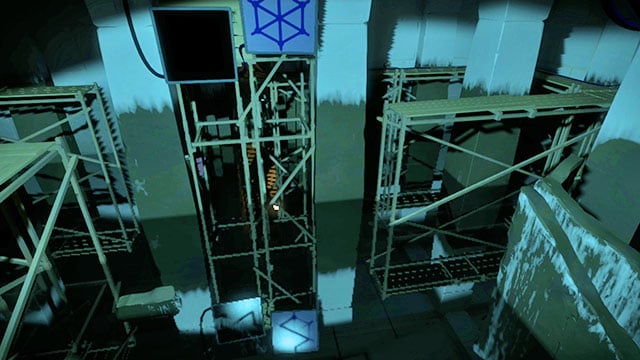
With the water level, you will also alter the level of the mirror images of all the panels, or the panels themselves. Using the light, you will check the solutions to the puzzles. Be aware that some of the solutions will be visible only during the process of altering the water level. What's more, one of the panels will be only available to you after lowering it. Have your notebook ready.
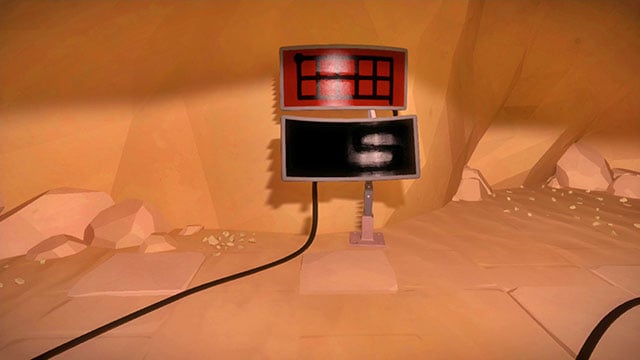
On the last level, the rules are the same, but the level of difficulty raises. To learn the solution to the square panel, you have to use the switch located behind it and view its mirror image in the right moment. You will learn the solutions to the wide panels by positioning yourself properly in front of them.
You will have the most trouble with the glass panel. You can learn the solution by looking at the mirror image. It will be different than in the rest of the cases, but you should quickly learn the right path. You won't be able to connect it because of the planks blocking your way. To solve this puzzle, you can't stand in front of the panel.
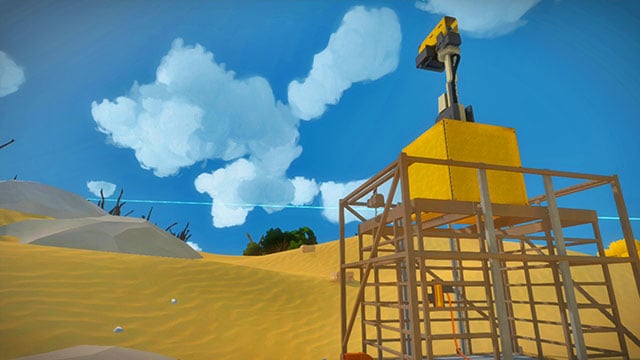
After solving all the puzzles, use the elevator. When you reach the top, another laser will be activated. It will be pointed in the wrong direction, but you will soon fix this.
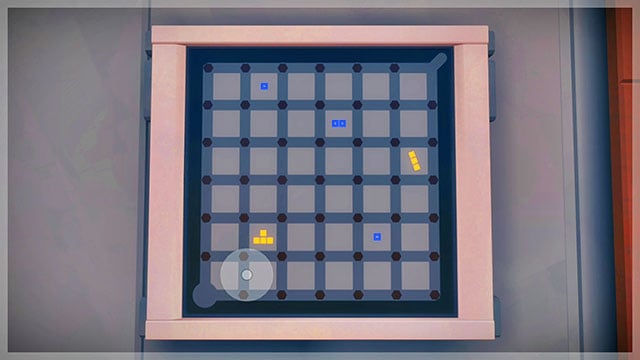
After you solve all of the puzzles, walk over to the ruins by the beach. On the right, you spot stairs to the beach. On the left, there is a door. It blocks access to another film access code.
You are not permitted to copy any image, text or info from this page. This site is not associated with and/or endorsed by the developers and the publishers. All logos and images are copyrighted by their respective owners.
Copyright © 2000 - 2026 Webedia Polska SA for gamepressure.com, unofficial game guides, walkthroughs, secrets, game tips, maps & strategies for top games.
