The Witness: Walkthrough Swamp
This chapter focuses on the Swamp, one of the locations in The Witness. Here, you will find general information about the puzzles and the locations of various objects. Check Puzzle solutions to get solutions for the puzzles found in this area.
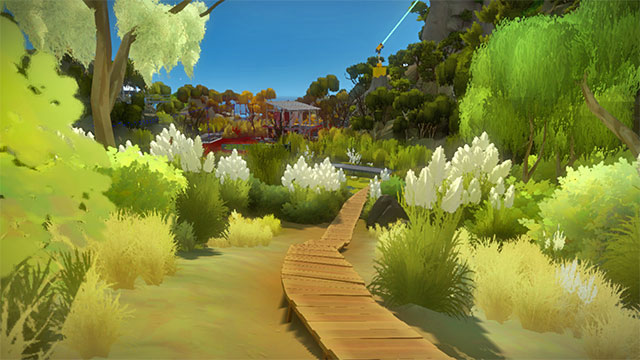
The Swamp is located in the eastern part of the island. The easiest way to get there is from the Monastery. When you stand facing your back to the laser, go across the river and turn right. Follow the path. Take the first turn left and go down. When you see a wooden path, this is the beginning of the Swamp.
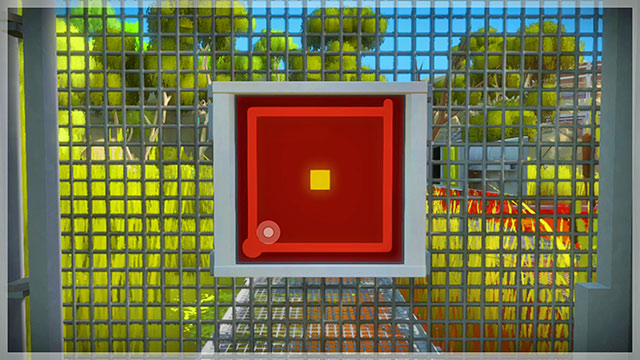
Opening the door requires you to solve a simple puzzle. Both the possible solutions are right.
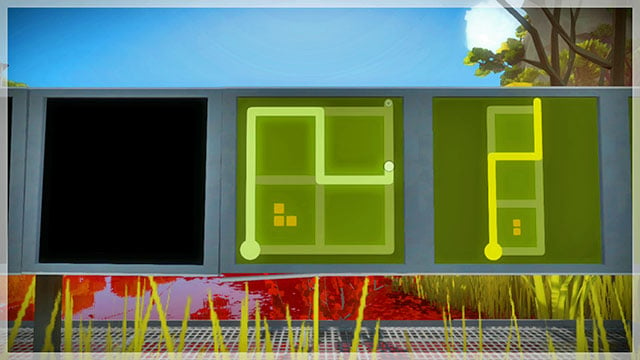
On the right, you will see a new set of training puzzles. Solving them may be difficult, because it requires you to learn fiver rules:
Firstly, the shape of the area that you select has to match the shape of the symbols inside it. A symbol of one square has to be enclosed in one square, two squares on the area of two squares and so on. You will learn this on the first two panels.
Secondly, the shape of the area you select has to match the shape of the symbol you select. If a symbol has the shape of letter L and consists of three squares, it has to be enclosed in an area consisting of three squares looking like letter L. You will learn this on the third panel and the next ones.
Thirdly, a symbol can be enclosed from any side. Let's assume that a puzzle consists of nine fields. In the middle, there is a symbol of two vertically placed squares. The solution may require you to circle it from the top and from the bottom of the puzzle. In both cases, the symbol will be enclosed inside two fields. It doesn't matter whether it's on the top or on the bottom of the area, as long as the panel allows it. You will learn this rule on the third and the fourth panel of the second set.
Fourthly, when there are two or more symbols, their areas can connect. A symbol of two squares and a symbol of four squares can be connected on a shared area of six squares. The only condition is that the shape of the symbols and the shape of the area is the same. You will learn this rule on the second set of panels.
Fifthly, symbols that share the same area cannot overlap. However, the can be moved. This rule will require you to use a piece of paper and a pencil, because it's the least intuitive of all. Notice the penultimate panel from the second training set. At first sight, it seems that it is impossible to solve, because the symbol of a line is located in the middle and overlaps with the square. After circling both the symbols, the area will be too small. Now imagine that the symbol of a line is located one field higher. This way, the line has three available fields and the square has four. A lot of puzzles later will require you to move symbols in your memory or on a piece of paper.
Repeat the training puzzles until you understand the rules. It can take you a while, but don't be discouraged. Practice until you get it.
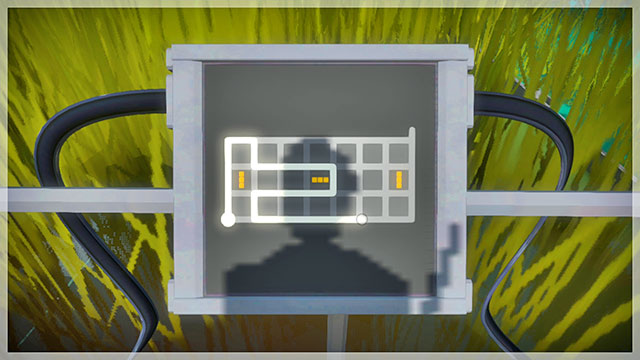
Turn right. Using the panel, you can move the platform in two directions. The direction depends on how you enclose the symbol in the middle. Use the platform to go to the other side.
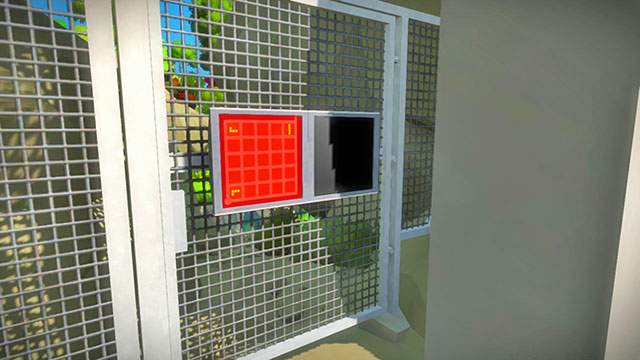
Go up the stairs. On the left, you will find two panels. Using them, you can open a shortcut.
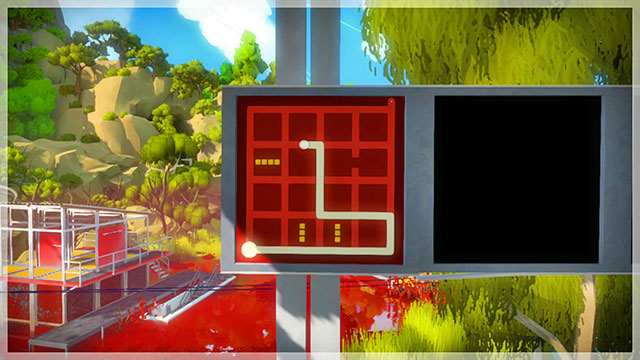
There are another four panels on the right. The difference between them and the training ones is the broken line. Besides, the rules stay the same.
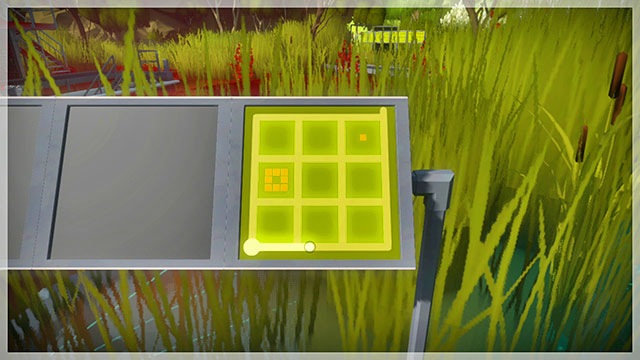
After solving the puzzles, follow the yellow line. Go through the open door and solve another set of puzzles. They can be considered training ones, because you will learn several new symbols. Pay particular attention to the diagonal symbols. The split symbol on the last panel refers to the points on the opposite sides of the panel - the first and the last column.
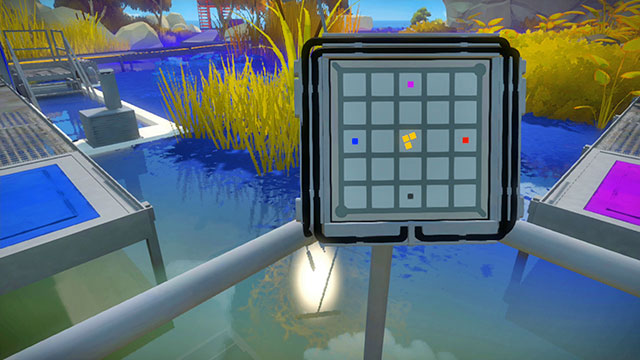
Proceed further. You will reach another platform that introduces two new rules. The first one are colors (you will see more of them in the Greenhouse). You can read about them in the appropriate chapter and you should do so, because when it comes to colors, there are slightly different rules connected to them in this puzzle than in other parts of the game.
Besides colors, there is a diagonal symbol on the panel. It can not only be moved, but also rotated. To understand this rule, imagine that the L symbol on the panel is facing the top and the right side (purple and red colors). Now rotate it so that it faces the right side and the bottom, then the bottom and the left side and lastly the left side and the top. It means that every diagonal symbol can be used in four ways, which can make the puzzles much more difficult.
To rotate the platform, you need to connect the central symbol with the two with two colors next to each other. When you connect the symbol and colors black and red, the platform will rotate in such a way that you can access black and red platforms. To go further, you need to connect colors blue and black. Moreover, you need to separate the two remaining colors. You just need to enclose them from three sides so that they don't touch each other with any field. There are two solutions to this puzzle.
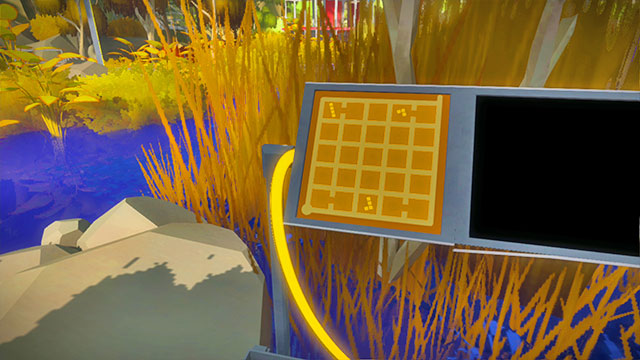
Step onto the blue platform and approach the next set of puzzles. The panels here have empty fields and a lot of diagonal symbols. Notice that on the fourth panel, the symbol on the left can be easily connected with the one on the right.
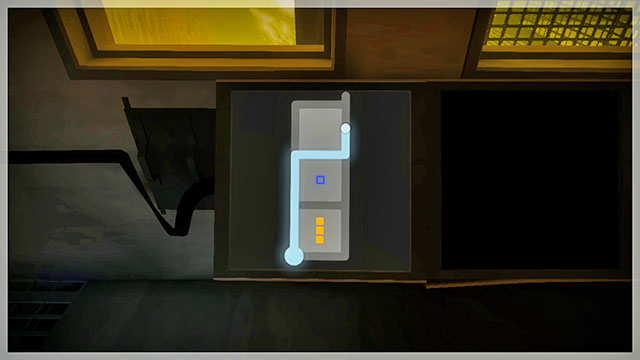
Follow the yellow line and go down to the basement. There are new training puzzles and one new rule. The area that you select has to be smaller than the symbol and the difference in size is defined by the empty blue squares. It means that you should count out the number of blue squares from the number of yellow squares. The result is the size of the area that you need to select.
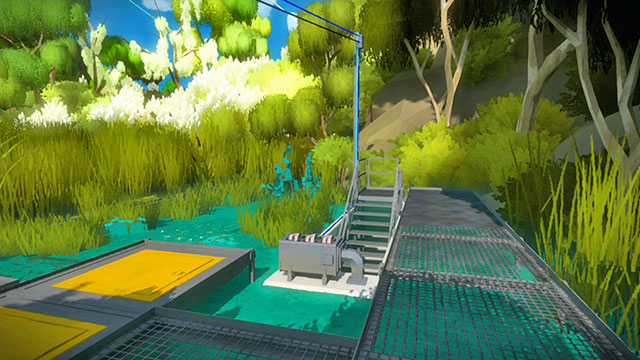
After completing the task, follow the blue line. You will find it up in the air, connecting the stairs that lead to the basement. Inside, there is another set of puzzles that requires you to count out fields. The next one is in the third basement.
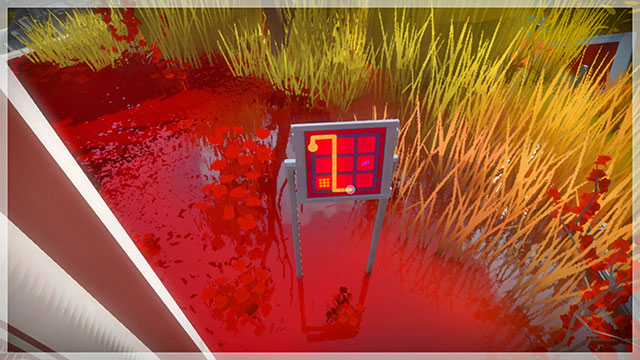
In the red basement, open the door on the side. You will go outside. Upstairs, there is a platform divided into six parts. Your task is to raise and lower them using the two panels to gain access to the laser. The parts that will move are the ones that you didn't enclose when solving the puzzle. It requires you to select seven fields, so try several combinations and see how the platform reacts.
You have to lower the floor located opposite the location of the puzzle. Stand on it and solve the puzzle. Then, go back one field and solve the puzzle again, but this time do it the opposite way. A passage will open behind you. Turn around and using the last panel, open the passage to the laser. You will find it upstairs. After that, you just need to leave the Swamp that same way that you got here.
You are not permitted to copy any image, text or info from this page. This site is not associated with and/or endorsed by the developers and the publishers. All logos and images are copyrighted by their respective owners.
Copyright © 2000 - 2026 Webedia Polska SA for gamepressure.com, unofficial game guides, walkthroughs, secrets, game tips, maps & strategies for top games.
