STALKER Call of Pripyat: Jupiter Quests - Part 2
8. Hunting unidentified mutants
Received from: Trapper, after mission 7
Beginning location: point 13 on the map
Target location: point 15 on the map
Mission description:
You have to get to the abandoned station. The entrance is right at the marked point. Silently go inside the building. To the left of the entrance, you will find the first of two enemies (screen). There's no sense shooting once he raises his hands, you won't damage him then. You should keep shooting from behind a wall, leaning out just enough to make a shot. It will allow you to avoid damage from the objects that the mutants will be throwing at you. After finishing both of them, return for the prize.
9. Night Hunt
Received from: Trapper, after mission 8
Beginning location: point 13 on the map
Target location: point 16 on the map
Mission description:
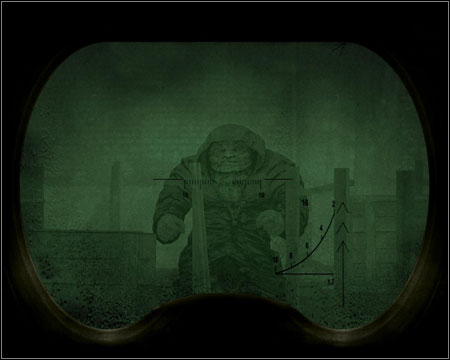
After some time after finishing the last mission, you will receive a radio message from Trapper. Visit him and he will give you a mission. You have to wait until night (10 p.m. will be alright). Night vision will be great help (screen). The chimera runs around the point marked on the map (16). You have to shoot it quite a lot before it falls (especially on higher difficulty setting). Remember that you have to move all the time and try to avoid the jumps. After the fight you will receive some money and a good rifle. You will also unlock an achievement.
10. Theft
Received from: after completing mission 23 of Zaton sector (see - the walkthrough below)
Beginning location: point 18 on the map
Target location: points 19, 20, 21 on the map
Mission description:
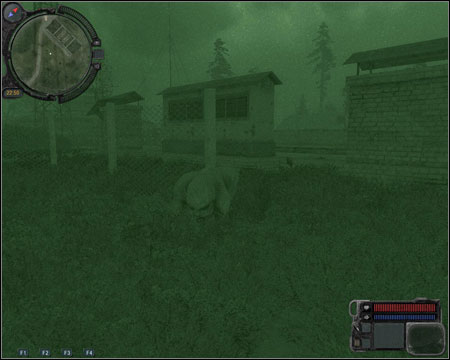
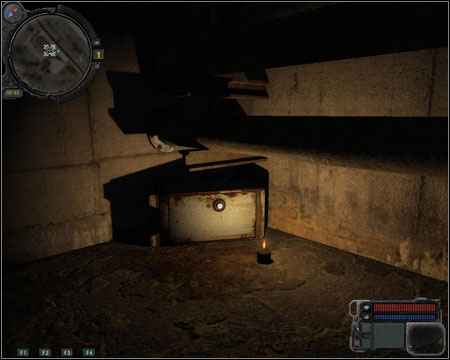
During mission 23, you meet Snag. After talking with him, go to the basement (point 18) and if there's nothing in the chest (screen) - put something inside. Now go rest for an hour and check the chest again after waking up. It turns out someone has robbed you.
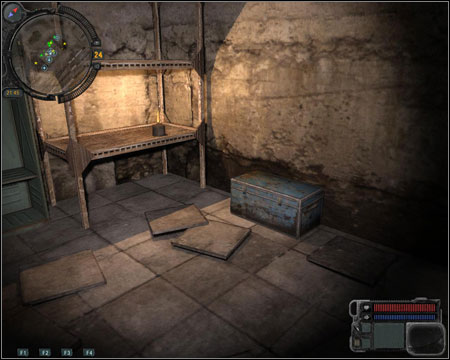
Visit the medic (point 19) and ask what happened. He will send you to Zulu's tower. He (screen) will tell you about people who he has chased away from his tower. They went towards the station (point 21). Follow the new trail. In the small building you Snag, injured, and a bandit standing next to him with a weapon. You can kill him with no regret.
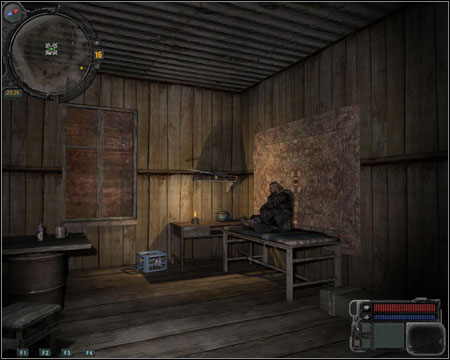
It's up to you if you want give Snag a first-aid kit or finish him off and take his PDA. Enter the sewers a couple steps to the north of the rails, behind the platform. Below, in the corner of the room you will find a safe (screen) with your equipment taken from the chest. Taking them back finishes the mission.
11. A contract with the Scientists
Received from: Garry
Beginning location: point 22 on the map
Target location: points 7, 18, 20 on Zaton general map
Mission description:
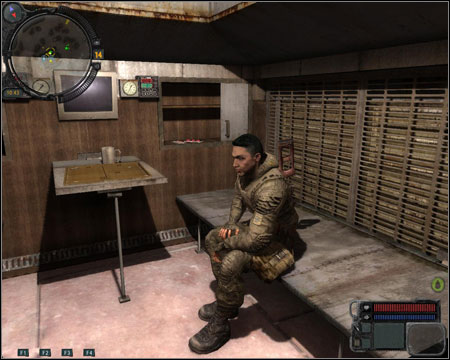
One of the Stalkers staying in the scientists bunker (screen) will ask you to bring him two artifacts - Meat Chunk and Kolobok. You should find both of them in the anomalies of Zaton sector.
12. The Oasis
Received from: Professor Ozersky
Beginning location: point 23 on the map
Target location: point 24 on the map
Mission description:
It's time to learn more about Oasis. Head to the abandoned train station (point 24) and get rid of the zombies inside. You can enter the tunnels full of dogs through the door in the southern wall. After going through the door, stop and turn right.
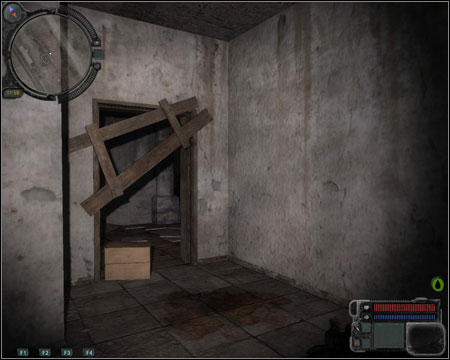
There's a maze of corridors before you. I will describe the path you have to follow through each "intersection". The starting point is the position in which on the right [south] there's a dead end (a few steps after going through a door and turning right). Let's go - east, south, east, south, south, and east. You should end up in a wide corridor lightened by a single lamp, which will lead you to a room with multiple columns (screen).
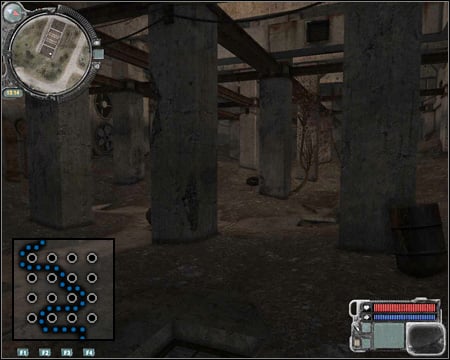
If you go through the columns following the marked path (upwards), you will be able to get to the room with Oasis. If you mess up or try to pass randomly, you will end up at the beginning of the room. Grab the artifact (screen) while jumping. At this moment a pack of dogs will enter the room. Kill them, or if you want to save ammo - climb the ladder on the left side and get out through the roof. Return to the scientists to get your reward.
13. Intermittent psy-emissions
Received from: Professor Hermann
Beginning location: point 25 on the map
Target location: point 26 on the map
Mission description:
Make sure you have some grenades and psy-block tablets with you. Talk with the mercenary standing in front of the scientists bunker - Topol - and together with the party, head to the tunnel in the north (point 27). Once there, talk with him again to begin the operation. You can stay behind and watch the mercenaries get rid of the zombies. Your task is to retrieve the artifact from the room on the left. Take out the detector prototype (from mission 19 of Zaton sector), take the pills and carefully move while avoiding the electric anomalies.
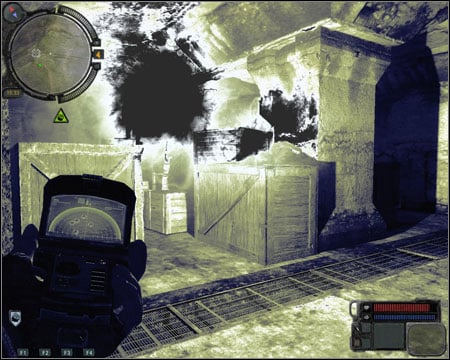
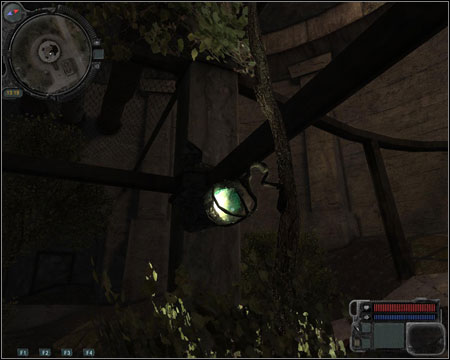
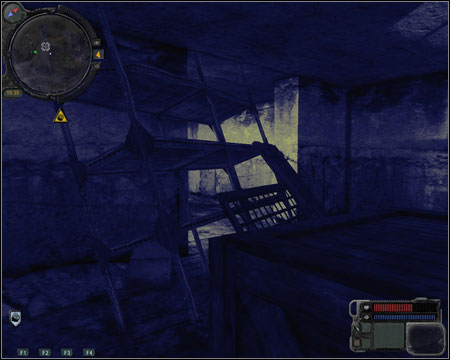
Find the entrance to the next room on the eastern wall. Before you there's a collapsed shelf (screen) and a knocked over barrel, over which you can jump. The artifact is waiting for you in the last room. There's a grenade by the wall, next to an AK47, which can come in handy. Use the metal door and enter the room with soldiers.
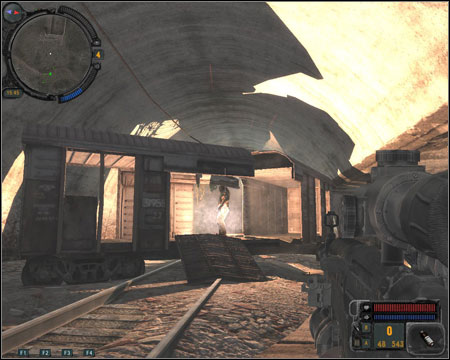
A psionic enemy will try to take over the minds of the mercenaries. You have a couple seconds to attack, before they become your enemies. The enemy should income from the tunnel entrance's side on our right. Throw grenades at him or use the grenade launcher (screen). Hide behind a wall/cover after each attack. It's important to have something between you and the enemy. It's not able to attack you without eye contact. If you acted fast enough, the mercenaries should still be alive and you'll be able to return to the scientists bunker with them.
14. Anomaly Research
Received from: Professor Hermann
Beginning location: point 25 on the map
Target location: points 28, 29, 30, 31 on the map
Mission description:
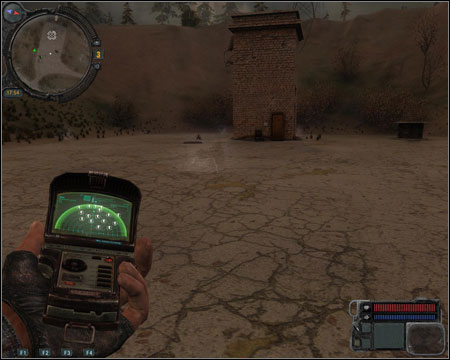
Visit the scientists' mechanic (point 28) and take 3 sensors from him. It's time to visit three anomalies with the prototype detector in hand. Avoid the detected threats (screen) and place sensor in the centre of each anomaly. At point 29 there's an electric anomaly, at 30 - a fire one and in 31 - a chemical. Once you're in the right spot, there will be information telling you that you can place the sensor. Return to the professor to collect your prize. From now on you can ask the scientist if there are any new artifacts in the area of the three anomalies he's following. You also have a direct view of this in your PDA.
Phase 2
Target location: points 14, 32 on the map
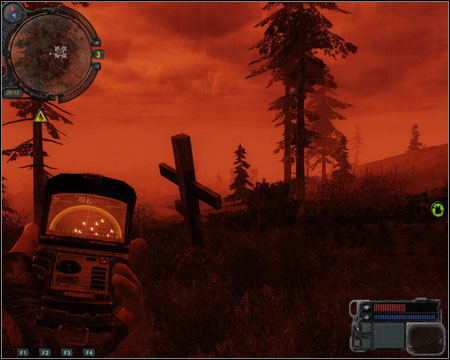
If you tell the professor that you'd like to participate in his research, you will be able to place more sensors. This time you will receive two sensors and will have to place them in the chemical anomaly at the marshes (point 14) and a fire (screen) type on the cemetery (point 32). The procedure is the same as last time.
Phase 3
Target location: point 26 on the map
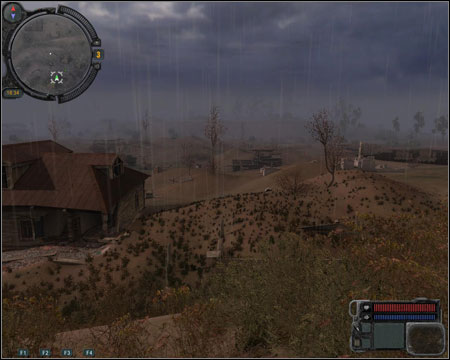
Once more tell Hermann that you'd like to participate in his research. Offer your help with the measurements. Before you speak with the mercenaries (26), you should equip yourself with a sniper rifle. Topal will let you choose where to go first. Go to Kopacha and take a position on the top of the hill (screen). Take out the sniper rifle and wait. The zombies will be coming out of the house on the left and the ruins on the right. Once the measurements are complete, move to the next location together with your team - the marshes.
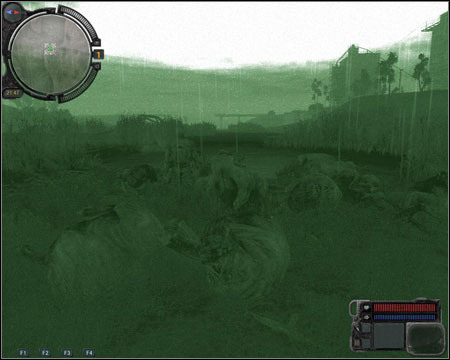
Begin with fighting off the zombies. Before you manage to catch a breath, pig-like mutants will appear. Try to keep close to the mercenaries and keep an eye on the surroundings. The pigs will come from east and west and the bandits and zombies from south. The mission is quite difficult and you should often save to different slots (especially on higher difficulty settings). After a while you can end up with a single Stalker and lots of corpses around. Once the measurement is over, talk with the mercenary and return to the scientists. Completing this task will unlock an achievement.
- S.T.A.L.K.E.R.: Call of Pripyat Game Guide & Walkthrough
- STALKER Call of Pripyat: Walkthrough
- STALKER Call of Pripyat: Zaton Map - Part 1
- STALKER Call of Pripyat: Zaton Map - Part 2
- STALKER Call of Pripyat: Zaton Map - Quests
- STALKER Call of Pripyat: Zaton Quests - Part 1
- STALKER Call of Pripyat: Zaton Quests - Part 2
- STALKER Call of Pripyat: Zaton Quests - Part 3
- STALKER Call of Pripyat: Jupiter Map - Part 1
- STALKER Call of Pripyat: Jupiter Map - Part 2
- STALKER Call of Pripyat: Jupiter Map - Quests
- STALKER Call of Pripyat: Jupiter Quests - Part 1
- STALKER Call of Pripyat: Jupiter Quests - Part 2
- STALKER Call of Pripyat: Jupiter Quests - Part 3
- STALKER Call of Pripyat: Jupiter Quests - Part 4
- STALKER Call of Pripyat: The road to Pripyat
- STALKER Call of Pripyat: Pripyat - Map
- STALKER Call of Pripyat: Pripyat - Map Quests
- STALKER Call of Pripyat: Pripyat Quests
- STALKER Call of Pripyat: Laboratory X8
- STALKER Call of Pripyat: Walkthrough
You are not permitted to copy any image, text or info from this page. This site is not associated with and/or endorsed by the developers and the publishers. All logos and images are copyrighted by their respective owners.
Copyright © 2000 - 2025 Webedia Polska SA for gamepressure.com, unofficial game guides, walkthroughs, secrets, game tips, maps & strategies for top games.
