Sherlock Holmes vs. Jack the Ripper: Wharfdale Road, night 13 /14 September 1888 - part 2
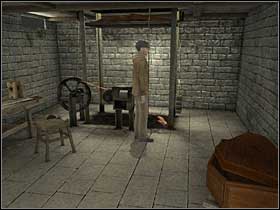 | 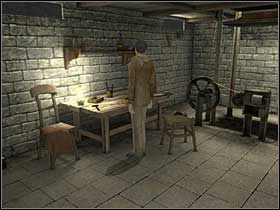 |
After you will repair the mechanism, turn it on - it will come up. Unfortunately, the elevator at the end will break once again and Holmes will be forced to find another way out. Note that on the ground a bent key is lying. Go to the table where you will find some tools (zoom).
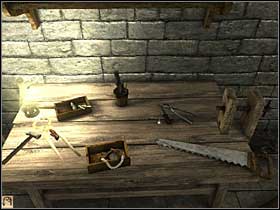 | 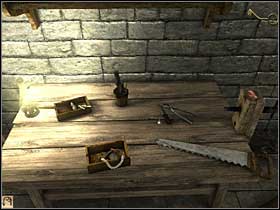 |
Take pincers and a hammer. Then turn attached to the right holder. Now put the key on the vice (click on the vice not on the right space near it) and use pincers. You can take the straight key.
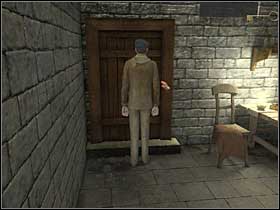 | 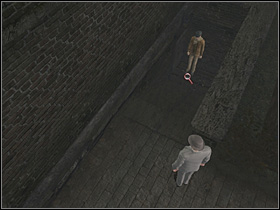 |
Of course, open the exit door (Watson will be waiting for you). By the way look on the floor and you will see many footsteps there.
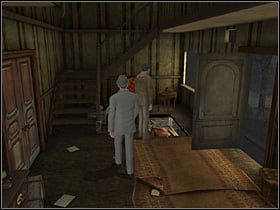 | 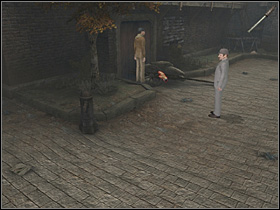 |
Get to the stairs and go to the main entrance of the building. When you will be there, go near the trapdoor and take the piece of stretcher from the elevator (two parts). Now go to the exit (left). With the help of a metal stick detach a wheel of a small cart.
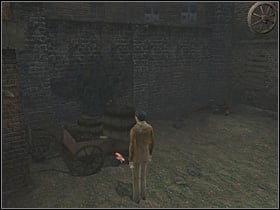 | 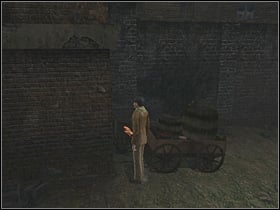 |
Go to a small courtyard on the left side of the building and install two wheels to the cart that is without wheels. Remove the stone that is blocking the front wheel and push the cart. It will move near the window.
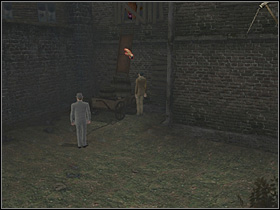 | 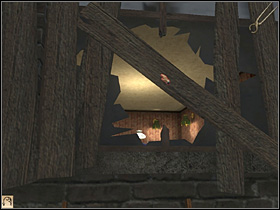 |
Put wooden stretcher near the wall after combining together two separated parts in your inventory. With the hammer and poker (combine them) cut some holes in the stretcher - they will allow you to climb. So climb now, remove the plank in the window and get into the room.
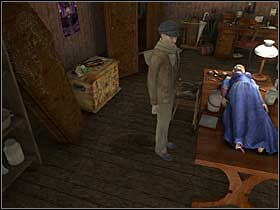 | 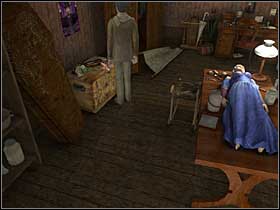 |
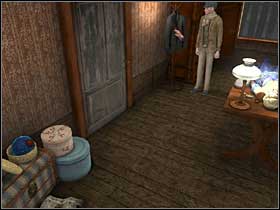
Inside you will see a dead, young woman lying on the table. Look at her feet. You will see a label attached to her - that is the evidence that this body was taken from the London Hospital. Look at the bottle with zinc chloride and women face, which is in makeup. The body is well preserved. On
Take a photograph located on chest. It was taken in the Liverpool (Documents - Photography) and you can see a young male worker on it. Remove the leaflet from the wall (Documents - Leaflet) that is advertising some spiritualistic prince Raskalnikov show. Prince Raskalnikov (you will find it in your inventory - Prince Raskalnikov's Leaflet). Holmes will decide that it is the same person.
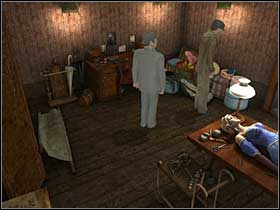 |  |
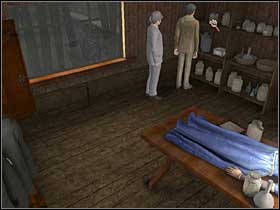
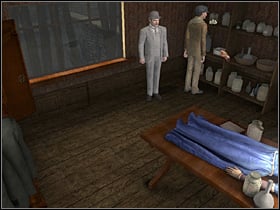
Go to the desk located opposite to the window and look at a picture of dead Ethel Broomstreet. Sherlock will note that the woman on the table is similar to her. Look at the dress located on the right side and take a red ribbon. Search the jacket and take the triangular-shaped jewel.
 |  |
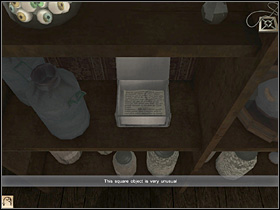
Finally, go to the shelf standing right of the window. Look at the jar full of glass eyes, and a puzzle box.
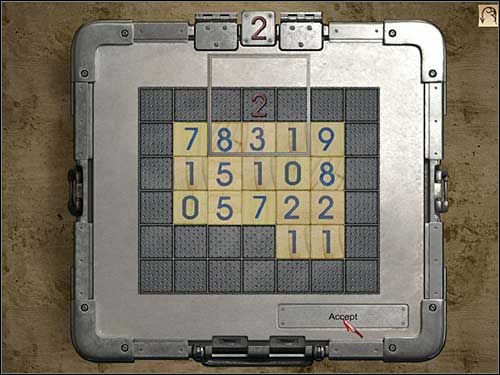
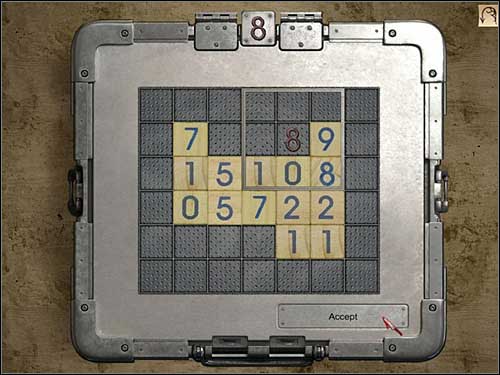
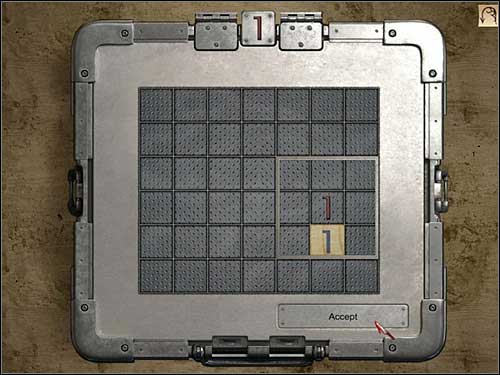
This is another puzzle. By clicking on the empty boxes and by moving the metal frame, you have to erase all numbers that you can see in the center. Numbers are disappearing if the last digit in the sum of the numbers in the frame will be identical to the red digit displayed on the top. For example on the top you have 8, the frame should be on digits 8-8-2 or 1-0-8-9 giving a total of 18 or 8-0-0, giving a total of 8. Above you have an example of one of possible solutions.
 | 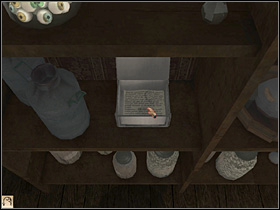 |
When you will open the box (zoom) take the metal square and the letter (Documents - Letter Found in the House at 17 Wharfdale Road), that will explain you what is happening here.
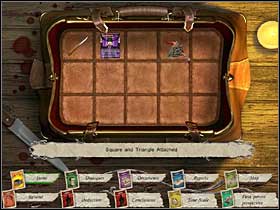 | 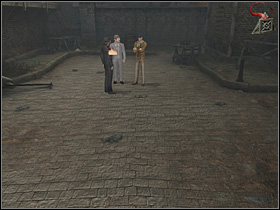 |
As it was written in the letter, connect triangle and square ornament. Click on the window - you will hear a car and some footsteps. Holmes will decide to see the man. Go outside to the courtyard. A men will want to talk to you but show him the square and triangle attached. Talk to him about the client and you will find out many interesting things. Unfortunately, you will see that these disappearances have nothing to do with the murderers.
- Sherlock Holmes vs. Jack the Ripper Game Guide & Walkthrough
- Sherlock Holmes vs. Jack the Ripper: Walkthrough
- Sherlock Holmes vs. Jack the Ripper: Walkthrough - Baker Street, 1st September 1888
- Sherlock Holmes vs. Jack the Ripper: Whitechapel, 1st September 1888
- Sherlock Holmes vs. Jack the Ripper: Buck's Row, night 1/2 September 1888
- Sherlock Holmes vs. Jack the Ripper: Baker Street, 2nd September 1888
- Sherlock Holmes vs. Jack the Ripper: Whitechapel, 7th September 1888
- Sherlock Holmes vs. Jack the Ripper: Hanbury Street, 8th September 1888
- Sherlock Holmes vs. Jack the Ripper: Whitechapel, 11 September 1888
- Sherlock Holmes vs. Jack the Ripper: Baker Street, 12 September 1888 part 1
- Sherlock Holmes vs. Jack the Ripper: London Hospital, 12 September 1888
- Sherlock Holmes vs. Jack the Ripper: Whitechapel, 12 September 1888 - part 1
- Sherlock Holmes vs. Jack the Ripper: Whitechapel, 12 September 1888 - part 2
- Sherlock Holmes vs. Jack the Ripper: Baker Street, 12 September 1888 part 2
- Sherlock Holmes vs. Jack the Ripper: Whitechapel, 12th September 1888
- Sherlock Holmes vs. Jack the Ripper: Baker Street, 13th September 1888
- Sherlock Holmes vs. Jack the Ripper: Wharfdale Road, night 13 /14 September 1888 - part 1
- Sherlock Holmes vs. Jack the Ripper: Wharfdale Road, night 13 /14 September 1888 - part 2
- Sherlock Holmes vs. Jack the Ripper: Central News Agency, night 29/30 September 1888
- Sherlock Holmes vs. Jack the Ripper: Whitechapel, night 29/30 September 1888
- Sherlock Holmes vs. Jack the Ripper: Whitechapel, night 7/8 October 1888
- Sherlock Holmes vs. Jack the Ripper: Dutfield's Yard, night 7/8 October 1888
- Sherlock Holmes vs. Jack the Ripper: Mitre Square, night 7/8 October 1888
- Sherlock Holmes vs. Jack the Ripper: Goulston Street, night 7/8 October 1888
- Sherlock Holmes vs. Jack the Ripper: Baker Street, 9th October 1888 - part 1
- Sherlock Holmes vs. Jack the Ripper: Baker Street, 9th October 1888 - part 2
- Sherlock Holmes vs. Jack the Ripper: Central News Agency, 9th October, 1888
- Sherlock Holmes vs. Jack the Ripper: Baker Street, 15th October 1888
- Sherlock Holmes vs. Jack the Ripper: Whitechapel, 8th November 1888
- Sherlock Holmes vs. Jack the Ripper: Baker Street, 8th November 1888
- Sherlock Holmes vs. Jack the Ripper: Imperial Club, 9th November 1888
- Sherlock Holmes vs. Jack the Ripper: Baker Street, 9th November 1888
- Sherlock Holmes vs. Jack the Ripper: Walkthrough
You are not permitted to copy any image, text or info from this page. This site is not associated with and/or endorsed by the developers and the publishers. All logos and images are copyrighted by their respective owners.
Copyright © 2000 - 2025 Webedia Polska SA for gamepressure.com, unofficial game guides, walkthroughs, secrets, game tips, maps & strategies for top games.
