London Hospital, 12 September 1888
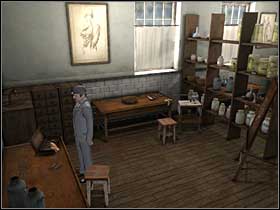 | 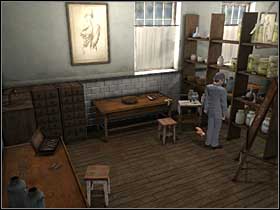 |
Speak with Andrew about human organ trafficking and you will find some information about the disappearance of some bodies from the morgue. Go right and open the suitcase with surgical instrument that is lying on the table. Take one of the instruments. Get close to the trolley and use the tool to unscrew one of its wheels. Watson will find an old prescription covered with some notes.
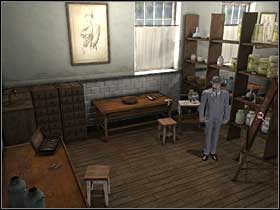 | 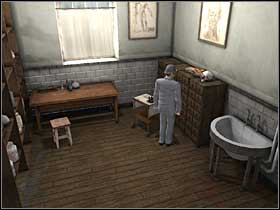 |
Now take a look at a heart drawing. Then take Encyclopedia of Anatomy. Get close to the cabinet and click on the jar.
 | 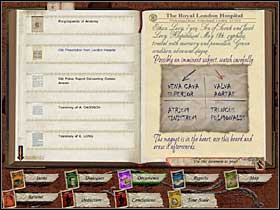 |
You will see a chart with a puzzle. Click on the icons of two documents - it will move you to the appropriate board where you will have to open encyclopedia and prescription. In the right bottom corner of each of them is the icon called "use as a proof". Click on it, and evidences will appear on the board. The point is to move pointers of the clock on the correct number.
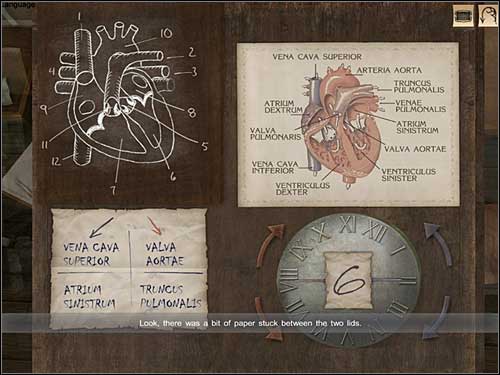
Near the blue pointer you have description: VENA CAVA SUPERIOR. Find this part of the heart in encyclopedia and check what number it is (on the drawing) - 1. Now move the pointer to I (you can choose the direction.
Near the red pointer you have description: VALVA AORTAE. It is marked with number 5. So move clock pointer to V. As a result you will see a message with the number 6 (Documents - Heart's Message).
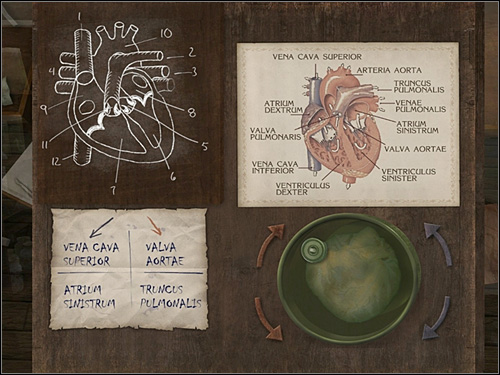
The second description near the blue pointer is: ATRIUM SINISTRUM. This part of the heart is marked with 8, so you have to move pointer to VIII.
The second description near the red pointer is: TRUNKUS PULMONALIS. This part of the heart is marked with 2, so move the clock pointer to II. The hiding place will be open now. You can take a magnet.
 |  |
Now go to the second part of the room, this one with student desks. Go to the desk marked with 6. Open it and use the magnet.
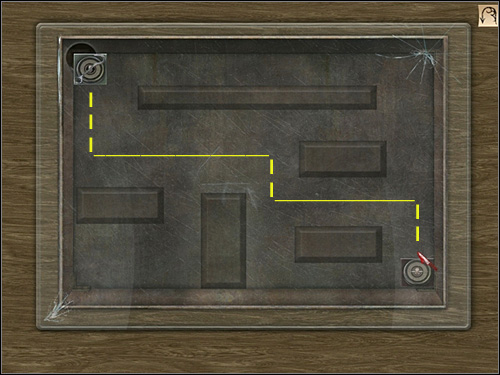
The next puzzle board will appear. You must change the position of all magnets. When you are moving one of them, the other moves automatically, and its path is a reflection of the route of the first magnet. You have to try not to hit iron any bar. The easiest way to find a solution is shown above. As a matter of fact Watson will get the second magnet and a hook, which was attached to it.
 |  |
Go to the other side of the desk, move it with the hook and take the card that is hidden there. This is the Encoded Message which must be decrypted by Holmes. At this moment Andrew will come with the list of stolen bodies.
You are not permitted to copy any image, text or info from this page. This site is not associated with and/or endorsed by the Focus Home Interactive or Frogware. All logos and images are copyrighted by their respective owners.
Copyright © 2000 - 2025 Webedia Polska SA for gamepressure.com, unofficial game guides, walkthroughs, secrets, game tips, maps & strategies for top games.
