Sherlock Holmes vs. Jack the Ripper: Mitre Square, night 7/8 October 1888
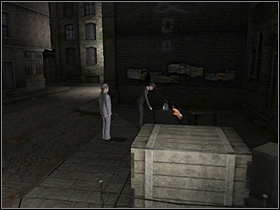 |  |
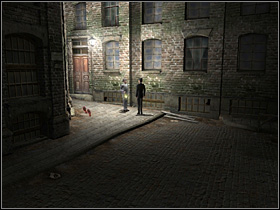
Holmes and Watson are going to Miter Square, the place where the second crime was done. Take a few steps to the left and pass a large chest. Go to the another one and you will find a lantern there. Use some matches on it. Watson will take it and, as a matter of fact, the whole are will be more visible.
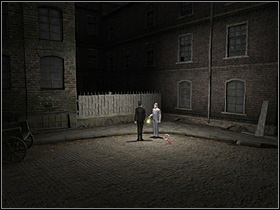
Go left, to the dark corner of the street. Now, you are in the place when the second murder was done.
 |  |
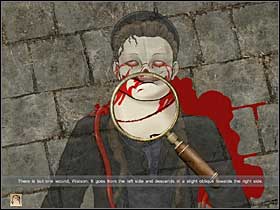 | 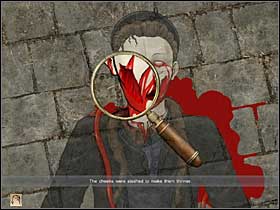 |
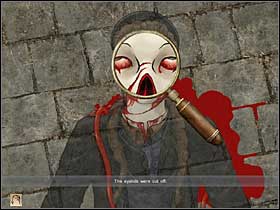
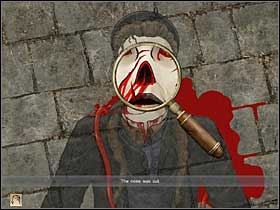
Click the magnifying glass on the body to zoom. The click on the head and try to find:
cut off eyelids;
cut off nose;
one cut on the throat;
cut cheeks.
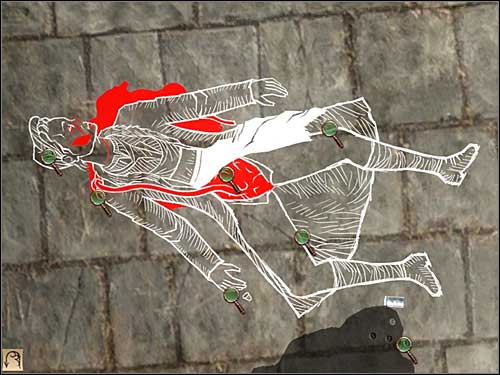
Cancel the zoom and make some further inspections: intestine on the right arm, open stomach, missing uterus and kidney, a piece of white apron and few other things.
 | 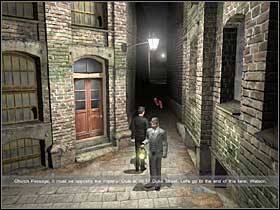 |
Holmes will decide that they should check all 3 streets leading to the Miter Square. Go along the fence until you will reach the Church Passage, leading to Duke Street. Go to the end, to Duke Street. There Holmes will meet Abraham Solomonovitch, who will tell him what his cousin and his two friends saw.
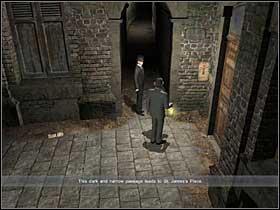 | 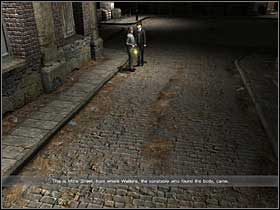 |
After finishing the conversation go back to the Miter Square and go left. You will get to the next dark and narrow passage leading to the St. James Place. Then go left, pass a huge chest and go straight ahead until you will reach the exit of the street. Holmes will realize that from this direction constable Watkins came (he has found the body).
Now detective will decide that you have to complete the timetable that you have started at the Dutfield Yard. Open the appropriate board with well known icons and try to assign them to proper hours,
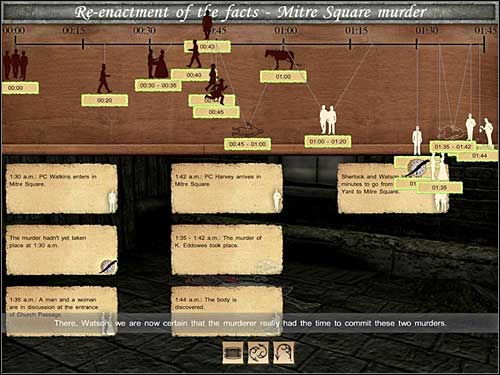
So:
1.30 - Police officer Watkins enters Mitre Square (move the icon of standing man to this hour).
At this point, Holmes will ask Watson to play a role of the police officer to see when he was able to see the body. As a Watson return to the dark corner where the Katherine body was found. When you will get to Holmes, he will ask Watson to do the same thing again but this time with the light. The conclusion can be only one: he couldn't miss the victim so the murder was done later.
1.30 - The murder wasn't done yet (move the icon with crossed clock to this hour).
1.35 - A man and a woman are talking on the Church Passage (move the icon with man and woman to that ).
1.42 - Police officer Harvey enters Mitre Square (move the man turned left to this hour).
At this point, Holmes will ask Watson to act once again. This time he will be another police officer. And once again Watson will have to get to the place of the crime. Holmes will conclude that the constable may have not seen the lying body, but rather he should see standing murderer.
1.44 - The body was found (move the icon of the man with the lamp to this hour).
1.35 - 1.42 - The time when the murder was done (move the icon with the body to this period of time).
1.00 - 1.20 - Sherlock and Watson are coming from Dutfield's Yard to Mitre Square (move the icon with detectives to a time between 1.00 and 1.30).
Now this is time to complete two deduction boards.
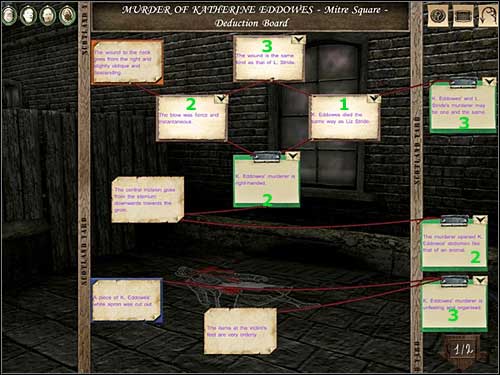
Deduction Board (murder of Katherine Eddowes - Mitre Square) 1/2:
Evidence 1: The cut was rapid and brutal (version 2).
Evidence 2: The wound is very similar to the wound found on L. Stride (version 3).
Conclusion I: The murderer of K. Eddowes is right-handed (version 2).
Evidence 3: K. Eddowes was killed in the same way as L. Stride (version 1).
Conclusion II: The murderer of K. Eddowes and L. Stride is probably the same person (version 3).
Conclusion III: The murderer of K. Eddowes has cut her stomach in a very brutal way (version 2).
Conclusion IV: The murderer of K. Eddowes is brutal and disorganized (version 3).
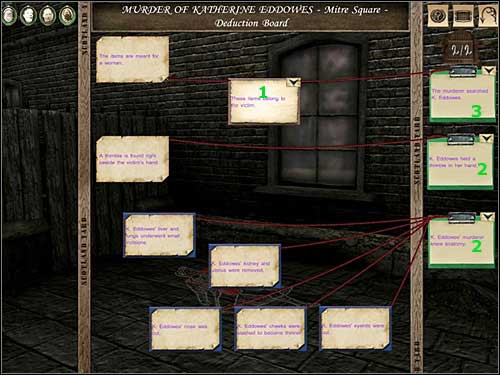
Deduction Board (murder of Katherine Eddowes - Mitre Square) 2/2:
Evidence 1: These items belong to the victim (version1).
Conclusion I: The murderer of K. Eddowes has searched the body (version 3).
Conclusion II: K. Eddowes was holding a thimble in her hand (version 2).
Conclusion III: The murderer of K. Eddowes has got a very good knowledge of anatomy (version 2).
- Sherlock Holmes vs. Jack the Ripper Game Guide & Walkthrough
- Sherlock Holmes vs. Jack the Ripper: Walkthrough
- Sherlock Holmes vs. Jack the Ripper: Walkthrough - Baker Street, 1st September 1888
- Sherlock Holmes vs. Jack the Ripper: Whitechapel, 1st September 1888
- Sherlock Holmes vs. Jack the Ripper: Buck's Row, night 1/2 September 1888
- Sherlock Holmes vs. Jack the Ripper: Baker Street, 2nd September 1888
- Sherlock Holmes vs. Jack the Ripper: Whitechapel, 7th September 1888
- Sherlock Holmes vs. Jack the Ripper: Hanbury Street, 8th September 1888
- Sherlock Holmes vs. Jack the Ripper: Whitechapel, 11 September 1888
- Sherlock Holmes vs. Jack the Ripper: Baker Street, 12 September 1888 part 1
- Sherlock Holmes vs. Jack the Ripper: London Hospital, 12 September 1888
- Sherlock Holmes vs. Jack the Ripper: Whitechapel, 12 September 1888 - part 1
- Sherlock Holmes vs. Jack the Ripper: Whitechapel, 12 September 1888 - part 2
- Sherlock Holmes vs. Jack the Ripper: Baker Street, 12 September 1888 part 2
- Sherlock Holmes vs. Jack the Ripper: Whitechapel, 12th September 1888
- Sherlock Holmes vs. Jack the Ripper: Baker Street, 13th September 1888
- Sherlock Holmes vs. Jack the Ripper: Wharfdale Road, night 13 /14 September 1888 - part 1
- Sherlock Holmes vs. Jack the Ripper: Wharfdale Road, night 13 /14 September 1888 - part 2
- Sherlock Holmes vs. Jack the Ripper: Central News Agency, night 29/30 September 1888
- Sherlock Holmes vs. Jack the Ripper: Whitechapel, night 29/30 September 1888
- Sherlock Holmes vs. Jack the Ripper: Whitechapel, night 7/8 October 1888
- Sherlock Holmes vs. Jack the Ripper: Dutfield's Yard, night 7/8 October 1888
- Sherlock Holmes vs. Jack the Ripper: Mitre Square, night 7/8 October 1888
- Sherlock Holmes vs. Jack the Ripper: Goulston Street, night 7/8 October 1888
- Sherlock Holmes vs. Jack the Ripper: Baker Street, 9th October 1888 - part 1
- Sherlock Holmes vs. Jack the Ripper: Baker Street, 9th October 1888 - part 2
- Sherlock Holmes vs. Jack the Ripper: Central News Agency, 9th October, 1888
- Sherlock Holmes vs. Jack the Ripper: Baker Street, 15th October 1888
- Sherlock Holmes vs. Jack the Ripper: Whitechapel, 8th November 1888
- Sherlock Holmes vs. Jack the Ripper: Baker Street, 8th November 1888
- Sherlock Holmes vs. Jack the Ripper: Imperial Club, 9th November 1888
- Sherlock Holmes vs. Jack the Ripper: Baker Street, 9th November 1888
- Sherlock Holmes vs. Jack the Ripper: Walkthrough
You are not permitted to copy any image, text or info from this page. This site is not associated with and/or endorsed by the developers and the publishers. All logos and images are copyrighted by their respective owners.
Copyright © 2000 - 2025 Webedia Polska SA for gamepressure.com, unofficial game guides, walkthroughs, secrets, game tips, maps & strategies for top games.
