My Summer Car: First engine start of the Satsuma car
Last update:
This section of the My Summer Car guide shows how to prepare complete Satsuma for the first engine start. We tip what actions should be performed in order for the car to be ready for driving and what items will be needed for this.
If you're planning to start the engine of Satsuma, it means that all parts are in their places and all is left to do is to apply the necessary liquids. All necessary containers should be ready after you had bought them at the store.
To begin with, the basis, i.e. applying gasoline. To do this, you should have had an opportunity to take a canister from the garage, carry it to the gas station next to the store, fill it up, and bring it back home. Remember to bring a GASOLINE canister from the garage, not the diesel one, found next to the tractor.
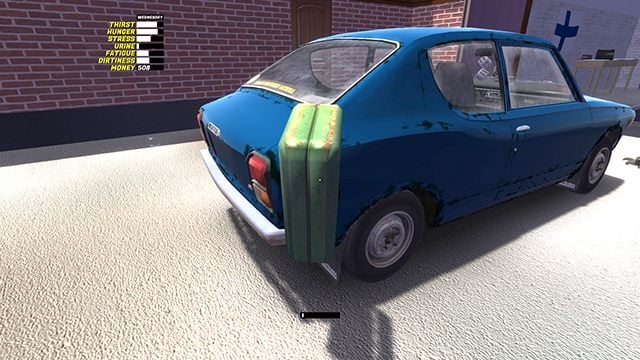
Unscrew the fuel cap of the car, open the canister and hold it in such a way so that the gasoline can flow freely into the tank. You will learn the correct placement thanks to the progress bar at the bottom of the screen.
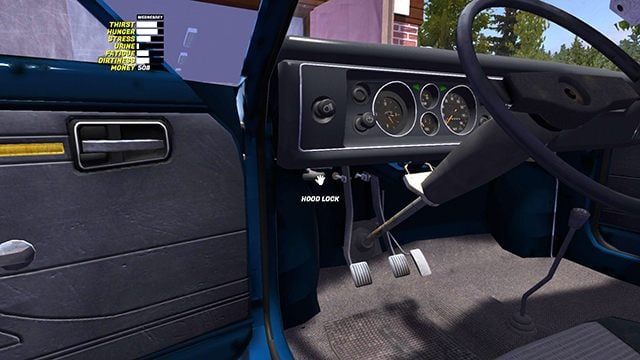
The locations for the rest of the liquids are placed under the hood. Open it with the HOOD LOCK lever which is found under the dashboard on the left side.
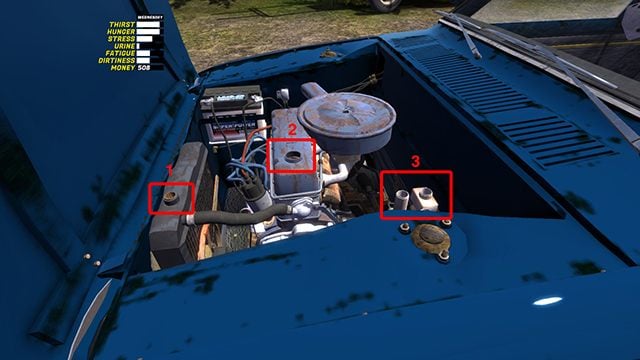
Unscrew all the corks: from the radiator (1) oil (2) and both containers of brake fluid (3).
Fill up the coolant (COOLANT) in radiator number 1.
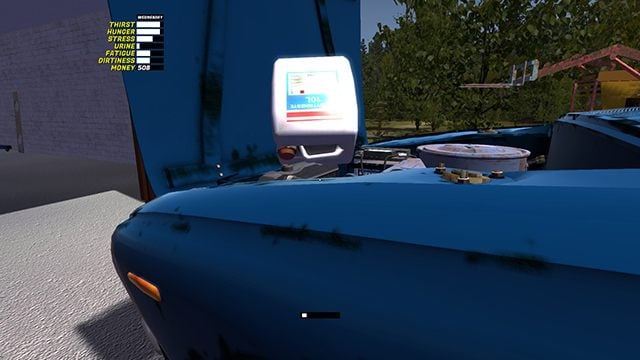
Pour oil.
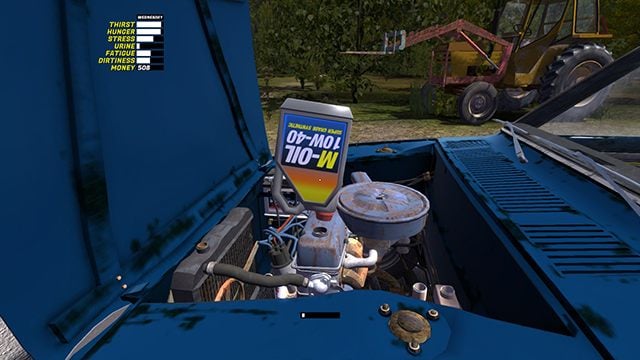
And brake fluid in both tanks. You will need at least 3 bottles of liquid.
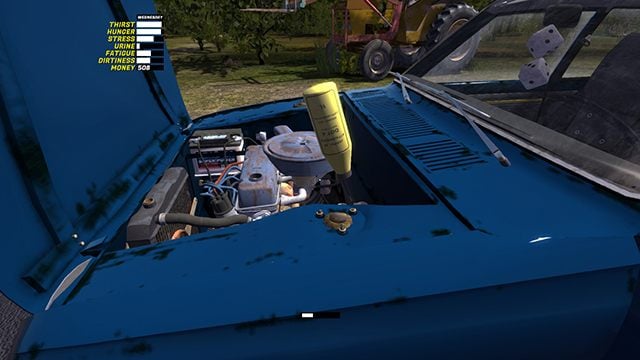
Ready. Screw all the plugs and close the hood. Before starting the engine, be sure to run the throttle (CHOKE) under the dashboard. All is left to do is to turn the key in the IGNITION.
- My Summer Car Guide
- My Summer Car: Game Guide
- My Summer Car: Assembling the Satsuma car
- My Summer Car: Assembling the Satsuma car - the basics
- My Summer Car: Suspension and steering system of the Satsuma car
- My Summer Car: Engine and Gearbox of the Satsuma car
- My Summer Car: Installing the engine in the car
- My Summer Car: Battery and electrical system installation of the Satsuma car
- My Summer Car: Body and interior of the Satsuma car
- My Summer Car: First engine start of the Satsuma car
- My Summer Car: Assembling the Satsuma car
- My Summer Car: Game Guide
You are not permitted to copy any image, text or info from this page. This site is not associated with and/or endorsed by the developers and the publishers. All logos and images are copyrighted by their respective owners.
Copyright © 2000 - 2026 Webedia Polska SA for gamepressure.com, unofficial game guides, walkthroughs, secrets, game tips, maps & strategies for top games.
