My Summer Car: Engine and Gearbox of the Satsuma car
Building the engine and gearbox are the key parts of renovation a Satsuma vehicle in My Summer Car. On this guide page, we've covered all the steps to assemble the engine, construct the gearbox and connect it to the engine.
Last update:
In this section of our car construction guide to My Summer Car, you will find a step-by-step instructions on how to build an engine. In addition, we explain how to build a gearbox and connect it to the engine. We advise you what keys are needed for this and what is the correct order of joining parts to make the car engine work properly in My Summer Car.
Installing the engine in the car is discussed on a separate page of the guide. Go there after you have completed all the steps described on this page.
- How to prepare to build the engine?
- Block, Crankshaft and Camshaft
- Piston, Head Gasket and Cylinder Head
- Rocker Shaft and Rocker Cover
- Header and Carburator
- Camshaft Gear, Timing Chain and Timing Cover
- Crankshaft Pulley, Water Pump and Water Pump Pulley
- Distributor, Oil Filter and Fuel Pump
- Sparkplugs
- Alternator
- Oil Pan, Engine Plate and Flywheel
- Clutch Cover Plate, Clutch Disc and Starter
- Gearbox
- What should the finished engine look like?
How to prepare to build the engine?

Installation of the engine takes place in the garage on the stand by the wall. You will find all the parts on the shelves and the floor at the back of the garage, and you should buy the alternator belt and oil filter from the store. Remember that the engine won't break down if it accidentally falls off. Use the option to rotate it and put it in different positions frequently to get the best possible access to hidden screws. To move the engine, you must always click on the BLOCK section. Place the toolbox on the tabletop for easy and quick access.
Block, Crankshaft and Camshaft
Start from the main base - engine BLOCK and the CRANKSHAFT. Combine these parts together at your workstation. To twist this pair together you will need three parts called the MAIN BEARING. They are marked consecutively with numbers and each fits only in a specific place - on the outer parts of the block and in the middle.


Each bearing is held in two nuts of size 9.
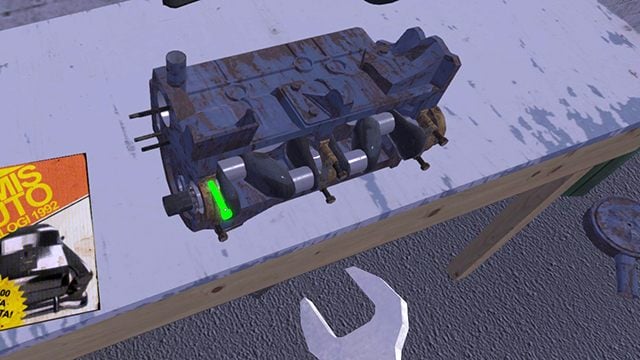
It is worthwhile to insert the CAMSHAFT into the block and screw it with two nuts of size 5.


Piston, Head Gasket and Cylinder Head
Now it's time for four PISTONS. Insert them into the round holes in the cylinders of the engine block so that they are adjacent to the crankshaft. Each of them is screwed with two nuts of size 7, visible from the crankshaft side.

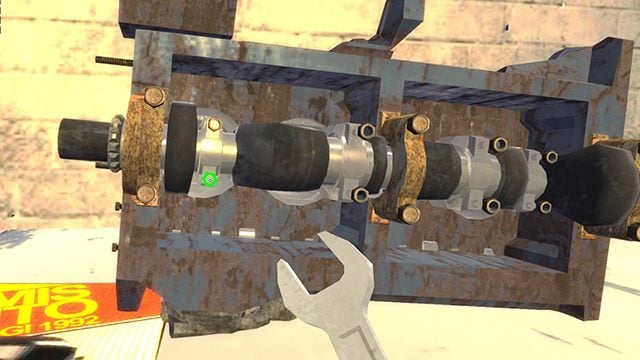
Then place the HEAD GASKET on the block without any screwing. The CYLINDER HEAD comes on top of it, which you screw with ten size 7 nuts.
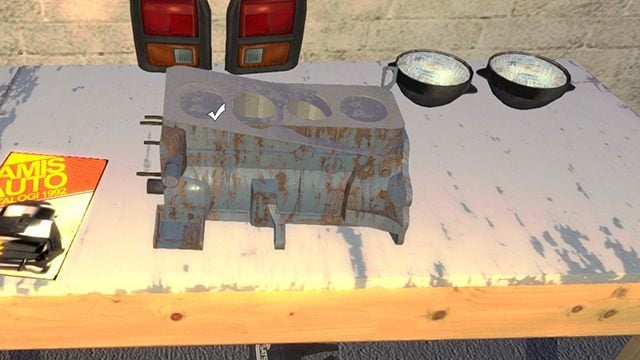


Rocker Shaft and Rocker Cover
A longitudinal part called ROCKER SHAFT has to be attached to the head. Screw it with five 8mm nuts.


Exposed valves are covered with the ROCKER COVER. Tighten them with six 7mm nuts.

Header and Carburator
Attach the exhaust manifold to the header of the engine. Tighten it with five 8mm nuts.

Attach the CARBURATOR to the exhaust manifold.

Screw it with four 8mm nuts.

Camshaft Gear, Timing Chain and Timing Cover
Time for CAMSHAFT GEAR and water pump. Turn the engine sideways and attach the CAMSHAFT GEAR. Screw it with a 10mm key. NOTE - in a moment you will have to set it properly.
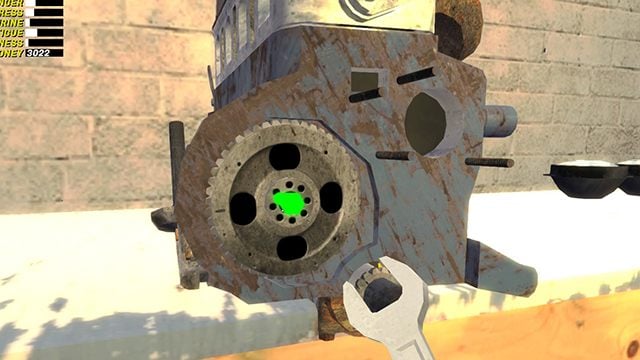
SETTING - you will find a special marking on the engine block, a blade indicating approximately 10 o'clock. The same blade can be found on the Camshaft gear.

Using the same key as the screw (10mm), use the mouse roll slowly until the marking on the wheel is exactly the same as the marking on the engine block.

Now you can put on the TIMING CHAIN and cover the mechanism with the TIMING COVER, which you can tighten with six 6mm screws.


Mount the CRANKSHAFT PULLEY on the cover and tighten it with one screw of 11 mm size.
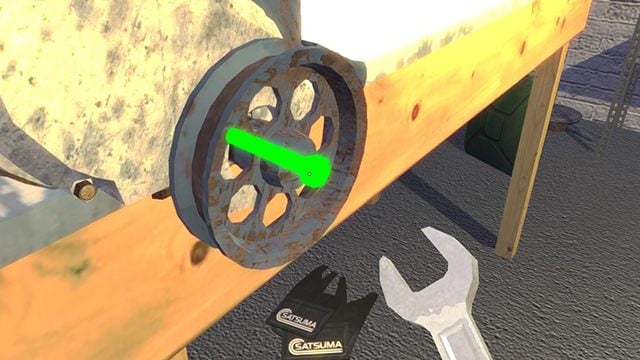
Crankshaft Pulley, Water Pump and Water Pump Pulley
Install the WATER PUMP above it and screw it with five 7mm nuts.
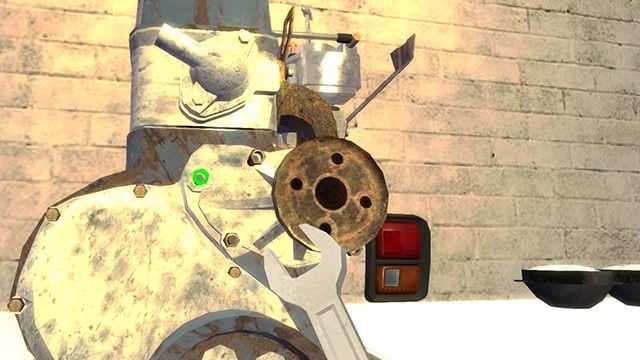
Mount WATER PUMP PULLEY on the pump and fix it with four 7mm screws.
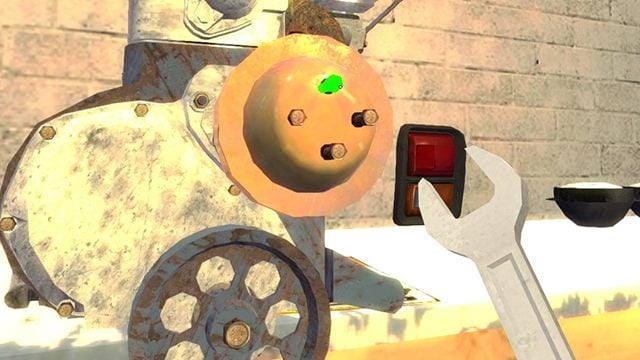
Distributor, Oil Filter and Fuel Pump
Rotate the engine with the wider side to yourself. Install the DISTRIBUTOR ignition device on it. Use a screwdriver to tighten this part. Later you will have to adjust the ignition this way.

It's time for the OIL FILTER. Use a new unit from the store - do not use the used part from the garage. The oil filter does not require keys, mount it using the mouse wheel.
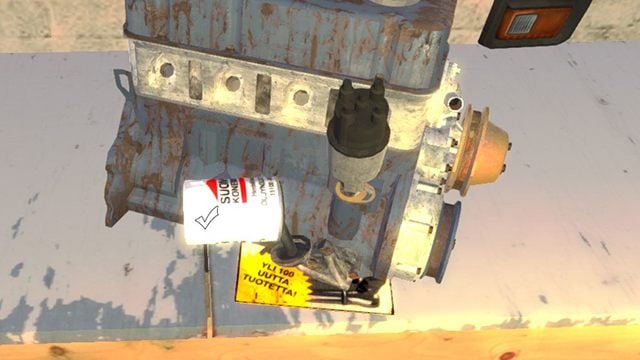
Mount the FUEL PUMP next to it and screw it on with two 7mm nuts.
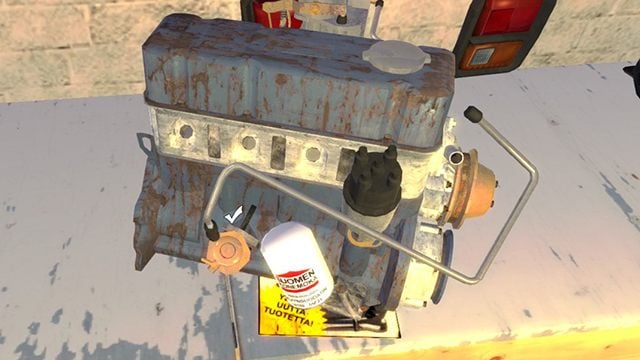
Sparkplugs
Insert the spark plugs into the four holes in the head of the engine. You will find them in a sparkplug box that can be purchased in the store.
Open the box with the F key each time to remove one spark plug. You can screw them to the block with a special SPARKPLUG WRENCH key.


Alternator
Time for the ALTERNATOR. Install it right next to the water pump. Screw it with two nuts - one 7mm, the other 10mm. There's a screw to regulate, but don't touch it yet.

Place the alternator belt on the prepared parts. Stay in hands-on mode. Tighten the roller to its maximum position, then "unscrew" it with two clicks of the mouse roller and tighten the screw with a screwdriver.
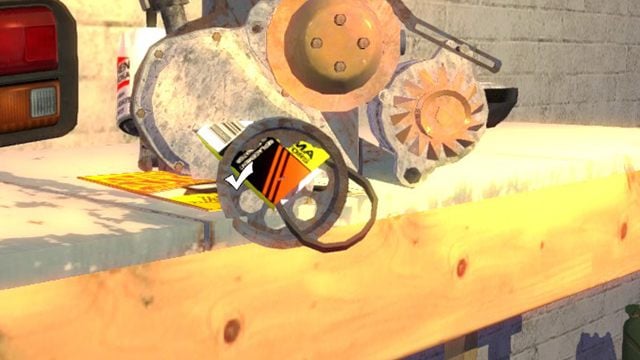
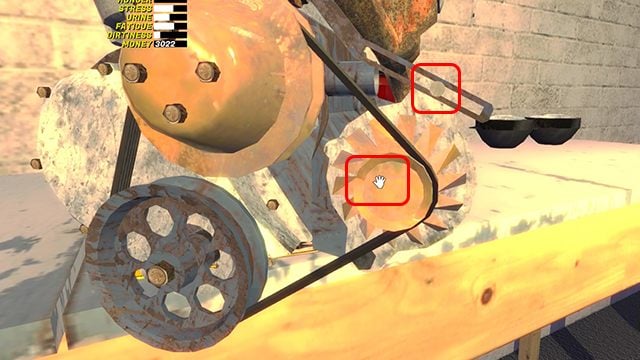
Oil Pan, Engine Plate and Flywheel
Attach an OIL PAN to the bottom of the engine block. Secure it with eight 7mm and one 13mm nuts, which acts as a drain when replacing the oil. Make sure that it is tightened as much as possible.

Rotate the motor block to the smaller side, and attach the ENGINE PLATE.

Install the FLYWHEEL. Secure it with six 7mm bolts.
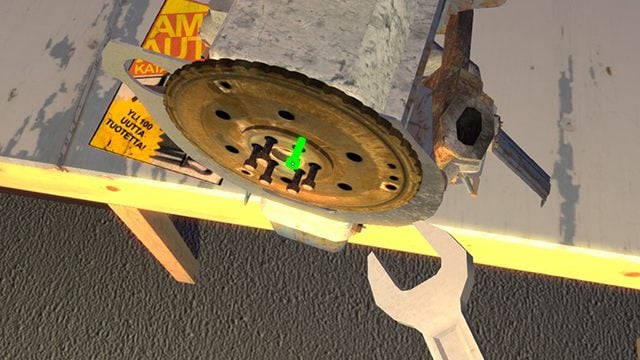
Connect the three clutch parts together without any screws: CLUTCH COVER PLATE, CLUTCH DISC.

Clutch Cover Plate, Clutch Disc and Starter
Mount the prepared set on the flywheel and tighten it with six 6mm screws.

Attach the STARTER and secure it with two 7mm nuts.

Gearbox
It's time to install the GEARBOX. Attach a huge element to the engine block and screw it on with six 7mm screws and one 10mm screw.


Mount the DRIVE GEAR to the gearbox and tighten it with seven 6mm screws.
What should the finished engine look like?

This is it! The complex engine is ready to be installed in the car.
- My Summer Car Guide
- My Summer Car: Game Guide
- My Summer Car: Assembling the Satsuma car
- My Summer Car: Assembling the Satsuma car - the basics
- My Summer Car: Suspension and steering system of the Satsuma car
- My Summer Car: Engine and Gearbox of the Satsuma car
- My Summer Car: Installing the engine in the car
- My Summer Car: Battery and electrical system installation of the Satsuma car
- My Summer Car: Body and interior of the Satsuma car
- My Summer Car: First engine start of the Satsuma car
- My Summer Car: Assembling the Satsuma car
- My Summer Car: Game Guide
You are not permitted to copy any image, text or info from this page. This site is not associated with and/or endorsed by the developers and the publishers. All logos and images are copyrighted by their respective owners.
Copyright © 2000 - 2026 Webedia Polska SA for gamepressure.com, unofficial game guides, walkthroughs, secrets, game tips, maps & strategies for top games.
