LEGO Marvel 2: Mission 8 - Oscorp Escapade
This mission is only available after completing Agent Venom's quest located in Nueva York. The Gwenpool's mission is in Manhattan, near the corporation's building. You have to escape from a laboratory. Complete the mission and unlock a few new characters - Carnage, Venom and Ultimate Venom.
Walkthrough

You wake up as Carnage, locked up in a cell. Get out and save your friend - Venom. Destroy the bed and build a "duck" that will clog the toilet. Pull the flush and the toilet will explode. Escape your cell.
Approach the sleeping guard in the middle. Getting rid of him activates two panels. The one on the left turns off laser barrier in Venom's cell. The panel on the right deactivates force field that leads to another part of the facility.
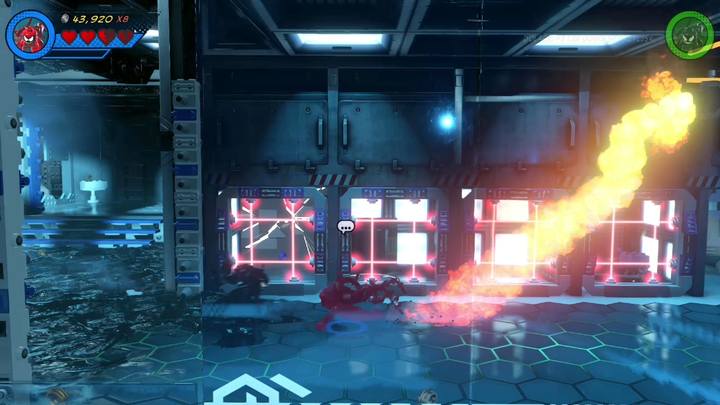
Go right and reach the place presented in the picture. Wait for the laser field on the left to disappear and quickly get in the nook. Destroy the cracked wall. Thanks to that you can use an alternate path to the next room. Go through the vent shaft and deactivate the flamethrower by pulling the hook.
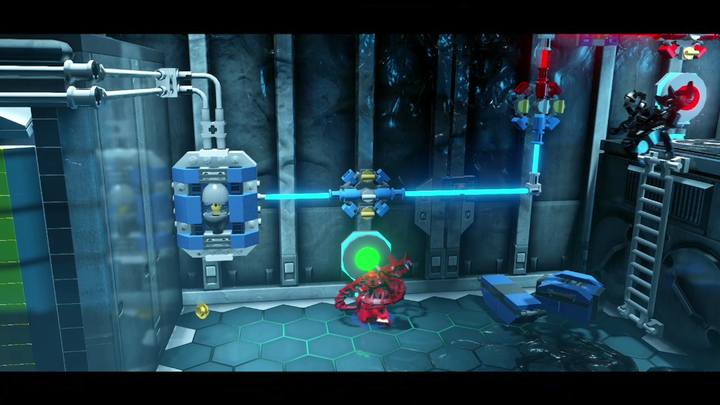
The next step is to run power to the object on the left. You have to use two buttons. One is in the middle and another is on the right. Press the left button three times and press the right once. Thanks to that the energy beam can reach the machine on the left and you will be able to change in it. Enter the machine with both characters and then head to the left part of the location.
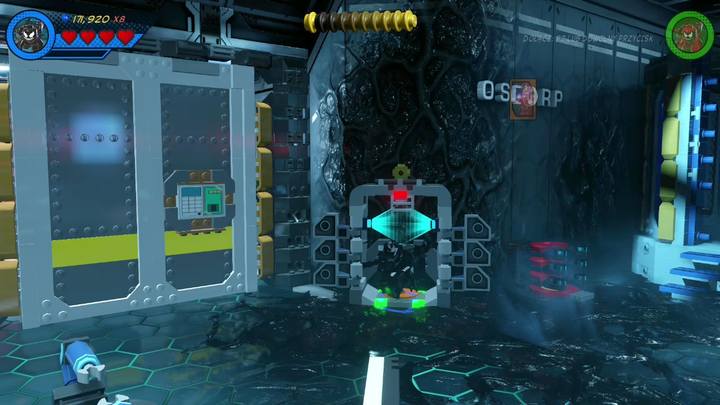
A control panel is on the left side of the door. Activate it and defeat incoming enemies. Your main opponent is the Lizard. Defeat all enemies, activate the lever next to the laser barrier and go through them. Destroy the red object made out of bricks and build green handlebars on the door. Rip the door out as Ultimate Venom. This completes the mission and you unlock the following characters:
- Carnage
- Venom
- Ultimate Venom
Pink Brick - Fast Interactions
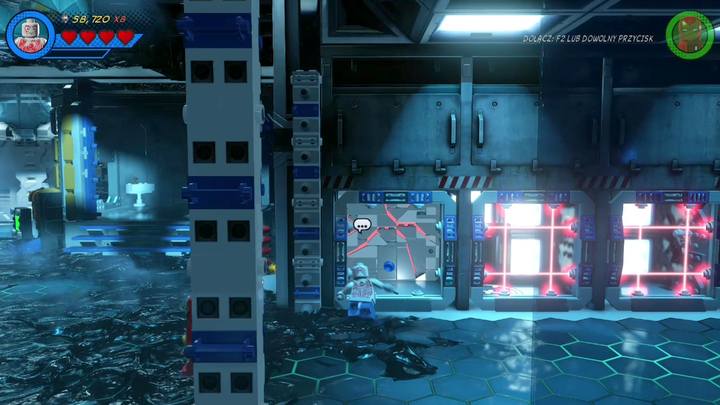
This pink brick can be unlocked in the place presented in the picture. Wait until the lasers on the left become inactive for a moment and destroy the cracked wall that blocks access to a vent shaft. Inside of it you can find a grate. Switch to Ms. Marvel and use it. Reach the other side and switch to Doctor Strange. You must now go back in time. This will give you access to the adjacent room. Enter it and use Doctor Strange's powers again - you have to speed up time. The door behind you are now closed and the spider web should be completed. Destroy the spider web with any of your attacks and go back in time again. Thanks to that you can enter the third room where you can collect the following pink brick - Fast Interactions.
Stan Lee in peril
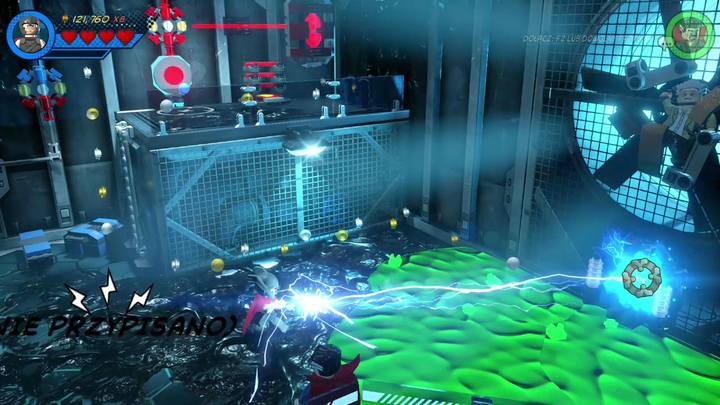
Reach the part of the location that is on the right. The ground is covered in a toxic substance. There are also bricks that can be used for building a generator. Switch to She-Hulk, build a generator and then switch to Thor to charge the generator with his hammer. Stan Lee is safe now.
Character token - Lizard

To unlock this character, you have to destroy five OsCorp signs on the walls. Destroy them as Iron Man. The first one is on the left in the main room (see the picture).
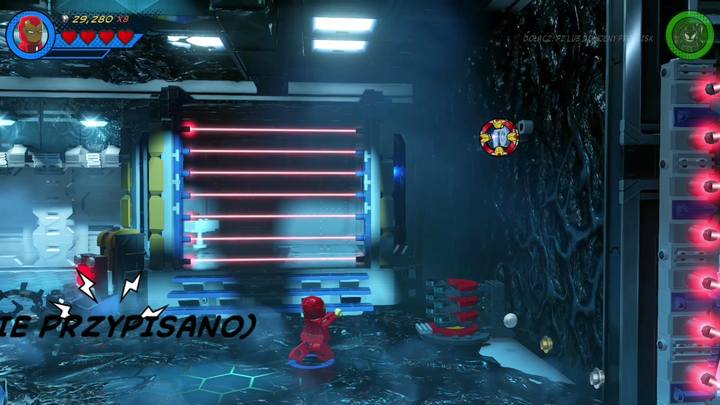
The second is in the same room as the first one but on the right (see the picture).
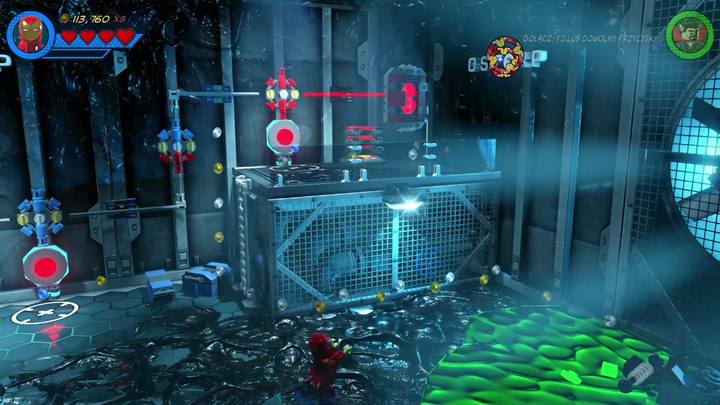
The third and the fourth signs are both in the further part of the location, on the right.
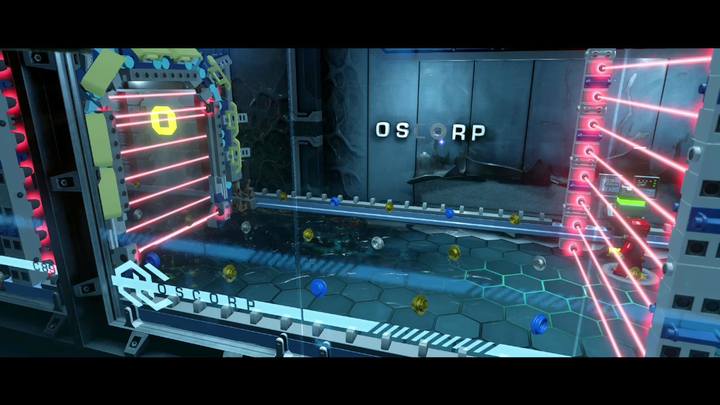
The last, fifth, OsCorp sign is on the left. You can destroy it near the end of the mission. After that you can go through the laser barriers.
- LEGO Marvel Super Heroes 2 Game Guide
- LEGO Marvel 2: Game Guide
- LEGO Marvel 2: Gwenpool's missions
- LEGO Marvel 2: Mission 1 - Panic at the Picnic
- LEGO Marvel 2: Mission 2 - Simulation situation
- LEGO Marvel 2: Mission 3 - Dude, Where's My Dragon
- LEGO Marvel 2: Mission 4 - Defying Convention
- LEGO Marvel 2: Mission 5 - Toe-to-Totem
- LEGO Marvel 2: Mission 6 Spook-tacular Parade Saga
- LEGO Marvel 2: Mission 7 - Hank-ger Management
- LEGO Marvel 2: Mission 8 - Oscorp Escapade
- LEGO Marvel 2: Mission 9 - Dance Off, Bro
- LEGO Marvel 2: Mission 10 - Pool Party
- LEGO Marvel 2: Gwenpool's missions
- LEGO Marvel 2: Game Guide
You are not permitted to copy any image, text or info from this page. This site is not associated with and/or endorsed by the developers and the publishers. All logos and images are copyrighted by their respective owners.
Copyright © 2000 - 2026 Webedia Polska SA for gamepressure.com, unofficial game guides, walkthroughs, secrets, game tips, maps & strategies for top games.
