LEGO Marvel 2: Mission 2 - Avengers' World Tour Walkthrough
Mission 2 is a set of three tasks given to you by Nick Fury. The mission begins in the Avengers Mansion. The second part of the task takes you to a research facility in Syberia. The third part sees you control Iron Man, while the final one recalls the events on the Brooklyn Bridge.
Avengers Mansion

The mission begins by introducing the characters from the Avengers world. You begin with Wasp and Captain America. Switch to the character you like and start exploring the area. To continue, talk with Iron Man, who can be found in the lobby. Your task is to find 10 brick that will be used to repair the device.
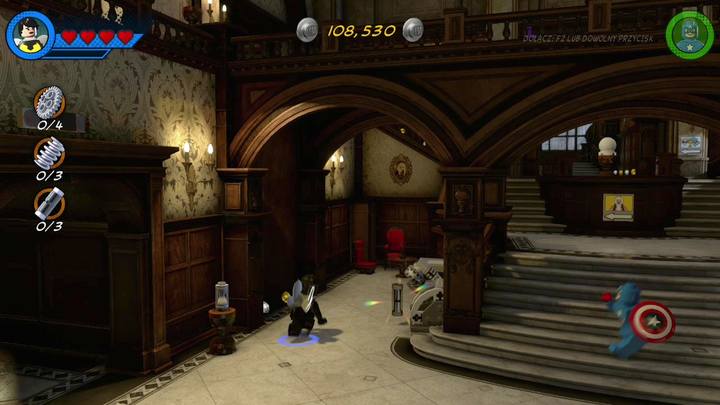
Part 1 - a container found in the lobby next to the stairs.
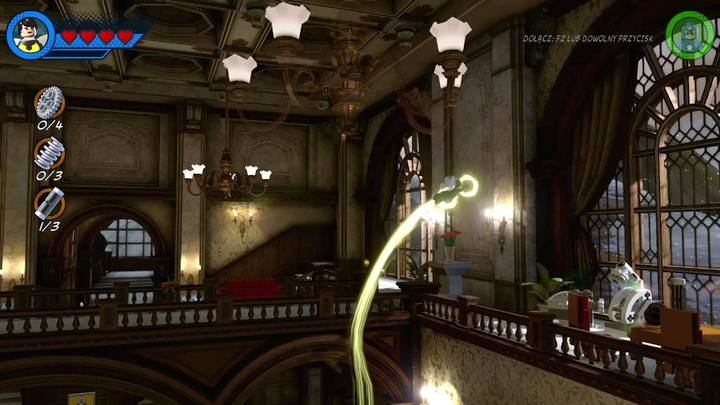
Part 2 - a different container. Switch to Wasp and ascend to the balcony.
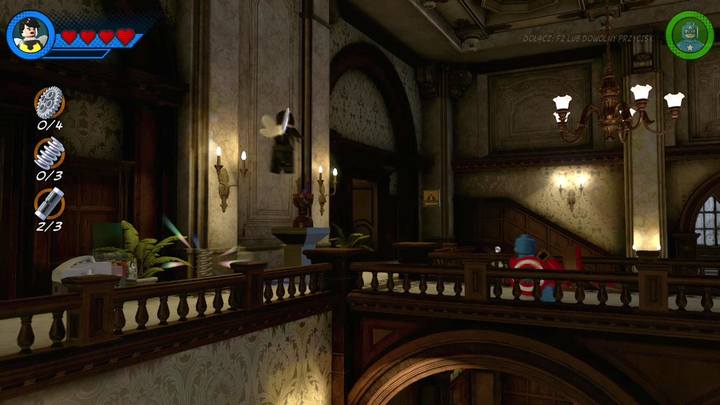
Part 3 - a spring found on the other side of the balcony which held Part 2.
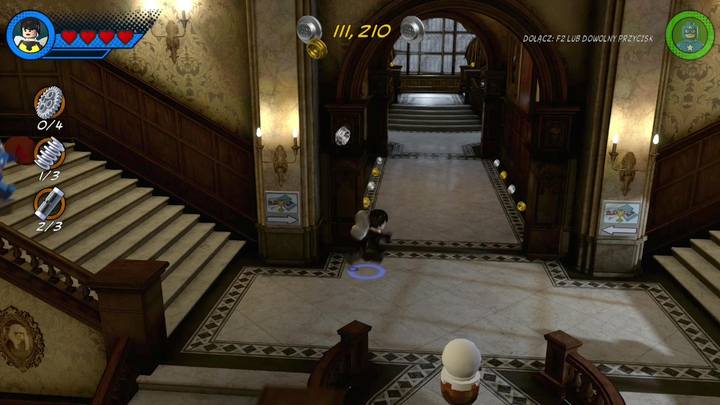
Part 4 - found not far from the Trophy Room that is accessed from the lobby. Check the stairs found on your left.
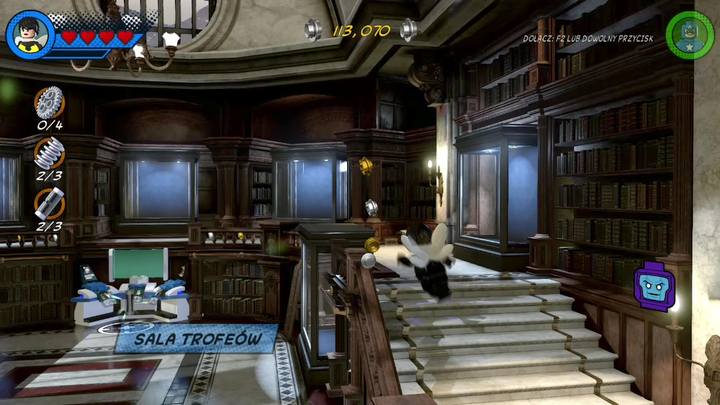
Parts 5 and 6 are found in the Trophy Room - one next to the main computer and the second on the balcony on the left side of the room
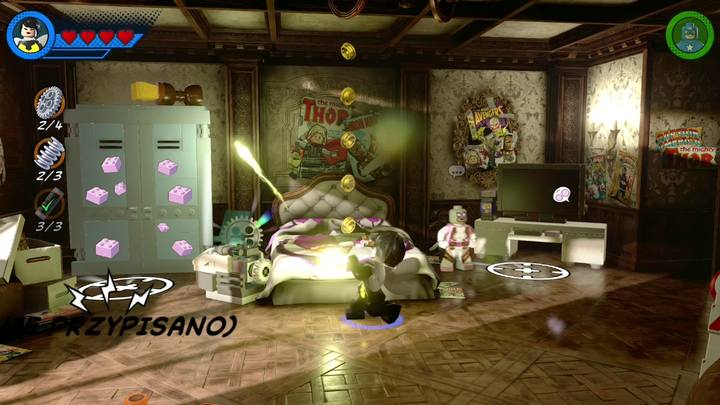
Parts 7 and 8 are found in the room containing the computer used to input codes and to activate pink bricks. The room itself is found next to Iron Man - simply access the balcony found on your left and enter the room.

Parts 9 and 10 - The final two parts are found in the room where you've begun the mission - one on the ground floor, and the second one on the balcony. Return to Iron Man to complete this short task and proceed to the next stage. You've received two new characters - Iron Man and Tony Stark.
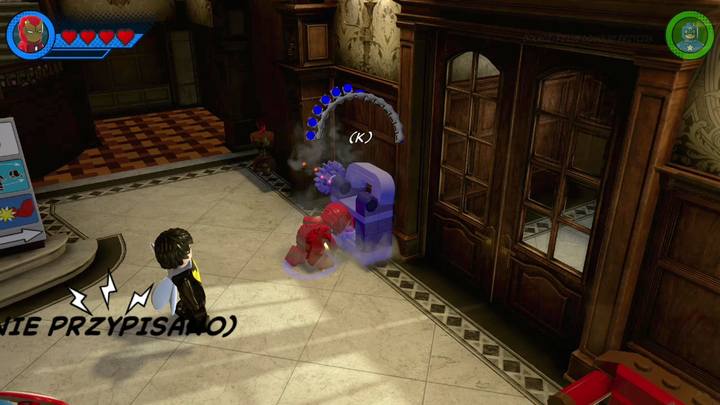
Switch to Iron Man and use the found parts to rebuild the console by pressing the buttons appearing on the screen. This will unlock a hatch on the floor that can be used to access the basement where you be able to answer a call from Nick Fury.
Research Facility
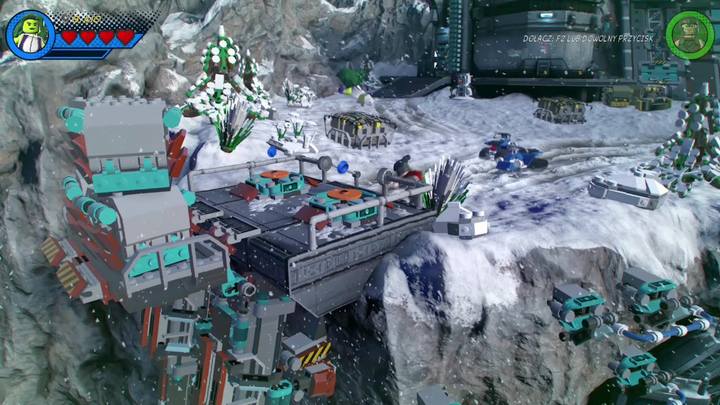
You've now begun the next part of the mission. You are left with three heroes - Thor, Captain America, and She-Hulk. Follow the path ahead until you've encountered the area shown on screenshot above. Your task is to destroy the containers to gain access to bricks which will be used to construct a platform for Captain America who will boost She-Hulk to an upper floor.
The upper floor requires an additional character. The first hero has been boosted using the platform - choose Thor and fly up to the upper floor and place both heroes on the buttons shown on screenshot above. This will unlock a lever that will throw the container to the floor below. If you were successful, switch to Captain America and use the bricks to build a windmill that will enable you to access the upper floor.
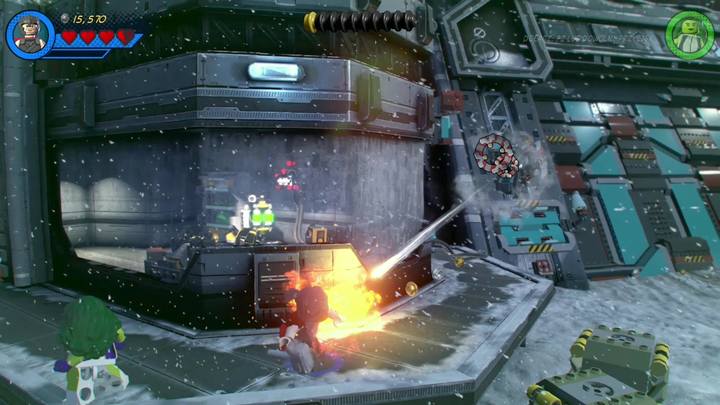
The floor above contains two mechanisms that unlock the further part of the outpost when activated. Start by destroying two lasers using a hero equipped with a ranged weapon (e.g. Thor). Continue by moving right and using the elevator. You can simply skip this step by switching to Thor and flying up to the tower.

If you've made it to the tower, destroy the shield and charge your hammer (special action). Approach the generator and press the ranged button to charge the generator found behind the wall.
The action will unlock the door below. Now, switch to Captain America and build the platform. Aim your shield at the platform to activate the first switch.
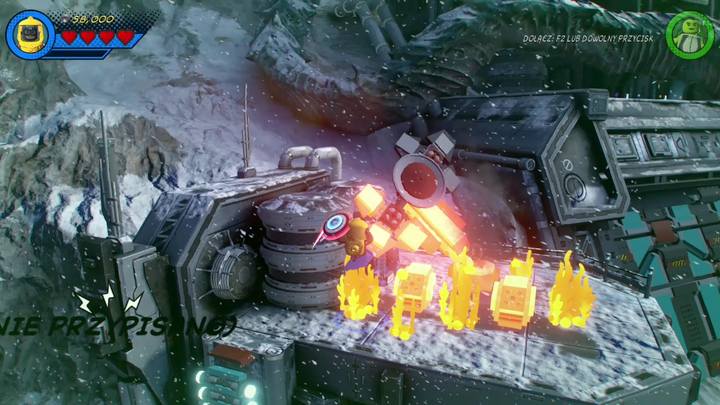
Stay with Captain America and travel to the left side of the area and access the roof using the ladder shown on the screenshot above. The roof is consumed by flames that have to be extinguished using your shield. All you have to do is to press the buttons that will appear on the screen. Destroy the damaged radar to discover a new generator. Charge it in the same way as the previous generator (use Thor). Activating the generator will unlock the door below. Use Captain America to throw the shield at the switch to unlock the second radar.
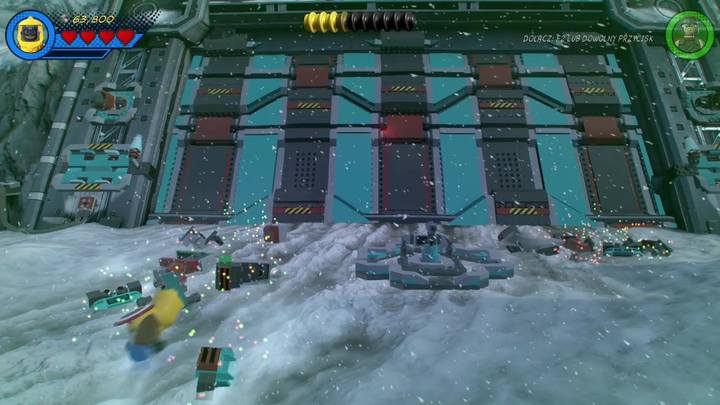
Proceed to the gate and use the bricks to build a lever that will allow you to open the research facility. Get ready to fight contaminated opponents. These enemies are rather easy, so choose any character you see fit.
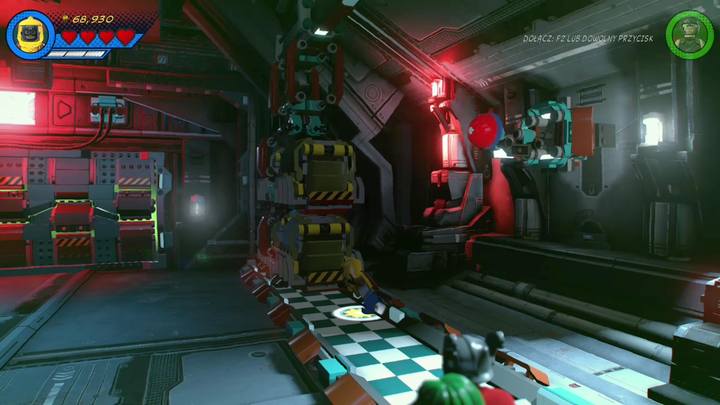
If you've cleared the area, proceed to the left side which contains additional brick containers. Destroy them using Captain America and move to the right side to move the containers blocking your access to the second switch. Stand in the middle of the room and aim the shield at the switch found on the left side of the room. The object should reflect the shield and activate the lever protected by the glass container.
Boss Encounter (Presence)
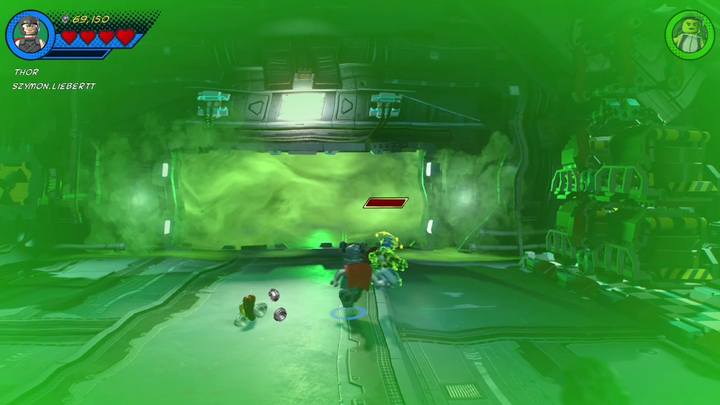
Captain America has been contaminated. Unfortunately, the hero is immune to our attacks which is represented by a padlock icon seen on his health bar. Wait for a moment when the lock disappears and start hitting your opponent.
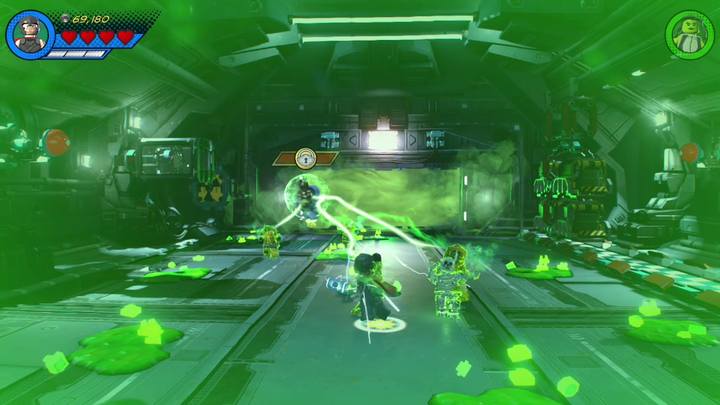
Taking care of Captain America begins a boss encounter against Presence. The encounter is divided into a few stages, but each stage sees you follow the same scheme. As you can see on the screenshot above, the boss is protected by a force field (padlock icon). Start by taking care of the aides and watch out for the toxic spills littering the floor as these deal major damage. The second phase sees you fight against Captain America. Defeating the hero disables the boss' force field.
Underwater
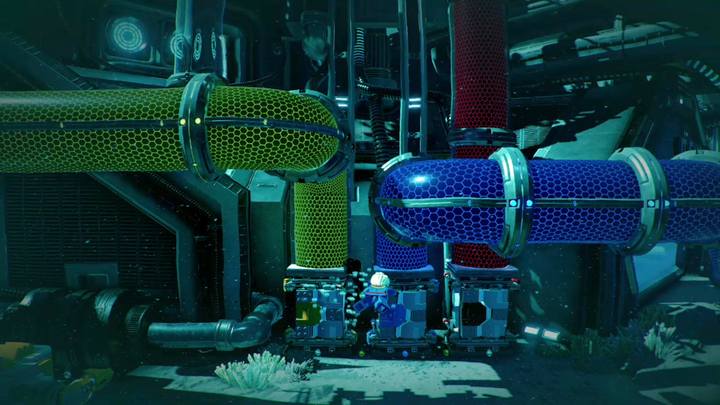
The mission begins in the area shown on the screenshot above. The three pipes will lead you to the generators which have to be destroyed. Begin with the yellow pipe (on your left) that will lead you to a balcony.
Incapacitate the opponents and use the laser to destroy the golden casing. Activate the lever and engage the opponents found inside of the chamber.

There is a silver shield in the right corner. Destroy it using Iron Man and use the hole to access the first floor. Switch to Captain Marvel to defeat the encountered opponents and place the explosives underneath the first generator. Your exit from the room will be interrupted by Attuma - face him and deal enough damage to make him escape and clear the way to the second generator.
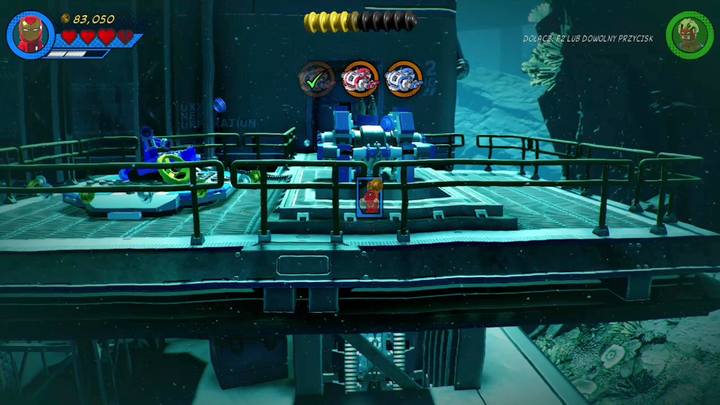
Return to the starting location and enter the second pipe (blue one). Once you've made it, travel to the right side of the area to discover a shaft. Enter it and continue to the upper level. The area contains a damaged mechanism. Repair it using Iron Man. Activate the mechanism to unlock a brick container that will enable you to build a second lever that will unlock the hatch. The hatch itself is protected by laser beams, so use Captain Marvel's ability to reflect lasers and enter the hatch. The further part of the room contains the second generator which needs to be destroyed using explosives. As in the previous case, you'll be engaged by Attuma. Defeat him the same way as previously.
Return to the initial location and enter the third pipe (red one) to access the final part of the outpost. Start by defeating the opponents and use Iron Man to destroy a golden casing found on the right side of the area. The lever beyond will enable you to access the room nearby which contains the third generator.
Brooklyn Bridge

Begin by taking care of the opponents found on the first fragment of the bridge. Continue by moving to the right side of the area and use Spider-Man to dispose of a car. The acquired bricks can be used to create an access point which can be linked with the second access point found on the other side of the bridge - use the rope to access the other side.
Your next task is to defeat Shocker. The opponent has plenty of health points, but without any major abilities. Simply hit him until you've disposed of his health bar - the action will make Shocker escape to a platform.
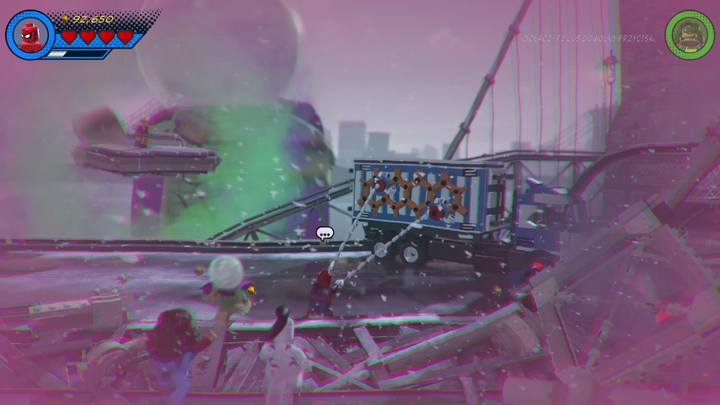
Switch to Spider-Man and approach the delivered truck. Hold the button to release a number of bricks that will be utilized to build a platform utilized by Ms. Marvel to destroy the levitating fragment of the bridge. Once the enemy has been defeated, switch to Spider-Ma and approach the area where you've took the parts from the truck and press the displayed button to activate his senses.
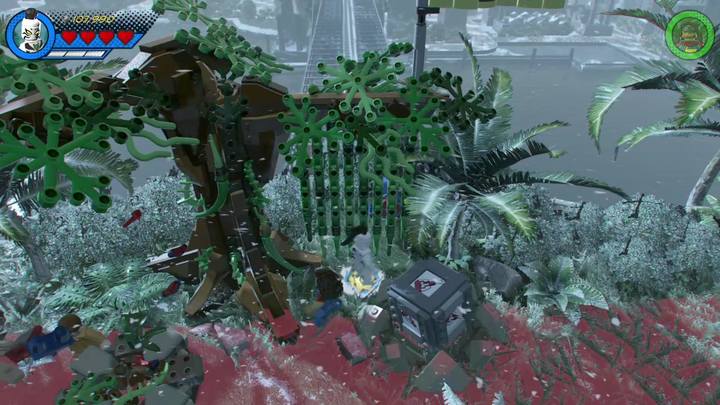
You'll be taken to the top of the bridge. Switch to White Tiger and make your way to the green bushes shown on the screenshot. Clear the area using your special ability and switch to Spider-Man to use the nearby hook.
The littered bricks will be reused to create a lion bait, enabling you to summon Kraven the Hunter from his hideout. The fight itself shouldn't be tough - watch out for traps that look like bushes.

The Kraven encounter ends on the final part of the bridge, which will serve as a background to the final encounter against Dr. Octopus. The battle is best fought using Ms. Marvel or Spider-Man. Avoid rockets, jumps or tentacles using Spider-Man's web, while melee attacks should be taken on by Ms. Marvel who can counter with her own strikes. Defeating the boss ends the mission and yields following heroes:
- Captain America (pilot);
- Captain Marvel;
- Captain Marvel (unmasked);
- Ms. Marvel;
- Spider-Man;
- She-Hulk;
- Peter Parker;
- Thor;
- White Tiger;
- Doctor Octopus;
- Shocker (classic);
- Kraven the Hunter;
- Presence.
- LEGO Marvel Super Heroes 2 Game Guide
- LEGO Marvel 2: Game Guide
- LEGO Marvel 2: Walkthrough
- LEGO Marvel 2: Mission 1 - No Eson of Mine Walkthrough
- LEGO Marvel 2: Mission 2 - Avengers' World Tour Walkthrough
- LEGO Marvel 2: Mission 3 - Castle Hassle Walkthrough
- LEGO Marvel 2: Mission 4 - What's Klaw's Is Mined Walkthrough
- LEGO Marvel 2: Mission 5 - Hydra Hijinks Walkthrough
- LEGO Marvel 2: Mission 6 - High-Noon Saloon Walkthrough
- LEGO Marvel 2: Mission 7 - Surtur-n Doom Walkthrough
- LEGO Marvel 2: Mission 8 - Rune to Maneuver Walkthrough
- LEGO Marvel 2: Mission 9 - Noir Night-Mayor Walkthrough
- LEGO Marvel 2: Mission 10 - K'un-Lun Konundrum Walkthrough
- LEGO Marvel 2: Mission 11 - Symbiote surprise Walkthrough
- LEGO Marvel 2: Mission 12 - Kree-Search and Development Walkthrough
- LEGO Marvel 2: Mission 13 - Inhuman Nature Walkthrough
- LEGO Marvel 2: Mission 14 - Halo, is it Kree You're Looking For Walkthrough
- LEGO Marvel 2: Mission 15 - Red King Revelation Walkthrough
- LEGO Marvel 2: Mission 16 - Torg-Nado Walkthrough
- LEGO Marvel 2: Mission 17 - I Sphinx We Have a Problem Walkthrough
- LEGO Marvel 2: Mission 18 - The Road to Knowhere Walkthrough
- LEGO Marvel 2: Mission 19 - On Board the Sword Walkthrough
- LEGO Marvel 2: Mission 20 - Out of Time Walkthrough
- LEGO Marvel 2: Walkthrough
- LEGO Marvel 2: Game Guide
You are not permitted to copy any image, text or info from this page. This site is not associated with and/or endorsed by the developers and the publishers. All logos and images are copyrighted by their respective owners.
Copyright © 2000 - 2026 Webedia Polska SA for gamepressure.com, unofficial game guides, walkthroughs, secrets, game tips, maps & strategies for top games.
