LEGO Marvel 2: Mission 17 - I Sphinx We Have a Problem Secrets
In this mission you will find ten minikits, one character token and one Stan Lee in Peril. As it was mentioned before - look for collectibles in free roam mode. All secrets except for three minikits are hidden in the first part of the mission. You can return to some of them, but it is recommended to stick to the chronological order presented below. Three final secrets are hidden in the interior tomb, where you fight the Living Mummy.
- Minikit #1
- Minikit #2
- Minikit #3
- Character Token - Ancient One
- Minikit #4
- Stan Lee in Peril
- Minikit #5
- Minikit #6
- Minikit #7
- Minikit #8
- Minikit #9
- Minikit #10
Minikit #1

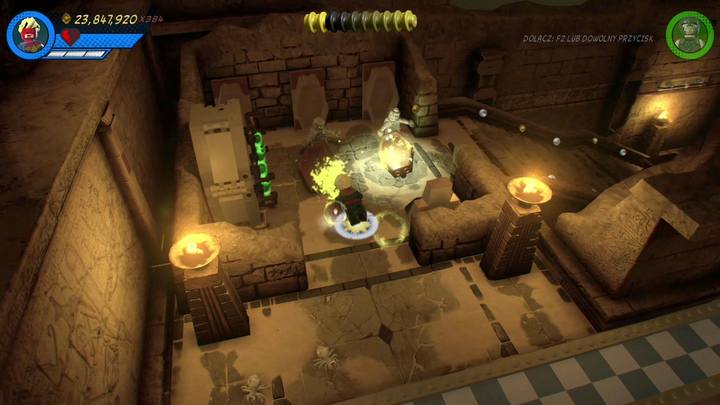
You will get the first minikit when you kill three large scorpions. Each of them is located in sarcophaguses with green handles - you can't miss them during correct exploration. The first one is in the place where you start the mission (check the picture).
The second sarcophagus is in the corridor, in the place where you must move the container for it to drop on the ground. The sarcophagus is on the left side.
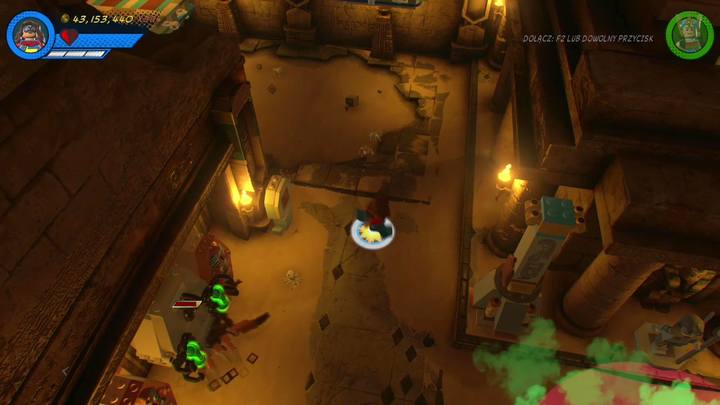
The third and final sarcophagus is behind the moving sands.
Minikit #2
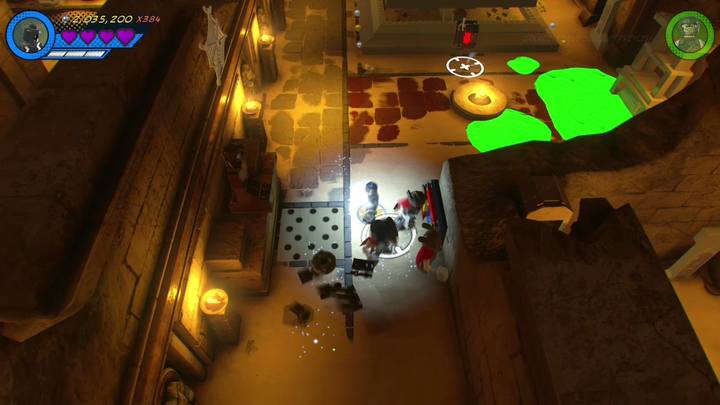
You will find bars next to the first sarcophagus, just after you start the mission. Use it as Ms. Marvel and break two statues on the left on the other side. The statues are made from glass, so destroy them as Black Bolt. Use the scattered bricks to construct a minikit.
Minikit #3
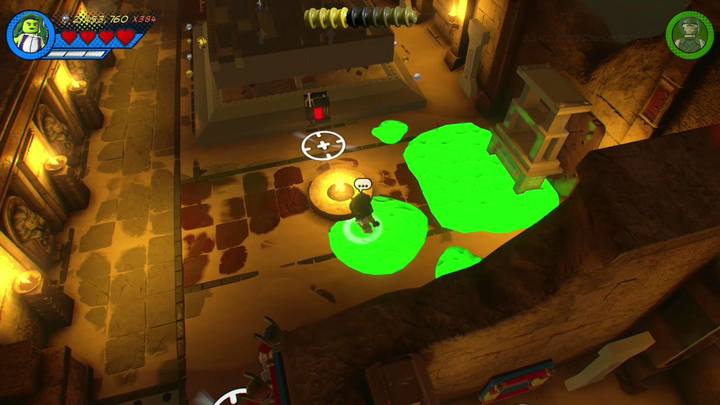
Go to the right side after collecting the second minikit. Switch your character to She-Hulk and pass through the toxic liquid on the ground. Now destroy the rocky shelf and the cracked wall behind it. Inside the small room you will find the third minikit.
Character Token - Ancient One
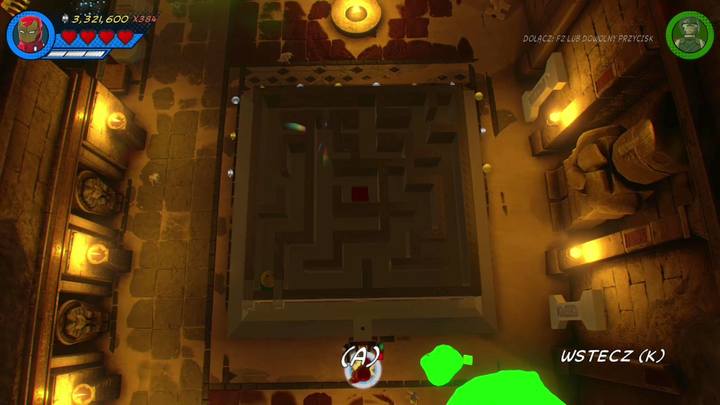
Use the control panel near the place where you collected the third minikit. Your task is to guide the ball through the labyrinth to the red button on the floor. Do it by using the keys that enable you to turn the whole construction. Once you unlock the entrance, switch your character to Ms. Marvel, reduce your size and jump inside. Then pass again through the labyrinth and collect the character token hidden inside.
Minikit #4
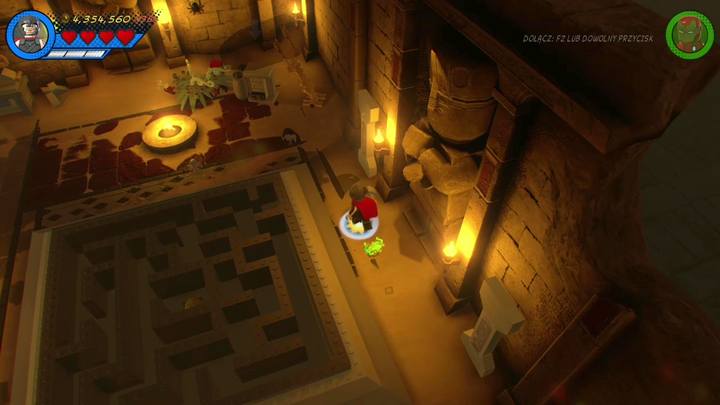
Go to the right after collecting the character token. You will find a small puzzle that can be solved by Doctor Strange. Switch your character and take the whole construction back in time. Then use the scattered bricks to create a generator. Then switch again to Doctor Strange and speed up time for the construction. Select Thor and charge the generator so that the light bulb is lighted. You will receive the fourth minikit.
Stan Lee in Peril
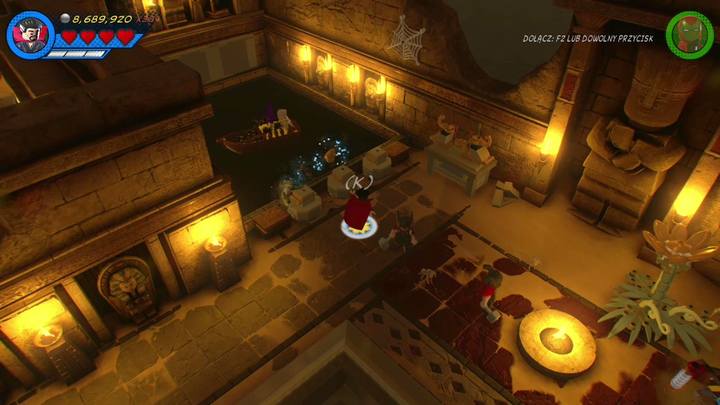
Once you collect minikit number four, walk to the left side and use Doctor Strange's special ability. Your task is to place the statues to the fitting place (scorpion to scorpion's spot etc). Once you succeed, switch your character to Iron Man and destroy the golden cage. You will free the imprisoned Stan Lee.
Minikit #5
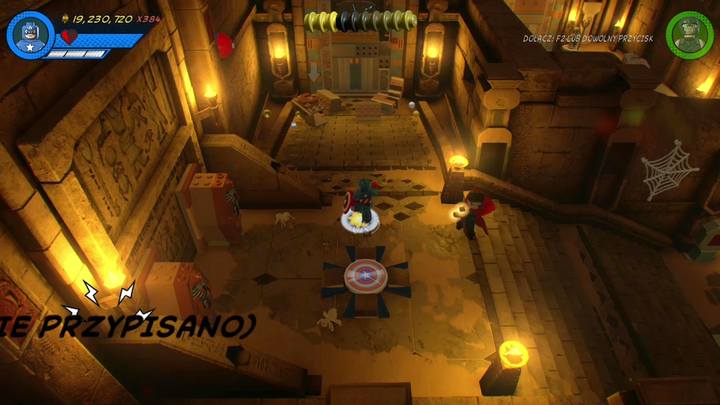
The fifth minikit is in the corridor of the second team, the one thanks to which you completed the main mission. Walk towards the door and destroy the brick objects. Then dig up more bricks from the pile of ground (use Black Panther). Now simply construct the minikit from the bricks.
Minikit #6
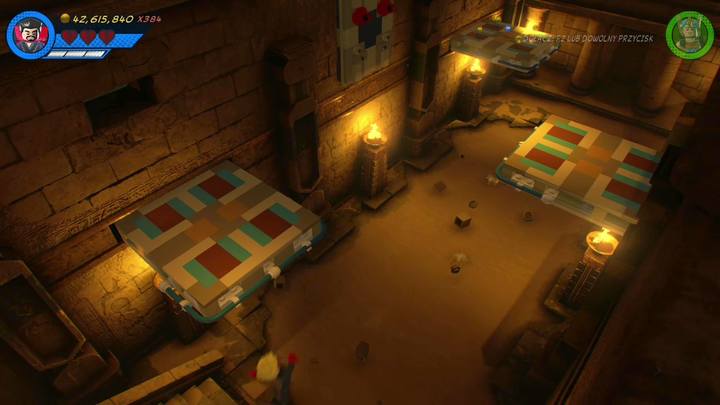
You will find another minikit at the point where you must pass through the moving sands. Stand on the small platform on the right side and as Ms. Marvel use the handles on the wall on the opposite side. Now simply jump on the platform and the treasure will be yours.
Minikit #7
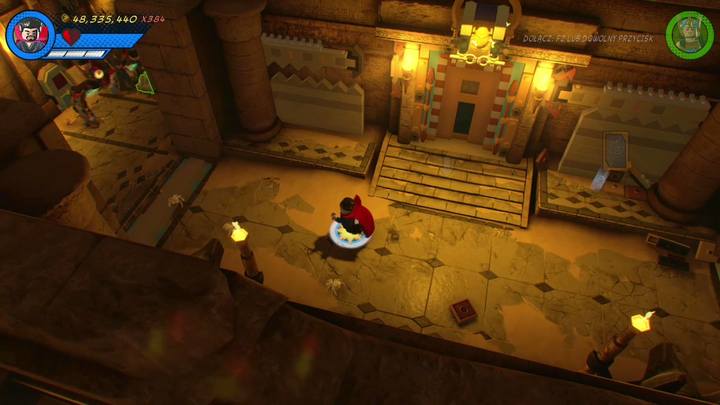
At the end of this part of the mission you will find stone door that lead inside the tomb. On both sides of this door you will find empty coffins. You must destroy the one on the right side. Under it you will find a riddle that can be solved as Black Panther. Follow the trail and dig up the bricks at the end of the path. Use these bricks to construct an amplifier. Switch your character to Star Lord and throw a gravity mine at it. A container with bricks will fall from the ground - you can use it to construct minikit number seven.
Minikit #8
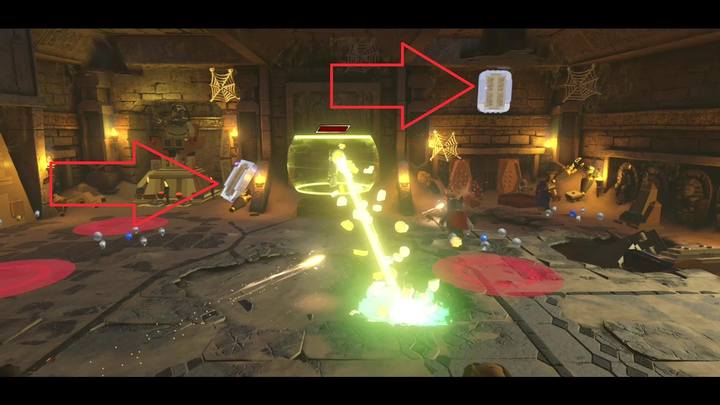
You can collect another minikit once you're inside the tomb. Destroy the four silver plates shown on the picture. Each of them is located in the same room and you can destroy them with Iron Man's rockets.
Minikit #9
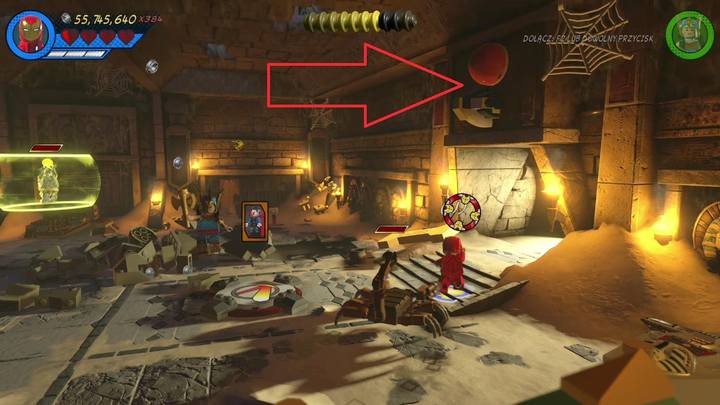
Walk to the right side and destroy the red object shown on the above picture. Once it drops to the ground, it will break to pieces and you will get another minikit.
Minikit #10
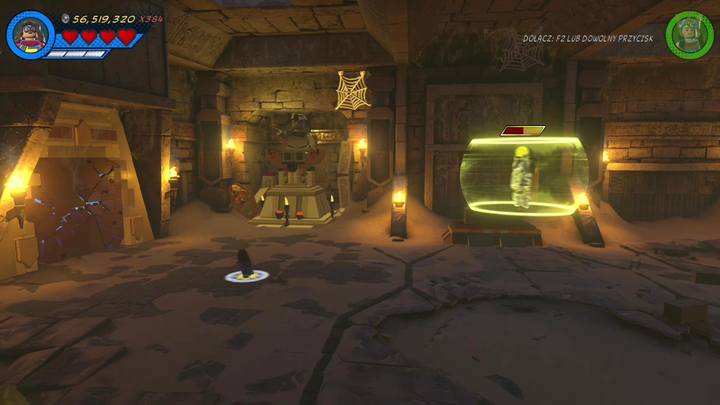
The tenth and final minikit can be found in the main room, at the end of the mission. Fight the boss until he destroys the rock wall on the left side. Walk towards it and destroy its second part and you will find the collectible in the room behind the wall.
- LEGO Marvel Super Heroes 2 Game Guide
- LEGO Marvel 2: Game Guide
- LEGO Marvel 2: Mission secrets
- LEGO Marvel 2: Mission 1 - No Eson of Mine? Secrets
- LEGO Marvel 2: Mission 2 - Avenger's World Tour Secrets
- LEGO Marvel 2: Mission 3 - Castle Hassle Secrets
- LEGO Marvel 2: Mission 4 - What's Klaw's is Minded Secrets
- LEGO Marvel 2: Mission 5 - Hydra Hijinks Secrets
- LEGO Marvel 2: Mission 6 - High-Noon Saloon Secrets
- LEGO Marvel 2: Mission 7 - Surtur-n Doom Secrets
- LEGO Marvel 2: Mission 8 - Rune to Maneuver Secrets
- LEGO Marvel 2: Mission 9 - Noir Night-Mayor Secrets
- LEGO Marvel 2: Mission 10 - K'un-Lun Konundrum Secrets
- LEGO Marvel 2: Mission 11 - Symbiote surprise Secrets
- LEGO Marvel 2: Mission 12 - Kree-Search and Development Secrets
- LEGO Marvel 2: Mission 13 - Inhuman Nature Secrets
- LEGO Marvel 2: Mission 14 - Halo, is it Kree You're Looking For Secrets
- LEGO Marvel 2: Mission 15 - Red King Revelation Secrets
- LEGO Marvel 2: Mission 16 - Torg-Nado Secrets
- LEGO Marvel 2: Mission 17 - I Sphinx We Have a Problem Secrets
- LEGO Marvel 2: Mission 18 - The Road to Knowhere Secrets
- LEGO Marvel 2: Mission 19 - On Board the Sword Secrets
- LEGO Marvel 2: Mission 20 - Out of Time Secrets
- LEGO Marvel 2: Mission secrets
- LEGO Marvel 2: Game Guide
You are not permitted to copy any image, text or info from this page. This site is not associated with and/or endorsed by the developers and the publishers. All logos and images are copyrighted by their respective owners.
Copyright © 2000 - 2025 Webedia Polska SA for gamepressure.com, unofficial game guides, walkthroughs, secrets, game tips, maps & strategies for top games.
