Kane & Lynch Dead Men: Chapter 9 - part 2
New objective: Get To The Bottom Of The Atrium
Enemies will blow up the main door leading to the conference room. Start shooting at them, even if it means choosing a blindfire feature. Your main task here will be to prevent them from entering this room, because it would be more difficult to kill them. You should also consider using some of the carried grenades. Kill all enemy guards and gather the rest of the team around your position.
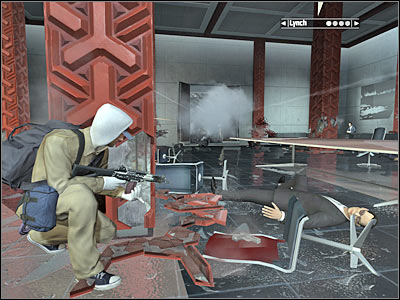
Proceed towards a new corridor. You shouldn't have any problems finding it. Choose one of the side corridors in order to reach a reception desk. A small group of thugs should be standing here. Kill the guards and order your men to hide BEHIND the reception desk. This is going to be an excellent cover. Your men will be able to kill most of the enemy guards from here.
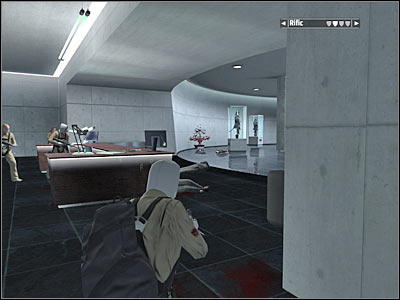
You will have to spend a lot of time trying to get rid of enemy units. Remember that you don't have to be in a lot of hurry. Allow your teammates to do the dirty work. You won't have to move them. Reception desk is an excellent spot and they should remain there for at least a few minutes. Consider making a few steps forward. As a result, new guards will reveal their positions. Don't get too close to the balustrades. Instead, focus on securing this level of the atrium.
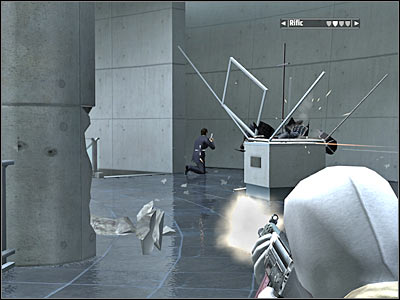
You can also go back to the reception desk if you're not feeling too comfortable standing in the open. Remember that you will have to secure this floor before moving on to the lower floor. It shouldn't be a problem. You should also know that you'll be allowed to destroy some of the nearby exhibits, especially since enemy guards tend to hide behind these objects.
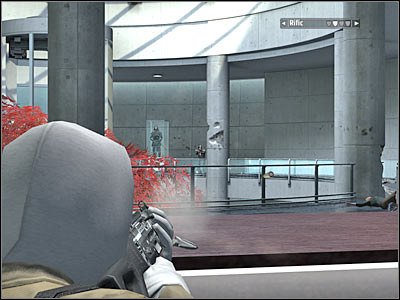
Once you've secured this floor, order your men to get closer to the balustrades. This will allow them to focus their attention on lower levels. It's very important that they eliminate enemy guards from here. You may assist them if you want to.
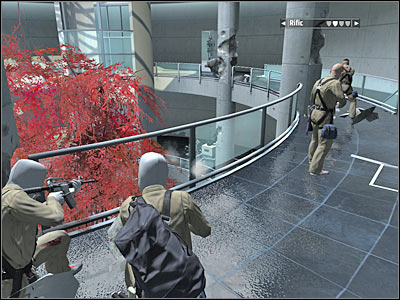
Sooner or later you will have to give the order to proceed to the lower floor. Use one of the available staircases, HOWEVER make sure that they're not guarded. Some of your enemies may be hiding there and you can't let them surprise you. Get to lower floor and find a good cover for your men. It should be fairly obvious that you will have to secure this area. Once this is done, move your team members closer to the balustrades.
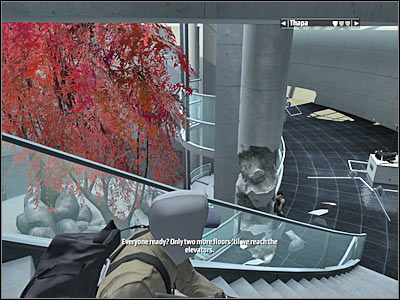
New objective: Get Everyone To The Elevators
Proceed with the rest of the team to the ground floor of the atrium. The last group of enemy guards will probably appear near a larger section of the corridor (screen). Order your men to hide behind pillars and other large objects. Remember that you don't have to be in a lot of hurry. Take your time and eliminate enemies from here. Also, prevent them from getting too close to your squad members.
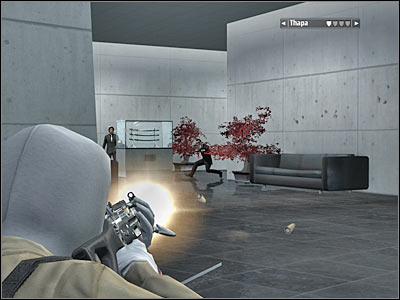
Proceed towards the main corridor. I would recommend hiding behind the left wall (screen). Start leaning out carefully in order to take out enemy guards. You should also consider throwing a couple of grenades at them, especially since they'll remain there until the end. Once they're gone, order the rest of the team to join you.
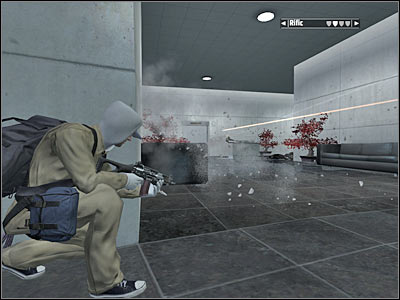
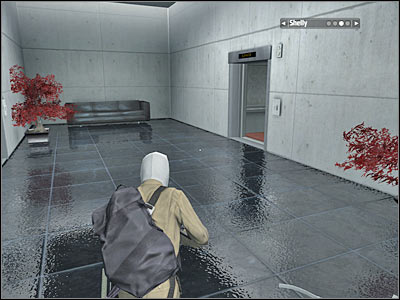
Start moving forward. Make sure that it's safe. Turn left. You will have to find a small elevator (screen). Enter it. You are going to be rewarded with a new cut-scene sequence. Get ready for a new assignment.
- Kane & Lynch: Dead Men Game Guide & Walkthrough
- Kane & Lynch Dead Men: Walkthrough
- Kane & Lynch Dead Men: Walkthrough - Chapter 1 - Impact
- Kane & Lynch Dead Men: Chapter 1 - part 1
- Kane & Lynch Dead Men: Chapter 1 - part 2
- Kane & Lynch Dead Men: Chapter 1 - part 3
- Kane & Lynch Dead Men: Chapter 1 - part 4
- Kane & Lynch Dead Men: Chapter 2 - Trial
- Kane & Lynch Dead Men: Chapter 2 - part 1
- Kane & Lynch Dead Men: Chapter 2 - part 2
- Kane & Lynch Dead Men: Chapter 3 - Withdrawal
- Kane & Lynch Dead Men: Chapter 3 - part 1
- Kane & Lynch Dead Men: Chapter 3 - part 2
- Kane & Lynch Dead Men: Chapter 3 - part 3
- Kane & Lynch Dead Men: Chapter 3 - part 4
- Kane & Lynch Dead Men: Chapter 4 - Cracking Up
- Kane & Lynch Dead Men: Chapter 4 - part 1
- Kane & Lynch Dead Men: Chapter 4 - part 2
- Kane & Lynch Dead Men: Chapter 4 - part 3
- Kane & Lynch Dead Men: Chapter 4 - part 4
- Kane & Lynch Dead Men: Chapter 5 - The Mizuki
- Kane & Lynch Dead Men: Chapter 5 - part 1
- Kane & Lynch Dead Men: Chapter 5 - part 2
- Kane & Lynch Dead Men: Chapter 5 - part 3
- Kane & Lynch Dead Men: Chapter 5 - part 4
- Kane & Lynch Dead Men: Chapter 5 - part 5
- Kane & Lynch Dead Men: Chapter 6 - Exchange
- Kane & Lynch Dead Men: Chapter 6 - part 1
- Kane & Lynch Dead Men: Chapter 6 - part 2
- Kane & Lynch Dead Men: Chapter 7 - Reunion
- Kane & Lynch Dead Men: Chapter 7 - part 1
- Kane & Lynch Dead Men: Chapter 7 - part 2
- Kane & Lynch Dead Men: Chapter 8 - Breakout
- Kane & Lynch Dead Men: Chapter 8 - part 1
- Kane & Lynch Dead Men: Chapter 8 - part 2
- Kane & Lynch Dead Men: Chapter 8 - part 3
- Kane & Lynch Dead Men: Chapter 8 - part 4
- Kane & Lynch Dead Men: Chapter 8 - part 5
- Kane & Lynch Dead Men: Chapter 9 - Retomoto Tower
- Kane & Lynch Dead Men: Chapter 9 - part 1
- Kane & Lynch Dead Men: Chapter 9 - part 2
- Kane & Lynch Dead Men: Chapter 10 - Tokyo Streets
- Kane & Lynch Dead Men: Chapter 10 - part 1
- Kane & Lynch Dead Men: Chapter 10 - part 2
- Kane & Lynch Dead Men: Chapter 10 - part 3
- Kane & Lynch Dead Men: Chapter 11 - Freedom Fighters
- Kane & Lynch Dead Men: Chapter 11 - part 1
- Kane & Lynch Dead Men: Chapter 11 - part 2
- Kane & Lynch Dead Men: Chapter 11 - part 3
- Kane & Lynch Dead Men: Chapter 11 - part 4
- Kane & Lynch Dead Men: Chapter 11 - part 5
- Kane & Lynch Dead Men: Chapter 12 - El Capitol
- Kane & Lynch Dead Men: Chapter 12 - part 1
- Kane & Lynch Dead Men: Chapter 12 - part 2
- Kane & Lynch Dead Men: Chapter 12 - part 3
- Kane & Lynch Dead Men: Chapter 12 - part 4
- Kane & Lynch Dead Men: Chapter 13 - Bird's Eye View
- Kane & Lynch Dead Men: Chapter 13 - part 1
- Kane & Lynch Dead Men: Chapter 13 - part 2
- Kane & Lynch Dead Men: Chapter 13 - part 3
- Kane & Lynch Dead Men: Chapter 13 - part 4
- Kane & Lynch Dead Men: Chapter 13 - part 5
- Kane & Lynch Dead Men: Chapter 14 - Within The Walls
- Kane & Lynch Dead Men: Chapter 14 - part 1
- Kane & Lynch Dead Men: Chapter 14 - part 2
- Kane & Lynch Dead Men: Chapter 14 - part 3
- Kane & Lynch Dead Men: Chapter 14 - part 4
- Kane & Lynch Dead Men: Chapter 14 - part 5
- Kane & Lynch Dead Men: Chapter 14 - part 6
- Kane & Lynch Dead Men: Chapter 15 - Choice
- Kane & Lynch Dead Men: Chapter 15 - part 1
- Kane & Lynch Dead Men: Chapter 15 - part 2
- Kane & Lynch Dead Men: Chapter 16 - Consequence
- Kane & Lynch Dead Men: Chapter 16 - part 1
- Kane & Lynch Dead Men: Chapter 16 - part 2
- Kane & Lynch Dead Men: Chapter 16 - part 3
- Kane & Lynch Dead Men: Walkthrough
You are not permitted to copy any image, text or info from this page. This site is not associated with and/or endorsed by the developers and the publishers. All logos and images are copyrighted by their respective owners.
Copyright © 2000 - 2025 Webedia Polska SA for gamepressure.com, unofficial game guides, walkthroughs, secrets, game tips, maps & strategies for top games.
