Kane & Lynch Dead Men: Chapter 6 - part 2
You will only have to watch out for one enemy guard. He will be standing near a large structure which leads directly to the freeway (screen). Neutralize this particular threat as soon as possible. Now you will only have to deal with the remaining enemy units. Once this is done, rejoin with the rest of your squad.
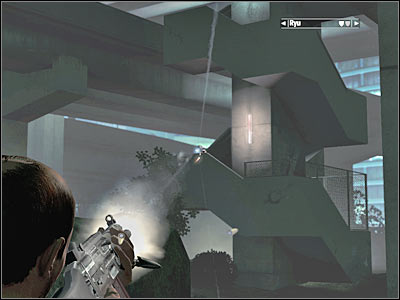
You may proceed towards the secured area of the map. Turn right and head on towards the stairs (screen). As you've probably suspected, you will have to proceed to the upper level. If you've already killed one of the enemy guards, you won't encounter any hostiles right away. Eventually you'll team up with Lynch. As you've probably noticed, he's carrying a sniper rifle. You will be able to use him and his gun to your advantage in a short while.
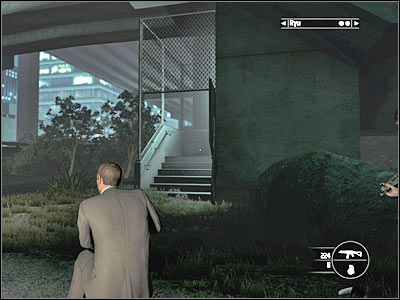
BE CAREFUL, because you're going to be attacked by at least two police officers just around the corner. Take them out quickly and order your teammates to follow you. Proceed to the highest level. Eventually you'll end up standing near the highway.
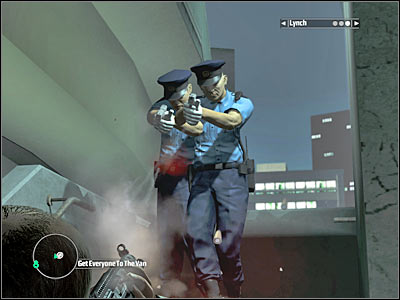
It would be a good idea to order your team members to hide behind a nearest squad car (screen). Focus only on issuing commands to Lynch. Mark at least a few targets for him. He shouldn't have any problems killing enemy units. I wouldn't recommend hiding behind a squad car for too long, because it may eventually explode.
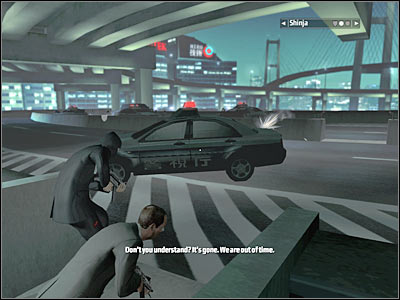
Try moving towards the second lane. Hide your team behind other squad cars. You will have to eliminate all remaining enemy units from here. Don't worry about your personal bodyguards. Instead, focus on issuing orders to Lynch, because he's going to assist you a lot in securing this section of the freeway.
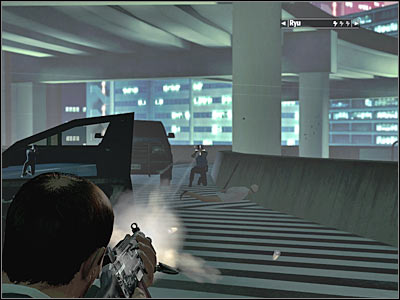
Leave the rest of your team behind. Try moving forward and you should see that an armored vehicle is heading your way. You will have to deal with a special unit of a local police. Move back, find a good cover and start shooting at your enemies. I would recommend choosing longer bursts, especially since your enemies are heavily equipped. You can also throw a couple of grenades at them.
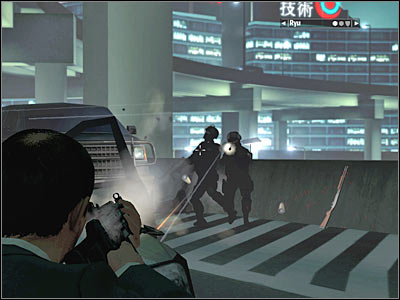
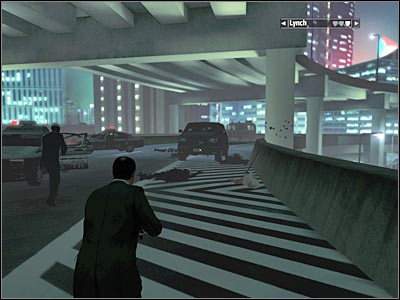
You can still use Lynch's abilities to take out enemy units, however you will have to protect him against larger groups. Eventually you will have to secure this section of the freeway by killing all hostile units. Gather the rest of the squad around your position and proceed towards the van. Get ready for a new mission.
- Kane & Lynch: Dead Men Game Guide & Walkthrough
- Kane & Lynch Dead Men: Walkthrough
- Kane & Lynch Dead Men: Walkthrough - Chapter 1 - Impact
- Kane & Lynch Dead Men: Chapter 1 - part 1
- Kane & Lynch Dead Men: Chapter 1 - part 2
- Kane & Lynch Dead Men: Chapter 1 - part 3
- Kane & Lynch Dead Men: Chapter 1 - part 4
- Kane & Lynch Dead Men: Chapter 2 - Trial
- Kane & Lynch Dead Men: Chapter 2 - part 1
- Kane & Lynch Dead Men: Chapter 2 - part 2
- Kane & Lynch Dead Men: Chapter 3 - Withdrawal
- Kane & Lynch Dead Men: Chapter 3 - part 1
- Kane & Lynch Dead Men: Chapter 3 - part 2
- Kane & Lynch Dead Men: Chapter 3 - part 3
- Kane & Lynch Dead Men: Chapter 3 - part 4
- Kane & Lynch Dead Men: Chapter 4 - Cracking Up
- Kane & Lynch Dead Men: Chapter 4 - part 1
- Kane & Lynch Dead Men: Chapter 4 - part 2
- Kane & Lynch Dead Men: Chapter 4 - part 3
- Kane & Lynch Dead Men: Chapter 4 - part 4
- Kane & Lynch Dead Men: Chapter 5 - The Mizuki
- Kane & Lynch Dead Men: Chapter 5 - part 1
- Kane & Lynch Dead Men: Chapter 5 - part 2
- Kane & Lynch Dead Men: Chapter 5 - part 3
- Kane & Lynch Dead Men: Chapter 5 - part 4
- Kane & Lynch Dead Men: Chapter 5 - part 5
- Kane & Lynch Dead Men: Chapter 6 - Exchange
- Kane & Lynch Dead Men: Chapter 6 - part 1
- Kane & Lynch Dead Men: Chapter 6 - part 2
- Kane & Lynch Dead Men: Chapter 7 - Reunion
- Kane & Lynch Dead Men: Chapter 7 - part 1
- Kane & Lynch Dead Men: Chapter 7 - part 2
- Kane & Lynch Dead Men: Chapter 8 - Breakout
- Kane & Lynch Dead Men: Chapter 8 - part 1
- Kane & Lynch Dead Men: Chapter 8 - part 2
- Kane & Lynch Dead Men: Chapter 8 - part 3
- Kane & Lynch Dead Men: Chapter 8 - part 4
- Kane & Lynch Dead Men: Chapter 8 - part 5
- Kane & Lynch Dead Men: Chapter 9 - Retomoto Tower
- Kane & Lynch Dead Men: Chapter 9 - part 1
- Kane & Lynch Dead Men: Chapter 9 - part 2
- Kane & Lynch Dead Men: Chapter 10 - Tokyo Streets
- Kane & Lynch Dead Men: Chapter 10 - part 1
- Kane & Lynch Dead Men: Chapter 10 - part 2
- Kane & Lynch Dead Men: Chapter 10 - part 3
- Kane & Lynch Dead Men: Chapter 11 - Freedom Fighters
- Kane & Lynch Dead Men: Chapter 11 - part 1
- Kane & Lynch Dead Men: Chapter 11 - part 2
- Kane & Lynch Dead Men: Chapter 11 - part 3
- Kane & Lynch Dead Men: Chapter 11 - part 4
- Kane & Lynch Dead Men: Chapter 11 - part 5
- Kane & Lynch Dead Men: Chapter 12 - El Capitol
- Kane & Lynch Dead Men: Chapter 12 - part 1
- Kane & Lynch Dead Men: Chapter 12 - part 2
- Kane & Lynch Dead Men: Chapter 12 - part 3
- Kane & Lynch Dead Men: Chapter 12 - part 4
- Kane & Lynch Dead Men: Chapter 13 - Bird's Eye View
- Kane & Lynch Dead Men: Chapter 13 - part 1
- Kane & Lynch Dead Men: Chapter 13 - part 2
- Kane & Lynch Dead Men: Chapter 13 - part 3
- Kane & Lynch Dead Men: Chapter 13 - part 4
- Kane & Lynch Dead Men: Chapter 13 - part 5
- Kane & Lynch Dead Men: Chapter 14 - Within The Walls
- Kane & Lynch Dead Men: Chapter 14 - part 1
- Kane & Lynch Dead Men: Chapter 14 - part 2
- Kane & Lynch Dead Men: Chapter 14 - part 3
- Kane & Lynch Dead Men: Chapter 14 - part 4
- Kane & Lynch Dead Men: Chapter 14 - part 5
- Kane & Lynch Dead Men: Chapter 14 - part 6
- Kane & Lynch Dead Men: Chapter 15 - Choice
- Kane & Lynch Dead Men: Chapter 15 - part 1
- Kane & Lynch Dead Men: Chapter 15 - part 2
- Kane & Lynch Dead Men: Chapter 16 - Consequence
- Kane & Lynch Dead Men: Chapter 16 - part 1
- Kane & Lynch Dead Men: Chapter 16 - part 2
- Kane & Lynch Dead Men: Chapter 16 - part 3
- Kane & Lynch Dead Men: Walkthrough
You are not permitted to copy any image, text or info from this page. This site is not associated with and/or endorsed by the developers and the publishers. All logos and images are copyrighted by their respective owners.
Copyright © 2000 - 2025 Webedia Polska SA for gamepressure.com, unofficial game guides, walkthroughs, secrets, game tips, maps & strategies for top games.
