House Flipper: Types of construction works
In House Flipper you will take on different kinds of jobs to satisfy your clients. Often you will have various jobs to complete, such as: cleaning, replacement of broken equipment, renovation and demolition works, as well as interior design (painting walls, sale and purchase of new furniture, electrical appliances and armature).
Last update:
In this chapter, you will find information about different kinds of jobs that must be completed while playing House Flipper. Here you will find information on how to use different kinds of tools, how to carry out work efficiently and swiftly, as well as what to look out for when doing it.
- Cleaning
- Demolition and construction of walls
- Repairing walls - plastering
- Painting walls, tiles and paneling
Cleaning
Getting rid of rubbish is the basic cleaning work. This activity was simplified - you just need to click on the filth and garbage bags lying on the ground to get rid of them. Pay attention to cans and bottles that can often be cleverly hidden - sometimes even under the furniture. Clothes, cutlery or plates lying on the ground aren't counted as garbage.
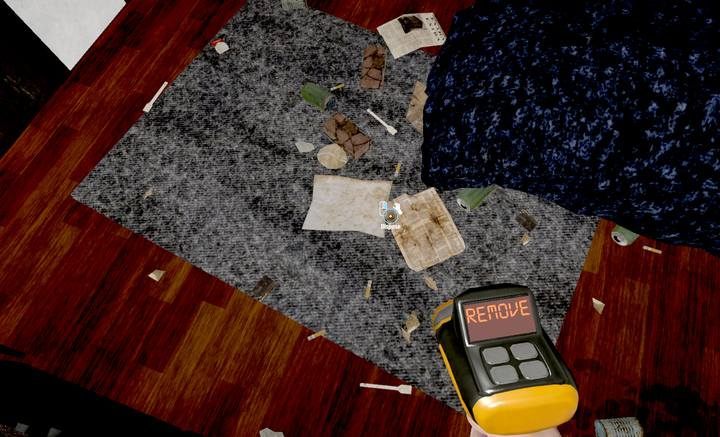
You can also get rid of the garbage by using the device to sale (4), although this option is not recommended - items removed with the tool won't improve your cleaning stats, meaning that you will be getting new Perks slower.
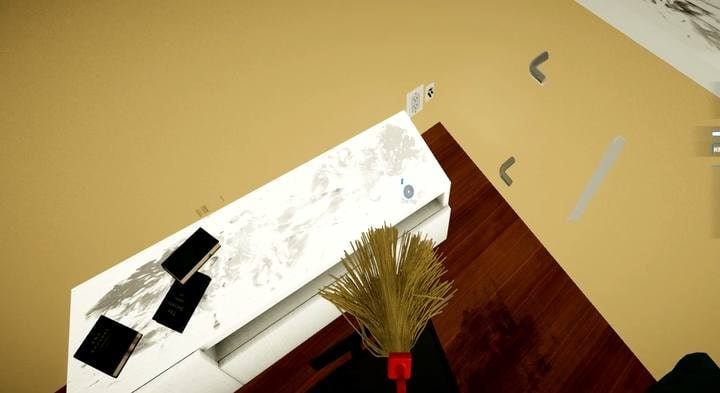
The second stage of cleaning is washing/cleaning. You need to use the mop (2) for this task. By holding the LMB you start the process of cleaning stains, removing spider webs and getting rid of general dirt. Those can be located on the floor, walls or even on the ceiling. You will rarely find them behind furniture, but the connections between walls and floors are often overlooked. You should also remember about windows and windowsills - sometimes it's hard to locate any dirt there. When renovating it's also worth to go around the house - filth can be found on the outer sides of the windows, near the roof in one-story houses and sometimes even on the walls.
To find dirt spots you can use the Perk from the Cleaning category, that will show their placement on the map (the number of places shown depends on the skill level). It is not very important in story missions but comes in handy when doing work on your own. Accommodations that haven't been well-cleaned lose on resell value, additionally this mode doesn't inform about the dirt spots that are in the house.
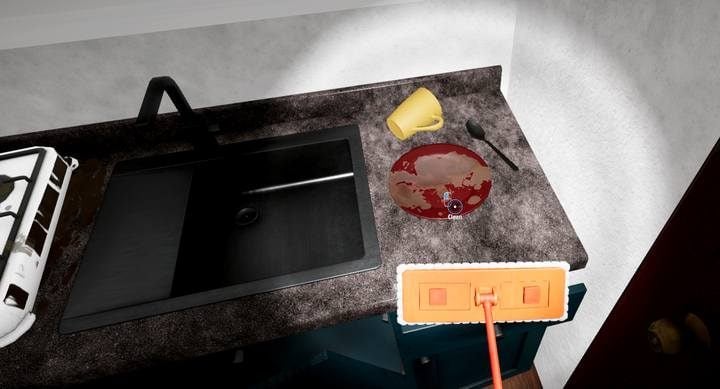
The flashlight (F) is a well-suited tool to locate dirt. This isn't only for dark rooms - dirt on some objects is better visible when illuminated with the light of the flashlight.
Caution - some of the very dirty walls (e.g. in houses that were flooded) do not require cleaning. This type of damage requires plastering.
Demolition and construction of walls
You need to use the hammer, found in your inventory, to destroy walls. You can only destroy partition walls - inside of the building. Elements located on the walls (such as light switches) will fall to the ground, but they should be dismantled earlier. Demolition should be started at the edges of the walls you want to destroy - start from the upper corner and move along the wall, destroying bricks at joints. Afterwards, you just need to hit a few times at the bottom of the wall. In free mode you can remodel rooms the way you want; increase their number or demolish walls to make two rooms into one etc.
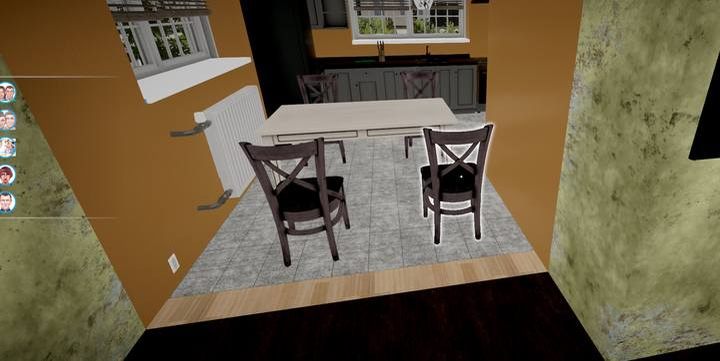
Walls that were damaged (by, for instance, an accidental strike) won't always be visible as such. However, they will be marked on your map with yellow color and they have a huge impact during the renovation of your own houses - buildings lose a significant portion of their value if they have damaged walls.

To construct new walls, select the construction mode from the menu by holding the RMB. You have to place one block at a time by pressing the LMB in the chosen location. A price for a single fragment is nearly $15. If you want to construct a passage/door in the wall you're building, select the second type of block that are built only at the top edge and will allow you to leave a space for a passage/place to install the door. Walls do not require plastering - once placed, they can be immediately painted or covered with paneling/tiles.
Repairing walls - plastering
In many old houses you will find walls with visible bricks or heavily affected by external factors (such as floods). You can't just cover those damaged walls with paint or try to wash them. The only solution is to either tear down and rebuild the wall, or, which is a cheaper and faster option, to use plastering. You can purchase a bucket of plaster for about $30.

Once purchased, place them on the ground and press the E button while keeping the cursor above the bucket. A spatula will appear in your hand. Now hold the LMB to apply a portion of the plaster on the tool. Approach the damaged wall and hold the LMB to plaster it. To repair another defect you must repeat the process - a single portion of plaster is enough for one flaw, regardless of the size of the damaged part. Now you can paint the repaired area to completely hide the defect.
Caution - plastered walls have to be painted with a different color than the one used before.
Painting walls, tiles and paneling
A large portion of store-related orders in House Flippers will require you to paint the walls of the rooms into specific colors. In many cases it's enough to just paint the entire room in one color, in free mode you will be able to mix the colors of the walls as you see fit.
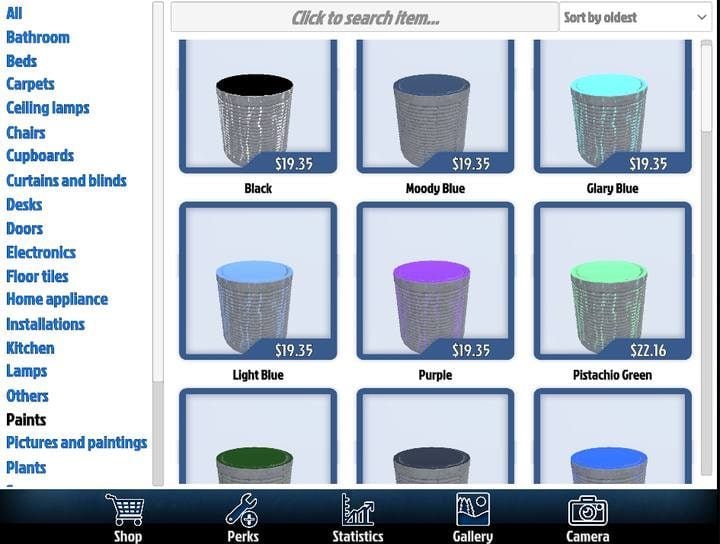
To start painting you need to obtain a can of paint from the store - purchase it with a tablet and put it in the chosen place. Now select the brush (3) and starting painting the wall by holding the LMB. You need to paint strip by strip. It's not mandatory to re-paint the cavities in which the windows are located, unless there are fragments of the old paint located there. In the early phase of the game you can apply two layers of paint - you won't notice any difference, it's just a waste of paint.
- Story-related orders usually specify the colors you can or must use in particular rooms.
- During renovations in free mode you can choose colors on your own.
- Different clients of the renovated houses have their own preferences: people living alone often prefer a darker color, whereas families tend to prefer brighter shades. You can find more on this topic in the Appraisers chapter.
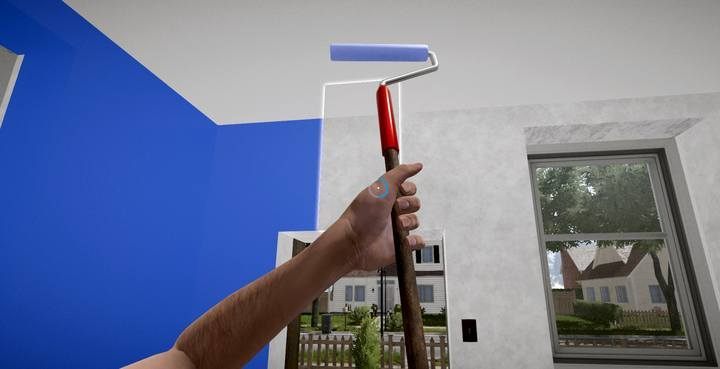
Painting can be significantly accelerated with the use of Perks that can be unlocked for painting specific amounts of wall fragments. You will be able to save paint, paint several stripes at the same time or perform faster moves with the roller. The brush must be soaked in the can of paint every several stripes and you can run out of paint - if it happens, you need to order another container.
It is impossible to paint walls that are damaged (without plastering them first) on the outside of the building, and repaint walls to the same color that they had before. Freshly erected brick walls can be painted instantly.
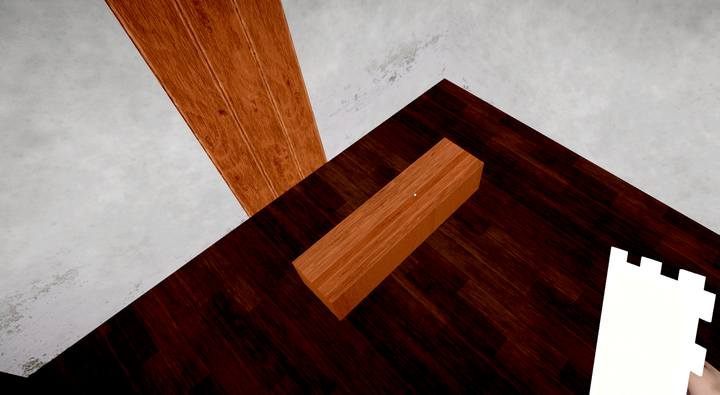
In the case of tiles and paneling the process looks similar. However, putting either of them on the walls won't improve your painting skills, which is why you shouldn't use them in the early phases of the game. They are also more expensive than the paint and you will need more material to cover the walls. To put tiles or panels on the wall you need to purchase them and place them on the floor. Afterwards, select the spatula (7) tool and, while holding the LMB, pick tiles/panels one by one from the floor and apply them to the wall. Older people have a thing for wooden paneling, this has a minor impact on increasing the value of a house in free mode (if older people are your target buyer).
You are not permitted to copy any image, text or info from this page. This site is not associated with and/or endorsed by the developers and the publishers. All logos and images are copyrighted by their respective owners.
Copyright © 2000 - 2025 Webedia Polska SA for gamepressure.com, unofficial game guides, walkthroughs, secrets, game tips, maps & strategies for top games.
