Day 1 | Walkthrough

After a short conversation with your boss, you start the first day on duty. Answer Delilah's call (the radio is on the desk that you are sitting at, on the left). Then, roll over the map in the center of the room (FIREFINDER) and report over the radio.

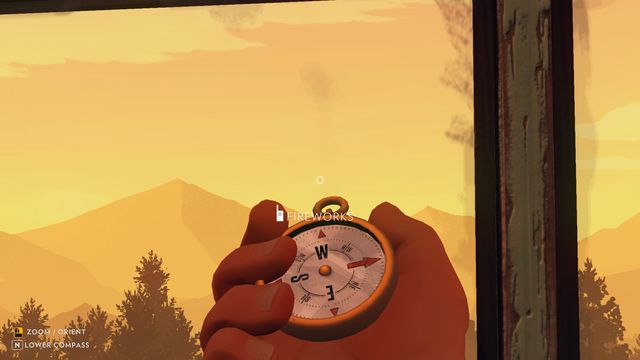
Do the same with the fireworks that you can see across the window (use the compass to find West; you can zoom in and out using [RMB]). You can report in various locations and you only need to find the appropriate item, roll the mouse over it and use the radio. This way, you make contact with Delilah. It is up to you whether you want to report on all your findings and actions (it is required only on several predefined occasions, the rest of the reports are fully optional).

After you receive the combination, you can exit the tower and go get the rope - use the map to find CACHE 306 (there is a straight path leading to it from the tower). To get there faster, use running ([R]).

On the glade, you find a SUPPLY CACHE, which you can optionally inform Delilah about. Then, approach the cache and open the lock (the combination is 1-2-3-4; set the digits in individual spots and pan finally to the right)
From the inside, you can collect a note, copy the map (the one that you have will be updated by the information on this one; you can do the same in the case of other caches marked on the map), collect the rope and optionally eat the GRANOLA BAR.

After that, follow the path to the West, towards JONESY LAKE. Towards the end of the path, you run into an escarpment - report on this to your boss and pick the name for this location (if you want to, this will be the name for it that appears on your map). Attach the ROPE HOOK to the rock and climb down ([SPACE BAR]). Along your way down, the rope will snap - you can use the radio to report on this.

Then, follow the path up to the glade. You can report on this and you can mention beer cans scattered all around this place. Also, you find several items here, which you can pick up - e.g. you can collect all of the beer cans.

A bit ahead, you spot a smoldering fire and several beer cans more. This plus fireworks and a bottle of whiskey. You can requisition the fireworks, clear the cans and also collect the whiskey, and put out the fire. Also, you can leave it all as it is.

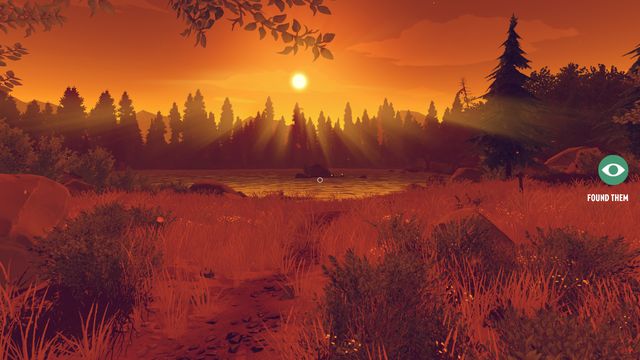
The path ahead leads to the lake. Along the path, you find scattered clothes (you can either examine them or leave them as they are, your decision determines the available dialogue options), and two drunk teenagers in the lake. You can deal with them by telling them that you have found their belongings (if you touched them), or by saying that you have not touched anything (they will be a bit nicer, if this is what you did). Also, you can pick up the player, which will make them a little upset. Finally, you can also throw it into water - depending on your behavior, the teenagers will call you names, to a greater or lesser extent, but they will leave.

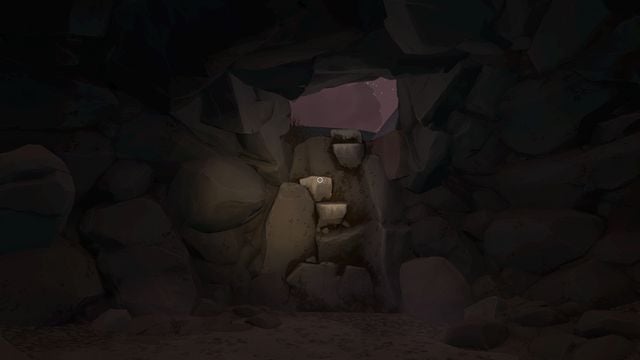
The last thing you need to do is return to the starting point, i.e. to the watchtower. Head towards the gorge and follow along it, up until you reach the spot shown in the above screenshot. Along your way, talk to Delilah. In cache no. 303, there is a map (update yours) and a FLASHLIGHT. It is necessary that you collect it. Then, enter CAVE 452 in the corner of the gorge.

Inside, you find a gate that is locked, at least for now. You can report on that. Then, on the left, you can come outside by climbing over the rocks. Outside, you encounter a mysterious figure.

The path to the camp is pretty simple - follow one of the two available paths that then come together and join into one. In several spots, you will have to climb over rocks. After you climb up to the top, you break a sign, which you can report on. You can do the same after you find an outdoor toilet.

By the stairs into the tower, you find a TYPEWRITER on the ground. Carry it upstairs and put it down where it was. Then, report on the act of vandalism (smashed window, flipped chair) and talk to Delilah on the radio for the last time.
You are not permitted to copy any image, text or info from this page. This site is not associated with and/or endorsed by the Campo Santo or Campo Santo . All logos and images are copyrighted by their respective owners.
Copyright © 2000 - 2025 Webedia Polska SA for gamepressure.com, unofficial game guides, walkthroughs, secrets, game tips, maps & strategies for top games.
