Destruction AllStars: Tutorial walkthrough
This page of the Destruction AllStars guide will help you in completing the tutorial present in the game. In all, there are 17 tutorial lessons - thanks to our guide, you'll learn how to avoid potential problems with unlocking further lessons and what are the rules behind repeating chosen tutorial steps.
Gameplay Tutorials
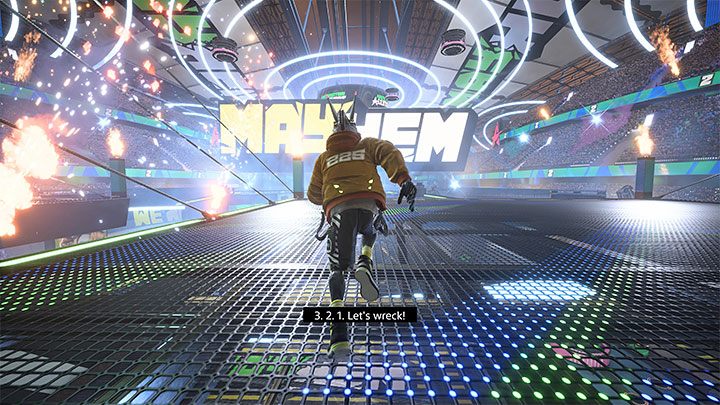
The tutorial is activated automatically after you start the game for the first time. The whole consists of 17 lessons, each of them short - as a result, you may be ready to play in just under a few minutes.
Important Note - Don't start new lessons before finishing current ones. Always wait for the game to display new instructions and commands. Performing an action too quickly may cause problems during the course of the current lesson or it will be activated with a certain delay.
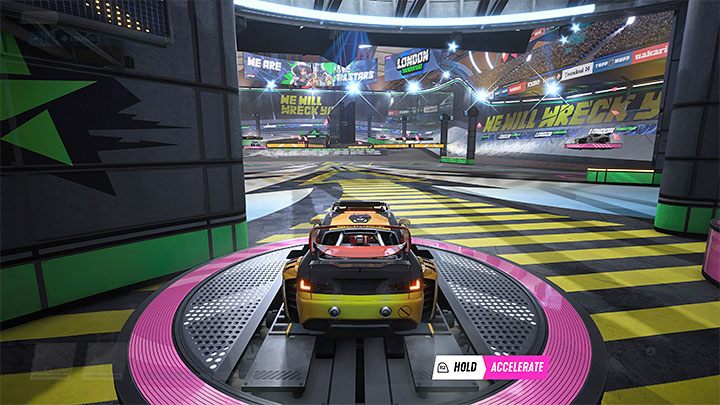
After landing in the arena, press Triangle to enter the nearest vehicle. Press the R2 button to accelerate and start driving.
The jump into vehicle button will only work when you are close to an unused car. If the vehicle is located, for example, on a high shelf, then you must first climb it.
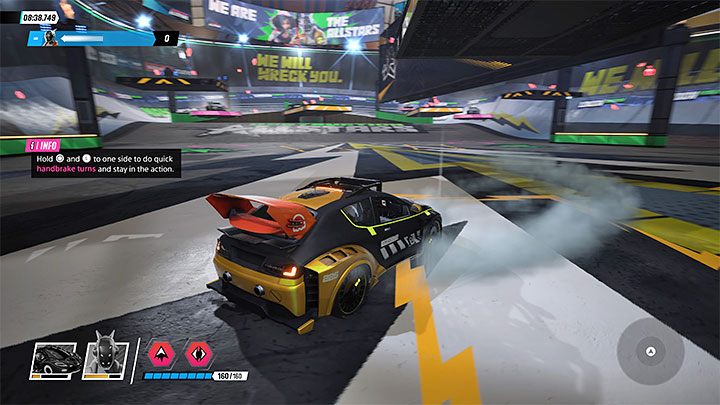
Use the left analog stick to steer - perform that step a few times in each direction. Practice braking and activating reverse - you need to press the L2 button and counter some resistance from the trigger.
Time for handbrake - you can press or hold Circle and maneuver with the left analog stick to do handbrake turns. They are very useful when you want to change the current direction.
During the next lesson, the game will display information about the vehicle health bar - you don't need to react in any way, but remember to have an eye on it during further gameplay.
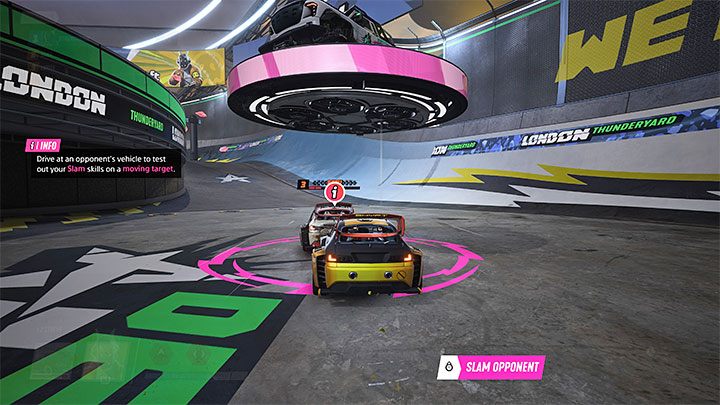
In this step, you need to perform a Slam by tapping the right analog stick up. When performing Slam, your vehicle accelerates and can cause much more damage when hitting other cars. You will also practice Side Slams - tap the right analog stick left or right.
Another vehicle will appear in the arena - you can test Slams on it. Approach it and tilt the right analog stick in its direction. Finally, you'll learn how to Eject from a heavily damaged vehicle - to do that, press X.
Take note of the front and side Slam icons. They are located above the vehicle health bar and indicate whether a Slam is ready to use. Always wait before using Slam for an enemy vehicle to be at a distance that allows you to successfully hit it.
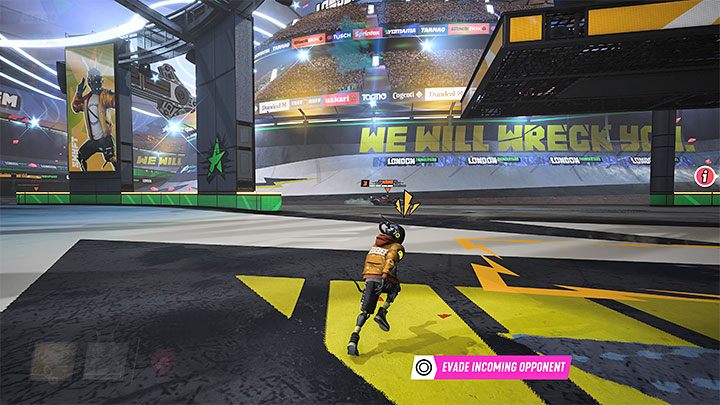
The second part of the tutorial will begin, focusing on controlling the character. Your character can jump by pressing X, and by default, it can only be a single jump. You can jump over vehicles, to the higher shelves, or run along some walls. You will be given the task of collecting Shards - usually, they are on high shelves, to which you need to jump or climb.
The further lessons are very important - you can press Circle to avoid colliding with other vehicles. Yellow lightning over the hero's head warns of a possible collision - fortunately, you can dodge anytime during the game.
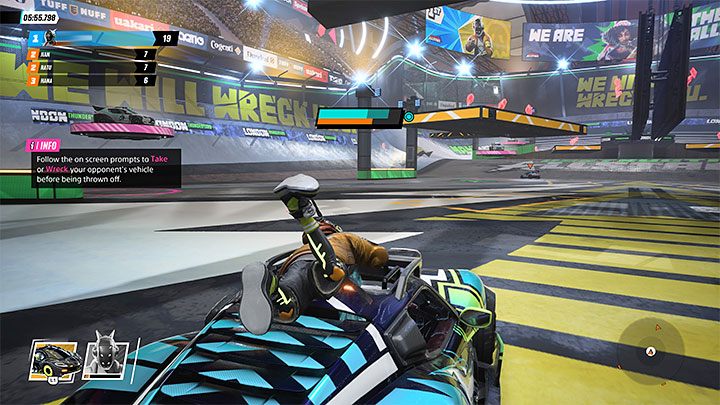
You will now learn how to Ride other players' cars - to perform this, you need to press Triangle, but the action will only work if:
- You're close enough to the enemy vehicle.
- The enemy vehicle is not moving very fast.
After landing on the car, a prompt mini-game will begin. You need to quickly press Square or Circle - icons of these buttons appear in random order, and there isn't a clear-cut scheme of pressing them. The mini-game will be successful if you complete it before the orange bar fills up. You can now choose whether you want to Wreck the enemy car (Square) or Take it (Circle) - choose either option, as for the purpose of completing this lesson both of them work.
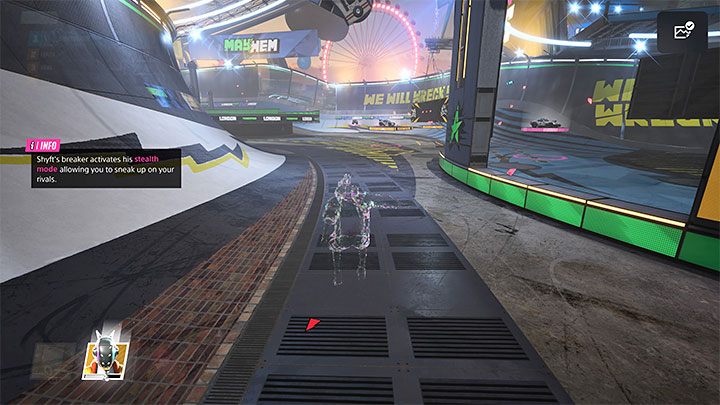
In the next lesson, you will learn how to activate the Breaker, which is, a special ability of the hero - you must press R1 after it is charged.
The Breaker is different for each player character - in the case of Shyft, aside from standard abilities, you are camouflaged for the duration. Regardless of the controlled character, you can now perform double jumps (X, X) in order to reach high shelves or high-hanging collectibles easier.
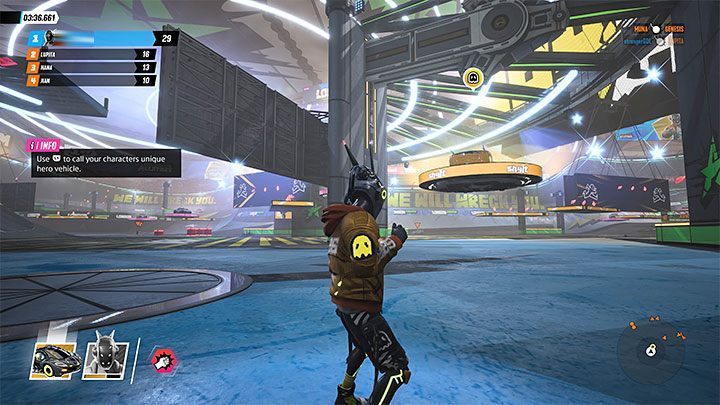
In the final, third part of the tutorial, you'll get acquainted with Hero Vehicles - cars that are unique to the controlled character and can be summoned to the arena after charging the readiness bar. Press the L1 button to do this. The Hero Vehicle will appear on a platform in the arena, which you need to access by jumping.
The L1 button is also used to activate the vehicle breaker, its special ability. In the case of the car from the tutorial, this is partial invisibility, but the effect is different for each hero and each vehicle. For other heroes, the process of loading the Breaker may also look different.
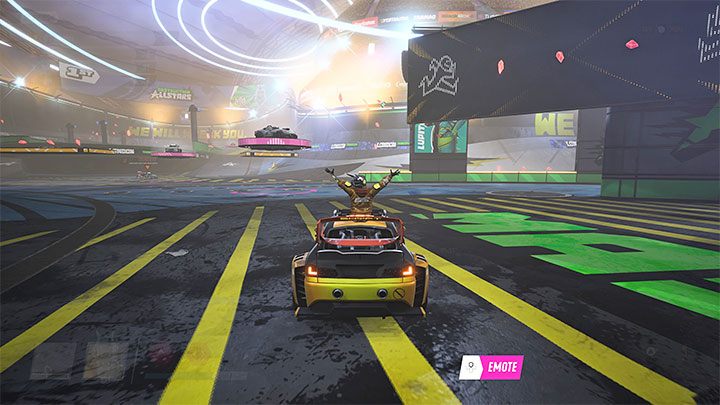
The last step in the tutorial is practicing using emoticons, i.e. special animations. For example, press up on the pad's crosshairs. Remember to avoid abandoning the Mega Vehicle or interrupting the emote before it rans its course. Otherwise, the game may not count the action as completed.
Moments later, you should receive a message that you have completed all 17 lessons.
Main Menu Tutorials
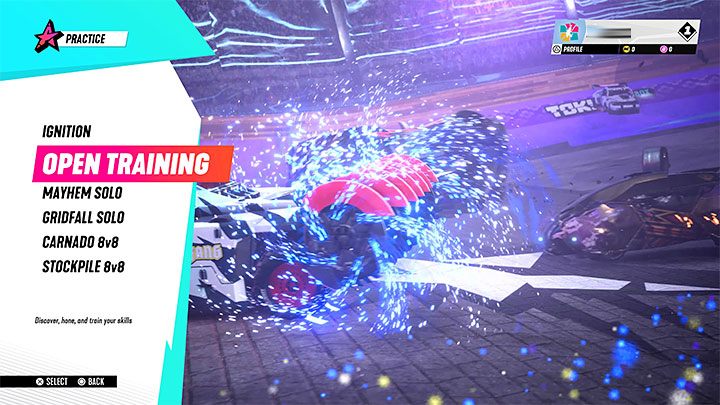
We do not recommend switching to multiplayer immediately after completing the tutorial, as there are still many things you should learn. Make sure to check Practice option from the main menu. You can:
- Repeat the first tutorial on the same principles (Ignition).
- Try Open Training. It allows you to repeat the tutorial playing as other characters, so you'll get to know them better.
- Check out 4 main game modes - Mayhem, Gridfall, Carnado, and Stockpile.
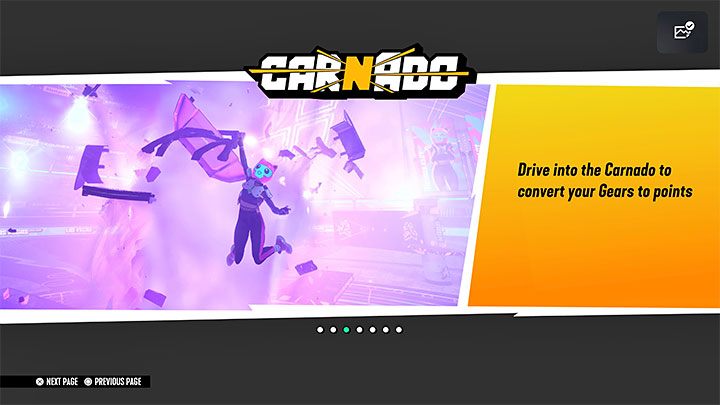
After starting the chosen mode, the game will display the most important information about it, allowing you to learn its basic rules. The rules of the game are described in Game Modes chapter of our guide.
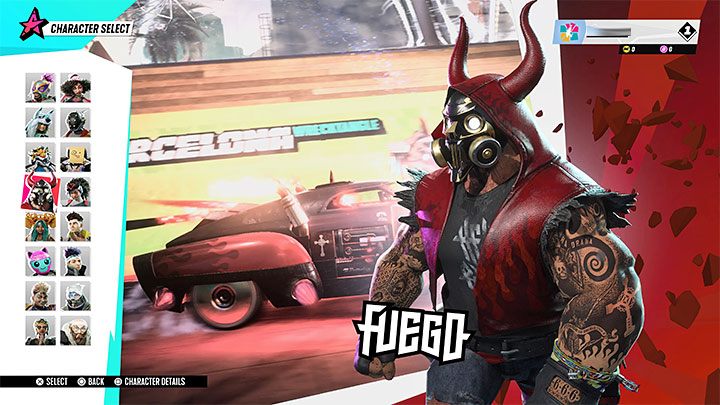
When it comes to learning the game and the rules, we recommend:
- Play as each of the 16 playable characters at least once to learn his/her special ability and Hero Vehicle.
- Play a match in each of four modes at least once.
You are not permitted to copy any image, text or info from this page. This site is not associated with and/or endorsed by the developers and the publishers. All logos and images are copyrighted by their respective owners.
Copyright © 2000 - 2026 Webedia Polska SA for gamepressure.com, unofficial game guides, walkthroughs, secrets, game tips, maps & strategies for top games.
