Batman Arkham Asylum: Caves #2 - part 3
 | 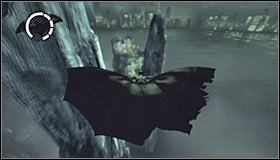 |
It shouldn't take too long for you to reach an exit from this large cave. Once you're outside approach the cliff and make sure not to fall. Your objective will be to glide towards a smaller island located to the east. Land on a small path (the one with a trophy).
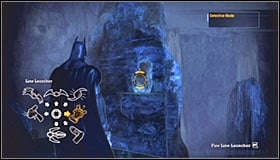 | 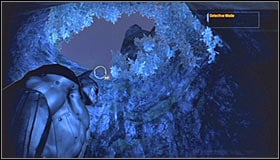 |
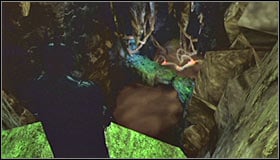
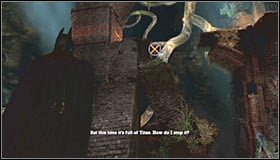
Proceed to the north and once you've made your way to the top use the Line Launcher in order to reach a nearby island (screenshot #1). Enter the cave and use the hook several times to reach the highest ledge of the island.
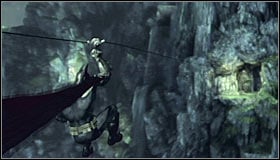 |  |
Eventually you should end up standing on a small platform. You'll have to use the Line Launcher again, this time aiming your gadget at the cliff located to the north-west of your current position. Land on a new platform safely and enter a large cave. Once you're inside glide towards a passageway located next to Ivy's roots.
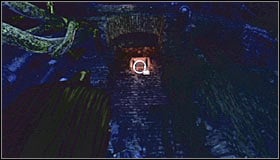 | 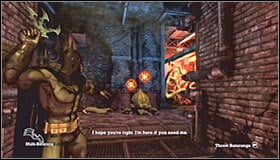 |
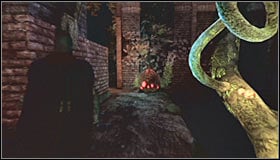
Turn around and look up where you should notice an entrance to a small ventilation shaft. Use your hook to gain access to the vents and proceed towards the next area - Old Sewer. You'll now have to begin moving north, however notice new plants along the way. Those plants will be deploying two glowing orbs at the same time, so you'll have to be using Twin Batarang ability or keep throwing two gadgets manually within a short amount of time.
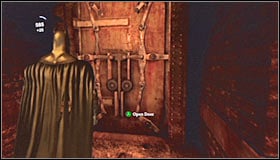 |  |
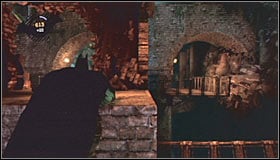
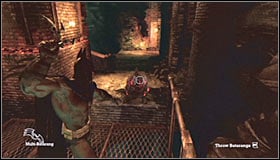
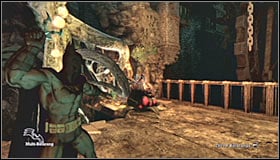
Eventually you'll have to reach the northern door in order to return to the Main Sewer Junction. Listen to a short radio transmission upon your arrival and then proceed to your right (screenshot #2). One of Ivy's plants is here and you should destroy it before moving on.
 |  |
You'll now have to retrace your steps. Start off by climbing on top of a platform located to the left of the first plant (screenshot #1). Perform a jump towards a metal balcony seen in the distance and then turn right. Before you get to a new platform (screenshot #2) wait for the flying orbs to show up and once you've landed destroy a new plant.
 |  |
You may proceed forward until you've reached the first collapsed column. Just as before you should use this column to get to an upper platform. You'll have to perform two jumps from there - the first one towards a tower and the second one towards a new platform. Turn left for the second time and use a new collapsed column to get to the top.
 | 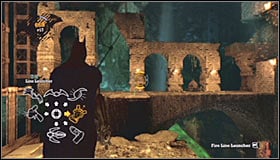 |
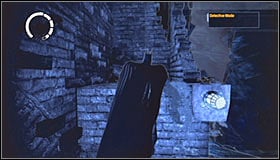
You'll have to turn right here. Wait for the plant to release glowing orbs and once they've exploded destroy Ivy's trap. When you've taken care of the plant turn right once again. This time you'll want to use a Line Launcher to get to a new platform seen in the distance (it was previously inaccessible).
 |  |
Proceed to your right after you've landed and get ready to destroy a new plant. You'll now have to climb up to a nearby platform and from there to a second one. Once you've reached the top proceed forward and perform a successful jump along the way. You'll have to get to the top of this entire structure.
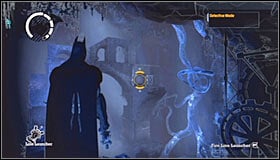 | 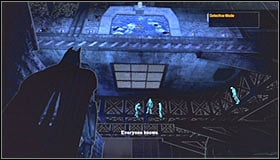 |
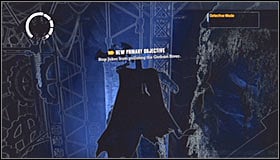
Look around a little and you should notice a new set of platforms in the distance. Use your Line Launcher to get there (screenshot #1) and after you've landed proceed to the top. Head west and eventually you'll find yourself close to a control room that's being occupied by four inmates.
- Batman: Arkham Asylum Game Guide & Walkthrough
- Batman Arkham Asylum: Walkthrough
- Batman Arkham Asylum: Intensive Treatment - part 1
- Batman Arkham Asylum: Intensive Treatment - part 2
- Batman Arkham Asylum: Intensive Treatment - part 3
- Batman Arkham Asylum: Arkham Island
- Batman Arkham Asylum: Medical Facility - part 1
- Batman Arkham Asylum: Medical Facility - part 2
- Batman Arkham Asylum: Medical Facility - part 3
- Batman Arkham Asylum: Medical Facility - part 4
- Batman Arkham Asylum: Arkham Island #2
- Batman Arkham Asylum: Caves
- Batman Arkham Asylum: Arkham Island #3
- Batman Arkham Asylum: Arkham Mansion - part 1
- Batman Arkham Asylum: Arkham Mansion - part 2
- Batman Arkham Asylum: Arkham Mansion - part 3
- Batman Arkham Asylum: Arkham Mansion - part 4
- Batman Arkham Asylum: Arkham Island #4
- Batman Arkham Asylum: Penitentiary - part 1
- Batman Arkham Asylum: Penitentiary - part 2
- Batman Arkham Asylum: Arkham Island #5
- Batman Arkham Asylum: Botanical Gardens - part 1
- Batman Arkham Asylum: Botanical Gardens - part 2
- Batman Arkham Asylum: Botanical Gardens - part 3
- Batman Arkham Asylum: Arkham Island #6
- Batman Arkham Asylum: Arkham Mansion #2
- Batman Arkham Asylum: Arkham Island #7
- Batman Arkham Asylum: Intensive Treatment #2 - part 1
- Batman Arkham Asylum: Intensive Treatment #2 - part 2
- Batman Arkham Asylum: Caves #2 - part 1
- Batman Arkham Asylum: Caves #2 - part 2
- Batman Arkham Asylum: Caves #2 - part 3
- Batman Arkham Asylum: Caves #2 - part 4
- Batman Arkham Asylum: Caves #2 - part 5
- Batman Arkham Asylum: Arkham Island #8
- Batman Arkham Asylum: Botanical Gardens #2
- Batman Arkham Asylum: Arkham Island #9
- Batman Arkham Asylum: Penitentiary #2 - FINALE
- Batman Arkham Asylum: Walkthrough
You are not permitted to copy any image, text or info from this page. This site is not associated with and/or endorsed by the developers and the publishers. All logos and images are copyrighted by their respective owners.
Copyright © 2000 - 2025 Webedia Polska SA for gamepressure.com, unofficial game guides, walkthroughs, secrets, game tips, maps & strategies for top games.
