Batman Arkham Asylum: Caves #2 - part 1
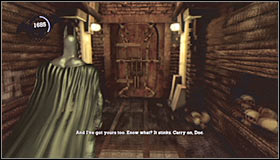 | 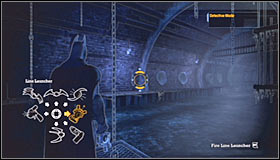 |
Use the stairs shortly after your arrival in this entirely new area. Proceed to your right and it shouldn't take too long for you to find a new door. You'll end up standing in the Croc's Lair. Watch a short cut-scene featuring the Scarecrow and Killer Croc after which proceed to your right. Use a Line Launcher to travel to the left metal balcony.
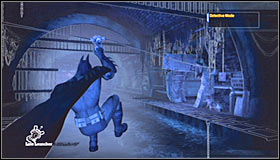 | 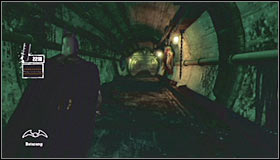 |
Make a few steps forward and use the Line Launcher again, this time aiming at the platform located to your right. Proceed to the north until you're awarded with a new cut-scene. Wait for Batman to plant Explosive Gel and proceed to the next section. You'll soon end up in the canals.
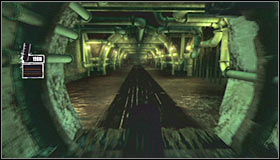 |  |
During your time spent in the sewers you will be forbidden from running, because this would attract the Croc to your position. Thankfully you'll see a special meter on your screen, informing you if you're acting too loud. I would recommend walking slowly or even crouching to avoid unwanted problems. The meter will also show the distance to your current destination and the whole system will be very user friendly, because the numbers will turn red if you choose a wrong corridor at any point of the game. Start off by heading north and jumping over a metal gate. Head east after that.
 | 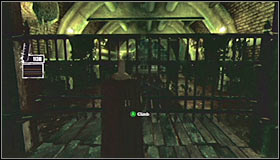 |
It doesn't matter whether you're stealthy or not, because you'll be a target for Croc's attacks on a regular basis and he'll be appearing in random areas. Each time you see him running you'll have plenty of time to prepare yourself and the solution will be to throw a Batarang at the Killer Croc. A single hit should be more than enough, but you must prevent the Croc from getting too close or otherwise you'll die. Keep moving east and jump over a second gate along the way.
 | 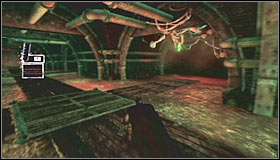 |
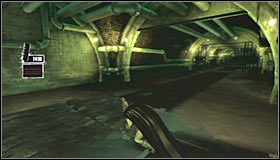
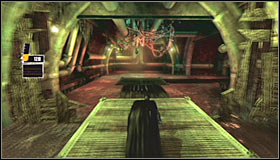
You'll soon have to turn south and then move east. Keep running forward and don't forget to use your meter to find out if you're heading in the right direction. Eventually you should be able to find a glowing object (screenshot #2). This is one of five spore containers and it can be found near the ceiling.
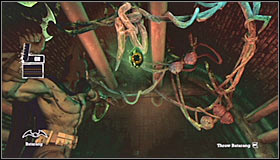 |  |
Choose a Batarang from your inventory and aim your gadget at the glowing object. Throwing the Batarang will allow you to approach the spore and to collect material for analysis (all you have to do is to press the action key). There are four more spores for you to find.
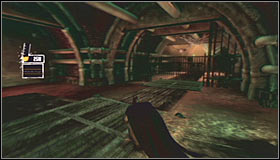 | 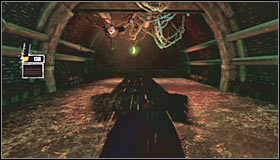 |
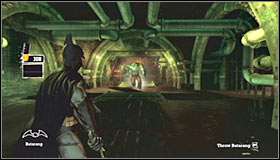
Turn around and start moving east after which turn north. You shouldn't have any major problems locating a new gate (screenshot #1). Get to the other side and you'll soon find the second container. Use the Batarang and then examine the spore to collect more samples. You should also know that Killer Croc is likely to appear near the spore, so you should be ready to fend him off.
 |  |
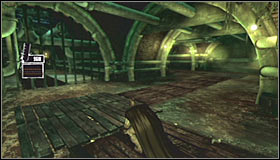
Reaching the third spore is also going to be very simple. Make sure to use your device, so you'll know whether you're heading in the right direction or not. You'll also have to climb over a fence along the way. Watch out for Killer Croc's attacks and use the Batarang on the spore in order to be able to collect more samples.
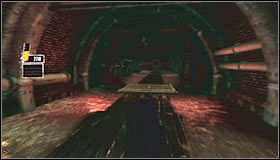 |  |
You shouldn't be too surprised to hear that Killer Croc will probably appear near your position when you collect new samples. Choose the northern corridor (screenshot #1) and then turn west. The fourth container is located nearby, so it won't take long to find it. Ignore the cut-scene informing you about the destruction of the wooden planks, because it won't be a major problem.
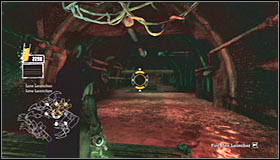 | 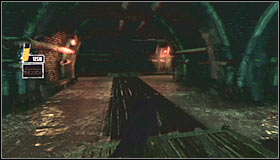 |
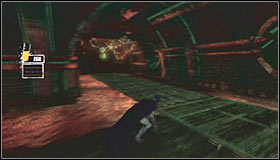
Once you've collected the fourth sample use your Line Launcher in order to return to the main path. Killer Croc will now use an entirely new trick, destroying nearby planks. All you have to do is to run forward without making any stops along the way and you should be fine. You even won't have to remain on the main path during the course of your escape. Once in you're in a safe zone head east and then turn north (screenshot #2).
- Batman: Arkham Asylum Game Guide & Walkthrough
- Batman Arkham Asylum: Walkthrough
- Batman Arkham Asylum: Intensive Treatment - part 1
- Batman Arkham Asylum: Intensive Treatment - part 2
- Batman Arkham Asylum: Intensive Treatment - part 3
- Batman Arkham Asylum: Arkham Island
- Batman Arkham Asylum: Medical Facility - part 1
- Batman Arkham Asylum: Medical Facility - part 2
- Batman Arkham Asylum: Medical Facility - part 3
- Batman Arkham Asylum: Medical Facility - part 4
- Batman Arkham Asylum: Arkham Island #2
- Batman Arkham Asylum: Caves
- Batman Arkham Asylum: Arkham Island #3
- Batman Arkham Asylum: Arkham Mansion - part 1
- Batman Arkham Asylum: Arkham Mansion - part 2
- Batman Arkham Asylum: Arkham Mansion - part 3
- Batman Arkham Asylum: Arkham Mansion - part 4
- Batman Arkham Asylum: Arkham Island #4
- Batman Arkham Asylum: Penitentiary - part 1
- Batman Arkham Asylum: Penitentiary - part 2
- Batman Arkham Asylum: Arkham Island #5
- Batman Arkham Asylum: Botanical Gardens - part 1
- Batman Arkham Asylum: Botanical Gardens - part 2
- Batman Arkham Asylum: Botanical Gardens - part 3
- Batman Arkham Asylum: Arkham Island #6
- Batman Arkham Asylum: Arkham Mansion #2
- Batman Arkham Asylum: Arkham Island #7
- Batman Arkham Asylum: Intensive Treatment #2 - part 1
- Batman Arkham Asylum: Intensive Treatment #2 - part 2
- Batman Arkham Asylum: Caves #2 - part 1
- Batman Arkham Asylum: Caves #2 - part 2
- Batman Arkham Asylum: Caves #2 - part 3
- Batman Arkham Asylum: Caves #2 - part 4
- Batman Arkham Asylum: Caves #2 - part 5
- Batman Arkham Asylum: Arkham Island #8
- Batman Arkham Asylum: Botanical Gardens #2
- Batman Arkham Asylum: Arkham Island #9
- Batman Arkham Asylum: Penitentiary #2 - FINALE
- Batman Arkham Asylum: Walkthrough
You are not permitted to copy any image, text or info from this page. This site is not associated with and/or endorsed by the developers and the publishers. All logos and images are copyrighted by their respective owners.
Copyright © 2000 - 2025 Webedia Polska SA for gamepressure.com, unofficial game guides, walkthroughs, secrets, game tips, maps & strategies for top games.
