Batman Arkham Asylum: Botanical Gardens - part 1
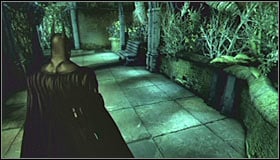 |  |
Start off by moving forward. I would recommend turning on the detective view and choosing the left corridor, however the one on your right would also lead you to your destination. Approach two armed thugs carefully and take cover behind the corner. If you have a Twin Batarang ability you'll be able to knock them out at the same time. Otherwise you'll have to throw the second Batarang immediately after the first one.
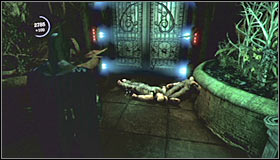 | 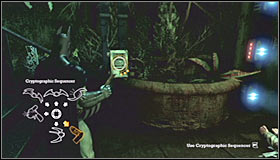 |
It doesn't really matter which method you'll choose, because you'll have to stun both guards. Approach their positions quickly and disable them for good using takedowns. Once this problem has been solved choose a sequencer from your inventory and use it on a nearby control panel. You may now proceed to the Botanical Glasshouse.
 |  |
Once you're inside a new room IMMEDIATELY grapple up to one of the nearby gargoyles. This entire area is being patrolled by armed inmates and once again you'll have to begin eliminating them slowly. Glide Kicks are allowed here, however you can also use safer methods like Inverted Takedowns or Sonic Shock Batarangs.
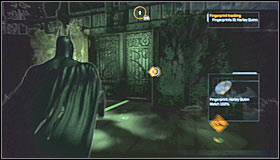 |  |
It doesn't really matter which methods you'll choose, because you'll have to secure this entire area. Once this is done drop down to one of the nearby balconies and use the northern door to travel to the Flooded Corridor. Watch a short cut-scene featuring the Joker himself and return to the Botanical Glasshouse. This time you'll want to find the door leading to the Statue Corridor.
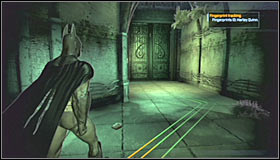 | 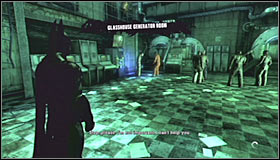 |
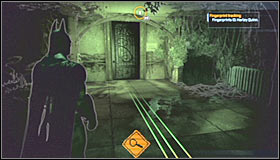
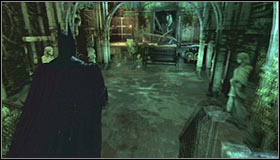
There aren't any enemy units in your vicinity, so you may start moving right away. Head east and then turn north. Eventually you'll have to find a door leading to the Glasshouse Generator Room. There are new inmates near your position and you should start off by disabling the one carrying a stun gun. Once he's gone take care of the rest which should be easier since you won't be interrupted by weapon attacks.
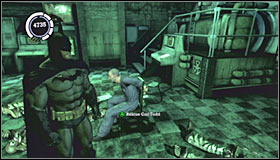 | 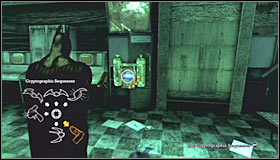 |
Once the battle has ended approach Carl Todd and press the action key to free him. You'll also be allowed to have a short conversation with this civilian. Once you're done talking approach a new control panel and use the sequencer. Notice that the mini-game is going to be harder this time. You'll have to act quickly and disable three countermeasures instead of only a single one. Each time focus on receiving a green screen.
 | 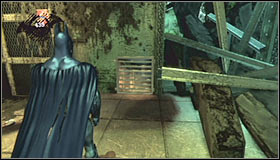 |
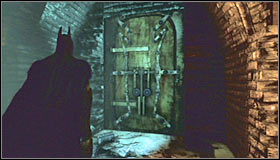
A short cut-scene will inform you that the electricity is gone, so you can return to the Flooded Corridor via Statue Corridor and Botanical Glasshouse sections. Once you've arrived head on to the other side and locate a small entrance to a ventilation shaft.
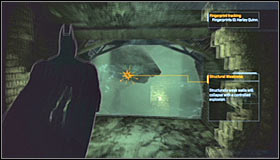 |  |
Keep heading forward and it shouldn't take too long for you to leave the ventilation shaft. Proceed to your right and prepare an Explosive Gel. You'll have to blow up a nearby wall and as always you can only find it by using detective mode. After the explosion proceed to a lower platform and find a door leading to the Abandoned Chamber.
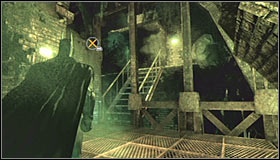 | 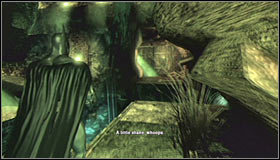 |
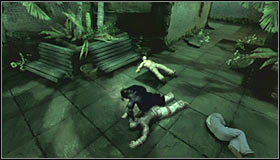
Reaching the next area shouldn't take too much of your time. You'll have to use several staircases along the way, as well as to perform a single jump (screenshot #2). Once you're ready to move on open a nearby door. You'll return to the Flooded Corridor, however this time you'll be allowed to explore the northern area of this section of the building.
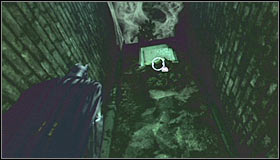 |  |
Climb up a few times and after a short while you'll have to use a hook to move on. Walk through the tunnel and deal with inmates harrassing one of the civilians. Once you've defeated the thugs talk to Jordan Fraser.
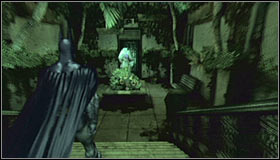 | 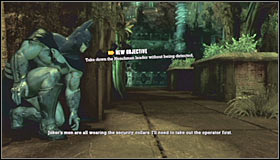 |
Your next destination is an area marked on your map as the Aviary, so as a result you'll have to choose the eastern passageway and pass by a headless statue. Once you've arrived make a few steps forward and watch a short cut-scene informing you that you'll have to remain undetected in order to keep the guards alive.
- Batman: Arkham Asylum Game Guide & Walkthrough
- Batman Arkham Asylum: Walkthrough
- Batman Arkham Asylum: Intensive Treatment - part 1
- Batman Arkham Asylum: Intensive Treatment - part 2
- Batman Arkham Asylum: Intensive Treatment - part 3
- Batman Arkham Asylum: Arkham Island
- Batman Arkham Asylum: Medical Facility - part 1
- Batman Arkham Asylum: Medical Facility - part 2
- Batman Arkham Asylum: Medical Facility - part 3
- Batman Arkham Asylum: Medical Facility - part 4
- Batman Arkham Asylum: Arkham Island #2
- Batman Arkham Asylum: Caves
- Batman Arkham Asylum: Arkham Island #3
- Batman Arkham Asylum: Arkham Mansion - part 1
- Batman Arkham Asylum: Arkham Mansion - part 2
- Batman Arkham Asylum: Arkham Mansion - part 3
- Batman Arkham Asylum: Arkham Mansion - part 4
- Batman Arkham Asylum: Arkham Island #4
- Batman Arkham Asylum: Penitentiary - part 1
- Batman Arkham Asylum: Penitentiary - part 2
- Batman Arkham Asylum: Arkham Island #5
- Batman Arkham Asylum: Botanical Gardens - part 1
- Batman Arkham Asylum: Botanical Gardens - part 2
- Batman Arkham Asylum: Botanical Gardens - part 3
- Batman Arkham Asylum: Arkham Island #6
- Batman Arkham Asylum: Arkham Mansion #2
- Batman Arkham Asylum: Arkham Island #7
- Batman Arkham Asylum: Intensive Treatment #2 - part 1
- Batman Arkham Asylum: Intensive Treatment #2 - part 2
- Batman Arkham Asylum: Caves #2 - part 1
- Batman Arkham Asylum: Caves #2 - part 2
- Batman Arkham Asylum: Caves #2 - part 3
- Batman Arkham Asylum: Caves #2 - part 4
- Batman Arkham Asylum: Caves #2 - part 5
- Batman Arkham Asylum: Arkham Island #8
- Batman Arkham Asylum: Botanical Gardens #2
- Batman Arkham Asylum: Arkham Island #9
- Batman Arkham Asylum: Penitentiary #2 - FINALE
- Batman Arkham Asylum: Walkthrough
You are not permitted to copy any image, text or info from this page. This site is not associated with and/or endorsed by the developers and the publishers. All logos and images are copyrighted by their respective owners.
Copyright © 2000 - 2025 Webedia Polska SA for gamepressure.com, unofficial game guides, walkthroughs, secrets, game tips, maps & strategies for top games.
