AC Odyssey: Dialogues - how to create in Story Creator Mode?
Last update:
Dialogues are the best way to create a unique quest. Story creator mode lets you create any dialogue you want, with the ability to add line selections and heroes' gender. On this page you will learn how to create unique dialogues for Assassin's Creed Odyssey.
Remember, however, that you are limited only by your imagination. As Bob Ross once said - it's your world and it's up to you what you are going to do with it! Try to create a dialogue first and then add it to the game without any problems.
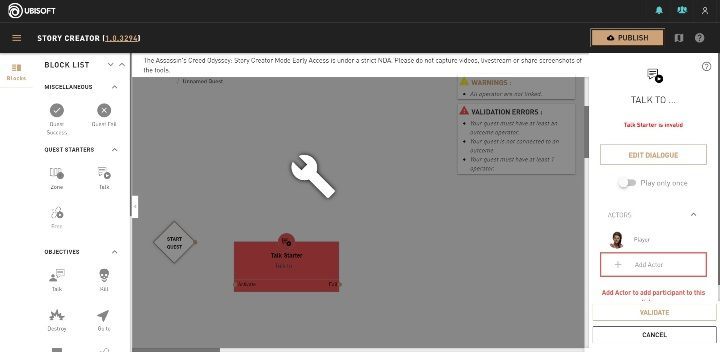
To start creating a dialogue between heroes you must first select the "talk" option, which is marked on the screen above.
When you select the talk option another window will appear. There you can choose the characters that will be involved in the dialogue. Just click "Add Actor" and another option will appear on your monitor.
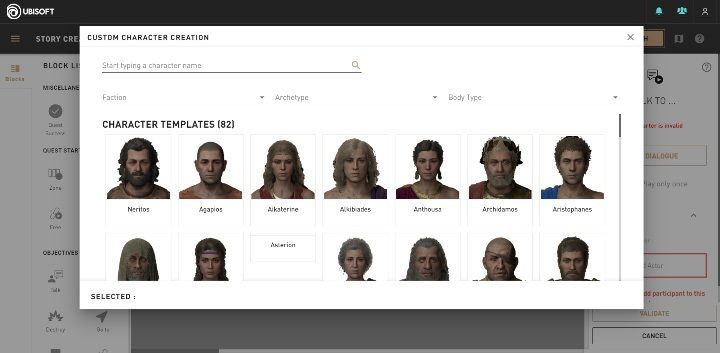
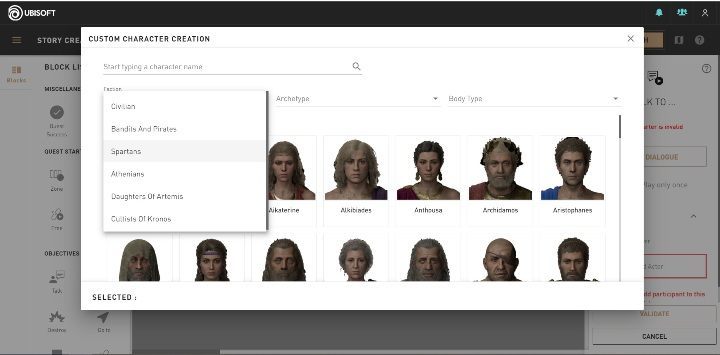
Since there are up to 80 models in the character library, filters can make your search easier. You can choose a faction of the character, his/her physique or just enter his/her name. This will greatly facilitate the search for your chosen hero.
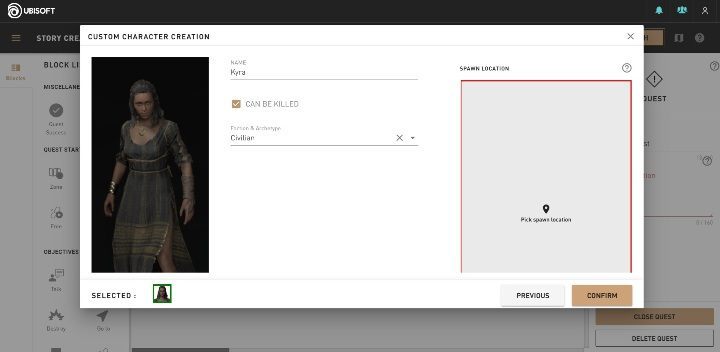
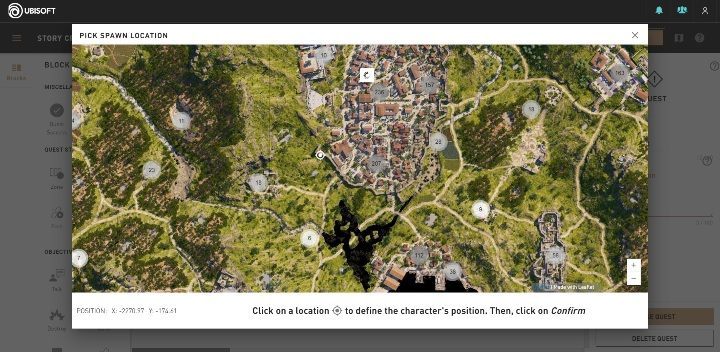
After selecting a character model, you can change his/her characteristics. Independently select the faction, name and place where the character is going to appear. This way you can create your ideal hero and not worry about the schemes imposed by developers.
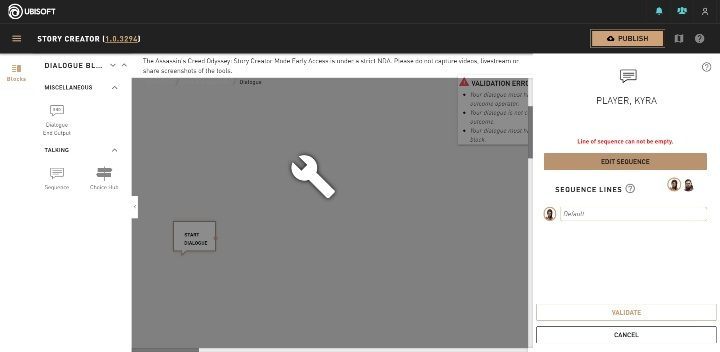
When you've finished creating your characters, let's move on to the dialogues. Select the Edit sequence option to open another window.
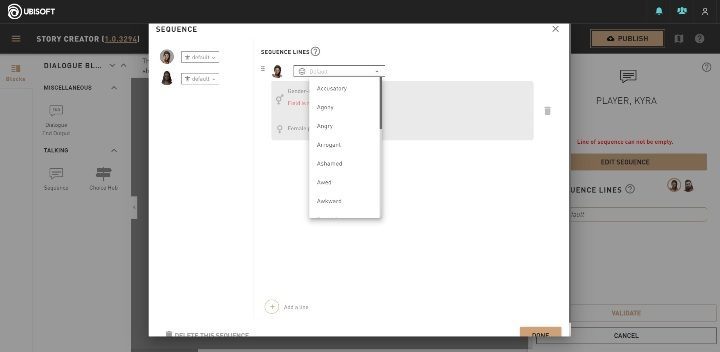
One of the most interesting things you can set is the mood of your hero and his companions. You can choose from many different emotions that will emphasize the nature of your statement.
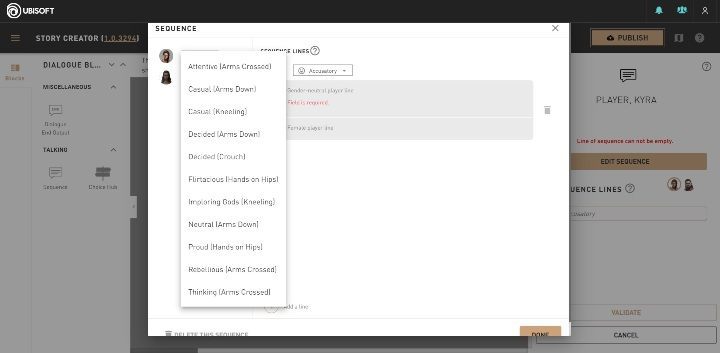
Remember that emotions can be defined in each of the dialogues. Thanks to this, e.g. after gaining some valuable information your character can show hard-thinking emotion or reveal a joyful smile, so that it will look natural.
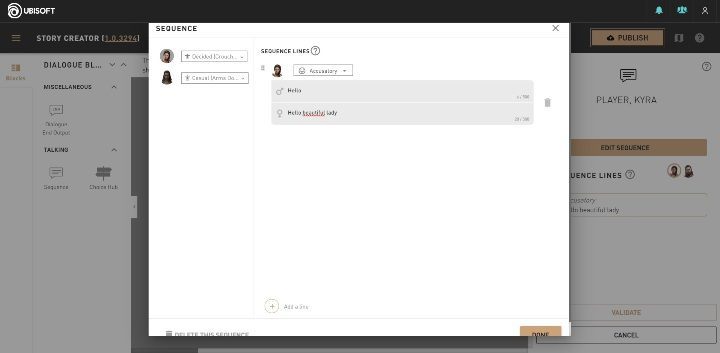
Another interesting option is the ability of selecting gender to a specific character. This way the dialogue options will be more personal, e.g. you can set up a different dialogue option for Cassandra, a different one for Alexios, and a different one for gender-independent NPC.
After getting to know the basic mechanics, you can write your own dialogue, which you simply accept after your work is done.
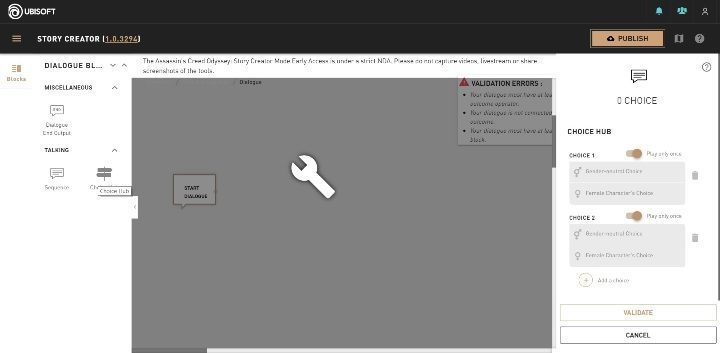
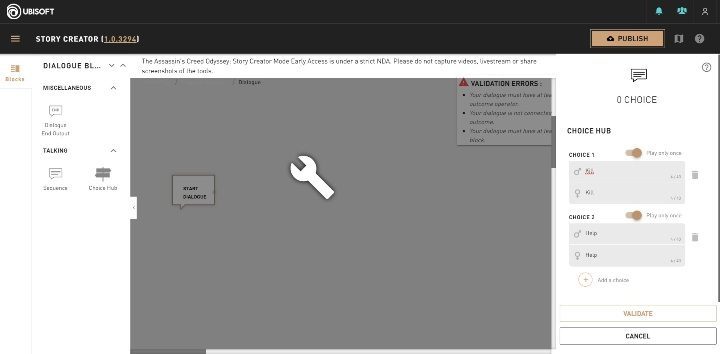
However, if you want to play around creating decisions and choices, use the choice hub. There you can choose what you want your character to be able to do, such as offer help to a woman or refuse her. However, remember that each choice must have certain consequences and answers. If you create two options you need to write dialogs for them and choose how these my choices affect further aspects of the mission.
To highlight this situation, we will show it in a brief example. Imagine a mission in which your hero has to talk to a beautiful girl who asks him about getting a bottle of wine. If we create different choices, they might look like this:
- your hero will refuse her - the mission is failed;
- your hero will agree to help - you get the next part of the job;
- your hero has already obtained the quest item - automatic transition to the end of the mission;
- your hero kills the girl - the mission is failed;
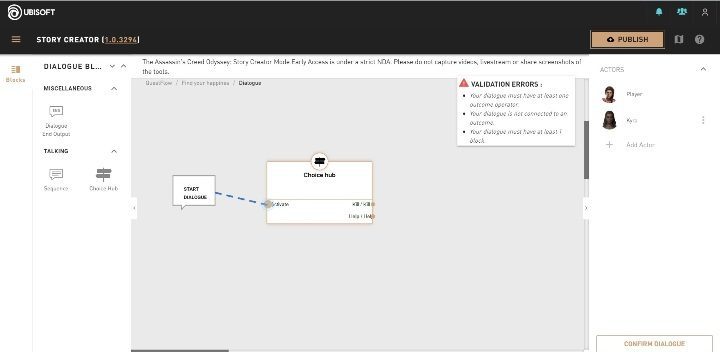
Be sure to confirm any changes you have made. Thus, you will avoid unnecessary issues that may occur if you lose the last completed tasks.
You are not permitted to copy any image, text or info from this page. This site is not associated with and/or endorsed by the developers and the publishers. All logos and images are copyrighted by their respective owners.
Copyright © 2000 - 2025 Webedia Polska SA for gamepressure.com, unofficial game guides, walkthroughs, secrets, game tips, maps & strategies for top games.
