Wasteland 3: Kodiak - how to upgrade?
Last update:
The following page of our game guide to Wasteland 3 provides information on how to improve Kodiak.
Upgrading Kodiak is rather necessary. The basic version of vehicle is not immune to radiation and is unable to reach contaminated areas.
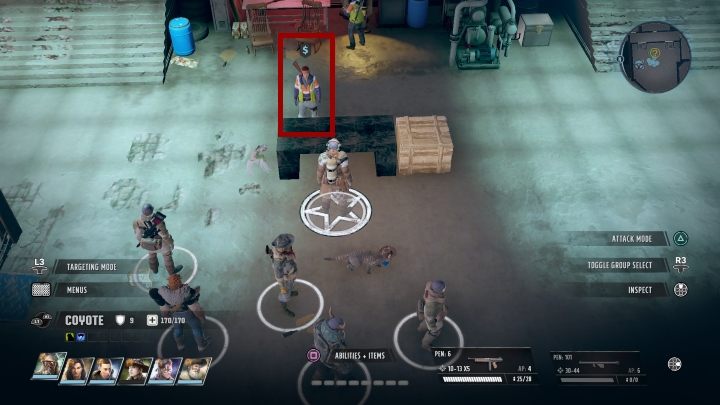
In order to make modifications, you need to hire mechanics beforehand. You can do this during the main storyline by finishing the Unwelcome Guests mission (the side you're going to support doesn't matter here). Then a group of mechanics will appear in the garage of Ranger HQ. Their main task is to properly maintain the mechanical parts of the Kodiak.

One of the mechanics is also a merchant with whom you can trade parts needed to upgrade the vehicle. In addition, he offers the following features:
- weapon - capable of inflicting more damage over a greater area of range;
- armor - which increases the vehicle's durability;
- chassis - which improves the durability of the vehicle and also increases radiation resistance;
- cosmetic parts and items.
At the beginning you don't have to worry about the aesthetics of the vehicle and focus on the proper technical aspects of it, that is, on the equipment of the vehicle.

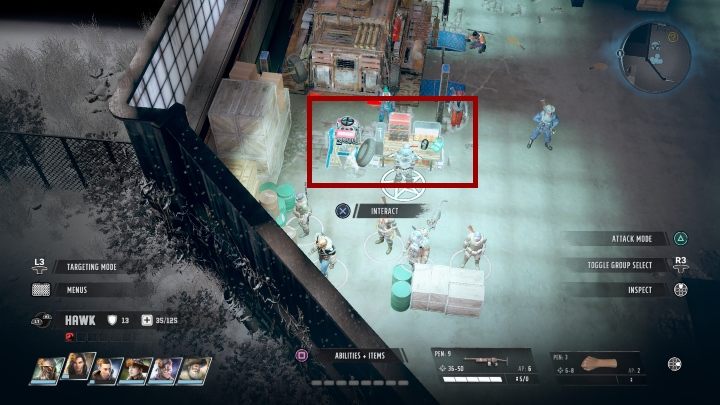
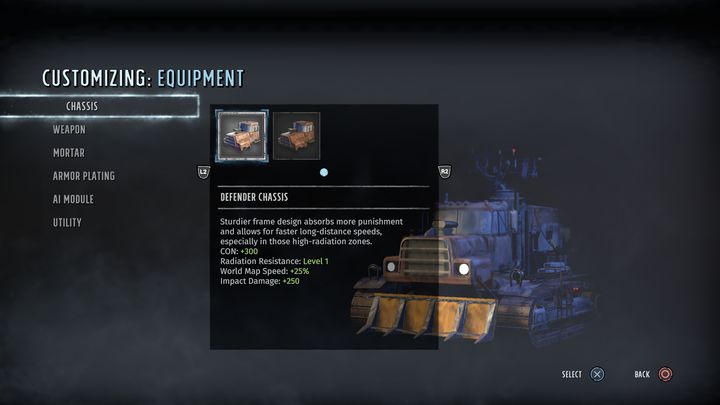
Once you get the right upgrades and parts you can head to the vehicle modification station. After interacting with Kodiak, a special menu will pop-up which can be used to install purchased parts or devices. There are two categories of upgrades in the special menu:
- equipment - it allows you to mount and install parts which affect the vehicle parameters, such as the weapon, the AI module and the chassis;
- appearance - this category allows you to modify the cosmetic aspects of your vehicle.
Under the menus you will also find an option which can be used to confirm all implemented changes.

By selecting one of them you will notice a list of objects which can be modified. Click on one of the items in the list and you will see all available parts of this category.
- Wasteland 3 Guide, Walkthrough
- Wasteland 3: Game Guide
- Wasteland 3: FAQ
- Wasteland 3: Healing, First Aid - how to heal my heroes?
- Wasteland 3: Major Tomcat - how to recruit?
- Wasteland 3: Companion's death - how to avoid?
- Wasteland 3: Kodiak - how to upgrade?
- Wasteland 3: Toasters - is it worth repairing them? What's it all about?
- Wasteland 3: Random events - what is a random event?
- Wasteland 3: FAQ
- Wasteland 3: Game Guide
You are not permitted to copy any image, text or info from this page. This site is not associated with and/or endorsed by the developers and the publishers. All logos and images are copyrighted by their respective owners.
Copyright © 2000 - 2025 Webedia Polska SA for gamepressure.com, unofficial game guides, walkthroughs, secrets, game tips, maps & strategies for top games.
