V Rising: All Bosses
This page of the V Rising guide contains information about bosses. You will learn how to find them, eliminate them and what defeating them will give you.
The world of V Rising is full of dangerous bosses - the so-called V blood carriers. These are powerful opponents whose defeat will reward you with new powers, spells, building diagrams, etc. While you may come across them randomly in the game world, you can also locate them from the V Blood menu tab by following the red streak that will occasionally appear on the screen. This page of the guide lists all the bosses in the game, where to find them, how to fight them and what rewards you will receive for defeating them.
- Alpha, the White Wolf (Act I, Level 16)
- Keely the Frost Archer (Act I, Level 20)
- Errol the Stonebreaker (Act I, Level 20)
- Rufus the Foreman (Act I, Level 20)
- Goreswine the Ravager (Act I, Level 27)
- Grayson the Armourer (Act I, Level 27)
- Kodia the Ferocious Bear (Act II, Level 35)
- Polora the Feywalker (Act II, Level 35)
- Octavian the Militia Captain (Act III, Level 58)
- Dracula the Immortal King (Final Boss, Level 90)
Alpha, the White Wolf (Act I, Level 16)
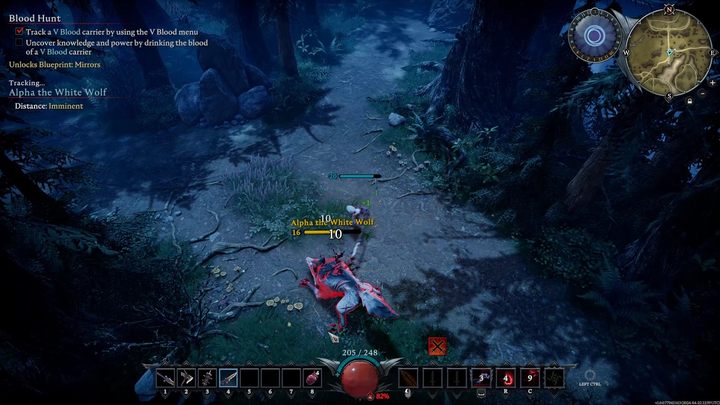
- Location: Near the wolf's den in the south of Farbane Woods;
- Rewards: Wolf Form (Vampire Power - you transform into a wolf, which increases your movement speed by 60%. The transformation continues until you attack or are attacked);
- Attacks: Paw swing (has a very short range and attacks are directed forward only), Jump forward (the wolf freezes in place for a moment preparing to jump and cannot change the direction of the attack, making it easy to avoid it), Howl (summons smaller wolves);
- Strategy: The strategy is very simple - keep a moderate distance, avoid its leaps and try to get to the boss from the side. Also remember to defeat the summoned wolves. The boss shouldn't cause you any trouble.
Keely the Frost Archer (Act I, Level 20)
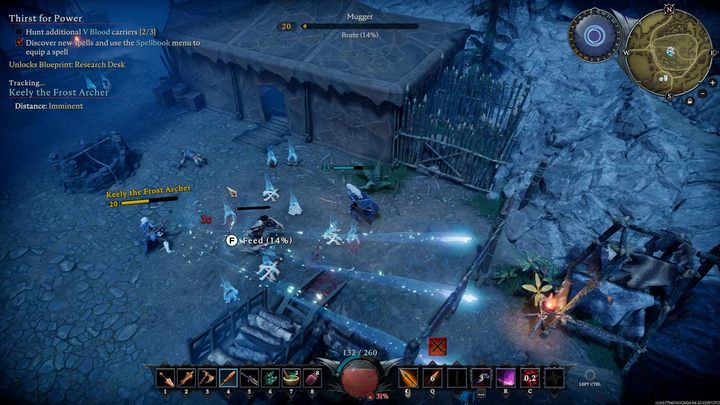
- Location: In the bandit trapper camp in the northeast of Farbane Woods;
- Rewards: Frost - Spell Point (enables you to buy a new spell from the frost tree), Tannery (building used for processing animal skins), Traveler's Wrap (cloak);
- Attacks: Triple shot (shoots a spray of three projectiles - stay close and move around her as she aims, or stay far away and move between the shots), Arrow rain (shoots upwards - leave the red circles on the ground that mark where the shots will hit), Invisibility (disappears for a few seconds and reappears a little later);
- Strategy: As befits an archer, Keely fights mainly from a distance. Mid-range combat is extremely dangerous because you won't have much room to avoid the arrows. Stay as close to the boss as possible and circle around her. Also eliminate the bandits who join the fight, because they may be more dangerous than the boss. The area is also very open, so don't try to fight Keely during the day as you will have no shelter from the sun.
Errol the Stonebreaker (Act I, Level 20)
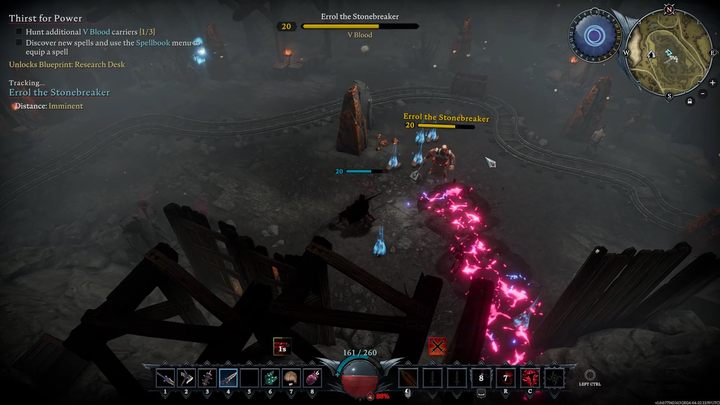
- Location: In the bandit copper mine near the center of Farbane Woods;
- Rewards: Chaos - Spell Point (enables you to buy a new spell from the Chaos Tree), Storage (buildings for storing items, gems and materials);
- Attacks: Hammer uppercut (very short range preceded by a rather long swing from below), Spin swing (long range around the boss preceded by a sideways swing), Shockwave (preceded by a swing from above, fires a purple shockwave that stays on the ground and after a while explodes), Cross shockwave (after losing half of its health, fires four shockwaves at once in four directions), Whistle (summons lesser miners);
- Strategy: Fight Errol from a distance - his shockwave is the only ranged attack he has. Use the spear - it will enable you to stab the boss from a relatively safe distance. The safest way to attack him is after his hammer uppercuts and spinning swings - you have to be more careful with the shockwave, because it explodes with a slight delay.
Rufus the Foreman (Act I, Level 20)
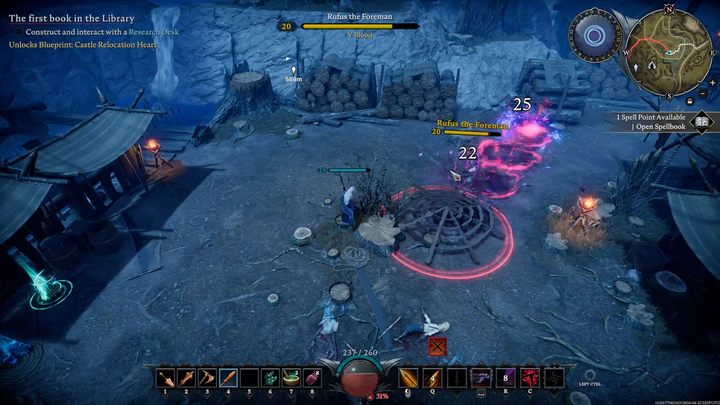
- Location: In the bandit logging camp in the southeast of Farbane Woods;
- Rewards: Blood - Spell Point (enables you to buy a new spell from the blood tree), Woodworking Bench (buildings used to create items from wood), Crossbows (allows you to craft crossbows);
- Attacks: Crossbow shot (a single crossbow shot followed by a long aiming time), Net throw (reaches into his pocket and throws a web to immobilize you - avoid the red circle on the ground), Bolt rain (shoots upwards - lower the red circles on the ground that mark where the bolts will hit), Automatic fire (after losing half of its health, it fires a long series of bolts);
- Strategy: Rufus is not a very dangerous opponent, as his attacks are very slow. The most dangerous moment of the fight is his series of shots - stay away from him and go sideways to avoid his bolts. Also keep a close eye out for his fastest attack, which is the net throw.
Goreswine the Ravager (Act I, Level 27)
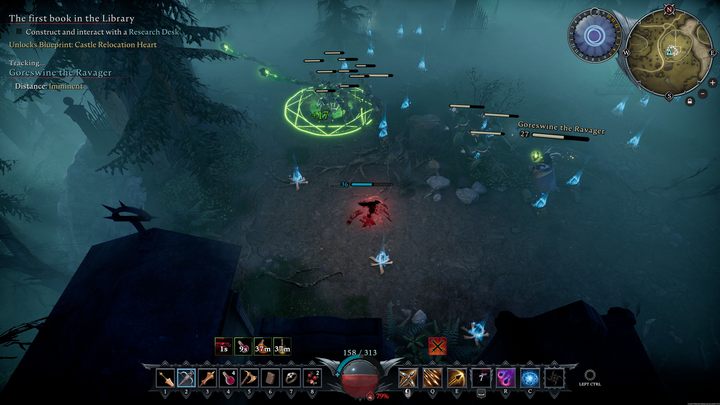
- Location: In the desecrated cemetery in the southern part of Farbane Woods;
- Rewards: Unholy Magic- a spell point (allows you to buy a new spell from the Unholy Magic tree), Tomb (a structure that generates undead that can be killed for resources), Cemetery decorations (candles, fences, gate), Gravedigger Ring (a magical artifact that provides a bonus to power spells), Grave Dust (alchemical ingredient to be prepared at the grinder), Raise Skeletons & Ghuls (the ability to summon the undead after placing flowers on the tomb);
- Attacks: Summoning a poisonous bulb (the bulb growing under the player's feet will explode after a while, dealing poisonous damage and leaving a poisonous stain on the ground), Shooting green projectiles (the cultist will shoot a green beam from time to time, but it flies slowly and is easy to avoid), Teleportation (this slow enemy will try to move away from you by teleporting a short distance), Shield (from time to time Goreswine will cover himself with a protective shield and start throwing a few poisonous bulbs).
- Strategy: Goreswine is not very fast, but he is very good at controlling space. His poisonous bulbs and teleportation will make it difficult for you to get close, so it is worth arming yourself with, for example, a crossbow. The smaller undead in the cemetery may also be a problem. To avoid being overwhelmed by enemies, try to stay on the move and "clear" the next wave of enemies from time to time. However, the Ravager should remain your priority. Try to attack the boss right after his attacks and bombard him with a barrage of arrows and ranged attacks.
Grayson the Armourer (Act I, Level 27)
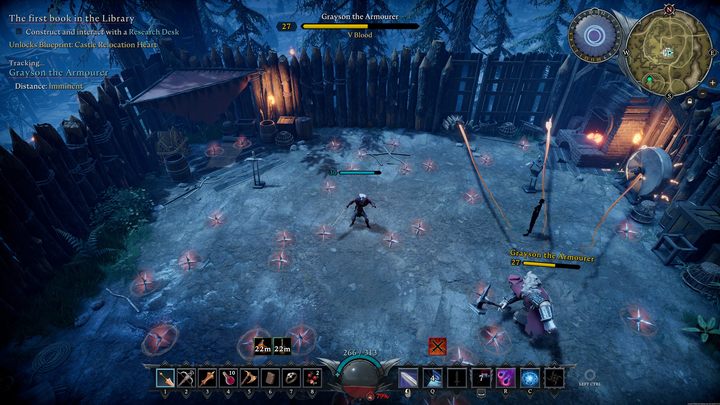
- Location: In the central part of Farbane Woods;
- Rewards: Illusion - spell point (allows you to buy a new spell from the Illusion magic tree), Workshop Floors (floors that increase the efficiency of construction in the castle workshop), Assortment of Storage Shelves (a set of small compartments for various reagents and tools), Target Dummies (dummies in various shapes), Whetstone (a stone produced in a kiln for sharpening weapons and tools).
- Attacks: Spread traps (Grayson scatters sharp spikes throughout the arena, which temporarily immobilize you when stepped on), Charge (quick attack with an axe, knocks back on impact), Throw (boss throws three projectiles that fly quite slowly and are easy to avoid) , Summon a henchman (Grayson summons a single bandit archer), Spinning strike (the bandit takes a wide swing and makes a wide slash).
- Strategy: Grayson is a much easier opponent than Goreswine. The main difficulty while fighting him will be avoiding the traps scattered around the arena. Activating one of them will temporarily immobilize you, leaving you vulnerable to attacks. However, you can move around the traps quite easily, and you can also jump over them using the vampire jump skill (press the spacebar). Before each attack, Grayson also performs a fairly distinct swing, which will make it easier for you to prepare to dodge. Ranged weapons, such as a crossbow, will also help you in combat. Warning! Moving outside the forge area will reset the boss and restore his health.
Kodia the Ferocious Bear (Act II, Level 35)
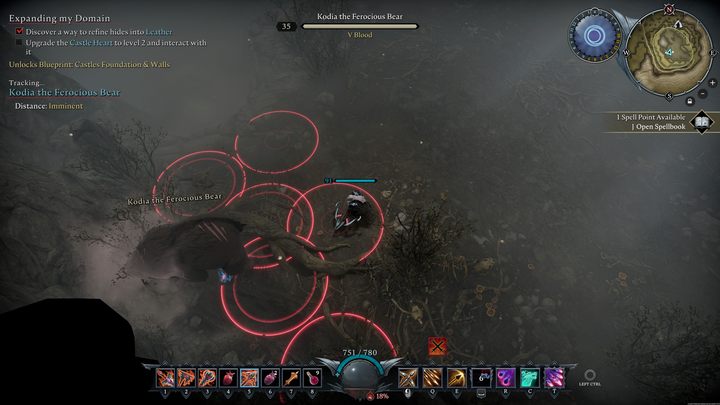
- Location: In a cave, in the eastern border of Farbane Woods;
- Rewards: Bear Form (allows your hero to turn into a powerful animal), Hunting Trophy (wall decoration), Fur Rugs (floor decoration);
- Attacks: Claw attack (Kodia swings her powerful paw directly in front of her), Falling boulders (the bear hits the ground, causing falling boulders that spread around the boss), Frenzy (Kodia roars, entering a state of frenzy, slightly speeds up and strengthens her attacks), Charge (the beast charges straight ahead, dealing considerable damage on impact);
- Strategy: The bear's attacks are quite slow, but they deal relatively high damage. The claw attack is preceded by a telegraphed swing, so prepare for it by jumping away at the right moment. Run backwards from falling boulders. You will learn about the range of stone projectiles from the red circles appearing on the ground. After activating rage, you must become even more careful as Kodia's attack speed will increase. The last attack, the charge, is also relatively easy to avoid and is preceded by an animation of the boss preparing to attack.
Polora the Feywalker (Act II, Level 35)
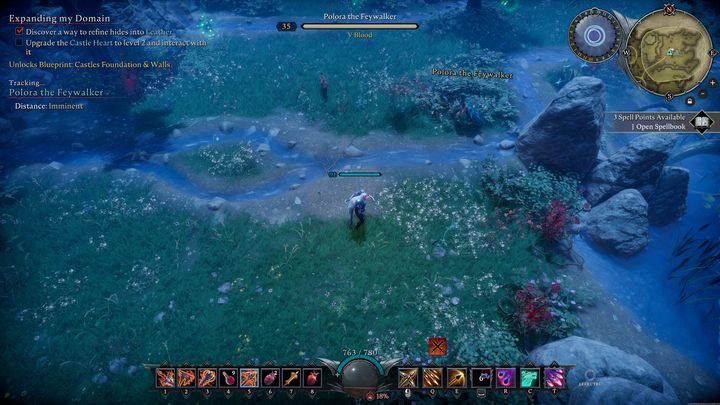
- Location: At the northwestern border of Farbane Woods;
- Rewards: Illusion - spell point (allows you to buy a new spell from the Illusion magic tree), Garden Foundations (decorative garden floors), Garden Hedges (decorative garden elements), Large Growing Plots, Growing Plot Collection (decorative elements), Minor Garlic Resistance Brew (a potion providing you with protection against garlic);
- Attacks: Wave of projectiles (the fairy shoots projectiles in front of her. Projectiles slightly writhe while flying), Fear (the boss charges a shockwave near her, which applies a fear effect to the heroes), Spectral wolf (a projectile in the form of a wolf, which bounces towards other team members when hit), Summoning minor fairies (Polora summons minor fairies that will attack the player);
- Strategy: Polora's ranged attacks are quite easy to avoid. However, remember that projectiles travel in a slight zigzag pattern, so try to keep an appropriate distance. By being on the move at all times, you should be able to avoid them easily. The boss also uses invisibility, disappearing for a short moment and running away from the player. When the Fairy appears again, be prepared for a ranged attack. Pay special attention to avoiding attacks from the spectral wolf. If it hits you, it may ricochet and harm your companions (if you play in multiplayer mode). Each attack is preceded by a short spell casting animation. Be on the lookout for them and prepare for the incoming danger.
Octavian the Militia Captain (Act III, Level 58)
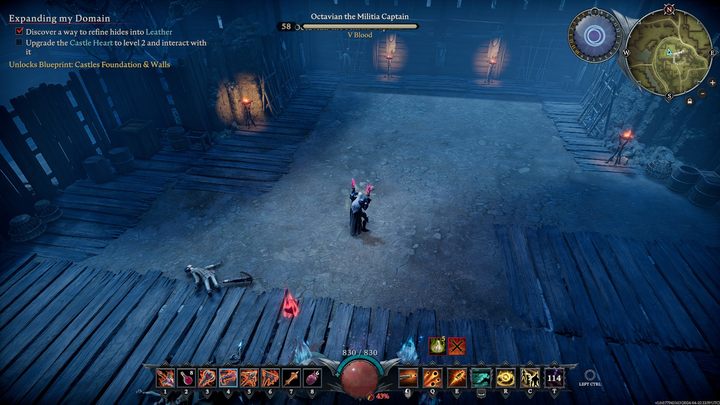
- Location: Bastion of Dunley, in the northern part of Dunley Farmlands;
- Rewards: Storm - spell point (allows you to buy a new spell from the Storm magic tree), Ancestral Forge (a structure that allows you to repair old, damaged weapons), Wide Castle Entrance (decorative gate), Equipment Storage (a place to store items);
- Attacks: Sword throw (a ranged attack that pulls you towards the boss on impact), Dagger throw (throws 4 projectiles), Charge (a quick frontal attack with a sweep), Spinning special attack (a powerful attack that makes the boss spin and chase the player around the map), Call for reinforcements (the Captain's minions will appear).
- Strategy: Try to keep the boss at a distance and attack him from afar (using a bow or crossbow). However, in this strategy it will be important to avoid being hit, as many of Octavian's attacks also pull the player towards the boss. So try to be on the move, dodging your opponent's attacks and bombarding him with ranged attacks and spells.
Dracula the Immortal King (Final Boss, Level 90)
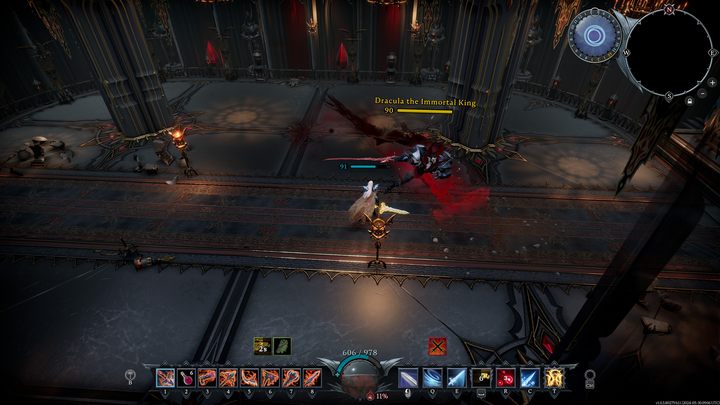
- Location: Dracula's Castle at the eastern end of the map;
- Rewards: Pedestal of Dracula (you can place a soul shard), Soul Shard of Dracula (increases spell power), Dracula's Chestguard (powerful armor);
- Attacks: Slash from a distance (Dracula teleports a long distance and sends two round projectiles moving in a wide arc), Wolf form (the boss will turn into a wolf and charge at you), Spiral (Dracula will create a sphere that deals damage and tightens around him. In addition, it will shoot smaller projectiles), Slashes (fast-moving projectiles generated by sword slashes. The number increases in subsequent phases), Spreading beams (the boss will hit the ground, generating 8 projectiles spreading around him. In subsequent phases, the projectiles also explode), Disappearance and ranged attacks (Dracula will disappear from the screen and you will be forced to avoid a series of projectiles coming from different directions); Crystals (Dracula will summon blood crystals that you will have to destroy), Flying swords (swords will appear in the air and will try to hit you while falling to the ground).
- Strategy: Before the fight starts, make sure you reach the appropriate level and take the right equipment and healing items. Prioritize survival - do not attack the boss without any plan, try to choose convenient windows to strike (preferably between his attacks). Take advantage of the wide arena and stay on the move, avoiding incoming ranged attacks. Also have some protective spells to shield yourself from incoming projectiles. If you play on a difficulty level higher than normal, after the second phase you will have to face 2 more stages. In them, you will focus on the offensive and eliminating characters heading towards the weakened Dracula as fast as possible.
- V Rising Guide
- V Rising: Game guide
- V Rising: Basics
- V Rising: V Rising 1.0 Interactive map
- V Rising: Tips and Tricks
- V Rising: Vampire Powers and Magic Abilities - ways of getting and using
- V Rising: Weapons and combat techniques - types and ways of obtaining
- V Rising: Blood Essence - obtaining and using
- V Rising: Castle Heart - obtaining and uses
- V Rising: Clan - how to create and invite friends
- V Rising: Game modes and servers - game mode list and information about servers
- V Rising: All Bosses
- V Rising: Difficulty levels
- V Rising: Smelting ores
- V Rising: Basics
- V Rising: Game guide
You are not permitted to copy any image, text or info from this page. This site is not associated with and/or endorsed by the developers and the publishers. All logos and images are copyrighted by their respective owners.
Copyright © 2000 - 2025 Webedia Polska SA for gamepressure.com, unofficial game guides, walkthroughs, secrets, game tips, maps & strategies for top games.
