Uncharted The Lost Legacy: Homecoming
Here, we begin the walkthrough of Uncharted: Lost Legacy's chapter called "Homecoming". During this chapter of the game, you will be able to use a jeep for the first time, but the route will be rather straightforward. Towards the end of the mission, you will also encounter the first bigger group of mercenaries, but for now, you will be able to sneak and eliminate them quietly, without raising an alarm. If you, however, feel like unleashing a Rambo-style mayhem, feel free to do so.
Reaching the smaller ruins
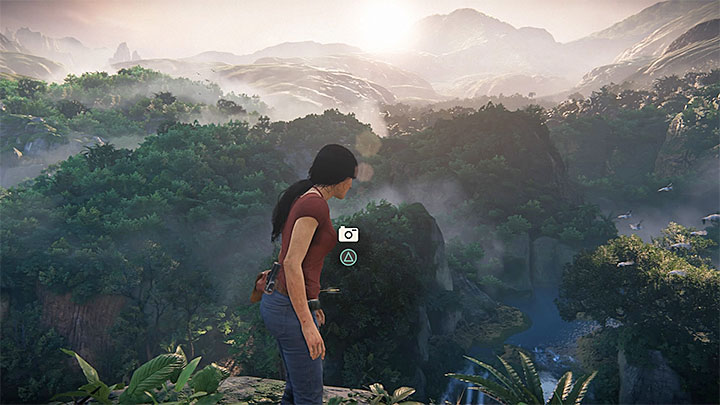
Don't go away after the chapter starts, for there's an interactive vista point - a place to take a picture (1/3). Only after you take the picture should you begin walking. The way is linear and it will take you to a sort of a big pier or bridge. It will collapse, forcing you to look for alternative ways of reaching the jeep.
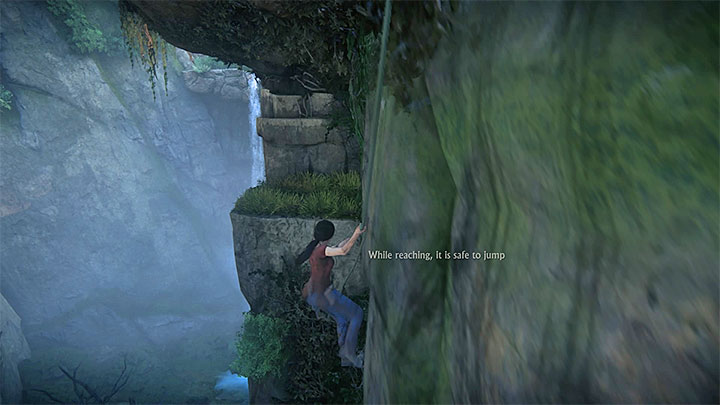
Turn right and slide down the slippery floor to the lower shelf. Look at this interactive hitch and press L1 to use the hook for the first time. Swing on the ropes running along the vertical wall and make a jump at the right foot of the smaller rock shelf. You can now complete the easy climbing that will allow you to reach Nadine's whereabouts.
Enter the jeep and start driving. It will be a pretty long trip. Don't worry about taking the wrong turn - as you'll start driving up the river, there will appear stones along the road, which will prevent any unwanted detours.
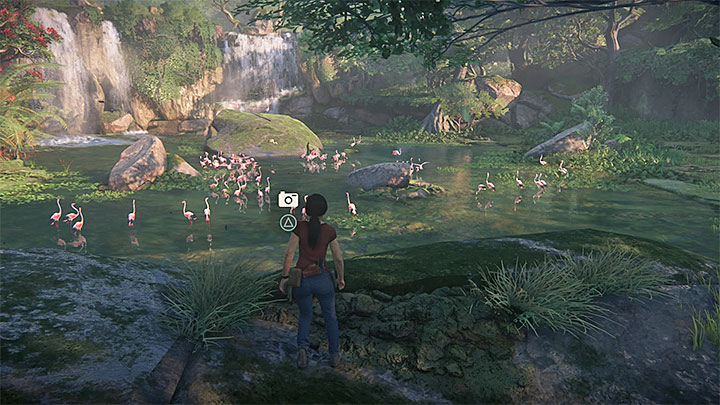
Stop the Jeep when you reach the body of water shown above, where you encounter a large group of flamingos. DO NOT COME ON THE ROCKS, just get out of the vehicle and locate a place to take a picture (2/3). The game will let you take a picture only if the flamingos have not been scared and have not flown away.
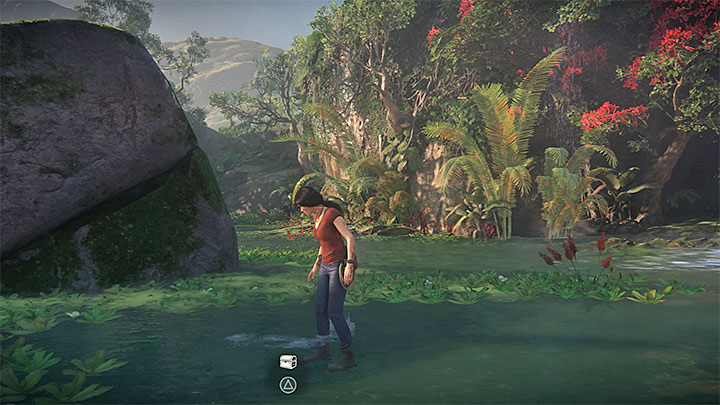
After you have taken the photos, you chase the flamingoes away and explore the location where they have been. Check the area behind the large rock closest to the waterfalls. Here, you will find a treasure (1/4 -Gupta Empire Coins).
You can now get into the jeep and move on. Find the cave entrance to the left of the waterfalls. Continue your ride until you have reached small ruins with a locked gate.
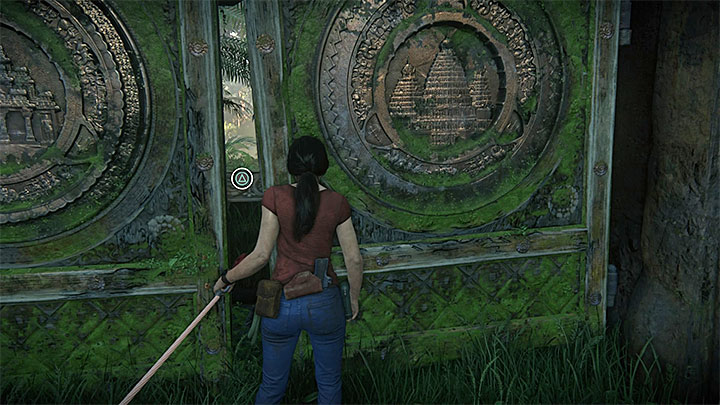
You'll have to use the winch for the first time. It's mounted on the front bumper of the jeep and you will use it to unlock the big gate. Interact with the winch on the jeep, take the line, and walk to the gate. Interact with it to coil the rope around it.
A couple enemies will soon appear. Quickly take cover and return fire. It won't be a huge group, so you should quickly deal with them.
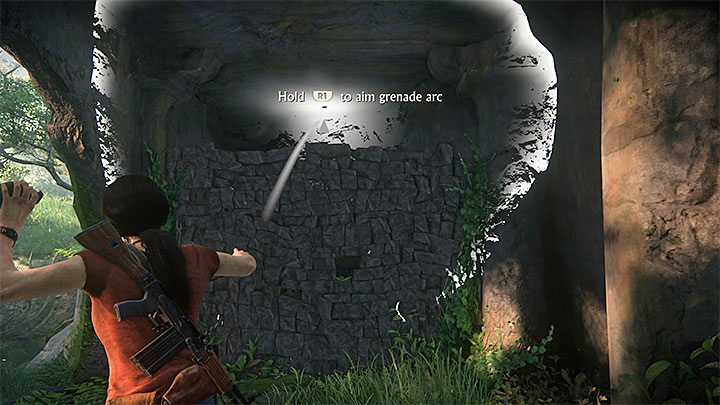
After the fight, examine the bodies of the defeated enemies and locate the grenades at one of them. When you get them, look for higher shelves located to the left of the ruins. The picture shown above shows a weakened wall. Drop a grenade (it may land next to the wall or fly behind it and explode on the other side), to destroy the wall. Behind the ruined wall there is a small safe in which you will find a treasure (2/4 - Silver Water Jar).
Now you can go back to the jeep. Put it in reverse and press gas. Don't release the gas pedal until you pry-open the gate. You can now use the new entrance to proceed forward.
Securing and exploring the large ruins
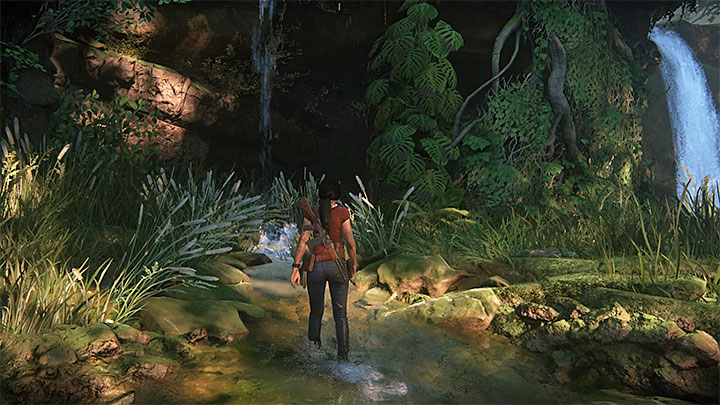
While exploring the new part of the jungle, stop the jeep after reaching the location with two small waterfalls. Exit the car, and take a look around the area. Locate the passage shown above to reach a secret cave and acquire a treasure (3/4 - Golden Fish Statuette).
Resume the jeep ride, which will require you to climb a muddy hill. In order to get to the top, you have to reach the small "islets" of the rocks during the drive, so that the jeep will be able to get some grip on the slippery surface. In addition, at the very beginning gain the right speed in order not to stop before even reaching the stones.
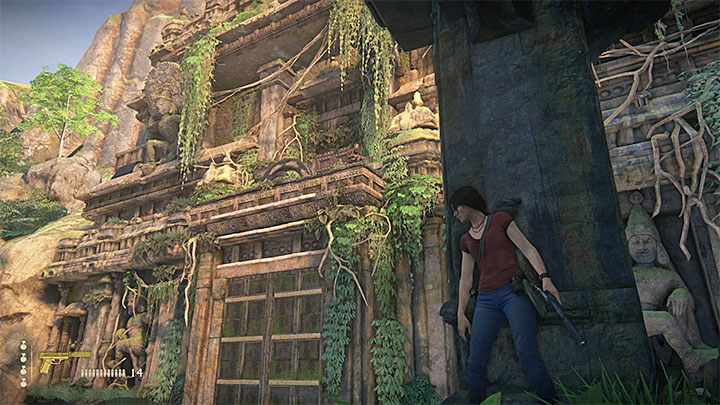
Chloe and Nadine will soon reach larger ruins where there are quite a large number of opponents. Unlike the recent battle among the ruins, these enemies are not aware of the arrival of the main characters and will by default be busy patrolling the area. You can then take steps to surprise and quietly eliminate them. If you choose this variant, try to rely on high vegetation and finding individual opponents who are not in the field of view of their colleagues. You can also choose one of the paths on the hill and bypass the opponents from the left or the right so that you can easily surprise them from behind.
If a gunfight should unleash then use covers. Also, keep your eyes peeled for white gas cylinders - they explode when shot. Regardless of which approach you take, watch out at least one guard watching the area in the higher part of the ruins (above the big, closed gate), since he can see a lot. You might want to take him down with a silenced gun (you can learn how to get such gun below).
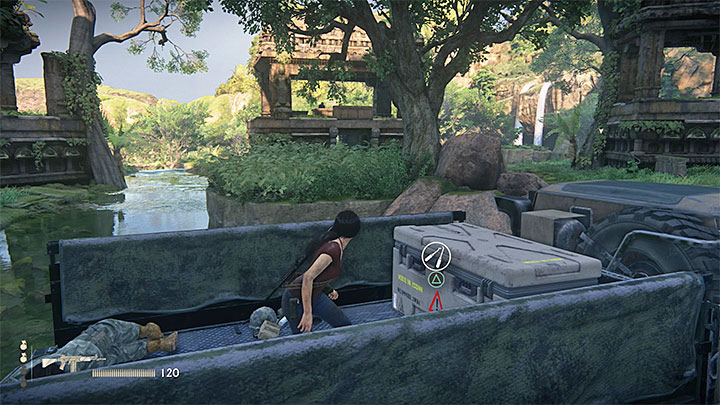
When you're in the large ruins, you can unlock two secrets. The first is the lockbox shown above (1/1). It's lying on the back of a truck, and is by default guarded by one man. You will need a lock pick to get it open. In the crate, you will find, among others, a silenced gun.
Note - this is a good moment to get the I Was Never Here achievement. You can obtain it by sneaking to the crate shown above before engaging the mercenaries in the area.
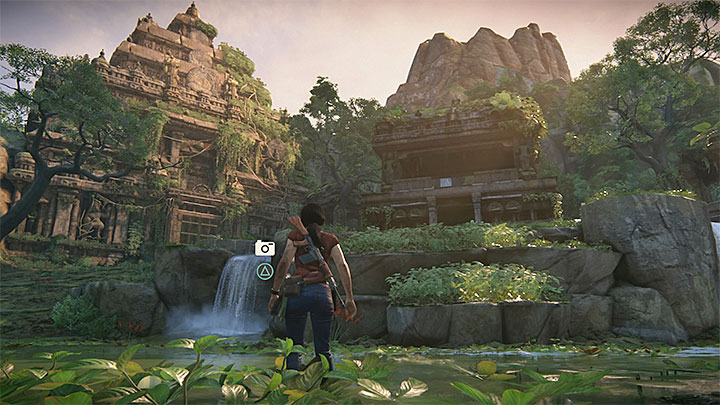
The second secret, on the other hand, should be taken care of after you sort out the issue of guards. When you clear the area, got to the location shown above, and find a place to take a photo (3/3).
Finding your way out of large ruins
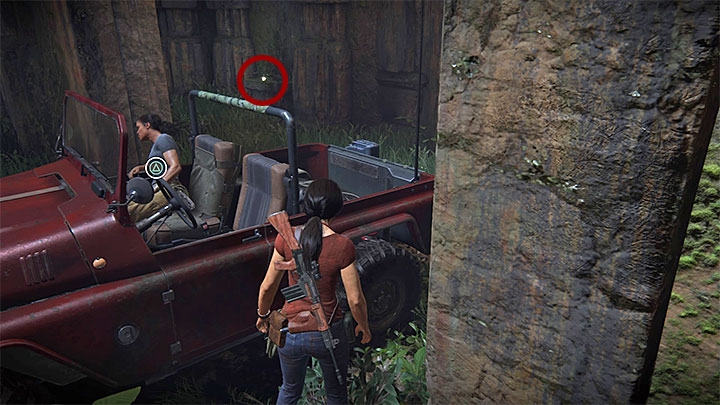
In order to get out of this location, reach a small gate. Notice the horizontal beams that are attached to it. Climb on them and get to the balcony. There's a mechanism there - interacting with it unlocks two passages. Nadine will drive through the open gate - you can use the smaller, top entrance.
Jump towards the white-orange treasure (4/4 - Mango Crystal Scent Flask), which can be found in the location shown above - to the right from the jeep. Now you can return to the car and proceed. Soon, another chapter of the game will begin.
- Uncharted: The Lost Legacy Game Guide
- Uncharted The Lost Legacy: Walkthrough and Secrets
- Uncharted The Lost Legacy: Walkthrough
- Uncharted The Lost Legacy: Prologue
- Uncharted The Lost Legacy: The Insurgency
- Uncharted The Lost Legacy: Infiltration
- Uncharted The Lost Legacy: Homecoming
- Uncharted The Lost Legacy: The Western Ghats Map
- Uncharted The Lost Legacy: Reaching the tower
- Uncharted The Lost Legacy: Exploring the Parashurama Fort (bow and arrow)
- Uncharted The Lost Legacy: Shiva's Fort (Axe)
- Uncharted The Lost Legacy: Ganesha's Fort (Trident)
- Uncharted The Lost Legacy: Hoysala's Tokens and the Queen's Ruby
- Uncharted The Lost Legacy: Leaving Western Ghats
- Uncharted The Lost Legacy: -The climb
- Uncharted The Lost Legacy: Examing the cave
- Uncharted The Lost Legacy: Going through the ruins
- Uncharted The Lost Legacy: Meeting Asav
- Uncharted The Lost Legacy: The Gatekeeper
- Uncharted The Lost Legacy: Explore the first part of Belur
- Uncharted The Lost Legacy: A visit to the library
- Uncharted The Lost Legacy: Solution to the puzzle with Shiva's statue
- Uncharted The Lost Legacy: Solution to the puzzle with prisms
- Uncharted The Lost Legacy: Solution to the puzzle with Parasharma and Ganesha
- Uncharted The Lost Legacy: Reach the railway station 8. Partners
- Uncharted The Lost Legacy: Destroy the enemy chopper
- Uncharted The Lost Legacy: End of the Line
- Uncharted The Lost Legacy: Walkthrough
- Uncharted The Lost Legacy: Walkthrough and Secrets
You are not permitted to copy any image, text or info from this page. This site is not associated with and/or endorsed by the developers and the publishers. All logos and images are copyrighted by their respective owners.
Copyright © 2000 - 2026 Webedia Polska SA for gamepressure.com, unofficial game guides, walkthroughs, secrets, game tips, maps & strategies for top games.
