Trek to Yomi: Chapter 5 - all secrets and collectibles
This page of the Trek to Yomi guide contains a list of chapter 5 secrets - you will learn where to find the 8 artifacts and upgrades for the hero, quiver and ozutsu.
This page of the guide to Trek to Yomi contains a list of secrets from chapter 5. It will help you find all the collectibles in this stage - 8 artifacts and numerous upgrades (stamina, health, shurikens, quiver, ozutsu). This way, you'll get 100% of the mission's secrets more easily.
- Artifact #1 - Great Thunder
- Artifact #2 - Cleaving Thunder
- Stamina Upgrade
- Ozutsu Upgrade
- Ozutsu Upgrade
- Stamina Upgrade
- Artifact #3 - Earth Thunder
- Bo-Shuriken Upgrade
- Artifact #4 - Black Thunder
- Stamina Upgrade
- Artifact #5 - Couchant Thunder
- Artifact #6 - Roaring Thunder
- Health Upgrade
- Health Upgrade
- Artifact #7 - Young Thunder
- Quiver Upgrade
- Artifact #8 - Fire Thunder
- Stamina Upgrade
Artifact #1 - Great Thunder
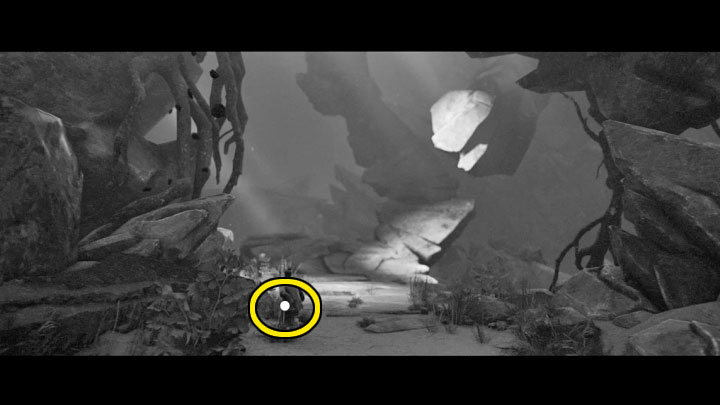
The artifact can be found at the very beginning of the chapter, on the main path. It's easy to notice.
Artifact #2 - Cleaving Thunder
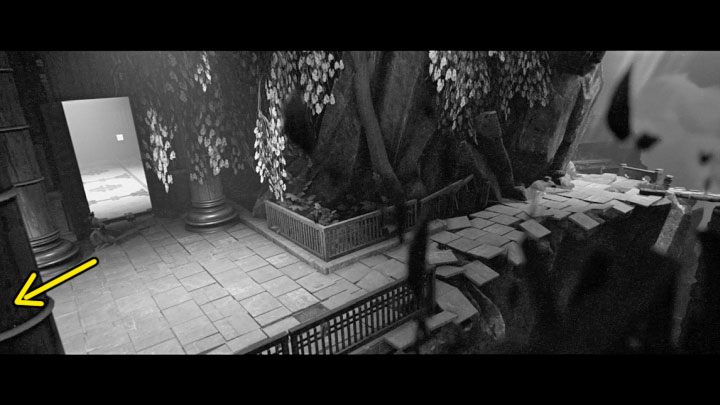
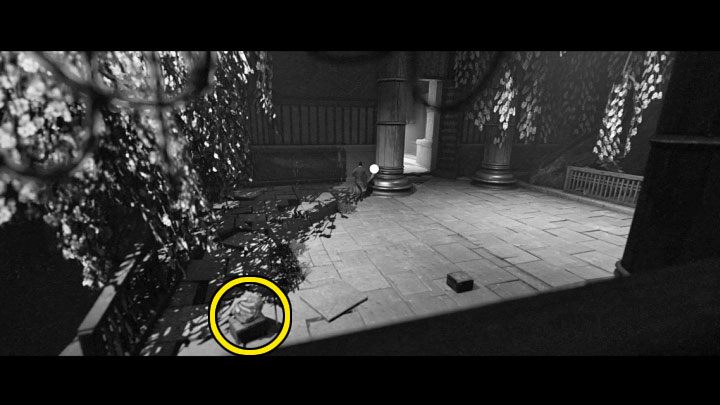
You can find this artifact after dealing with the ghost of the first bandit. After reaching the area shown in picture 1, you have to choose the invisible passage on the left. The collectible will be in the lower left corner of the new location.
Stamina Upgrade
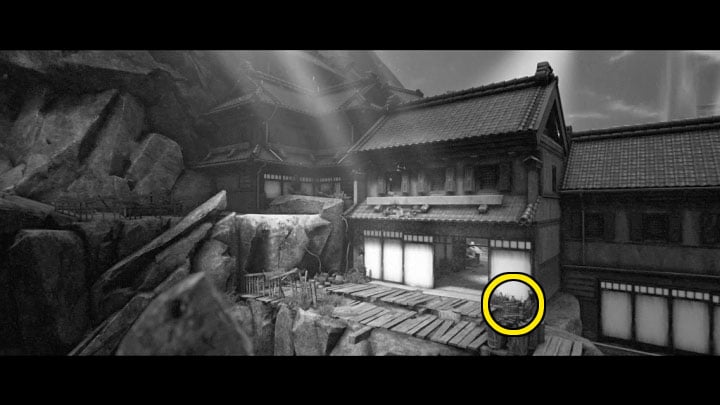
You can get this upgrade shortly after finding artifact 2. Following the main path, you will reach the building shown in the picture above. Before you enter it, look for the secret on the right side.
Ozutsu Upgrade
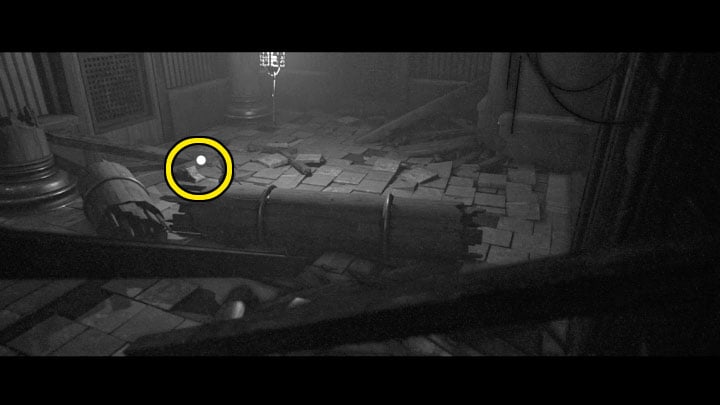
You can find the upgrade shortly after defeating the first Spectre. You will have to go right and check the upper room that you will pass by (picture above).
Ozutsu Upgrade
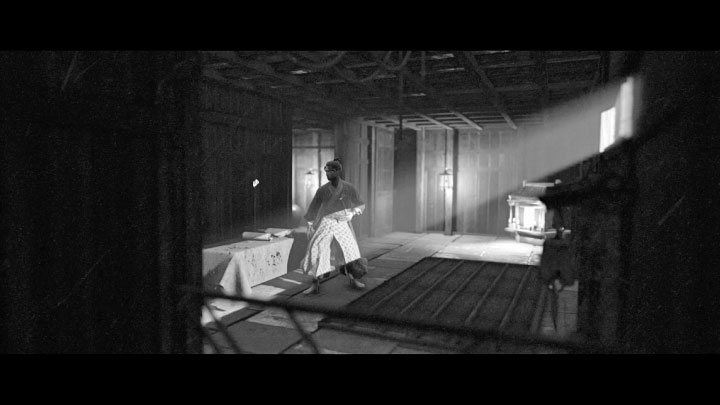
You can find this secret soon after eliminating the first Wraith. You will eventually enter another building, and you'll have to choose the right path to get to the room with the secret shown in the picture above.
Stamina Upgrade
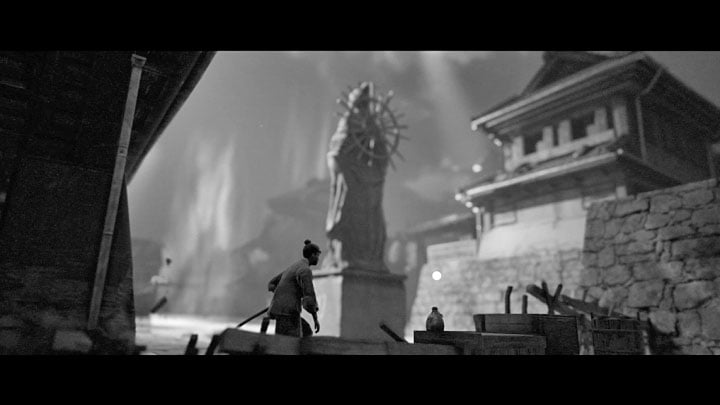
You can find the secret in the location of the second symbol puzzle, and you can take it after solving the puzzle. The upgrade is in the upper right corner, behind one of the statues.
Artifact #3 - Earth Thunder
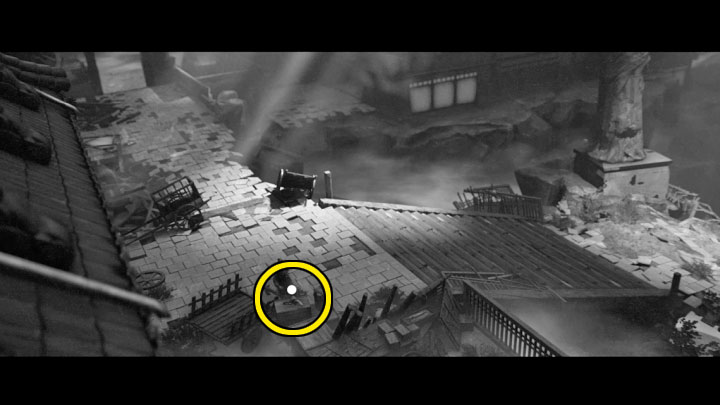
You will find the artifact shortly after solving the second puzzle with symbols. It will be on the main path, so it's hard to miss - we've marked it in the picture.
Bo-Shuriken Upgrade
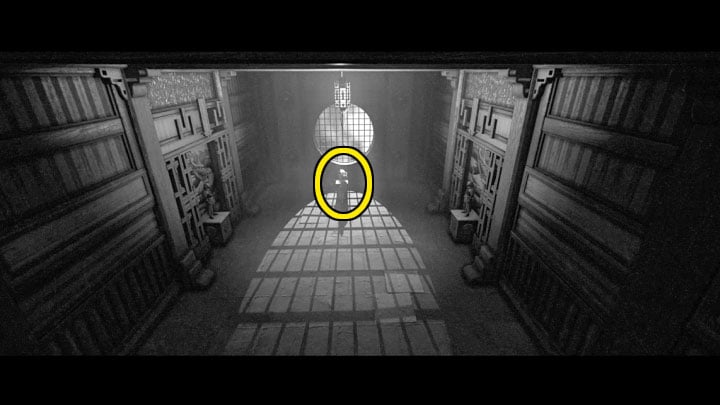
You'll get this secret shortly after the second time you avoid the moving blocks that can crush the main protagonist. Once you've escaped the traps, you have to choose the right passage and look around for the entrance to the upper room with a round window (picture above).
Artifact #4 - Black Thunder
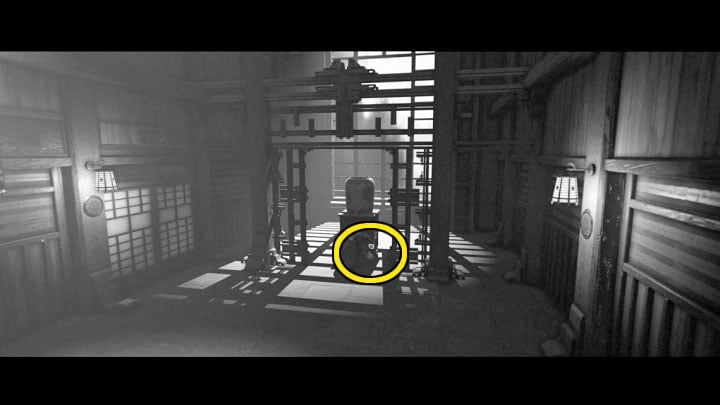
You can obtain the artifact shortly after finding the upgrade described above. You have to go back to the main path and keep going right all the time. In the last room on the right, approach the area marked in the picture.
Stamina Upgrade
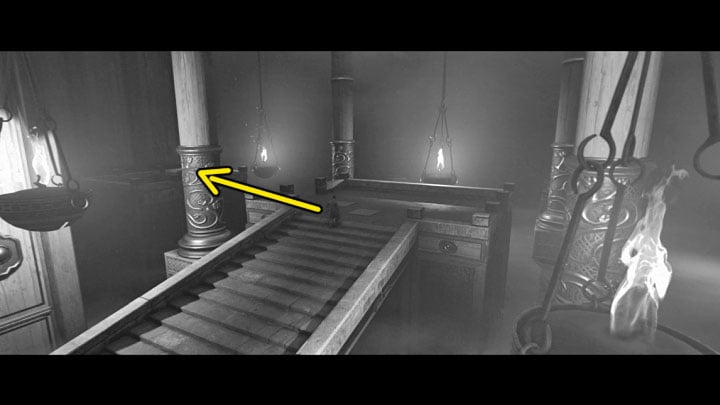
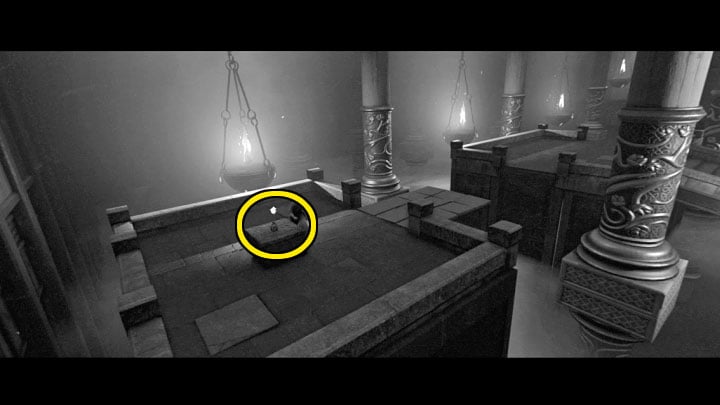
You can find the upgrade after reaching the fork by the stairs shown in picture 1. You have to choose the passage on the left, which will lead you to the location with the collectible from picture 2.
Artifact #5 - Couchant Thunder
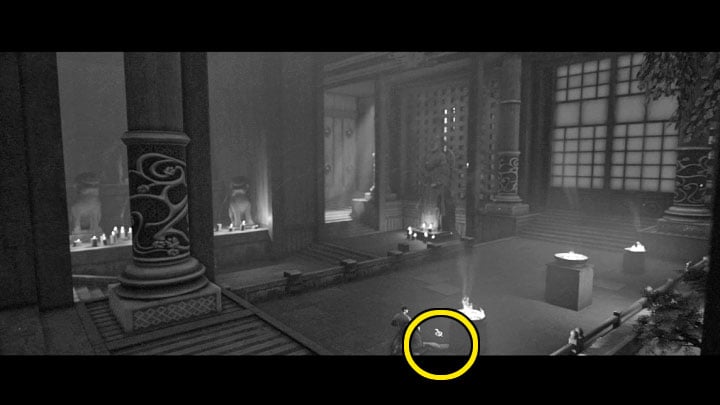
You can find the artifact shortly after getting the upgrade described above. Go right and explore the stairs below as soon as you can. After reaching the area presented in the picture above, head to the bottom of the screen.
Artifact #6 - Roaring Thunder
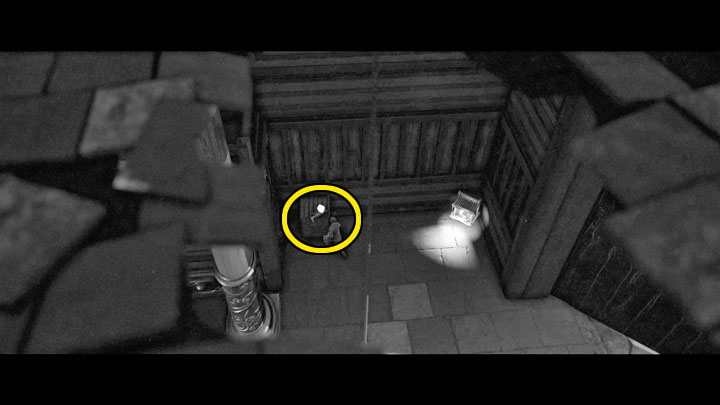
You'll get this artifact after reaching the partially open large gate. There's a shrine to the left of it, and the collectible is right next to i.
Health Upgrade
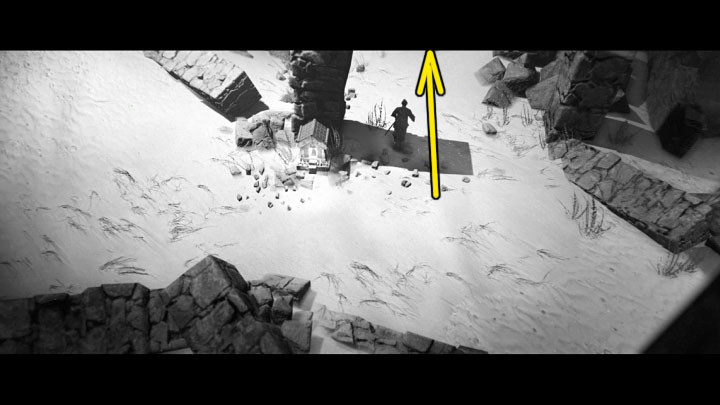
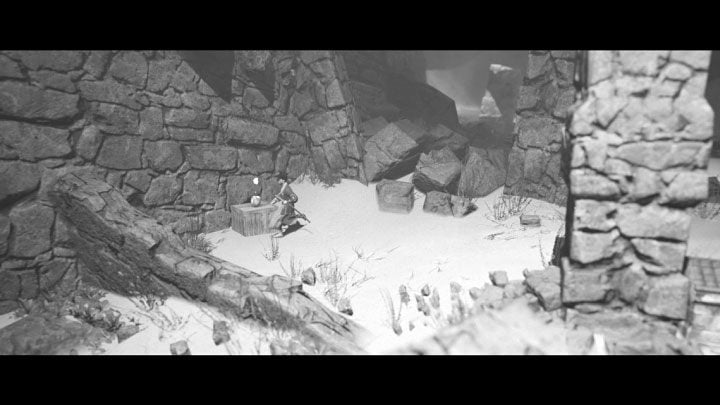
You can get the upgrade while going through the desert. You have to get to the shrine from picture 1. Next to it, there is a poorly visible upper passage, which leads to collectible hidden in a side area (picture 2).
Health Upgrade
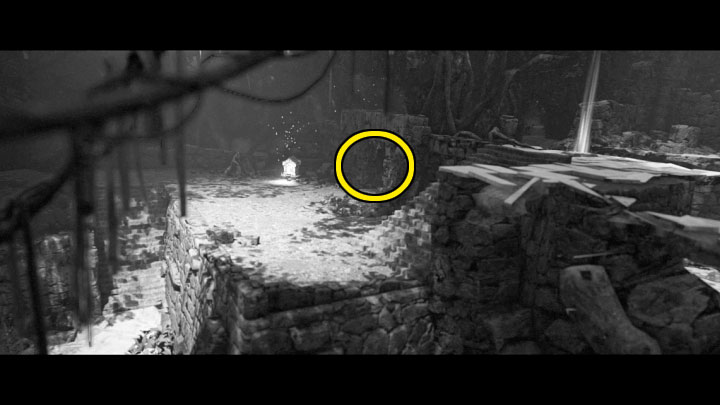
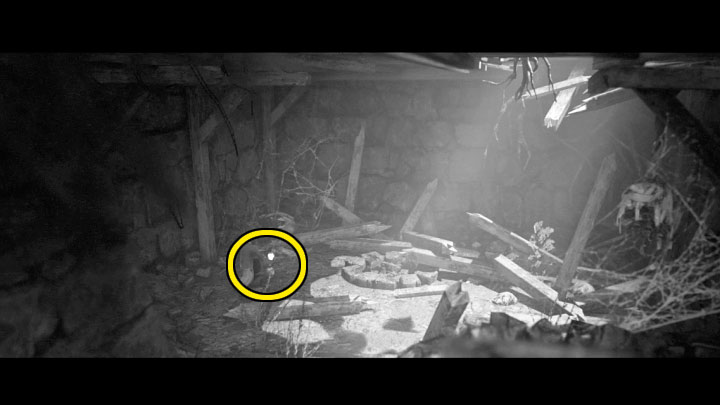
You can get the secret soon after solving the boat puzzle. You will reach the shrine, to the right of which there is a passage that you must explore. You'll find the upgrade shown in picture 2 once you enter the new location.
Artifact #7 - Young Thunder
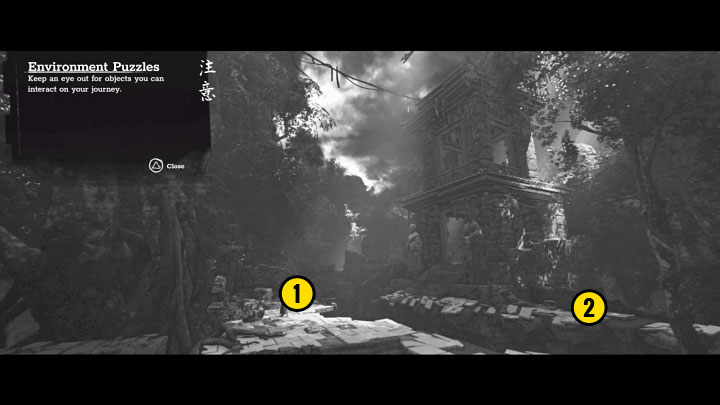
You'll get this secret in the location of the third puzzle with symbols. Once you solve it, stand on the left pressure plate (point 1 on the picture), and when a new section of the floor appears, run to the collectible on the right (point 2 on the picture).
Quiver Upgrade
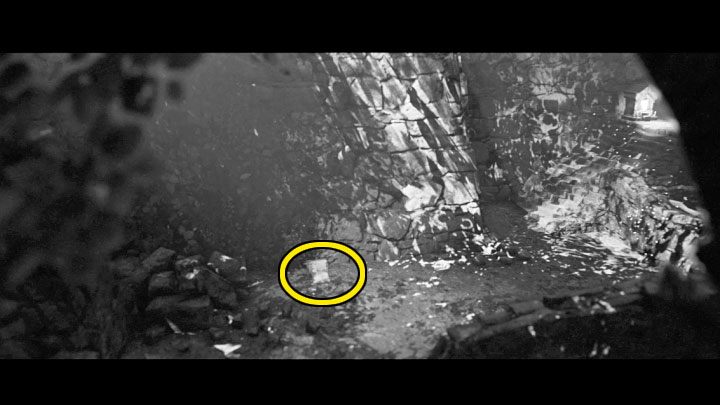
You can get this upgrade shortly after finding artifact 7 described above. Keep following the main path. After reaching the new shrine, explore the area to the left of it (picture above).
Artifact #8 - Fire Thunder
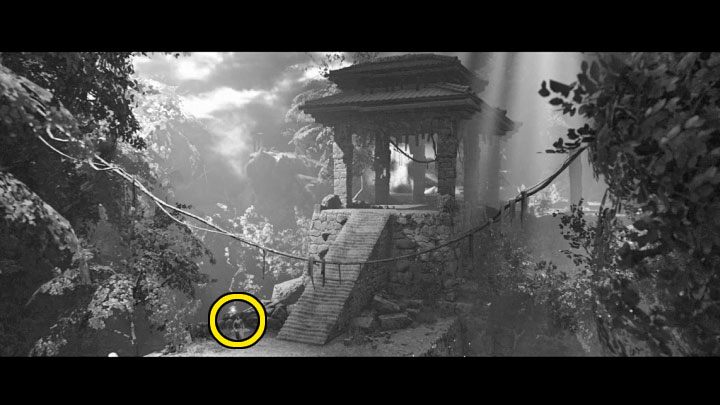
The artifact is located near the large stairs shown in the picture above. You will reach this place at the end of the level. You have to get clearly close to the collectible for the interaction icon to appear.
Stamina Upgrade
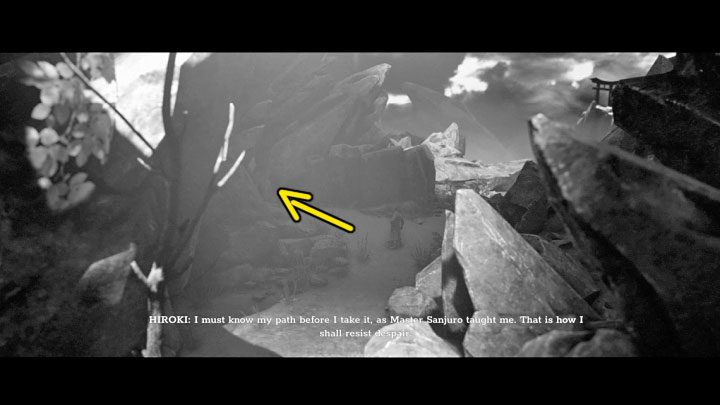
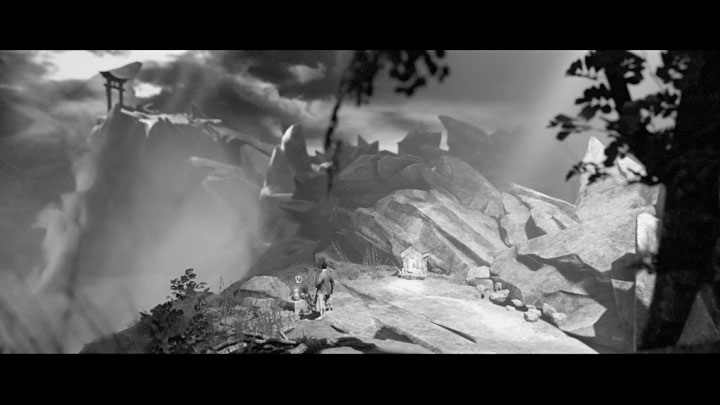
You can find the upgrade at the end of the level, shortly before the main boss fight. You have to reach the fork in picture 1 and take the left path first. The secret is next to the shrine (picture 2).
You are not permitted to copy any image, text or info from this page. This site is not associated with and/or endorsed by the Devolver Digital or Leonard Menchiari. All logos and images are copyrighted by their respective owners.
Copyright © 2000 - 2025 Webedia Polska SA for gamepressure.com, unofficial game guides, walkthroughs, secrets, game tips, maps & strategies for top games.
