The Surge: Resolve BioLab
Last update:
This page in our guide to The Surge contains walkthrough for Resolve BioLabs. Here, you can learn what you have to do in order to continue the main storyline. The walkthrough contains on enemies and NPCs that you will come across, shortcuts and how to reach the boss and exit the location.
Reach the courtyard
As soon as the stage starts, go to the Medical Station, located on the left side of the starting point. The information network does not work but all the other functions should be working properly.
Exit the station, head left and move along the only available path. Go down the stairs and you will face two machines. The key to success is to destroy the limbs attacked their bodies. Once this is done, they won't be much of a threat. However, they can still incapacitate you and slowly drain your life energy. Use their limited range of vision and attack them from behind. This way you will initiate the fight. This will improve your chance to survive.
![When you reach the spot presented in the screenshot [1], another machine, hiding behind the crates, will stand in your way - Resolve BioLab | The Surge Walkthrough - Walkthrough - The Surge Game Guide](/the-surge/gfx/word/108162937.jpg)
When you reach the spot presented in the screenshot [1], another machine, hiding behind the crates, will stand in your way. Duck, lock the camera on its arm and finish the robot off. There is a circuit, not far from the place where you were attacked [2]. You can overcharge it. Do it, go back and go down the stairs. There is another implant behind the door.
Get back to the location presented in the previous screenshot, pass the circuit and go up. Kill the enemies and search the floor. The elevator won't work but there is a circuit right behind it. Overcharge the circuit to run the elevator again. The door at the bottom is closed, and at this point you won't be able to open it. Don't worry, you will get back here by the end of this stage.
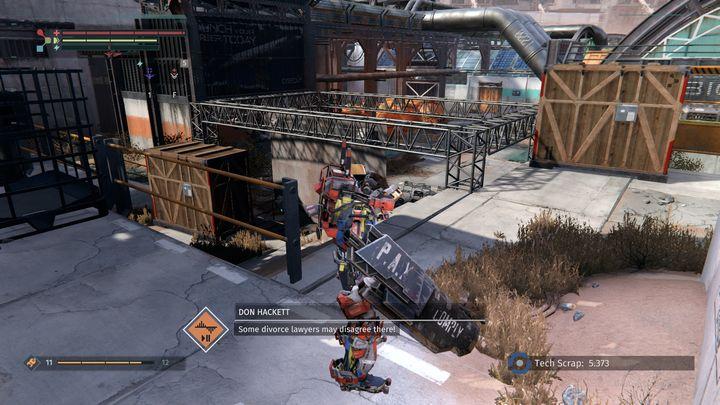
Use the elevator to reach the top floor. Eliminate a fast enemy and destroy drones located behind wooden crates. Restore your supplies and move on. At first humanoids will attack you but soon the only remaining opponents will be combat robots. Lure them out one by one, and try to make them follow you to the staircase - this will limit their movement. The machines can regroup quickly, so try to eliminate the first one before the rest will find you.
Dr Melissa Chavez and another shortcut
![Starting from the position presented in the picture [1], go right and collect the weapon - Resolve BioLab | The Surge Walkthrough - Walkthrough - The Surge Game Guide](/the-surge/gfx/word/108162968.jpg)
Starting from the position presented in the picture [1], go right and collect the weapon. Ignore the door [2], as it's not available. There is a mini boss on the right. Go straight, avoid toxic waste and reach the door visible in the picture [3]. There is a terminal next to it. Use it to proceed with your task.
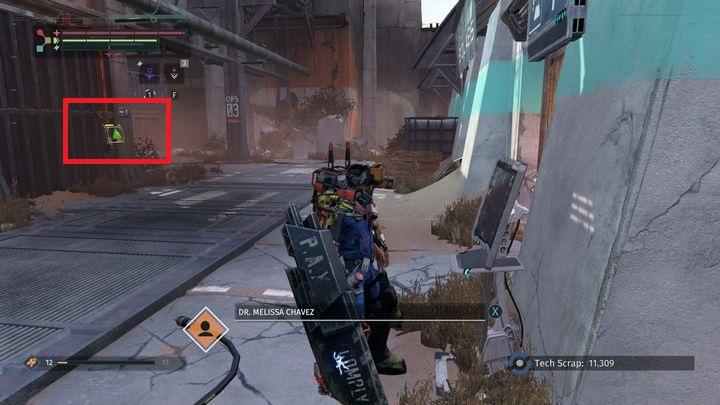
Deal with other terminals in the area and overcharge the presented cable.
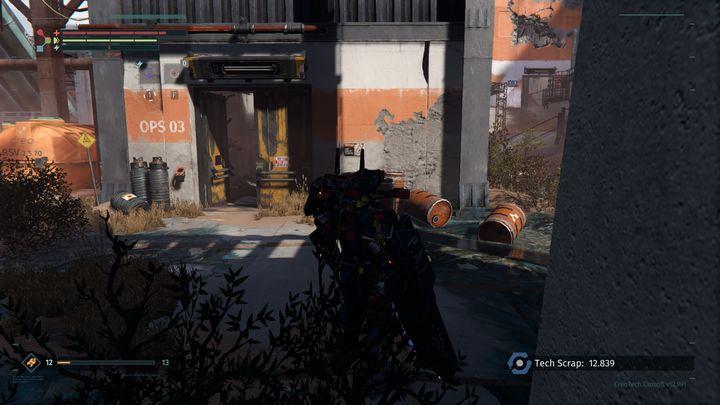
The door, which you will open this way, is in fact a shortcut to the Medical Station. Use the elevator located behind the door to go directly to the train station (where you started this stage of the game). Rest and go back to the top.
Labs
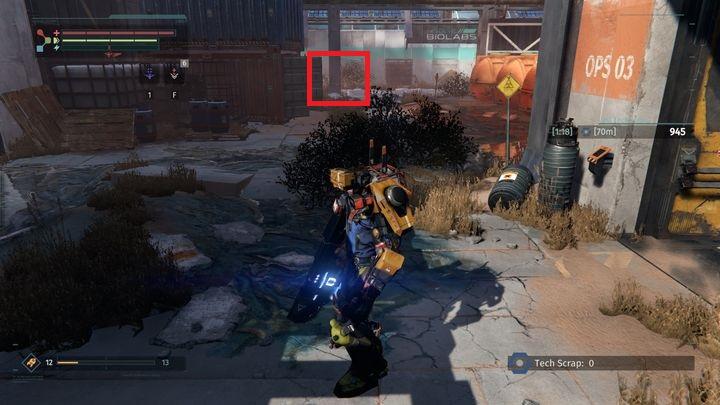
Leave the container and head right. In the location presented in the screenshot, there is a hole in the ground. You need to get there. You can run away from your enemies, because as soon as you jump down, you will be safe. Move forward and collect the voice message, located under the stairs.
Defeat enemies that will stand in your way and turn left to move forward. The door in front of you is for Security only. Defeat some more opponents on the lower level, collect all the items, and go even deeper.
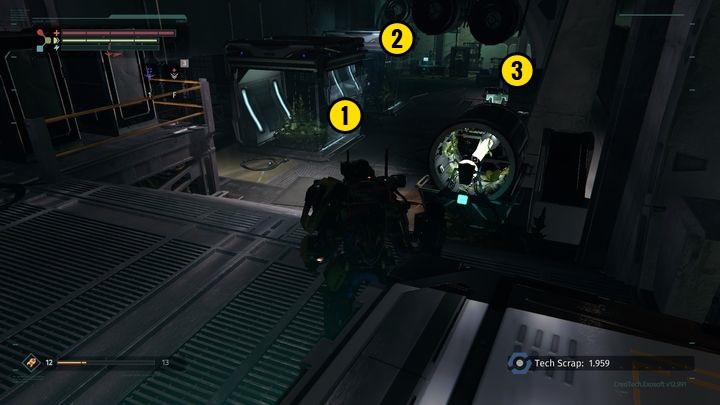
You will reach the spot presented in the screenshot. First, you will have to deal with the patrolling robot [1]. If you go deeper into the room, you will be attacked by a drone [2], and a combat robot [3]. The last of the machines will not react, until you approach it, so you can overcharge a circuit and activate the elevator first. The stairs in the back will take you to the security room.
Use the elevator, defeat a quick opponent and turn right. There is a trap behind the door, so be careful and watch out for the left side (especially when your health is low). Defeat the enemies and use the only available path. The next chamber is filled with combat machines and you will have to face them. Listen to the audiolog and unlock the door. You will end up in the courtyard, you visited before.
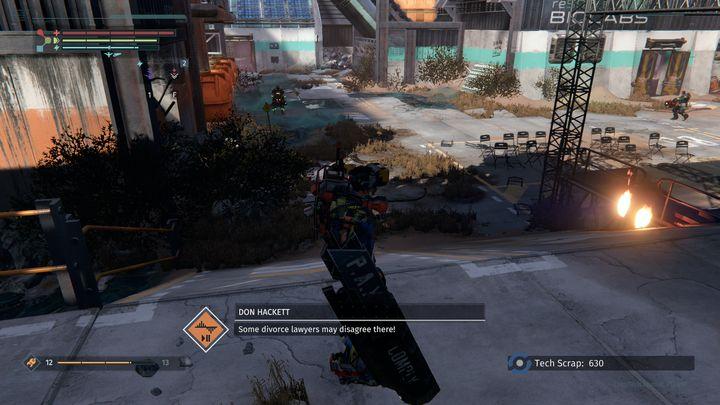
This time, you will run into enemies with flamethrowers. Defeat them and reach the door where you spoke with Chavez. You should be able to open them. Inside, there is a drone, a combat machine and a quick enemy. Defeat them and move on.
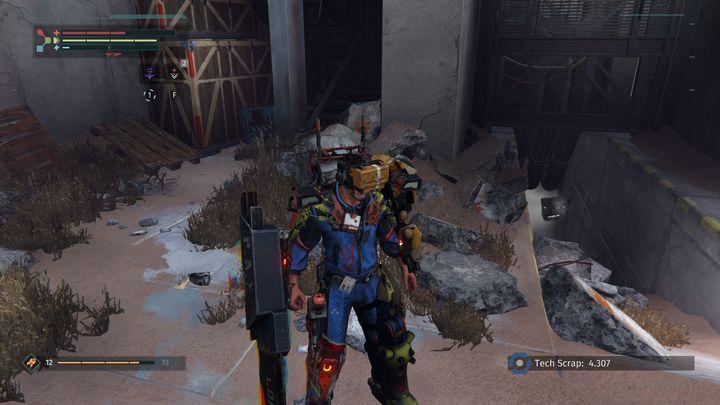
You will end up in the presented location. Go up, deal with a single enemy and overcharge a circuit. Go down, and go back. On your right, there is a door that you can open. Inside, you will find a new implant. Keep in mind that on the other side of the courtyard there are stairs, you used to get here in the first place. If you go up, you will find some medical supplies. If you have problems with your opponents, you can always go there. This way, you will restore your supplies and the enemies will not respawn.
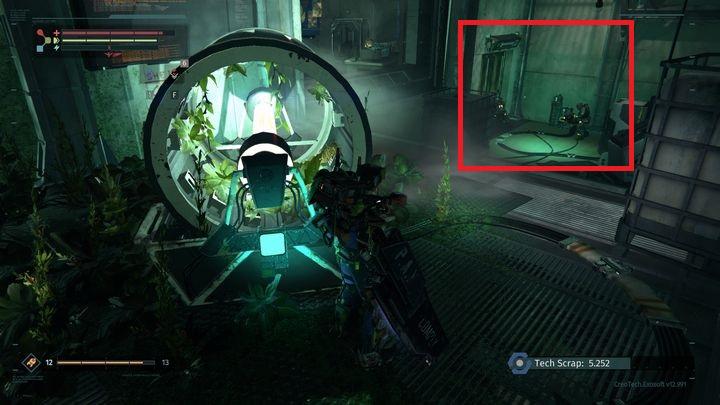
If you go downstairs, you will realize that there is just one path that you can take. Destroy the crates to eliminate enemies that hide inside. In the end, you will notice that two enemies with flamethrowers are trying to access Melissa's room. Kill them and the woman will open the door for you. Speak with her until you run out of dialogue options.
Collect the Core from the table and go back from where you came from. In order to move forward, you will need to rely on your drone's new ability (granted by the Core you have just collected). Open the door and you will find yourself next to the train station, you used in the previous location. Restore your health and head for the door that you were unable to overcharge due to low drone energy (near the first elevator). Open the door and you will find another item.
Further storyline events will be related directly to the previous location, so you need to go back to Central Production B. reach the station and use the train.
You are not permitted to copy any image, text or info from this page. This site is not associated with and/or endorsed by the developers and the publishers. All logos and images are copyrighted by their respective owners.
Copyright © 2000 - 2026 Webedia Polska SA for gamepressure.com, unofficial game guides, walkthroughs, secrets, game tips, maps & strategies for top games.
