StarCraft 2 Heart of the Swarm: Back in the Saddle
Primary Objectives:
Gain access to the door to the lower level
Guard the door
Escape from the lower level
Guard the shuttle's engines
Reach the spaceport
Destroy "the Archangel"
Kerrigan must survive
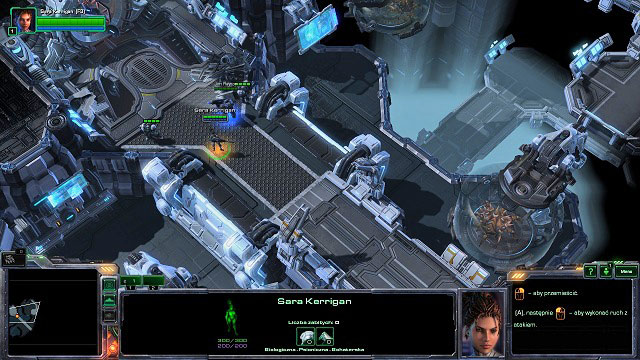
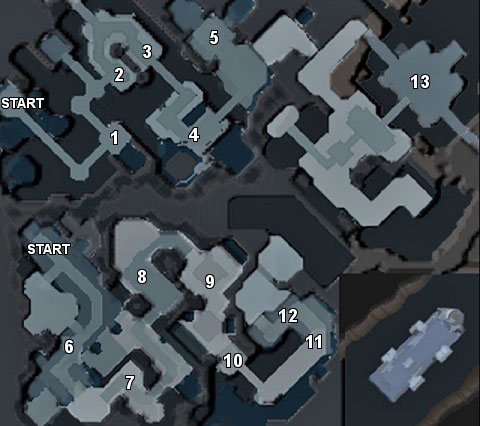
Just like in the case of the "Lab Rat", the beginning of the second mission also serves as a tutorial. This time you will acquaint yourself with the operation of your units' special abilities. Go straight ahead. In [1] you will need to use the kinetic blast in order to eliminate the marauder; the marine reinforcements can be disposed of with a regular machine gun.
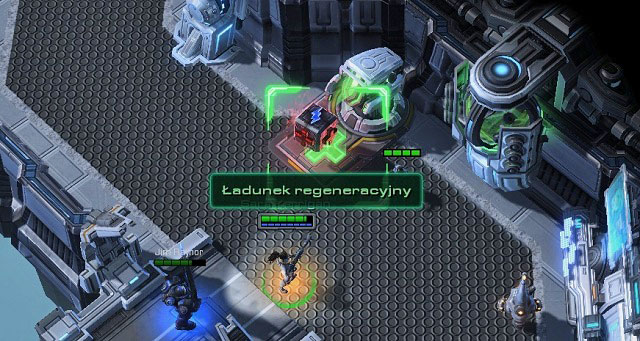
Further on, you will encounter another enemy group. They should be no challenge to you. Once you reach point [2], you will be able to replenish your health with regeneration pack.
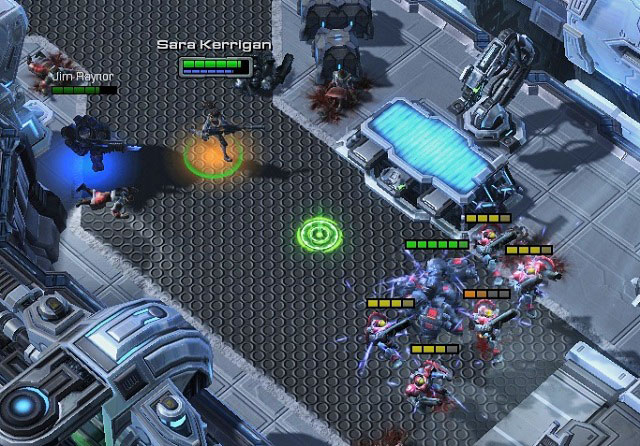
Right behind the corner, you will encounter another group of enemies. You will receive another ability, a crushing grip, which you will have the opportunity to put to test now. On your way[4] towards the exit, you will encounter several landing capsules that are full of Dominium troops - defeating them should be a child's play. In the point visible on the mini-map [5] you ill be able to replenish your health again.
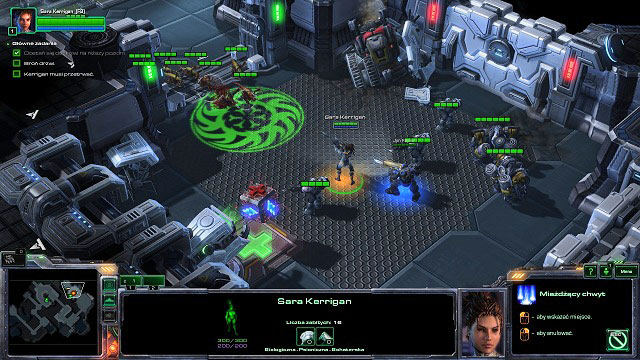
After you unlock the way to the lab's lower level, there is another skirmish waiting for you. This time around, it is going to be against zerglings. It is enough to retreat into the room and let the ally finish the job for you. , while you perform the crushing grip to block off as many of the enemy units as possible. After a while, you will reach the lab's lower level.
This time, you're going to have to race against time. You only have several minutes to escape the lab, so you should hurry. On your way out, you will encounter the troops of Dominium fighting against zergs - while attacking them, try to maintain balance between the two parties at all times, and then eliminate the remnants. During these battles, the crushing grip will come in handy. After you reach [6] you will be able to replenish your health.
![Point [7] is your objective now, where you will find another regeneration pack and a control point that opens the way further - Back in the Saddle - Umoji missions - StarCraft II: Heart of the Swarm - Game Guide and Walkthrough](/starcraftiiheartoftheswarm/gfx/word/346861703.jpg)
Point [7] is your objective now, where you will find another regeneration pack and a control point that opens the way further. A bit ahead [8] you will encounter an ultralisk trying to bring down the barrier between him and Kerrigan. You can serve him with kinetic blast , and collect a nearby regeneration pack. In [9] you can replenish your health again. Then, you will have to destroy the barrier ahead. Right before the control point [10] you will find the last pile of debris, and a regeneration pack.
![After you defeat the soldiers at the next control point [11] and replenish your health, it will turn out that there are considerable Dominium forces in your way - Back in the Saddle - Umoji missions - StarCraft II: Heart of the Swarm - Game Guide and Walkthrough](/starcraftiiheartoftheswarm/gfx/word/346861718.jpg)
After you defeat the soldiers at the next control point [11] and replenish your health, it will turn out that there are considerable Dominium forces in your way. By using the nearby console, you will be able to utilize one of two options: you can set the zergs in the cages on your enemies (possible battle against aliens), or let gas into the area (this will not eliminate mechanical equipment). Regardless of which option you chose, you will have to kill out the remnants in the area [12]. After you reach [13], the whole setup will move to the shuttle's board.
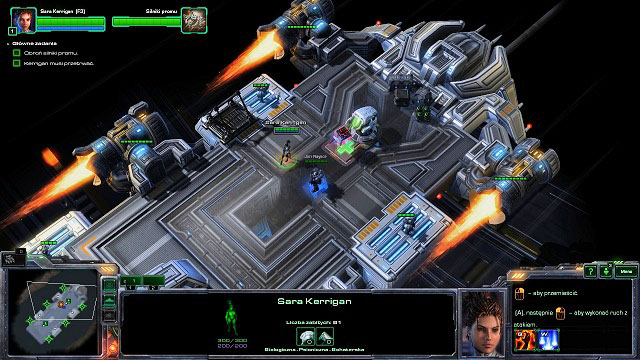
In this part of the mission, you will have to protect the engines from Dominium troops. There is nothing more challenging than that: the airborne enemies (especially the ones that carry reinforcements into the battlefield) can be eliminated with kinetic blast. These that are already are on the ground, can be dealt with by means of the crushing grip. You do not need to get sting on your health, as you have access to regeneration packs at all times.
![After you land, you are up for a short walk towards the last control point [13] - Back in the Saddle - Umoji missions - StarCraft II: Heart of the Swarm - Game Guide and Walkthrough](/starcraftiiheartoftheswarm/gfx/word/346861750.jpg)
After you land, you are up for a short walk towards the last control point [13]. Then, the last battle of this mission will start - your enemy here is a giant robot, the Archangel. It has several attacks at its disposal, but every one of them can be avoided without taking damage. The attacks are signaled with the red circles appearing on the ground, and they are aimed directly at Kerrigan, or somewhere around the platform. In both cases, it is enough to position yourself outside of the circle to avoid getting hit. The Archangel moves around the platform, and takes on the form of a fighter plane. That is when it performs several bombing raids: this time, you will have to avoid arrows appearing on the ground. In the meantime, you will also be attacked by Dominium units - fortunately, the Archangel's attacks also wound its allies. In the extreme, you can make use of the regeneration packs on the platform.
- StarCraft II: Heart of the Swarm Game Guide
- StarCraft 2 Heart of the Swarm: Game Guide
- StarCraft 2 Heart of the Swarm: Umoji missions
- StarCraft 2 Heart of the Swarm: Lab Rat
- StarCraft 2 Heart of the Swarm: Lab Rat (achievements)
- StarCraft 2 Heart of the Swarm: Back in the Saddle
- StarCraft 2 Heart of the Swarm: Back in the Saddle (achievements)
- StarCraft 2 Heart of the Swarm: Rendez-vous
- StarCraft 2 Heart of the Swarm: Rendez-vous (achievements)
- StarCraft 2 Heart of the Swarm: Umoji missions
- StarCraft 2 Heart of the Swarm: Game Guide
You are not permitted to copy any image, text or info from this page. This site is not associated with and/or endorsed by the developers and the publishers. All logos and images are copyrighted by their respective owners.
Copyright © 2000 - 2025 Webedia Polska SA for gamepressure.com, unofficial game guides, walkthroughs, secrets, game tips, maps & strategies for top games.
