STALKER Clear Sky: Red Forest - Quests - part 1
1. Capture Strelok
Received from: n/a
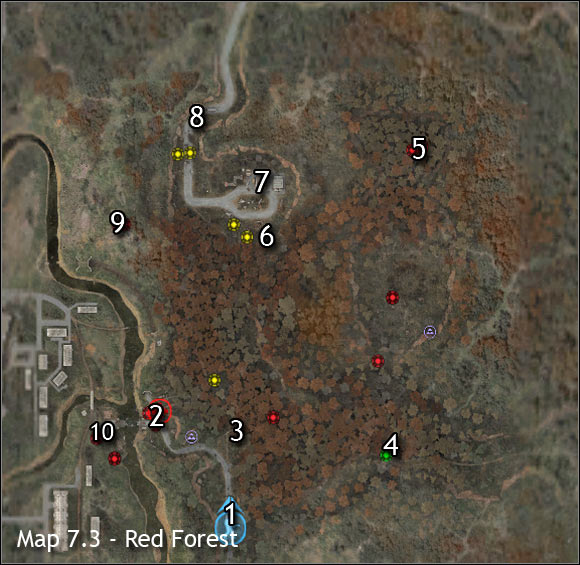
Starting point: 1 on the map
Goal area: 2 on the map (ignore what your PDA is showing)
Quest description:
This quest has a very linear structure, so you won't be able to affect how it ends. Let's start by saying that you won't catch Strelok, so you won't have to chase him once you've arrived in Red Forest. Instead, keep moving slowly and save your progress frequently, because it's dangerous here (radiation and anomalies). Get closer to a small checkpoint (screen) and make sure that you have a powerful weapon in your hands.
2. Survive the ambush
Received from: automatically once you've finished first quest
Starting point: 2 on the map
Goal area: 2 on the map
Quest description:
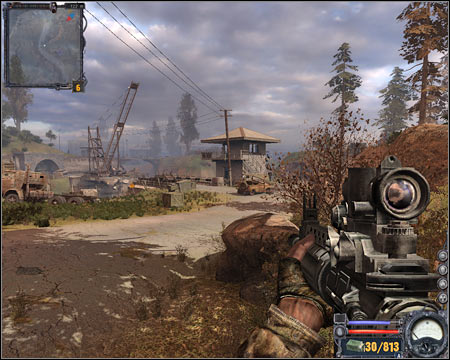
This new assignment will replace the first quest once you're close enough to the checkpoint. Head over to the left truck quickly, because you can't stay in the open. Kill a few bandits from here (screen), however watch out for grenades. Change your position often to avoid them. It's also important that you prevent enemy units from getting too close to your main character.
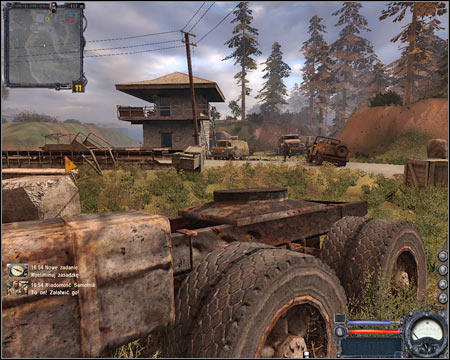
Obviously you will have to kill all the bandits before you'll be allowed to move on with the next challenge. Watch out for your right flank, because bandits tend to appear there often. Don't forget to secure the large tower as well. You'll notice that Strelok has blown up the tunnel, so you won't be able to pursue him anymore.
3. Answer to a distress call
Received from: automatically once you've finished second quest
Starting point: 2 on the map
Goal area: 3 on the map
Quest description:
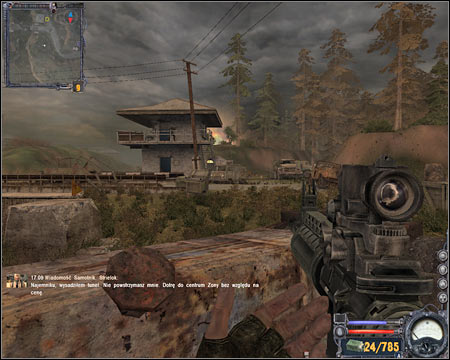
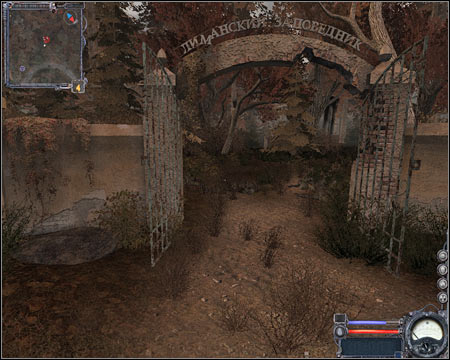
You'll be rewarded with a short cut-scene. Once it's over, wait for this new quest to be added to your list. Ignore Sienia, because he won't help you in reaching the Woodsman. Instead, go back to the southern area of the map. Stay on the main road to avoid anomalies and radiation. Notice that a large gate is now opened (screen). Approach it and you'll come across a few dead bodies.
4. Locate and pick up the PDA
Received from: automatically once you've finished third quest
Starting point: 3 on the map
Goal area: 3 on the map
Quest description:
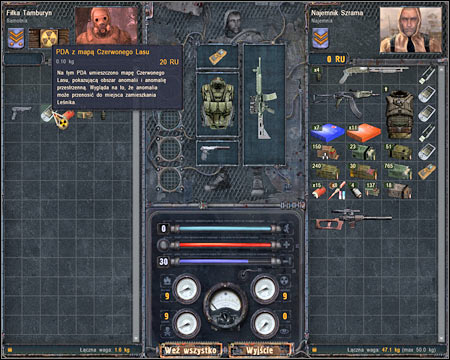
I think that you know by now how to act in these types of situations. Start off by finding the correct body. Click on it, locate the PDA (screen) and drag this item to your inventory. You should also notice a sniper rifle in the inventory of the dead stalker. Take it and await further instructions.
- S.T.A.L.K.E.R.: Clear Sky Game Guide & Walkthrough
- STALKER Clear Sky: Game Guide
- STALKER Clear Sky: Walkthrough
- STALKER Clear Sky: Swamps
- STALKER Clear Sky: Swamps - Maps - part 1
- STALKER Clear Sky: Swamps - Maps - part 2
- STALKER Clear Sky: Swamps - Maps - part 3
- STALKER Clear Sky: Swamps - Quests - part 1
- STALKER Clear Sky: Swamps - Quests - part 2
- STALKER Clear Sky: Swamps - Quests - part 3
- STALKER Clear Sky: Swamps - Quests - part 4
- STALKER Clear Sky: Cordon
- STALKER Clear Sky: Cordon - Maps - part 1
- STALKER Clear Sky: Cordon - Maps - part 2
- STALKER Clear Sky: Cordon - Quests - part 1
- STALKER Clear Sky: Cordon - Quests - part 2
- STALKER Clear Sky: Cordon - Quests - part 3
- STALKER Clear Sky: Garbage
- STALKER Clear Sky: Garbage - Maps - part 1
- STALKER Clear Sky: Garbage - Maps - part 2
- STALKER Clear Sky: Garbage - Quests - part 1
- STALKER Clear Sky: Garbage - Quests - part 2
- STALKER Clear Sky: Garbage - Quests - part 3
- STALKER Clear Sky: The Dark Valley
- STALKER Clear Sky: The Dark Valley - Maps - part 1
- STALKER Clear Sky: The Dark Valley - Maps - part 2
- STALKER Clear Sky: The Dark Valley - Maps - part 3
- STALKER Clear Sky: The Dark Valley - Quests - part 1
- STALKER Clear Sky: The Dark Valley - Quests - part 2
- STALKER Clear Sky: The Dark Valley - Quests - part 3
- STALKER Clear Sky: The Dark Valley - Quests - part 4
- STALKER Clear Sky: Agroprom Institute
- STALKER Clear Sky: Agroprom Institute - Maps - part 1
- STALKER Clear Sky: Agroprom Institute - Maps - part 2
- STALKER Clear Sky: Agroprom Institute - Quests - part 1
- STALKER Clear Sky: Agroprom Institute - Quests - part 2
- STALKER Clear Sky: Agroprom Sewers
- STALKER Clear Sky: Agroprom Sewers - Quests - part 1
- STALKER Clear Sky: Agroprom Sewers - Quests - part 2
- STALKER Clear Sky: Yantar
- STALKER Clear Sky: Yantar - Map
- STALKER Clear Sky: Yantar - Quests - part 1
- STALKER Clear Sky: Yantar - Quests - part 2
- STALKER Clear Sky: Yantar - Quests - part 3
- STALKER Clear Sky: Red Forest
- STALKER Clear Sky: Red Forest - Maps - part 1
- STALKER Clear Sky: Red Forest - Maps - part 2
- STALKER Clear Sky: Red Forest - Maps - part 3
- STALKER Clear Sky: Red Forest - Quests - part 1
- STALKER Clear Sky: Red Forest - Quests - part 2
- STALKER Clear Sky: Red Forest - Quests - part 3
- STALKER Clear Sky: Red Forest - Quests - part 4
- STALKER Clear Sky: Red Forest - Quests - part 5
- STALKER Clear Sky: Red Forest - Quests - part 6
- STALKER Clear Sky: Army Warehouses
- STALKER Clear Sky: Army Warehouses - Map - part 1
- STALKER Clear Sky: Army Warehouses - Map - part 2
- STALKER Clear Sky: Army Warehouses - Quests - part 1
- STALKER Clear Sky: Army Warehouses - Quests - part 2
- STALKER Clear Sky: Army Warehouses - Quests - part 3
- STALKER Clear Sky: Limansk
- STALKER Clear Sky: Limansk - Map - part 1
- STALKER Clear Sky: Limansk - Map - part 2
- STALKER Clear Sky: Limansk - Map - part 3
- STALKER Clear Sky: Limansk - Quests - part 1
- STALKER Clear Sky: Limansk - Quests - part 2
- STALKER Clear Sky: Limansk - Quests - part 3
- STALKER Clear Sky: Limansk - Quests - part 4
- STALKER Clear Sky: Hospital
- STALKER Clear Sky: Hospital - Quests - part 1
- STALKER Clear Sky: Hospital - Quests - part 2
- STALKER Clear Sky: Nuclear Plant
- STALKER Clear Sky: Nuclear Plant - Quests
- STALKER Clear Sky: Walkthrough
- STALKER Clear Sky: Game Guide
You are not permitted to copy any image, text or info from this page. This site is not associated with and/or endorsed by the developers and the publishers. All logos and images are copyrighted by their respective owners.
Copyright © 2000 - 2026 Webedia Polska SA for gamepressure.com, unofficial game guides, walkthroughs, secrets, game tips, maps & strategies for top games.
