Garbage - Maps - part 2 | Walkthrough
4) Western checkpoint - Once again, you will have to get ready to be stopped by the bandits. Giving them your equipment is not an option, so you'll have to decide whether to attack this checkpoint or the one in the south to get to Agroprom Institute.
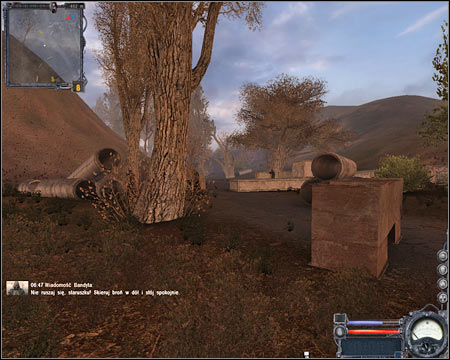
5) Southern base (Bandits) - You can enter this base only by approaching it from the west. Don't worry if you've avoided one of the checkpoints, because you'll be dealing with neutral grounds here. This means you can't use your weapons and you won't have to worry about encountering any monsters.
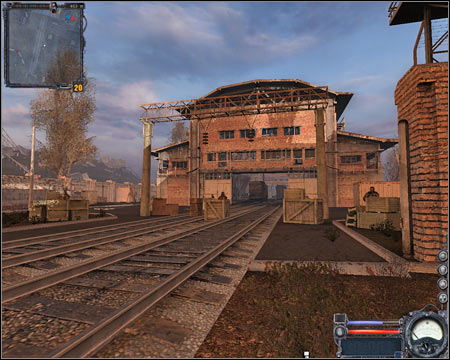
6) Northern base (Stalkers) - I wouldn't call it a base, rather a small campsite. You'll find a destroyed building and there are a few stalkers here. The easiest way to get to them is to approach the base from the north or from the west (stairs). You should know that the base may be destroyed later on during the course of the game, due to attacks made by wild animals or bandits. You won't have any restrictions on using your guns here, however I'd strongly recommend that you holster your weapon, so you won't have any problems talking to other stalkers.
Upon return from The Dark Valley: You'll notice a small door which leads to the cellar. You'll have to go down there to fulfill one of the main quests. You can ignore the cellar during your first visit to the Garbage area.
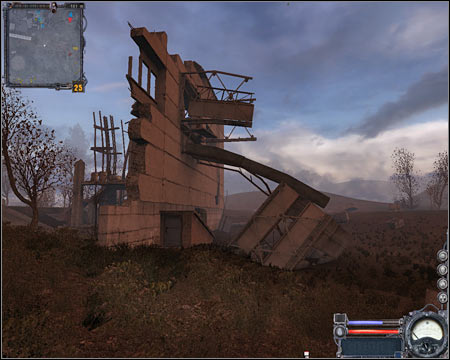
7) Northern checkpoint - Thankfully, you won't have to worry about getting mugged here. You can head over towards a nearby passageway (it leads to Army Warehouses, not to Bar) or you can talk to the bandits to receive additional tasks.
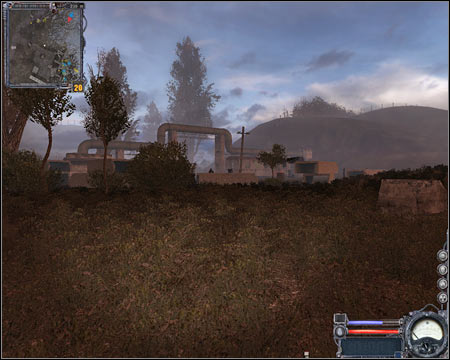
8) Eastern checkpoint - There's a small road leading to this checkpoint. I would recommend staying on it, so you'll avoid radiation. Just as before, you can access this route only if you've dealt with the bandits. If you don't want to give them your equipment, you can attack them yourself or you can wait for the mutants to deal with this threat. You should also know that there's a second passageway to The Dark Valley which is located to the north.
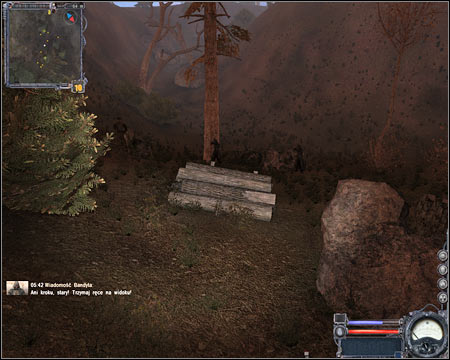
9) Meeting place - You must visit the area only if you've decided to perform subquests for bandits or stalkers. Obviously each time you'll be dealing with a different quest, depending on which fraction you've decided to join. You won't have any problems with the smuggler himself. Instead, watch out for the mutants in this area. They're very powerful and they can surprise you at any moment.
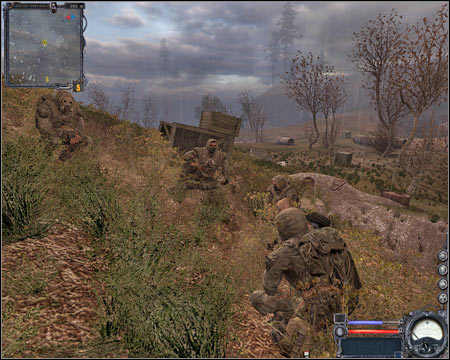
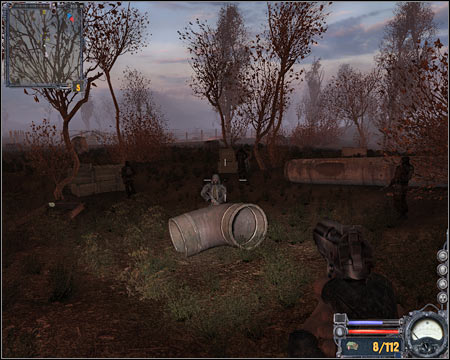
10) Tunnel exit - This is where you'll show up when you've decided to choose an alternative route to the Garbage area. Sadly, it's going to get more difficult here. You can't run away, because the checkpoint is located directly in front of the exit. The only solution is to pay the ransom. As a result, you should avoid this route until stalker forces have taken over Garbage sector (it may happen much later during the course of the game).
You are not permitted to copy any image, text or info from this page. This site is not associated with and/or endorsed by the Deep Silver or GSC. All logos and images are copyrighted by their respective owners.
Copyright © 2000 - 2025 Webedia Polska SA for gamepressure.com, unofficial game guides, walkthroughs, secrets, game tips, maps & strategies for top games.
