Shadow Warrior 2: All in a Day's Hard Work
Rewards for completing the mission:
- 10 thousand
- 1x skill point
- Shotgun - Hauer
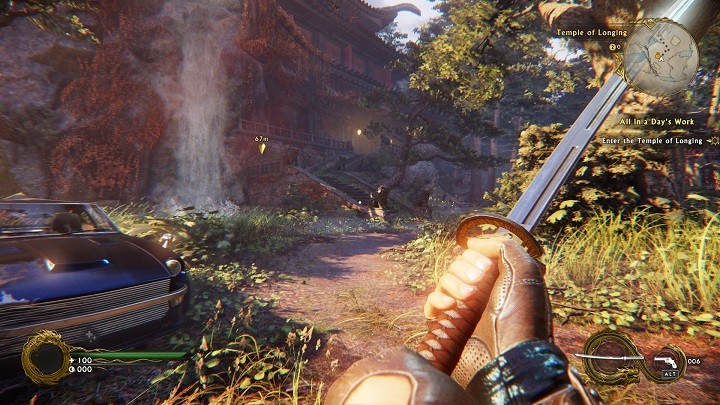
As soon as you start the game, go to the spot where you came down in the car. There, you find a flooded cave full of cobwebs.
 | Inside, there is some money in the form of small violet containers. Each gathered secret awards an achievement point. |
Inside, there is cash. Exit the cave on the other side and go towards the temple. After you reach it, you will receive game instruction on swapping weapons. Inside, destroy the door and proceed on. After you enter the cave complex, you will receive an update on your mission. Move forward and keep an eye on the instructions the game provides. After you reach the moment where you have to take a double leap with dash, follow the path to the left blocked by the tomb.

There, you will find some more cash. Move on and return to the previous path. Along your way, you will pass by the first checkpoint that activates as you go by. Jump down and do not worry about damage that you take from the fall. At the bottom, there is the first fight with opponents. After you kill the ratverines, you gain access to new combat skills. Right afterwards, new enemies will come - Fangs. It is recommended that you use a ranged weapon against them, but watch out for their pulling attack. After you kill them, cross the newly-opened door. After you approach the chi shrine, you will regenerate your assets. If you sustained any damage, use the skill mapped to Q key and move onward. Past the shrine with ammo, there is your mission objective.
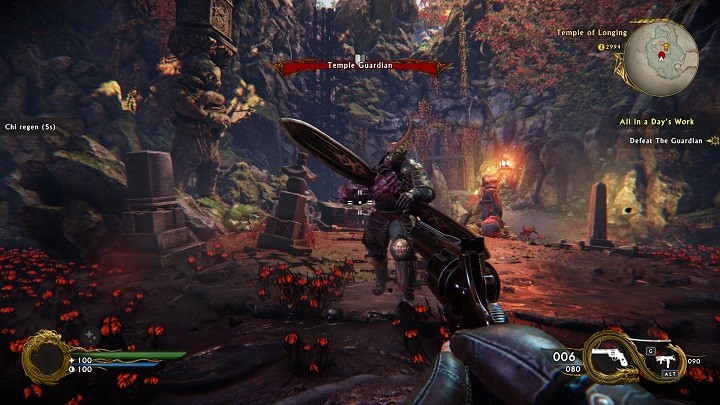
After you pick up the artifact the first mini boss will appear. Fighting with this one is more demanding, which is why you should note the traps all around the area. These are crates that explode after you shoot them. Of course, longer-range fighting is recommended. Whenever the Temple Guardian charges at you, you should dodge the attack and set him on the explosive crates, which knocks him out temporarily. After he loses 50% of his health, he will summon some minions, which should be dealt with in the first place, because you will be unable to kill the Guardian otherwise. The second phase of the battle is exactly the same as the first one. After you kill the opponent, before you go up, go find some cash. It should be to the left of the gate that you have to cross to move forward.
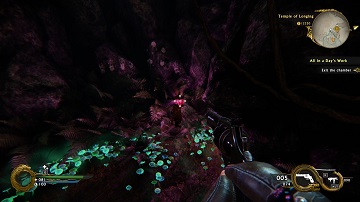 | Once you've defeated the guardian, search for the third secret - some money is stashed on the left from the gateway leading to the next part of the main task. |
After you see a short cutscene, you will end up on a wooden bridge.
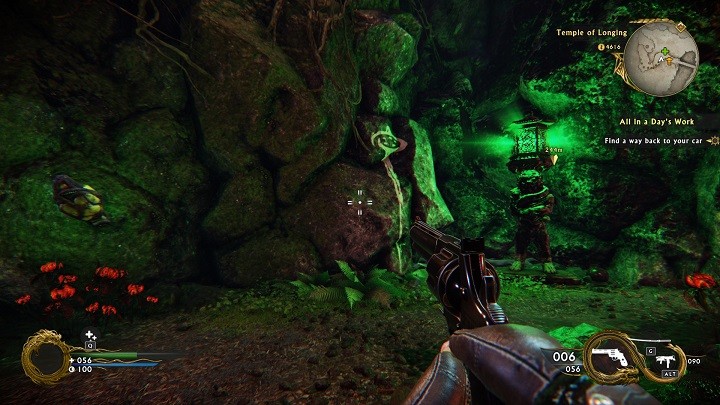
Along your path, use the shrine to regenerate your health and climb up the ladder. You will now have to reach the next checkpoint shrine over stone ledges. Past the shrine, there are more opponents waiting for you - Megarachnids. It is best to use the revolver against them, because one such attack is enough to kill one. Later on, you encounter Megarachnids again. After you reach another checkpoint shrine, return to the starting point. There, you will have to fight against several Crawlers and Hammerheads. The former opponent charges at you, because there is no long-ranged attack in their arsenal. Hammerheads can shoot you with lightning bolts. Watch out for them. After the fight, get into the car.
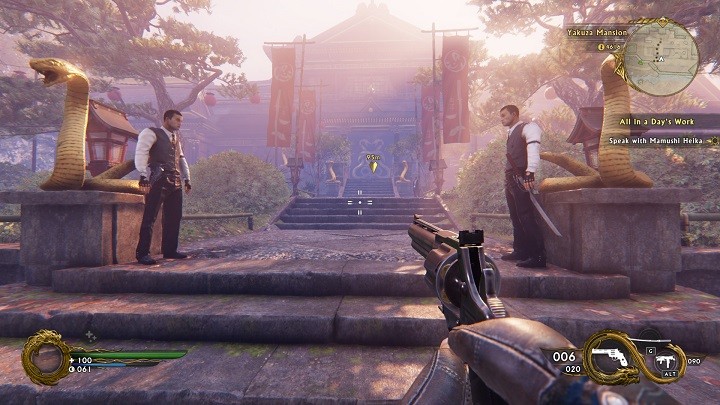
Enter the building, where you will have a conversation with Mamushi. After that, go to Lo Wang to claim your reward. This ends the first main mission.
- Shadow Warrior 2 Game Guide
- Shadow Warrior 2: Game Guide
- Shadow Warrior 2: Main missions
- Shadow Warrior 2: All in a Day's Hard Work
- Shadow Warrior 2: My Hero
- Shadow Warrior 2: Hot Blooded
- Shadow Warrior 2: Industrial Espionage
- Shadow Warrior 2: Seepage Problem
- Shadow Warrior 2: Big Trouble in Calamity
- Shadow Warrior 2: Ancestral Ties
- Shadow Warrior 2: Body Shaking
- Shadow Warrior 2: All in the Family
- Shadow Warrior 2: Stop the Ooze
- Shadow Warrior 2: Corporate Shell
- Shadow Warrior 2: Violent Takeover
- Shadow Warrior 2: The Battle of the Gates
- Shadow Warrior 2: Main missions
- Shadow Warrior 2: Game Guide
You are not permitted to copy any image, text or info from this page. This site is not associated with and/or endorsed by the developers and the publishers. All logos and images are copyrighted by their respective owners.
Copyright © 2000 - 2026 Webedia Polska SA for gamepressure.com, unofficial game guides, walkthroughs, secrets, game tips, maps & strategies for top games.
