Mr prepper: Plants - how to grow?
From this page you will learn how to grow plants in Mr. Prepper.
Gardening in Mr. Prepper is one of the first things you'll do. Plants provide income from sales (especially after they're processed) and quench hunger.

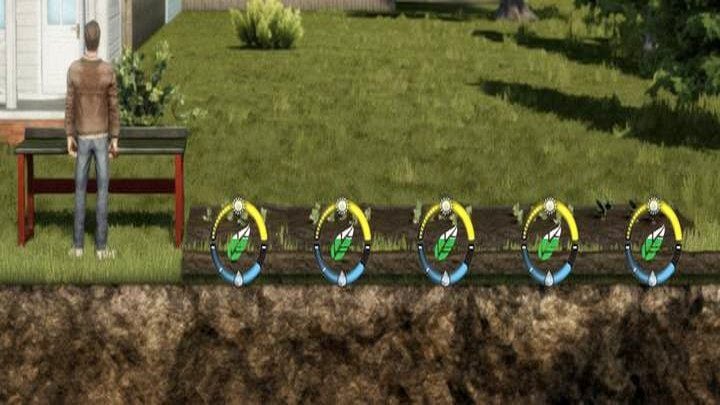
To start gardening, you need seeds (you can buy them from Jenny; some basic plants are also in the cabinets in your house) and space. You can plant the seeds on:
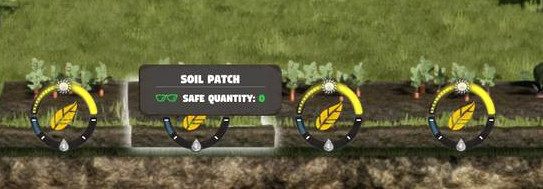
- soil patches (beet, cabbage, carrot, apple),
- in pots (guarana, cucumber, corn, sunflower, beet, cabbage, carrot),
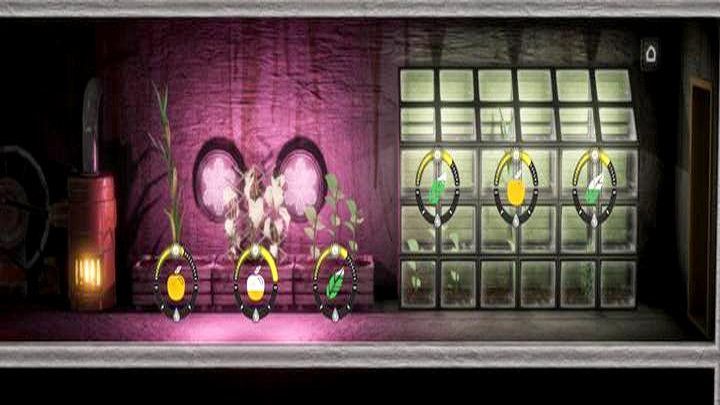
- in a greenhouse - all of the above, oranges.
All these places can be built in the workshop, and you need to expand the workshop before each next level. Plants have different growth time. Better location ensures faster growth. The growth rate is also affected by hydration (keep your plants watered) and plant type. Plants such as cucumber and guarana must first grow the stem and leaves, which takes quite a long time. Then, however, the fruit will appear quite quickly.
Plants can die if you don't take care of them (watering, lighting) or if you don't harvest them for too long.

At the beginning of the game it is worth using the garden behind the house to build the soil patches there. This will provide you with free light and watering when it rains. Plants are ready to harvest when their icon is yellow (full). Some plants can also give seeds when harvested. Keep the plants in the refrigerator so that they don't spoil. You can cook something with them using the stove.

When growing plants underground, you need to provide them with light. The better the light, the faster the growth (which will also translate into smaller water consumption). Remember that the greenhouse has its own light. However, it does not provide 100% illumination, and uses as much energy as one lamp.
When you acquire an irrigator at the highest level of the workshop, it will water your plants on its own, as long as it has access to water.
You are not permitted to copy any image, text or info from this page. This site is not associated with and/or endorsed by the PlayWay or Rejected Games. All logos and images are copyrighted by their respective owners.
Copyright © 2000 - 2025 Webedia Polska SA for gamepressure.com, unofficial game guides, walkthroughs, secrets, game tips, maps & strategies for top games.
