Guides & Walkthroughs New Guides Popular RPG Action Strategy Adventure YouTube Guides Mobile App
Free iOS App iPhone & Ipad
Download Game Guide PDF, ePUB & iBooks

Lost Planet 3 Game Guide & Walkthrough by gamepressure.com

Lost Planet 3 Game Guide & Walkthrough

Table of Contents

Text Logs | Collectibles Lost Planet 3 Guide

Last update: 11 May 2016

Hangar, level 3

It is easy to find on your way to the Main Deck. - Text Logs - Collectibles - Lost Planet 3 - Game Guide and Walkthrough
It is easy to find on your way to the Main Deck.

Log 1:It is in a small room that you pass by on your way to the elevator.
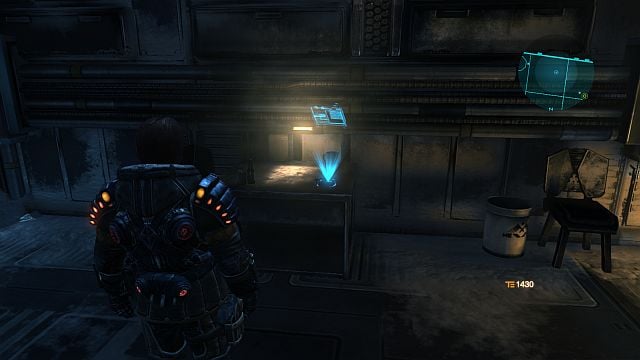
On the table, at the wall. - Text Logs - Collectibles - Lost Planet 3 - Game Guide and Walkthrough
On the table, at the wall.

Log 2: In the barracks.

It must have been left by someone who likes to drink. - Text Logs - Collectibles - Lost Planet 3 - Game Guide and Walkthrough
It must have been left by someone who likes to drink.

Log 3: You can find it only after you gain access to the Lab. It is in a newly-unveiled area to the right of the barracks, in the kitchen.

Hangar, level 2
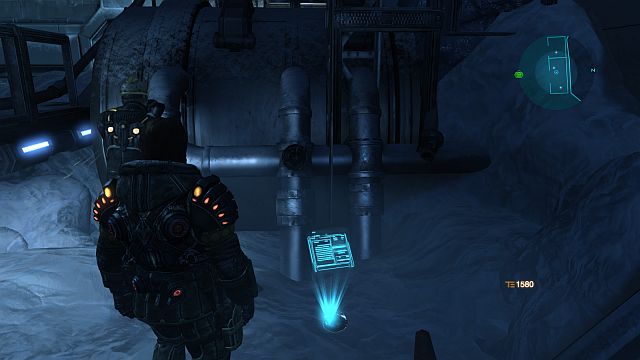
Another conscientious worker. - Text Logs - Collectibles - Lost Planet 3 - Game Guide and Walkthrough
Another conscientious worker.

Log 4: Opposite the elevator, a bit to the right, over the stairs downwards.

Hangar, level 1
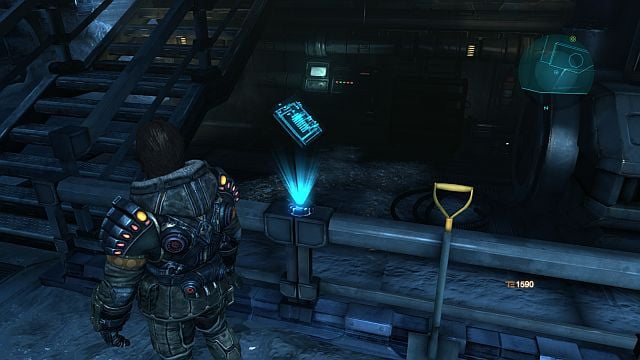
This shovel is probably used for leaning against - Text Logs - Collectibles - Lost Planet 3 - Game Guide and Walkthrough
This shovel is probably used for leaning against

Log 5: After you leave the mechanic's room, turn left and to the right to the next room.

White Canyon Junction - Fuel station
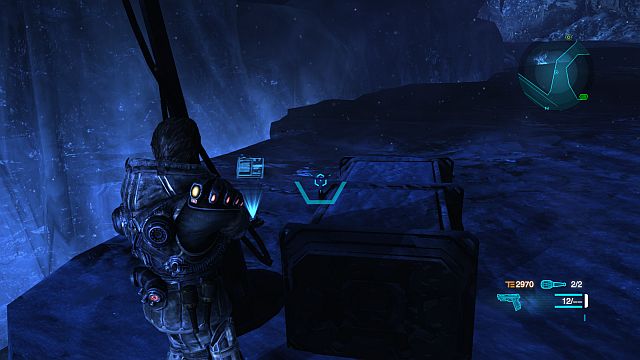
On your way to the cave of evil. - Text Logs - Collectibles - Lost Planet 3 - Game Guide and Walkthrough
On your way to the cave of evil.

Log 6: After you save Laroche you will receive a mission to go to the Diaz's Cavern. It is behind the crate on the left, along your way to the cavern.

Bailey's Crossing
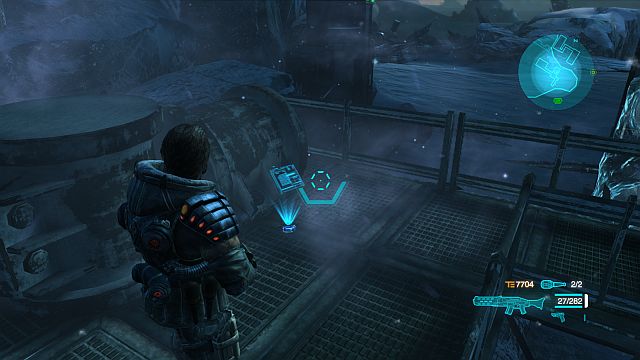
Since Jim fixed them, the pumps do not stop working. - Text Logs - Collectibles - Lost Planet 3 - Game Guide and Walkthrough
Since Jim fixed them, the pumps do not stop working.

Log 7: n the central platform, right after you mount it.

Shackleton's Peak
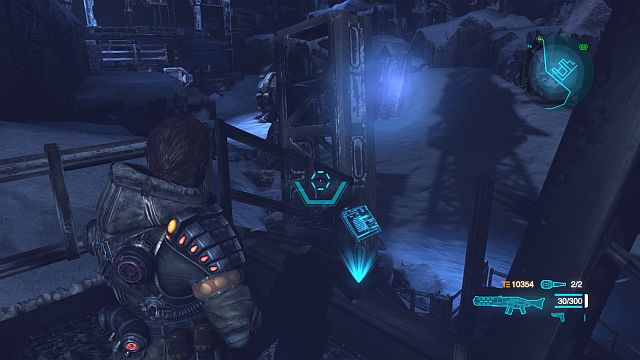
On your way to the malfunctioning stations. - Text Logs - Collectibles - Lost Planet 3 - Game Guide and Walkthrough
On your way to the malfunctioning stations.

Log 8: On the tower on the left, along your way to the first rig which you need to activate in the main mission.
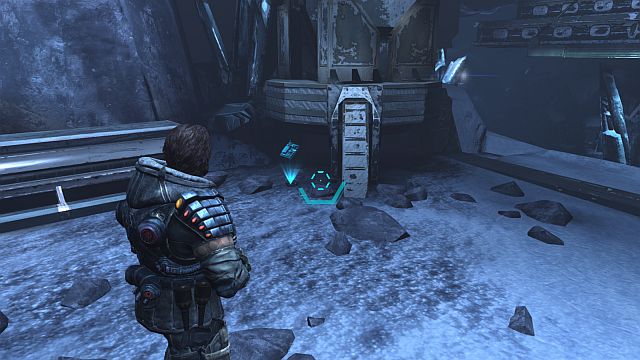
While standing in front of the stairs, turn around to the right. - Text Logs - Collectibles - Lost Planet 3 - Game Guide and Walkthrough
While standing in front of the stairs, turn around to the right.

Log 9: Along your way to the second station, in the block of ice on the elevation which you reach the station from using the hook.
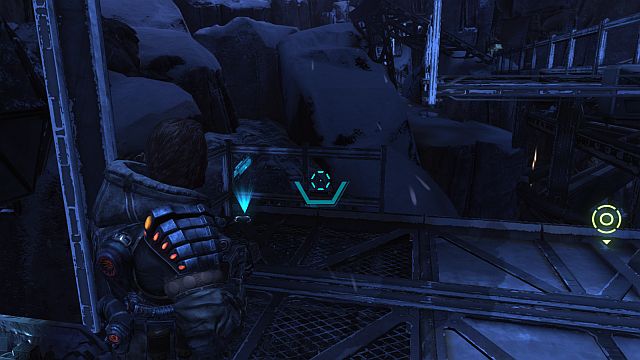
Time to be back on track. - Text Logs - Collectibles - Lost Planet 3 - Game Guide and Walkthrough
Time to be back on track.

Log 10: After you activate the fourth station, on the upper platform in the place where you need to switch the tracks.
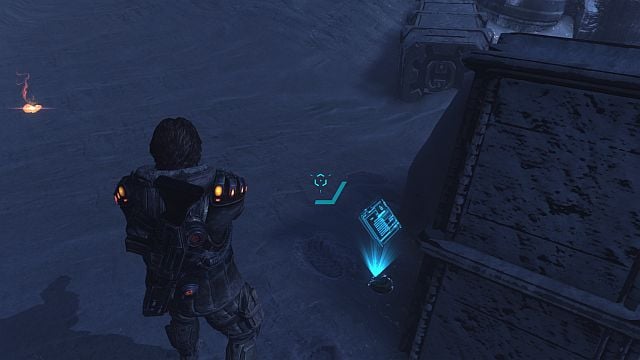
The log is hidden behind the crates. - Text Logs - Collectibles - Lost Planet 3 - Game Guide and Walkthrough
The log is hidden behind the crates.

Log 11: On your way to the fifth station, after you walk out of the big pipes, where you are attacked by a big swarm of akrids. It is before the scarp that you need to climb onto to reach the top of the Shackleton's Peak.

Shackleton's Peak - The Top
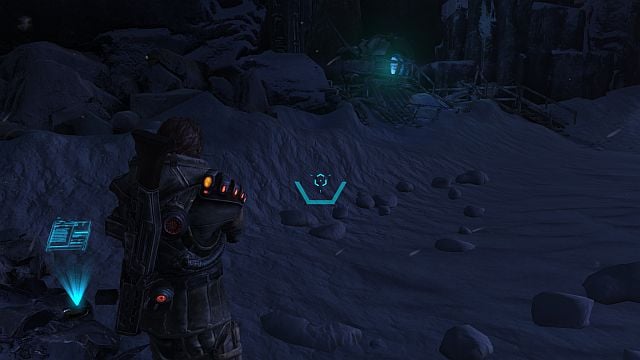
In the background, there is a teleport, OF COURSE - Text Logs - Collectibles - Lost Planet 3 - Game Guide and Walkthrough
In the background, there is a teleport, OF COURSE

Log 12: On your way to the fifth station, turn left in front of the reactor. It is among the rocks.
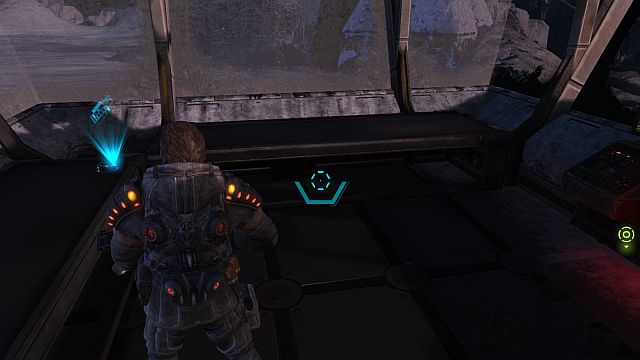
A reward for defeating the vorgg. - Text Logs - Collectibles - Lost Planet 3 - Game Guide and Walkthrough
A reward for defeating the vorgg.

Log 13: After the battle with vorgg, in the spot where you switched power supply for the last time.

Marshall's Gorge
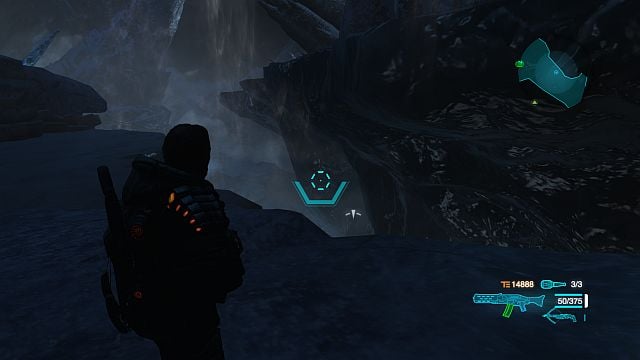
The area where you go downwards. - Text Logs - Collectibles - Lost Planet 3 - Game Guide and Walkthrough
The area where you go downwards.

Log 14: Examine the crack in front of the entrance to this location and find the place where you can use the hook. The log is on the lower rocky ledge.
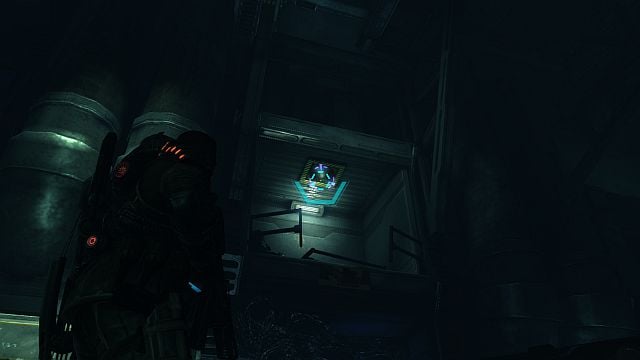
You are going to need the magnetic hook. - Text Logs - Collectibles - Lost Planet 3 - Game Guide and Walkthrough
You are going to need the magnetic hook.

Log 15: Right after you enter through the large door and perform the "danger scan", on the left of the entrance, you will reach there using the magnetic hook.

Marshall's Gorge - Power Plant
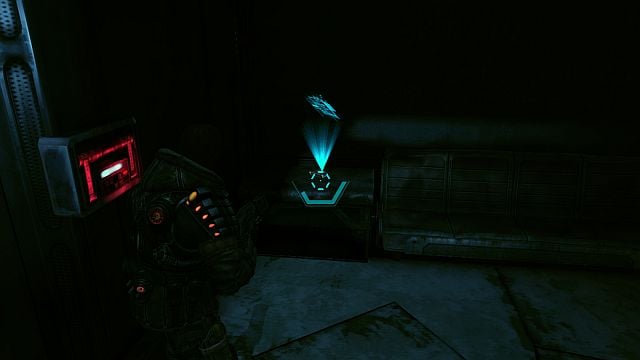
Just do not pull the lever! - Text Logs - Collectibles - Lost Planet 3 - Game Guide and Walkthrough
Just do not pull the lever!

Log 16: Right after you enter a bigger room, on the left on the shelf.
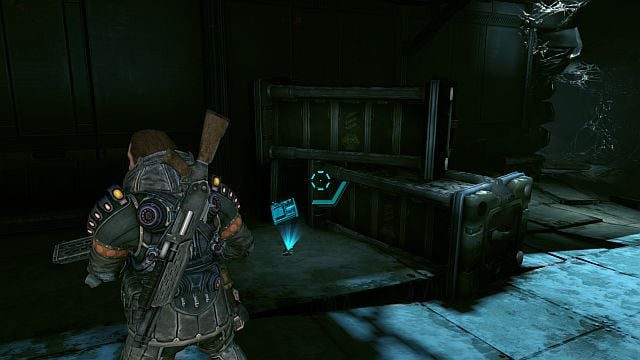
Another log hidden behind the crates. - Text Logs - Collectibles - Lost Planet 3 - Game Guide and Walkthrough
Another log hidden behind the crates.

Log 17: As you go ahead, you will make it into the room where there is a larger number of taarkas. The log is on the ground behind the crates, on the right of the entrance.

Pickett's Folly
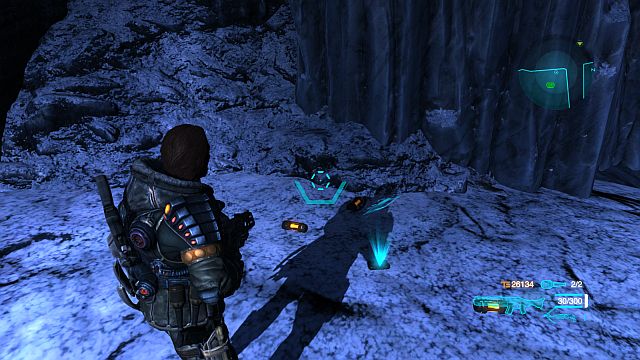
Containers with T-energy scattered around. - Text Logs - Collectibles - Lost Planet 3 - Game Guide and Walkthrough
Containers with T-energy scattered around.

Log 18: In the Southern part of the map, on the ground among the containers with T-energy, close to the passage to the Security Installation.

Forgotten Camp
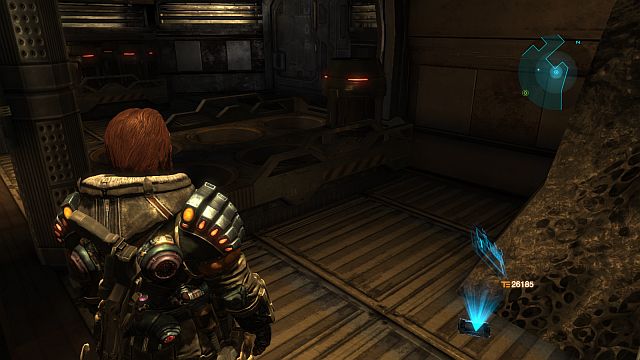
I forgot what this camp is called... - Text Logs - Collectibles - Lost Planet 3 - Game Guide and Walkthrough
I forgot what this camp is called...

Log 19: to the right of the gate damaged by the sieragz.
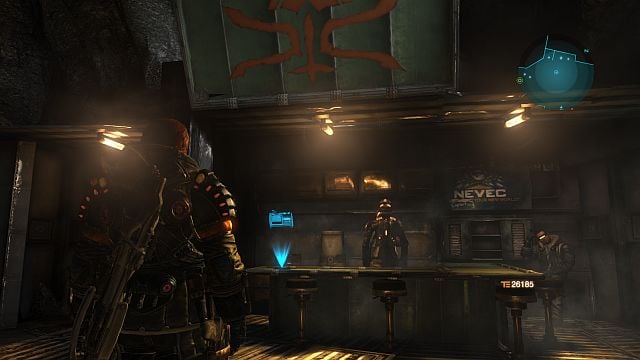
I wonder if they sell on tick - Text Logs - Collectibles - Lost Planet 3 - Game Guide and Walkthrough
I wonder if they sell on tick

Log 20: On the internal yard, a bit off the entrance to the right.

Security Installation
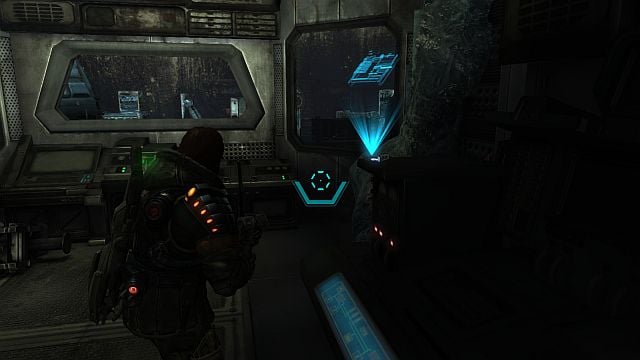
After you leave this place, a small brawl will start. - Text Logs - Collectibles - Lost Planet 3 - Game Guide and Walkthrough
After you leave this place, a small brawl will start.

Log 21: You will encounter it while performing the main mission, in the spot where you open the door to the armory.

See/Add Comments

You are not permitted to copy any image, text or info from this page.

This site is not associated with and/or endorsed by the Capcom or Spark Unlimited. All logos and images are copyrighted by their respective owners.

Copyright © 2000 - 2024 Webedia Polska SA for gamepressure.com, unofficial game guides, walkthroughs, secrets, game tips, maps & strategies for top games.