Lost Planet 3: Mission 4 Unknown Structure
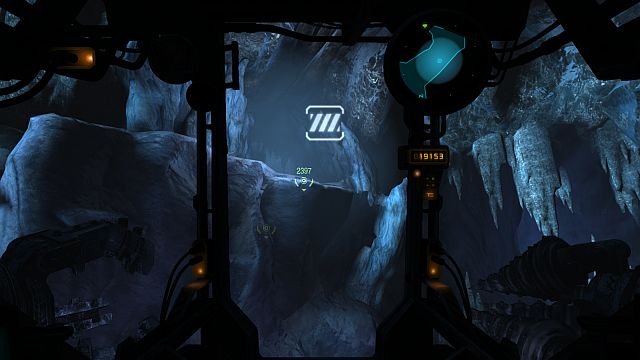
Across Bailey Crossing make it to the Marshall's Gorge. Use the hoist where necessary [Z]. Exit the mech and go ahead. Use the hook to climb down safely. Watch out, because you will jump into a location full of akrids. Keep destroying the nests that they emerge from. Behind one of them, on a ledge above (where the bolsepias keep shooting at you from) there is a passage that will take you further. If necessary, you will find ammo boxes on the scarps on the side. Keep going towards your destination until you reach the spot where you are supposed to set up a thermal post.
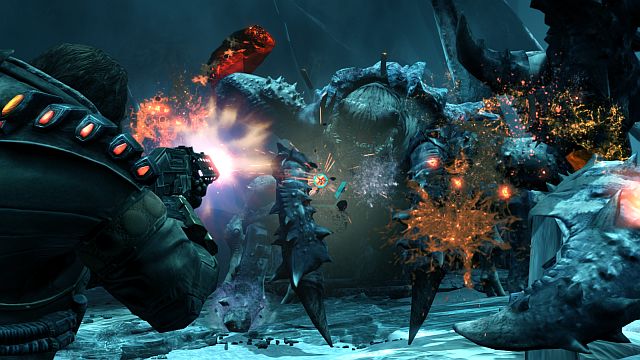
Here, you will encounter the crab- akrid again. The way of dealing with it is the same as in the case of the previous encounter: keep shooting at the icy spikes on its back until they fall off. Then, load a dozen-or-so bullets into its exposed crust, and then at the orange region, where he is most vulnerable. Perform frequent dodges, at the same time and use grenades. If necessary, make use of the ammo crates. After you win, set up the thermal post and walk over to the Unknown Structure.
NOTE: If you want to fill in your bestiary, you can collect the vorgg DNA, before you kill it.
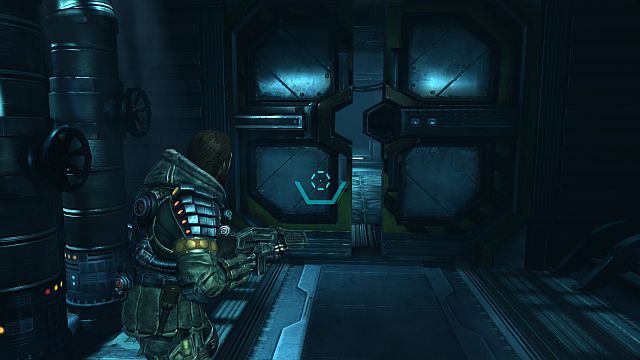
Go ahead and take the elevator to a higher level. After you open the safety door, you will be attacked (QTE). Go ahead and watch out for taarkas Get into the room where you need to activate the generator. Return to the Marshall's Gorge. Activate the consoles marked as targets and go into the Power Plant.
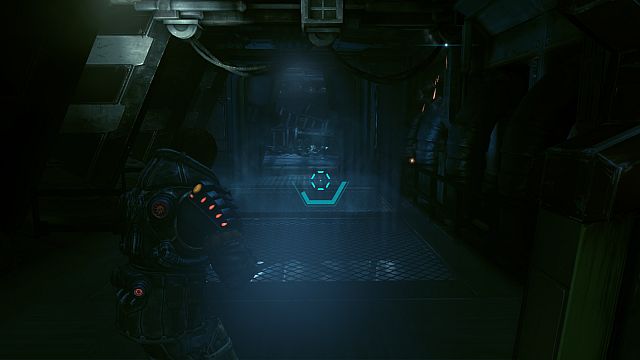
Keep following the only possible path. You will reach a place where you will be attacked by akrids that shoot "lasers". The best method to fight the male-Wardeyes, because this is the name of the monster, is not to come too close to them and conduct fire from behind a cover. A well-aimed grenade is definitely going to make the situation more advantageous for you. Use the panel to open the next door and after a short battle with taarkas go ahead. You will fall down so, use the hook to make it higher. Walk over the ledge (while holding down the [W] and [A] keys at the same time), and use the hook to make it higher.
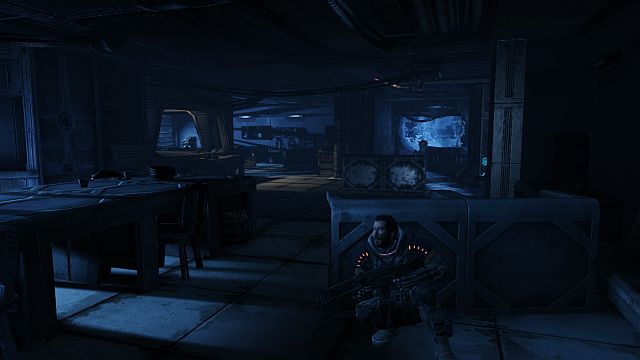
You will reach the room shown in the screenshot. Inside, you will have to fight a battle against several Wardeyes and taarkas. It would be best if you stayed behind a cover and conducted fire from there. After you secure the room, from the table in the left-hand corner, collect the specialized component. Replenish your ammo and go ahead through the ice-bound passages, until you reach the place where you can activate the door control panel. Watch out because the place behind the door swarms with t taarkas. Destroy the eggs and go towards the automatic gun.
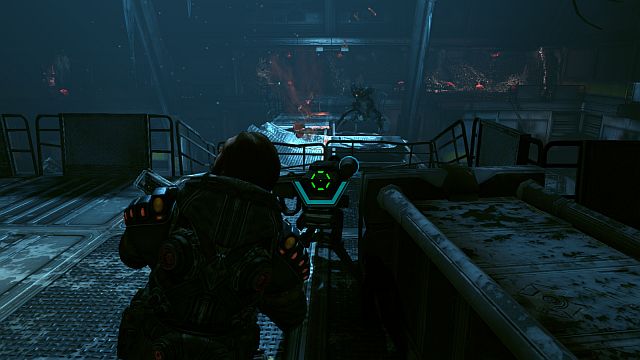
Repair it and start its power supply (the lever behind the gun). Watch out for the approaching onslaught and you'd better keep in mind that you are going to need more than the gun only. Remain in motion and pay attention to the approaching Wardeyes. Around you will find ammo. After a short while, and after you repel the onslaught, the door will open . Walk through the door. You will enter a room where you need to activate several panels. After you do, you will receive a message of an intruder in the base. After that, several Wardeyes and taarkas will dash into the room. Keep firing at them from behind a cover and do not hesitate to use grenades (you can replenish your ammo at the crates in the room). Return to the place that you came from (the one with the gun.
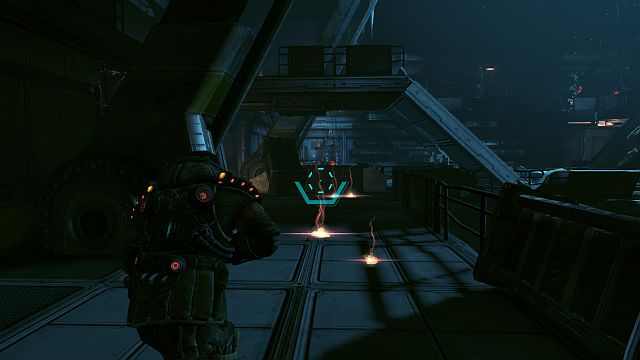
After a short cutscene, you will have to walk around the bridge, on the left. Watch out for the Wardeyes and taarkas, because there will be quite a lot of them around. Eventually, get down (the end of the road shown in the screenshot) and start the door, then head towards the Marshall's Gorge. Open another large door, jump into the mech and stand on the platform an which you will ride to the surface. Jump out of the machine and open safety door. Follow the markers into the room with the main computer and download the backup data.
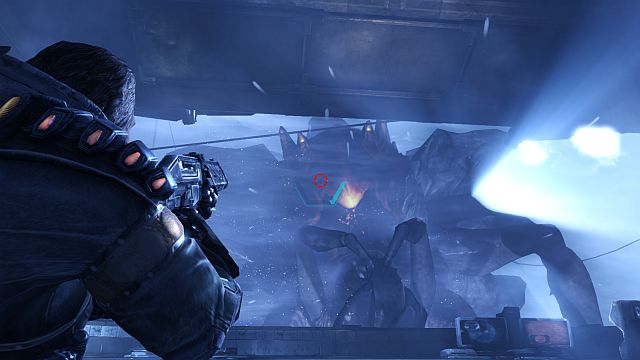
Well, obviously, it could not be that easy. You will have to face a monstrous akrid. Lay fire on its glowing orange back. Avoid its tongue attacks and destroy the eggs that it is spitting out, because soon taarkas will hatch from these (and they can make quite a mess). You can replenish ammo next to the crates all around the place. After you win the battle, return to your mech. It will turn out that you still need to hack the elevator blockade. Go to the control center (use the hook). It is a standard thing that you should watch out for taarkas while doing this. Activate the elevator and return to your machine. On your way, you will be up for another fight with the large Hiveen. Keep performing the same actions as you did just a few moments ago. The only difference is that you now need to avoid its leg attacks instead of tongue attacks.
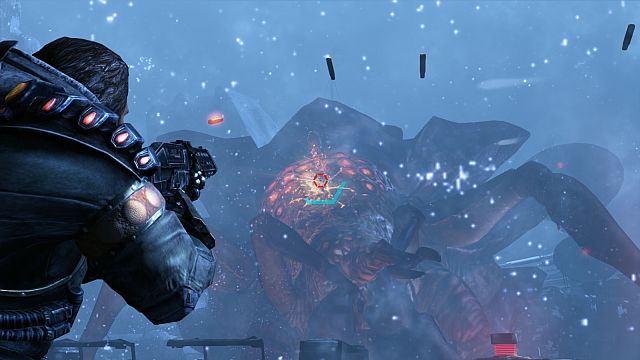
Return to your mech. On your way there, you will have to take a simple QTE and a few taarkas to eliminate. Watch out for them especially in the narrow passages that you will be going along. On the platform, you will have to fight another battle with a huge akrid. Implement the tactic that you have already learned and enrich it with well-aimed grenades. After the battle, fix the elevator, on the left of the spot where the battle took place, and return to your mech.
NOTE: In the 3 battles described above, you can collect the Hiveena DNA before the actual battle, although it is not the easiest of actions to perform. It is best to start targeting the creature from the very beginning, right after it appears. Try and destroy the eggs that it spits out with grenades, still before taarkas hatch.
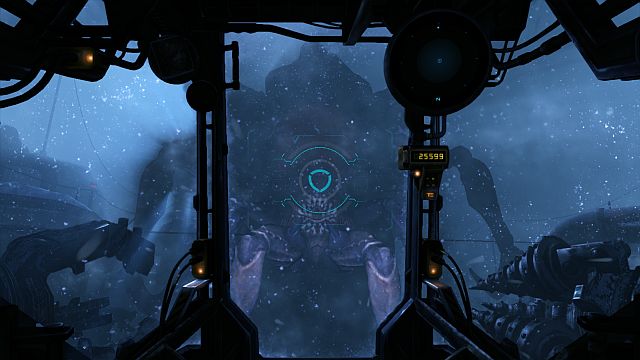
Finally, as you are comfortable in your mech, you finally need to kill the Hiveena. To do that, at the right moment, press the block key [Q], use the hoist [Z], to drag him closer by the tongue, and plunge your drill into its orange back [RMB]. After you are done, you can take delight in the interesting cutscene.
- Lost Planet 3 Game Guide & Walkthrough
- Lost Planet 3: Game Guide
- Lost Planet 3: Walkthrough
- Lost Planet 3: Prologue
- Lost Planet 3: Mission 1 Save Laroche
- Lost Planet 3: Mission 2 First Thermal Post
- Lost Planet 3: Mission 3 Relay Station
- Lost Planet 3: Mission 4 Unknown Structure
- Lost Planet 3: Mission 5 Help for the Forgotten
- Lost Planet 3: Mission 6 Open the armory and return to hangar
- Lost Planet 3: Mission 7 Readings During Storm
- Lost Planet 3: Mission 8 Gorevorgg and Nushi
- Lost Planet 3: The Final Mission Stop Isenberg and NEVEC Forces
- Lost Planet 3: Side missions
- Lost Planet 3: Walkthrough
- Lost Planet 3: Game Guide
You are not permitted to copy any image, text or info from this page. This site is not associated with and/or endorsed by the developers and the publishers. All logos and images are copyrighted by their respective owners.
Copyright © 2000 - 2025 Webedia Polska SA for gamepressure.com, unofficial game guides, walkthroughs, secrets, game tips, maps & strategies for top games.
