Life is Strange: Dark Room - photos
On this page of the Life is Strange guide you’ll find the locations of all photographs that can be taken during Episode 4 (Dark Room). If you manage to find and take all of them, you’ll receive an achievement (Shutterbug).
Photo #1
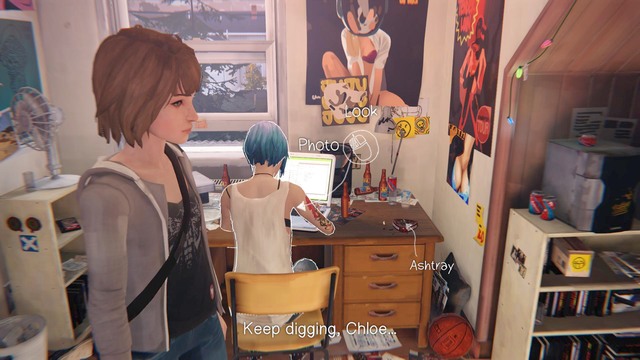
The first photo can be taken in the second chapter of the game. After waking up, get off the bed and walk towards the back of sitting Chloe.
Photo #2
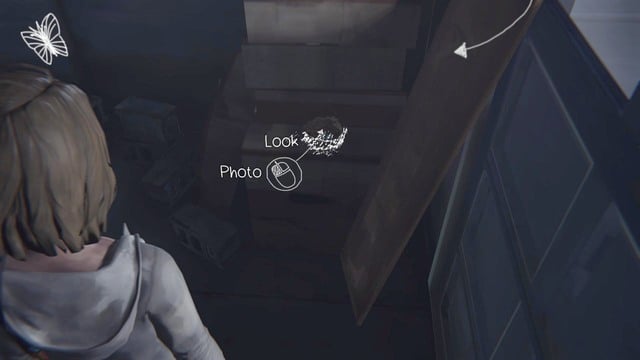
Second photo can be taken in David's garage. Walk towards the desk protecting the nest at the gate of the garage and move it. After moving the desk you will be able to take the photo of the bird nest.
Photo #3
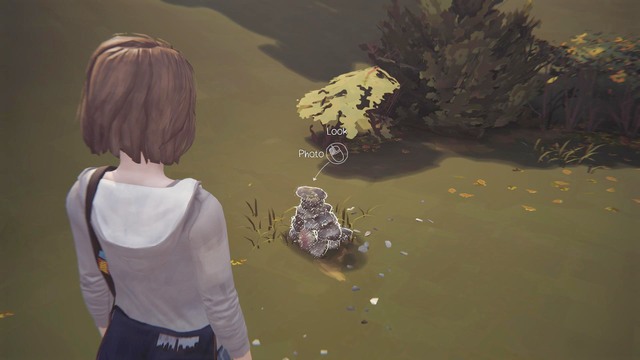
Third photo shows rocks. You will find them in front of the dormitory, near the statue.
Photo #4
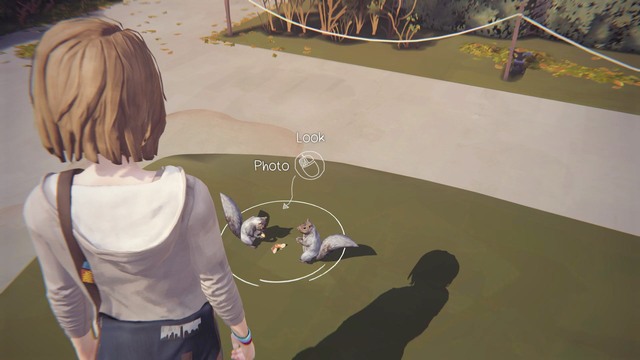
Walk to Samuel and talk with him about the changes in Arcadia Bay. Pick "Squirrel" from the dialogue options to remind him that he must feed her. After he throws the food, one of the squirrels will run towards it and the second one will stand behind the fence. To take the photo you must lure the second squirrel with the food lying next to Samuel (select the "Lure" option).
Photo #5
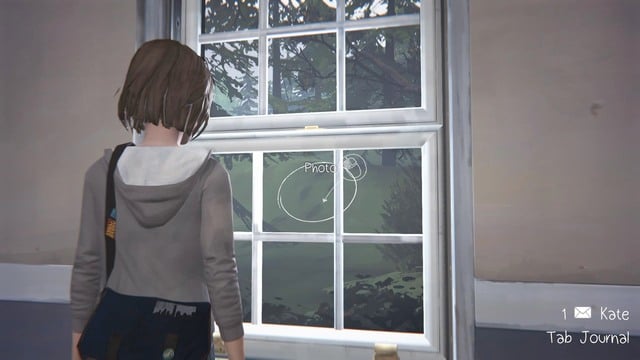
The fifth photo can be taken in the dormitory. Instead of going to Nathan's room, turn right and walk towards the window shown on the picture.
Photo #6
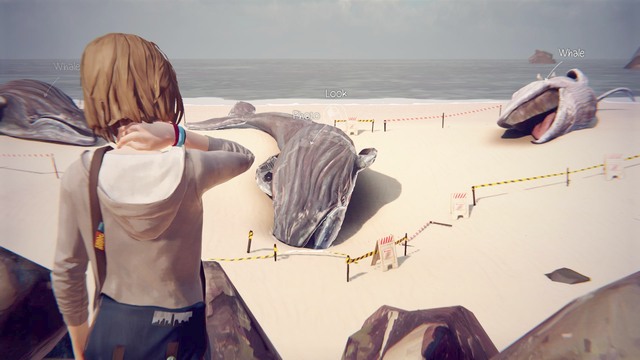
Sixth photo can be taken in the third chapter. Before going to Frank's camping, walk towards the barrier and take the photo of dead whales.
Photo #7
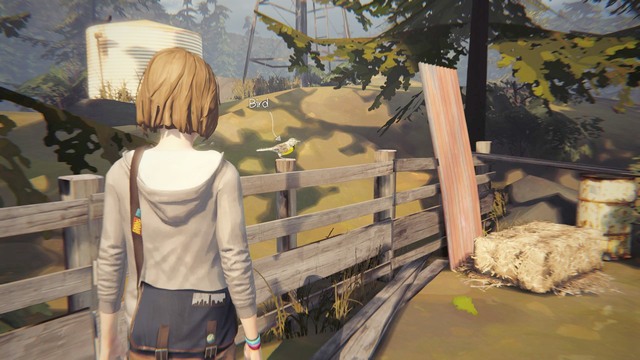
Photo number 7 can be taken before entering the shed. If the bird shown on the picture flies away before you take the photo, walk to the required distance and go back in time.
Photo #8
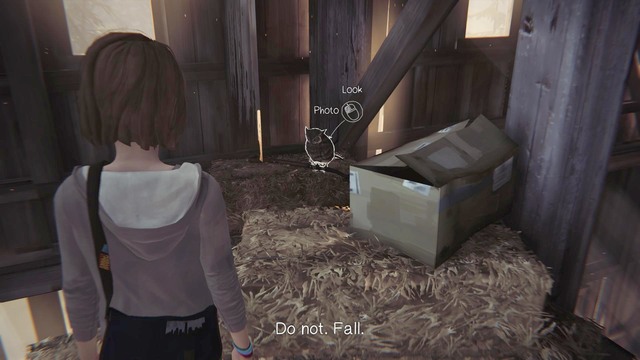
Eighth picture can be taken on the first floor in the shed. When you're above, walk towards the sleeping owl and take its picture.
Photo #9
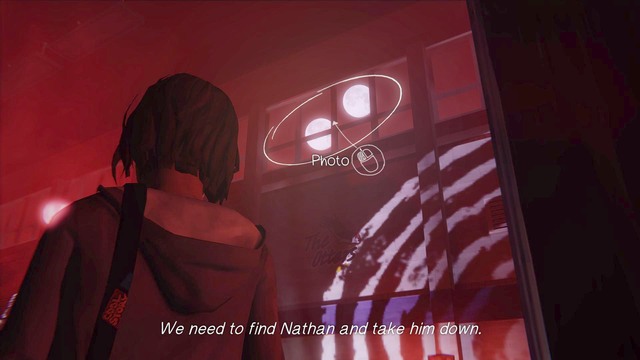
The penultimate photo can be taken at the beginning of Vortex Club party. After entering the room, walk towards the trampoline and look right. After positioning yourself properly you will be able to take the photo.
Photo #10
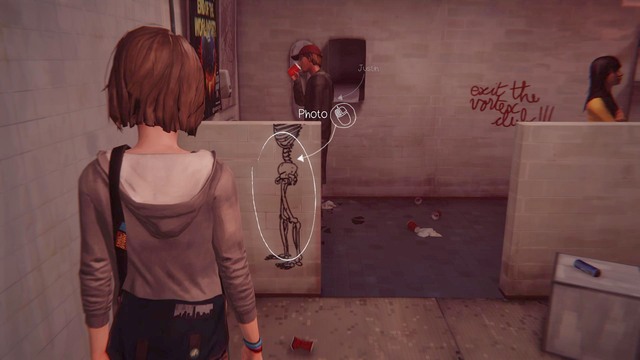
Last photo can be taken in the bathroom, on the party in Vortex Club. The bathroom can be found on the left side from the entrance to VIP section.
You are not permitted to copy any image, text or info from this page. This site is not associated with and/or endorsed by the developers and the publishers. All logos and images are copyrighted by their respective owners.
Copyright © 2000 - 2025 Webedia Polska SA for gamepressure.com, unofficial game guides, walkthroughs, secrets, game tips, maps & strategies for top games.
