Life is Strange: Dark Room, Chapter 3
On this page of the Life is Strange guide, you can find a walkthrough for Chapter 3 of Episode 4 (Dark Room). We’ve supplied a walkthrough for the meeting with Frank and the investigation. The chapter offers an opportunity to obtain one achievement (Dioptric Power).
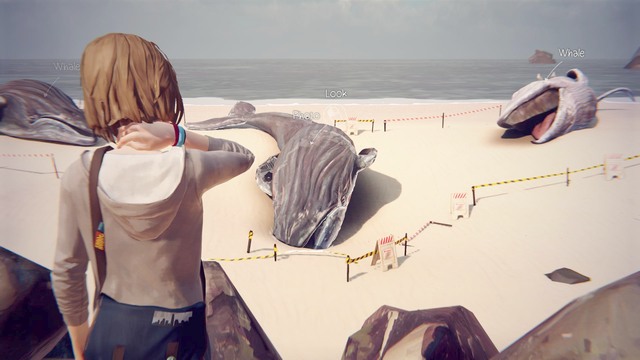
After leaving the dormitory, you and Chloe will go to Frank. Before you knock to the door, walk towards the whales and take a photo to your collection. Once you're ready, go to Chloe.

IMPORTANT! Further part shows you three different endings (described in the important choices). What you say will determine which ending of the chapter you will receive.
- Chloe Killed Frank - Chloe kills Frank and his dog (if you let it happen)
- Chloe wounded Frank - Chloe wounds Frank by shooting his leg
- No one got hurt - You receive new ally (Frank) in your investigation
1.) To receive the worst ending (Frank dies), you must select the following dialogue options:
- You already did - This option will make Frank guess that it was you who broke into his trailer. The situation will make Chloe kill Frank and his dog.
2.) To receive the second ending (Frank is wounded), you must pick during the conversation with Chloe:
- Watch your mouth
2.2) During the conversation with Frank:
- No Weapons
- Close the door
- Pompidou is cute (After selecting this option Frank will notice that he hasn't told you the name of his dog and will attack you again)
3.) To receive the best ending (no one gets hurt, select the option with Chloe:
- Watch your mouth
3.2) During the conversation with Frank select:
- Close the door
- I'm sorry
- You scared me
- I love dogs
- Rachel photo
The situations described above create a whole as an important choice.
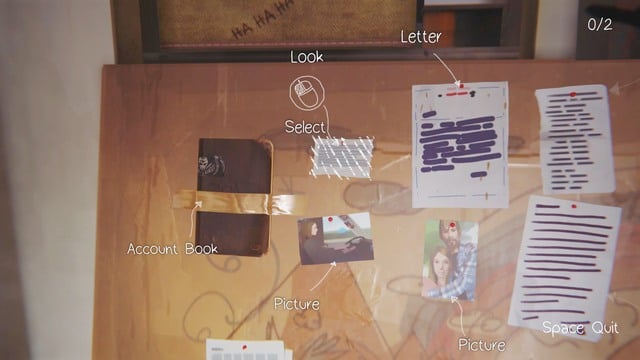
No matter how the situation at Frank's ended, you and Chloe will return home. You will have to connect all the gathered clues into one logical whole. First set has been shown on the picture above. Mark the Account Book that can be found on the left side and the Paper on the right.
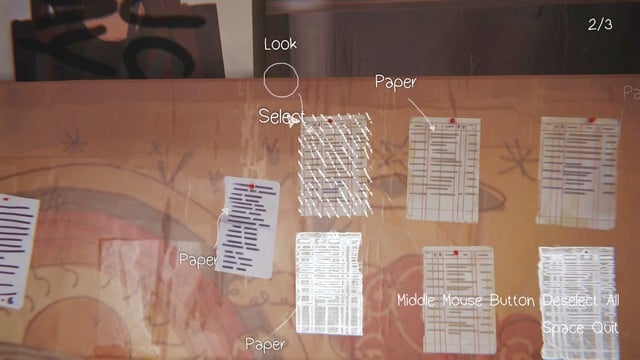
Second set of the clues is shown on the picture above. Select the shown paper pages (white paper shows the proper marking)
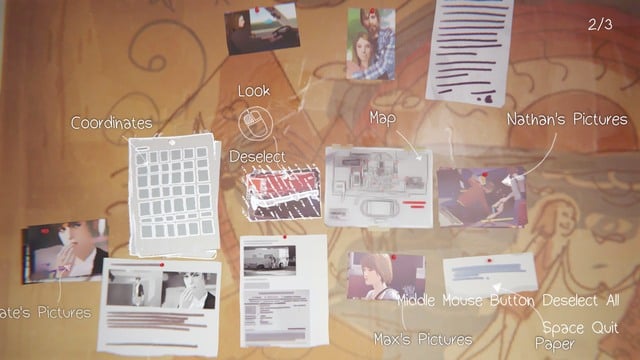
In the next clue you must mark three clues. First one are the coordinates, second the photo at the back of Nathan's car and third is Nathan's photo.
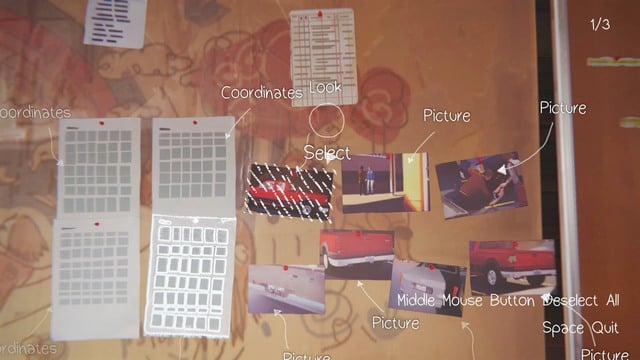
Next clues are about David. Mark the paper in the bottom right corner, the photo of a red car shown from the side and the second photo that shows its back (on the right side).
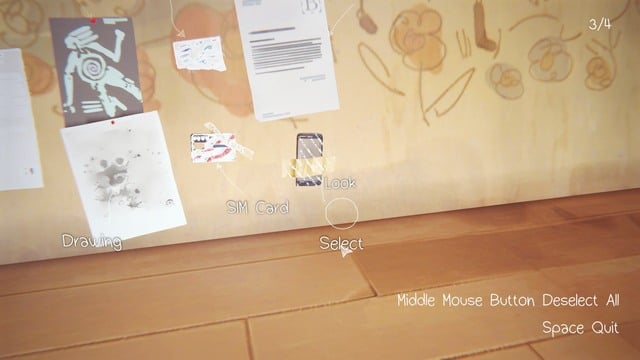
As for Nathan clues, mark the part of the paper inside, SIM card, phone and the paper on the left side.

Next task will be unlocking Nathan's phone. You can type the proper PIN found in the clues (more specifically in Nathan's school documents, it is number 0829) or the PUK found on SIM card. If you make mistake three times when entering PIN, enter the PUK shown on the picture.
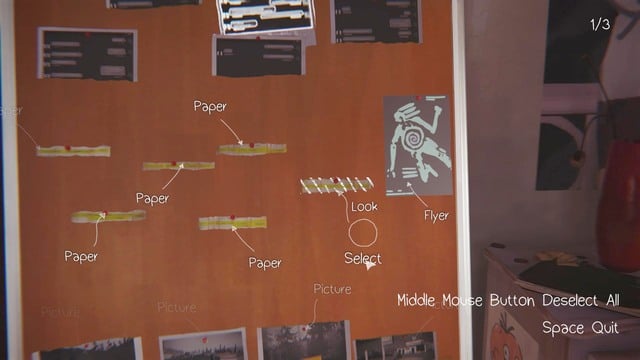
After unlocking Nathan's phone you must conclude all the gathered information. Select Investigate from the board on the right side and mark the three required clues. First one will be the middle paper in the first row. Second the paper shown on the picture and the third will be the paper in the lower row (second from the right side).
You are not permitted to copy any image, text or info from this page. This site is not associated with and/or endorsed by the developers and the publishers. All logos and images are copyrighted by their respective owners.
Copyright © 2000 - 2026 Webedia Polska SA for gamepressure.com, unofficial game guides, walkthroughs, secrets, game tips, maps & strategies for top games.
