LEGO City Undercover: The prison cells

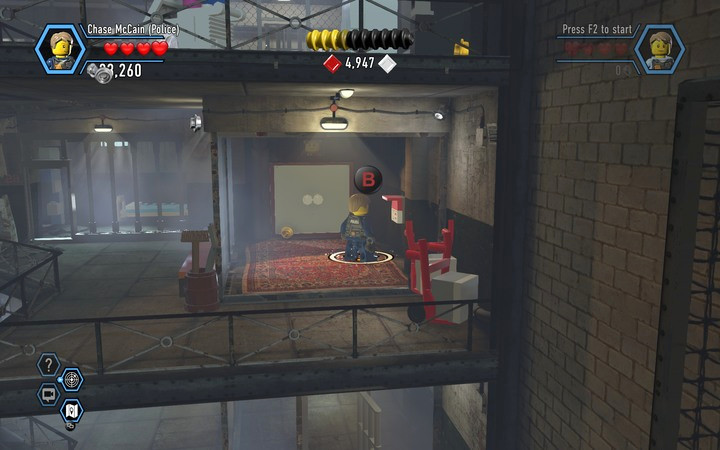
Inside of the cell block, cuff the next few unruly prisoners, and the guard will let you into Blue’s cell. There you will find a robber disguise, put it on. You can now use a crowbar to open locked doors and pry open bars (only as the robber). One of these is located on the left, with a crowbar icon if front of it. Open the cell, destroy the box and rebuild it into a ladder.

On the first floor, go left and destroy the cart located before the damaged elevator. Turn on the scanner (you need to change to the police costume), the traces will lead you to the place where the is a key is located. Pry the bars open, go to the right side by destroying the wall in the cell and reach the final room, inside of which you will find a safe. Cracking the cipher is easy - simply press the action key when the red marker over the head changes to green, you will also hear a distinctive sound. There will be a keycard in the safe. You will be able to use it on the terminal in the left corner of the floor.

Using the keycard will unlock a new passage to the upper floor. Cuff the two bandits you will find there and go to the right, where you should open the cell with the crowbar. Destroy the three walls made from blue and white blocks, and the end of the road destroy the locker, build a terminal from the parts and open the door.
The Warden’s Office and Rex’s Cell

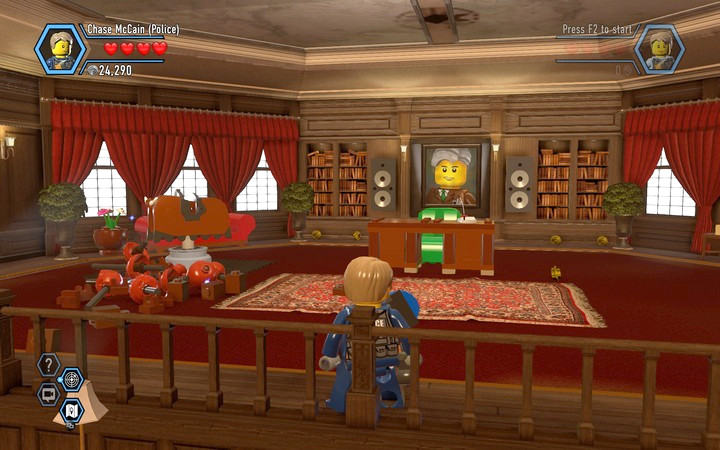
You do not have to do much in the warden’s office. Firstly, pull the chandelier down from the ceiling and reuse its parts, in order to block the door to the bathroom. Then open the safe (wearing the robber’s disguise). Insert the disc, that you will take out of the safe, into the gramophone by the window. Lastly, after the cutscene, use the destroyed white blocks to build a terminal.

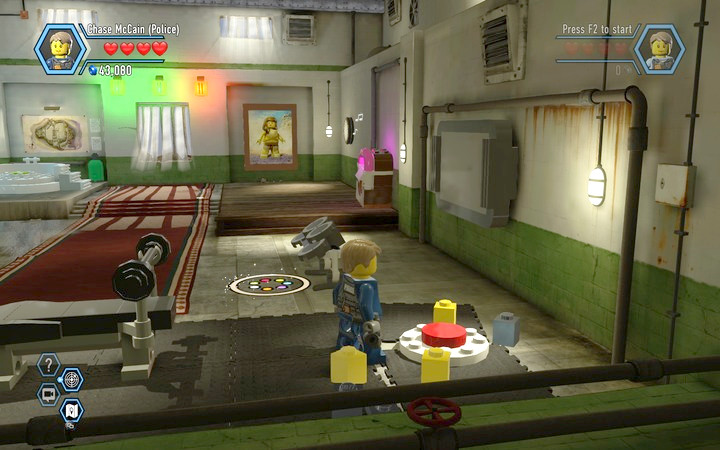
Now head over to Rex’s cell. Get rid of the two visitors and destroy the Jacuzzi with the grapple gun, then stand on the button located inside. You will find the other button on the higher level – destroy the toilet and climb up using the stream of water. You will find a scan location by the opposite wall, which will lead you to the button.

Now to the third button. Jump down and use the punching bag. The button is located underneath it and it will open the hidden passage behind the portrait. Use it, and you will finish this stage of the mission.
You are not permitted to copy any image, text or info from this page. This site is not associated with and/or endorsed by the developers and the publishers. All logos and images are copyrighted by their respective owners.
Copyright © 2000 - 2025 Webedia Polska SA for gamepressure.com, unofficial game guides, walkthroughs, secrets, game tips, maps & strategies for top games.
