Kings Quest: Help Achaka
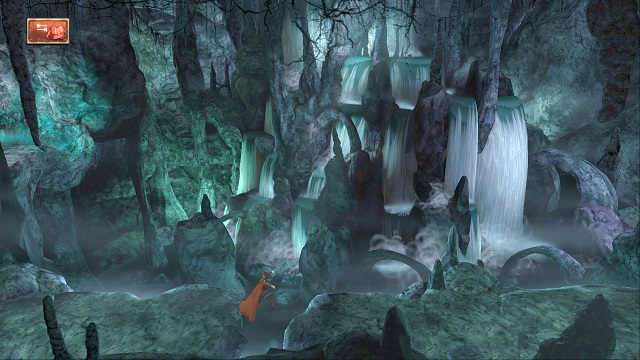
Make your way through the corridors and ledges to find Achaka. As of now, nothing is going to jump you here.
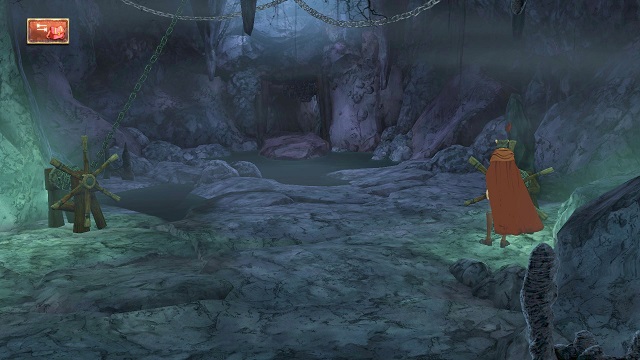
In the chamber with turning wheels, pick the one on the right and give it a turn to open the passage. At this point, you meet Achaka, whom you follow along the path.
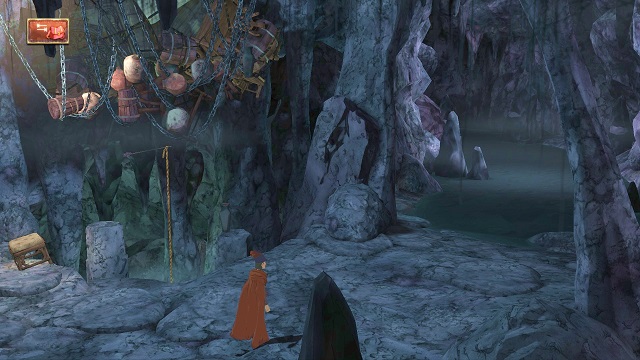
In the next location, first take the long corridor on the right. Along your path, the narrator will continually turn you back, but if you reach the dead end of the ledge and stop there for a moment, your character will dance. Thanks to this, you earn a Steam achievement: "Dead End Dancer". Automatically, you will change locations to where you would have ended up, had you taken the passage on the left.
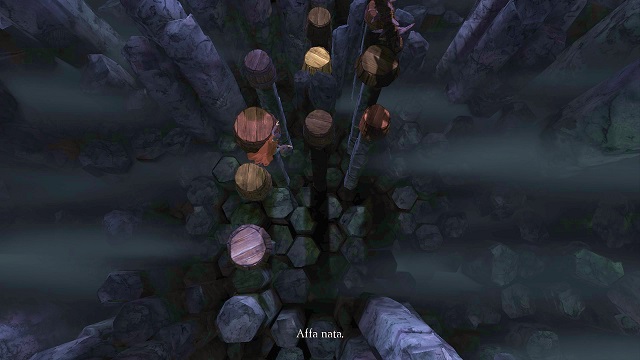
Follow Achaka. Three times in a row complete the simple sequence, where you simply copycat the knight's moves. Usually, he jumps over 5-6 poles, and you do the same. While you are determining the direction of the jump, he will be telling you if you are aiming correctly.
Affa nata = Yes.
Stalama = No.
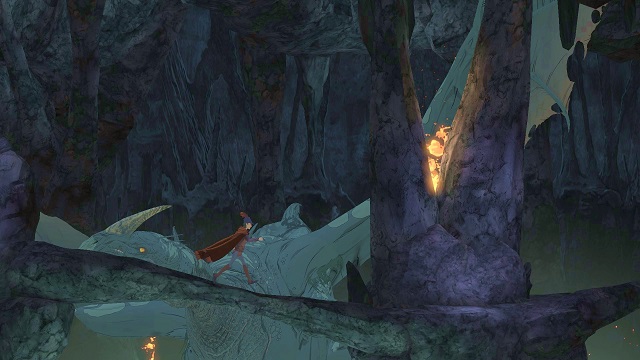
After you succeed, you get to see a short cutscene. You and your companion will be separated and you will have to cover some of the way on your own. After a while, you climb an elevation - there is Achaka fighting the dragon, in the background, so you need to keep an eye on him, to find out when he is moving on. During the sequence, hide occasionally behind the stones, thanks to which you avoid dying in flames.
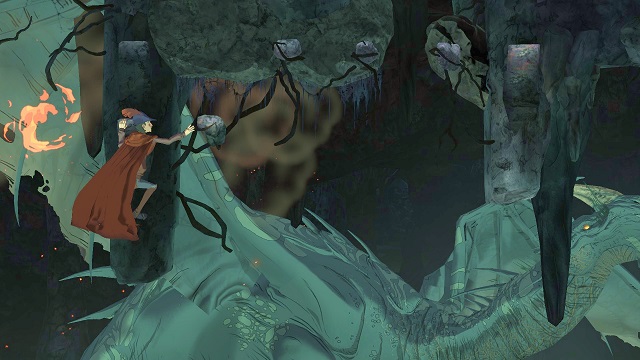
At the end of the path, grab onto the rope, which Achaka drops down for you and climb up. Here, the situation is similar - jump over from one ledge onto another, at the moment at which the dragon stops belching fire. At a certain moment, you land onto an elevation and follow the knight to the right to avoid the dragon's attacks.
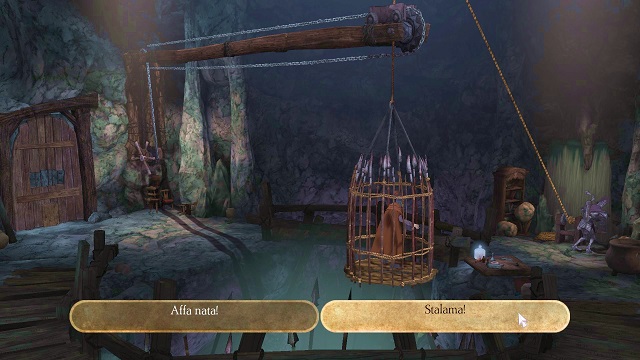
After you drop down into the chasm, your character lands in a cage. You now need to have Achaka, free you. The correct turning wheel combination is:
Stalama, Affa nata, Affa nata
You need to hurry here, because failing to provide the correct answer within several seconds results in your death.
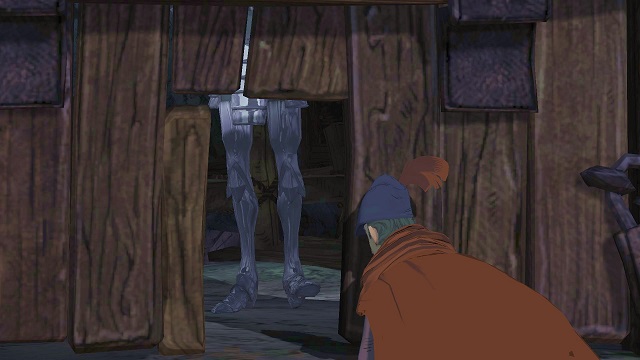
After you break free, approach the door and squeeze through, to the other side, across a small gate. If you try returning the same way, three times in a row, you receive a Steam achievement: "Opening Knight".
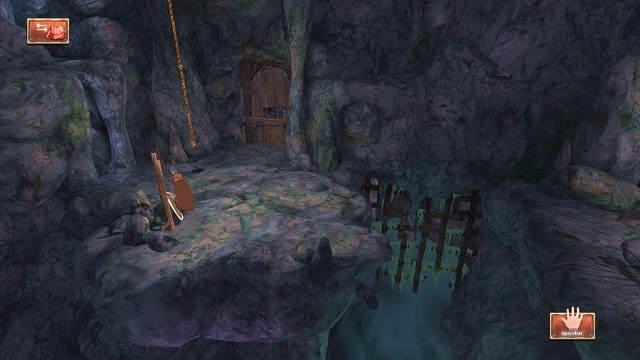
Now, you are going to have to complete a quite complicated sequence that has been presented exquisitely in the video clip. First of all, pull the bell, and then pick up the shield. Answer the knight's question affirmatively, i.e. Affa nata.
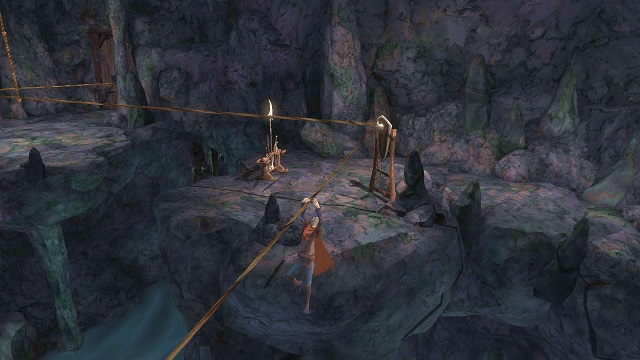
Make it over the rope to the other ledge and move the weapon stand aside. Answer the question with a negation, i.e. Stalama. Then, pick up the shield and give a positive answer. Use another rope to make it over to the next elevation.
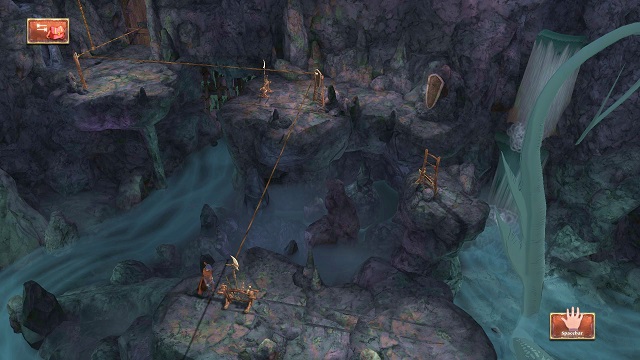
Here move the weapon stand over to the other end of the ledge, and give a negative answer. Jump onto the rope again and remove the shield that you have recently put on. Give a positive answer.
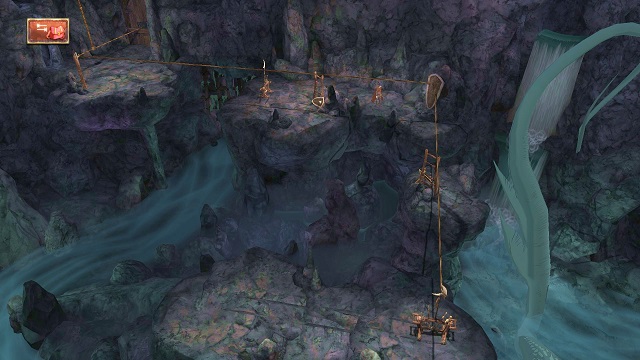
Use the new rope and make it over to the last shield. Put it on and give a positive answer to complete the task.
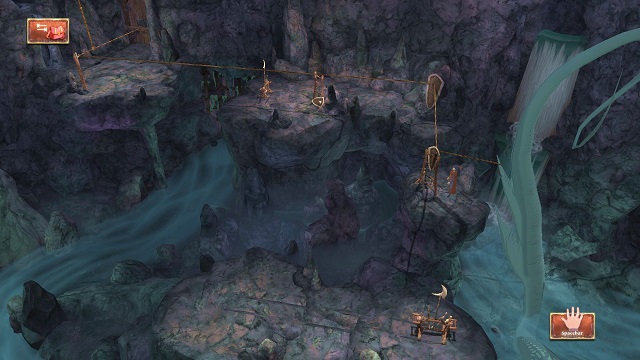
With everything ready, i.e. The rope around the dragon's tail, you can return to the door. Now you only need to pull the bell to see a short cutscene and continue the story.
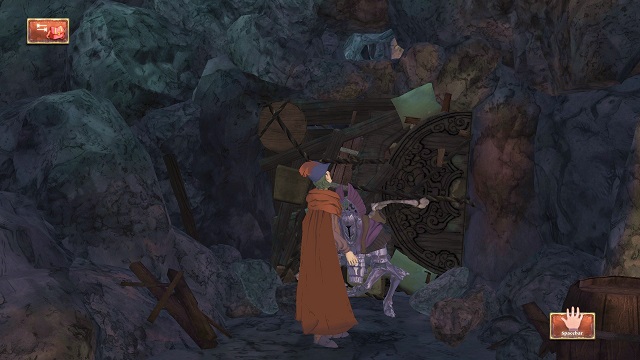
As soon as you regain control over your character, follow Achaka. At the blocked passage, interact with it to make it over to the other side.
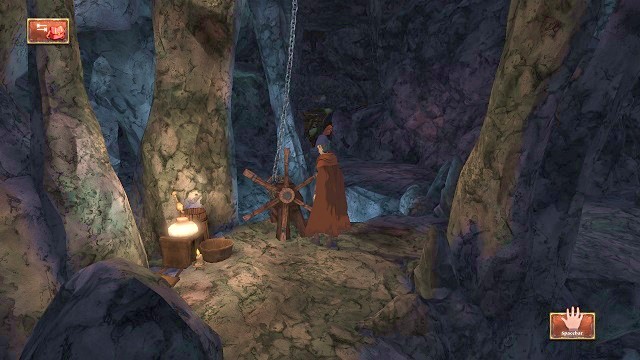
There, you find a turning wheel and give it a spin to open the way for the knight.
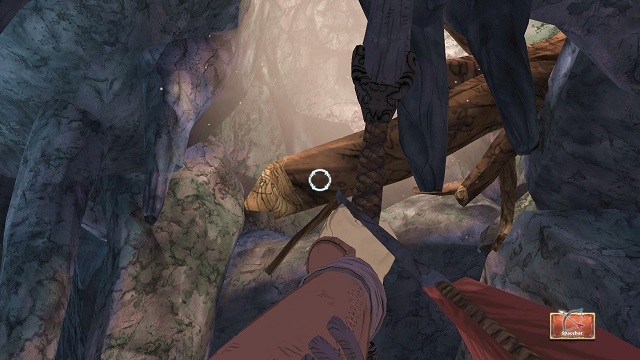
During the sequence, shoot at the plank. You will fail the first attempt, but the second arrow shot by your companion reaches the target and you will be able to move along.
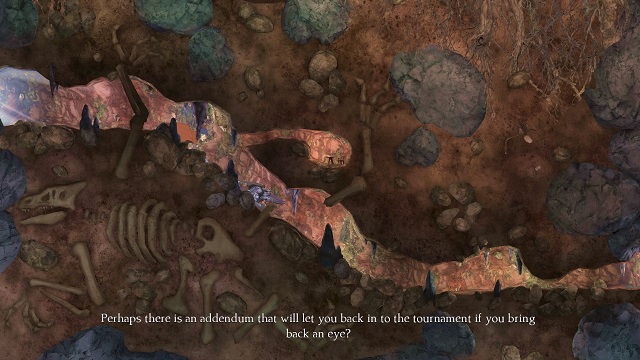
Follow the narrow tunnel in one direction. It is possible that, if you lag behind, you get stuck in the passage and you will have to load the game again. At some point, Achaka gets stuck and you will have to help him with the interaction key.
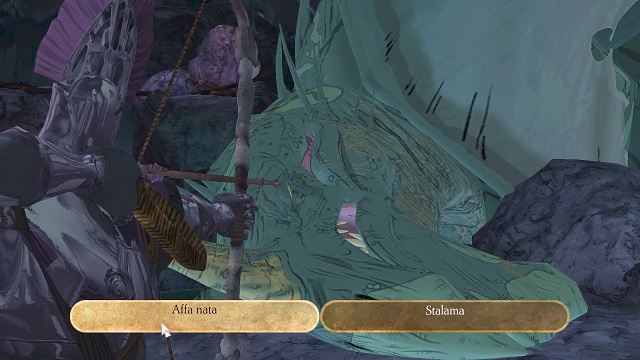
Finally, you reach the dragon. Since he is tight asleep, you can decide, whether you want to obtain his eye or let him be. Regardless of the choice you make, Achaka dies devoured by the monstrosity. You will find the eye handy only if you went to find the knight before you actually started your cooperation with the troll (he then shows his eyes, which completes the challenge - this has been explained in the previous chapter of this walkthrough).
You are not permitted to copy any image, text or info from this page. This site is not associated with and/or endorsed by the developers and the publishers. All logos and images are copyrighted by their respective owners.
Copyright © 2000 - 2025 Webedia Polska SA for gamepressure.com, unofficial game guides, walkthroughs, secrets, game tips, maps & strategies for top games.
