Gray Matter: Chapter 4 - p. 3
 |  |
 |  |
Approach the desk and examine the magazine in zoom (4 points). Examine the content of the open drawer (2 bonus points). Take a look at the photo on the nightstand (4 points) to which the number to the boy's mother is attached. Save it in Sam's cell - just lick the number while holding the phone in your hand (2 points). Finally - take out the photo from the frame (3 points). Leave Charles's room.
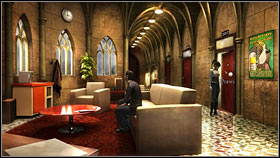 |  |
In the hall, notice the open door to room 202 - examine the latch and the bolt twice (3 bonus points). Head onto the 3rd floor (cursor in the depth of the screen - look out not to return onto the 1st floor, as the cursors appear next to each other).
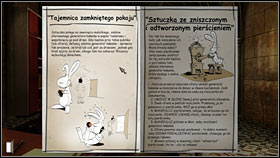 | 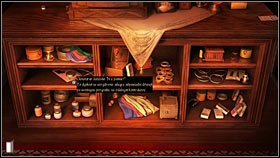 |
Harvey's room is on the 3rd floor (302 - the first on the right). Of course it is locked and of course the Proctor won't agree to open it for you. You will have to use a trick to get there as well. Click the man and choose the "Locked Room Mystery" trick (5 points). You will of course need a proper requisite, so head to Mephistopheles' shop and take the Cry-for-Help Noisemaker from the shelf on the right (2 points). Return onto the campus.
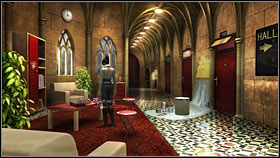 |  |
While passing through the 1st floor corridor, take some pink toilet paper from the table on the left - you will need it in just a moment (2 points). On the third floor, wrap the paper around the generator (2 points) and slip it under the door of room 302 (3 points). Afterwards use (LMB In inventory) the pilot.
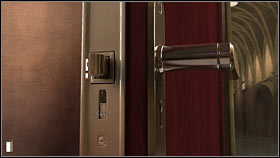 | 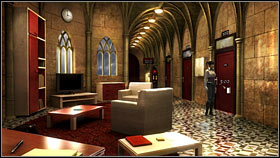 |
Once the Proctor enters the room, examine the door lock (5 points) so that they won't shut - just like the door on the floor below. After the corridor is clear, go into Harvey's room (5 points).
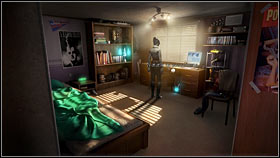 | 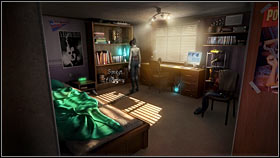 |
Take a look at the scenario left on the desk (2 points) and read a couple sentences from it (5 points). Additionally check the film gear at the bottom shelf of the closet on the left (2 bonus points).
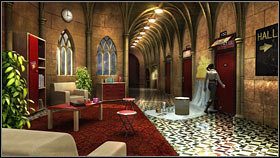 | 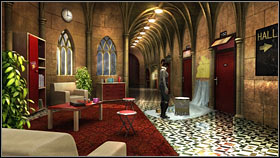 |
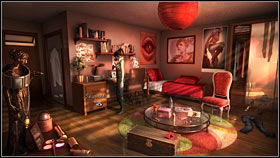
Return to the 1st floor and examine the locked door leading into Helena's room (102). Push the paint bucket to the door (3 points). Sam will climb onto it and enter Helena's room, where she will automatically pick up the key from the floor (5 points).
 |  |
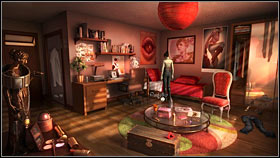 | 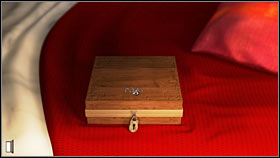 |
Note the photo camera on the desk, examine the drawer (2 bonus points) and eventually take out from under the bed (2 points) and examine (2 points) the box hidden there. It's locked and you don't have anything which could open it. Once you exit the zoom, Helena will enter the room. Talk with her (5 points) - as an effect the girl will lend Sam her camera and share new information on the other four experiment participants (12 bonus points, 3 for each person. If you haven't yet checked all four, finish this conversation after doing so).
 |  |
Move to Dread Hill. Sam will automatically head to the lab, where she will come across an affair. After Mrs. Dalton leaves, talk with Styles and talk with him on all the topics (12 points in total).
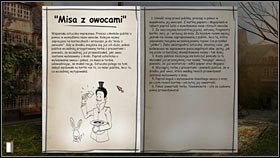
Move to St. Edmund Hall, where all the experiment participants are waiting on the lawn. Once Sam convinces them to play a lottery, you will have the last chance to complete the remaining points (for example if you haven't checked all the dorm rooms). Afterwards click one of them with the top hat cursor. Choose the " Fruit Bowl" trick (10 points). It will end this mission (141/141 points).
Bonus (33 points)
1) Examine the postcard rack in Alice's shop on Queen Street (2 points).
2) Examine the history poster with Lewis Carroll's biography in Alice's shop on Queen Street (2 points).
3) Examine the Mad Hatter poster in Alice's shop on Queen Street (2 points).
4) Talk with the librarian about Hogwarts (3 points).
5) Try to get to the Christ Church dining hall (3 points).
6) Examine the desk drawer In Charles's room (2 points).
7) Examine the lock in the opened door of room 202 - after visiting room 204 (3 points).
8) Examine the film gear on the bottom shelf in Harvey's room (2 points).
9) During Helena's absence, examine the desk drawer in her room (2 points).
10) Talk with Helena about her discoveries on Angela, Malik, Charles and Harvey (12 points).
- Gray Matter Game Guide & Walkthrough
- Gray Matter: Walkthrough
- Gray Matter: Chapter 1 - p. 1
- Gray Matter: Chapter 1 - p. 2
- Gray Matter: Chapter 1 - p. 3
- Gray Matter: Chapter 2 - p. 1
- Gray Matter: Chapter 2 - p. 2
- Gray Matter: Chapter 2 - p. 3
- Gray Matter: Chapter 3 - p. 1
- Gray Matter: Chapter 3 - p. 2
- Gray Matter: Chapter 4 - p. 1
- Gray Matter: Chapter 4 - p. 2
- Gray Matter: Chapter 4 - p. 3
- Gray Matter: Chapter 5 - p. 1
- Gray Matter: Chapter 5 - p. 2
- Gray Matter: Chapter 6 - p. 1
- Gray Matter: Chapter 6 - p. 2
- Gray Matter: Chapter 6 - p. 3
- Gray Matter: Chapter 7
- Gray Matter: Chapter 8 - p. 1
- Gray Matter: Chapter 8 - p. 2
- Gray Matter: Walkthrough
You are not permitted to copy any image, text or info from this page. This site is not associated with and/or endorsed by the developers and the publishers. All logos and images are copyrighted by their respective owners.
Copyright © 2000 - 2026 Webedia Polska SA for gamepressure.com, unofficial game guides, walkthroughs, secrets, game tips, maps & strategies for top games.
