The Witcher: Main quests Chapter 3 - part 5
Q3.89. The Unforgiven
Phase 1. A Tense Situation
This quest is a continuation of Q3.87. Lock and Key.
Phase 2. Allies
You have to talk to Leuvaarden (M14.13) and regardless of your reaction, you have to organize some support forces. You can have either Siegfried (M15.10) or Yaevinn (M15.20) by your side - this depends on the outcome of Q3.88. Gold Rush.
Phase 3. A Secret Meeting
The secret meeting will take place in "The New Narakort" (M14.13). First you have to inform Triss (M14.1).
Phase 4. I should tend...
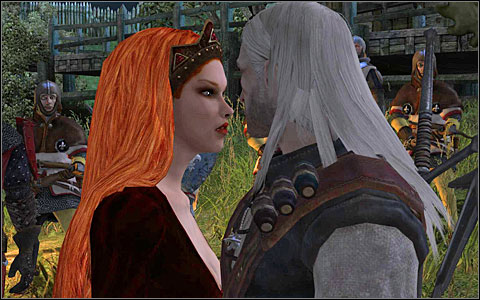
Triss tells you that your conversation with Leuvaarden is very important, so you first have to deal with some other, minor issues.
Phase 5. The New Narakort
When you don't have anything else to do in this chapter, go to Triss and tell her that you're ready for a serious conversation. Make sure that you have Cat and Tawny Owl with you. Without them it might be difficult to finish this chapter.
Phase 6. A Warning
Flashback: If you cured Vincent in Q3.71. The Beauty and the Beast, you'll get additional support from him when you enter the inn (M14.13).
Phase 7. The Trap
Defeat the attackers and go upstairs. At the spot you'll meet the rest of your fellow plotters.
Phase 8. The Salamandra Base
Triss teleports you right into the action (M24.1). Unfortunately the teleportation wasn't too precise, because your ally (M24.4) is behind some enemy lines.
Phase 9. The Portal
You now have to activate a portal. Use the Power Stone which is guarded by a nearby mage (M24.5).
Phase 10. The Power Stone
You could have got it in the Salamandra Hideout earlier on (M14.42), but either way you should kill the mage and loot his chest.
Phase 11. A Chat
Obviously you can strike the Salamanders here, but they will respawn endlessly until you activate Alvaro's portal (M24.6) and take advantage of the fact that Azar's force field is lowered - go talk to him and the Professor (M24.7).

Phase 12. Alzur's Shield
Flashback: When Azar tries to kill you at the end of his speech, you'll be saved by Alzur's Shield - a spell cast by Triss on you. You found this spell yourself, before fighting Javed in Chapter II - it's a result of a good performance in Q2.49. The Autopsy of a Crime.
Phase 13. The Confrontation
Go to the last cave (M24.8) and finish the Professor off. Depending on how you developed your character, decide whether you want to deal with him first, or concentrate on his minions using group style.
Phase 14. The Kikimore Lair
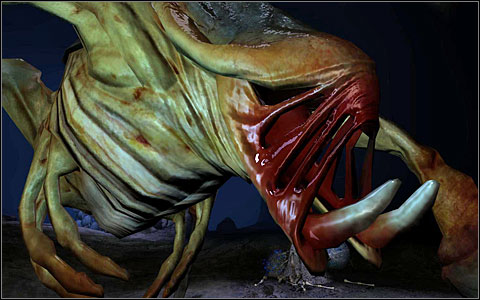
At the end of the battle you'll both fall down to Kikimores' Lair. The professor gets eliminated and you have to deal with Kikimore Queen. Don't try to battle it directly - it can kill you with just one blow. There's a tough struggle before you. Drink up a Tawny Owl, because you will be needing your Aard power now.

Phase 15. The Queen
Run to the end of this cave (M25.6). Every time you run under supports, use Aard on them (watch out not to get crushed yourself). If you think that you've won enough time, loot the chest (M25.3) to find a Moon Rune. In the next cave (M25.4) hordes of Kikimores start coming at you. Don't fight them, just run as far as you can. If you get blocked, then try to fight your way out. At the middle of the cave (M25.4) use Aard on one of the supports, then run towards the corridor (M25.6). The cave will collapse and Kikimore Queen will get crushed. Loot her body to find the remains of the Professor: a letter and a report. Also, you should find 2 new books: one on Kikimores and one on Wolverines, as well as some alchemical ingredients.
Phase 16. Adda
The professor's report clearly indicates who's behind Salamandra and the forging the king's letters. Also, read the letter that you found - it will advance the Qp.3. Berengar's Secret quest. Now go along the unlocked corridor to the exit.
Phase 17. A Partial Success
Vizima is clear of Salamandra and the Professor is dead. Adda is mad at you, and your life is saved by Triss once more. Ain't she the sweetest thing?

- The Witcher Game Guide & Walkthrough
- The Witcher: Game Guide
- The Witcher: Chapter 3
- The Witcher: Chapter 3 Quests
- The Witcher: Main quests Chapter 3 - part 1
- The Witcher: Main quests Chapter 3 - part 2
- The Witcher: Main quests Chapter 3 - part 3
- The Witcher: Main quests Chapter 3 - part 4
- The Witcher: Main quests Chapter 3 - part 5
- The Witcher: Side-quests Chapter 3 - part 1
- The Witcher: Side-quests Chapter 3 - part 2
- The Witcher: Side-quests Chapter 3 - part 3
- The Witcher: Side-quests Chapter 3 - part 4
- The Witcher: Chapter 3 Quests
- The Witcher: Chapter 3
- The Witcher: Game Guide
You are not permitted to copy any image, text or info from this page. This site is not associated with and/or endorsed by the developers and the publishers. All logos and images are copyrighted by their respective owners.
Copyright © 2000 - 2025 Webedia Polska SA for gamepressure.com, unofficial game guides, walkthroughs, secrets, game tips, maps & strategies for top games.
