Chapter X - Riggs
Save Riggs

Follow the only available path. I strongly advise to carefully explore tents, by which you will pass along with your team, because in one of them you can find Intel Item - Radioman Tape - No Relief Aid.
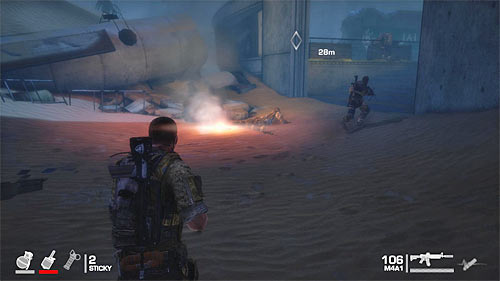
Get interested also in a grenade crate especially that soon they can be very useful. Head to the stairs and after a while you'll reach a place where Riggs defends himself against attacks of 33rd company.
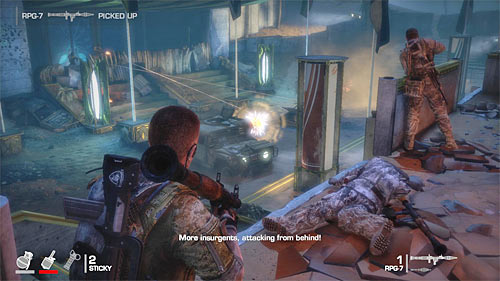
I suggest starting with shooting an opponent with RPG, standing on the right. After that, pick up this RPG and attack larger group of enemies. It is best to stay on the upper balcony, thus having an advantage of the height and keeping safe distance from enemies.
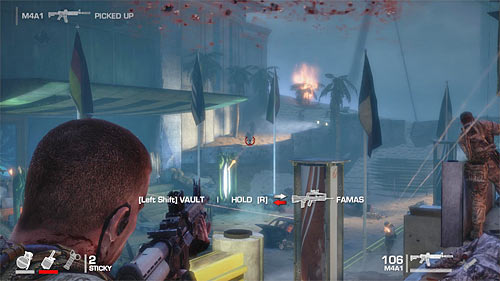
Once you get out of rockets, switch to a standard rifle. Enemies will come running mainly from dunes visible in a distance and a lower floor of the building occupied by you. To eliminate them you might use of course grenades. When needed, you can replenish your supplies with a crate located next to the left stairs.
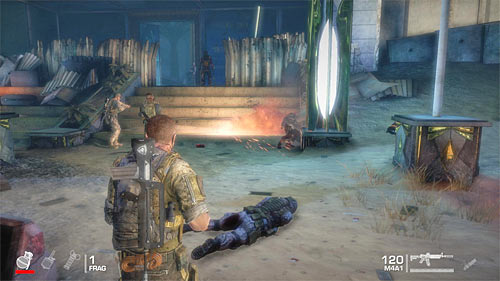
Keep fighting until you eliminate all hostile soldiers. Only now use the previously mentioned stairs and head to the building where Riggs was defending himself. Watch the cut-scene.
Follow Riggs to coliseum
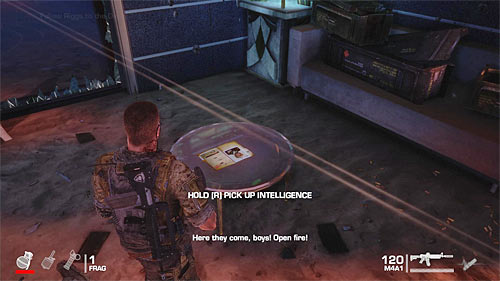
Once you regain control over Walker, IGNORE the battle which has now started and pick up Intel Item from a right table - Konrad's Psych Profile. Notice - if you're almost dead after completing this action, reload the last control point, because you won't have to pick this Intel Item again.
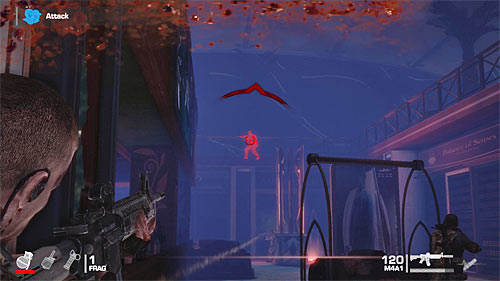
Place yourself next to ravaged passage and start attacking enemies visible in a distance. Particularly, I advise aiming at the opponent who occupies the upper balcony. It is best to mark him to be killed. Depending on your preferences you can stay all the time near the starting point or run to the left kitchen room, where you can also find ammo crate.
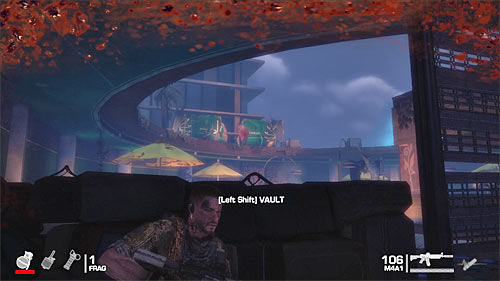
CAREFULLY approach an entrance to the next room, because there is a sniper waiting for you. What's interesting, you do not have to take care of hostile sniper by yourself, because it is enough to wait until Riggs gets to upper balconies and will eliminate them with no problems.
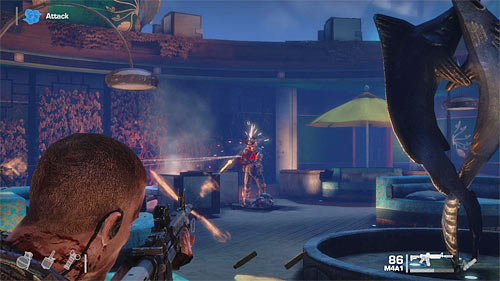
Keep attacking enemies occupying the adjacent room, defending yourself at the entrance or moving a little further. Watch out for new enemies, who will appear over you and an elite soldier, who will join the battle in its final stage. Same as before, aim at his head, using best weapons and grenades.
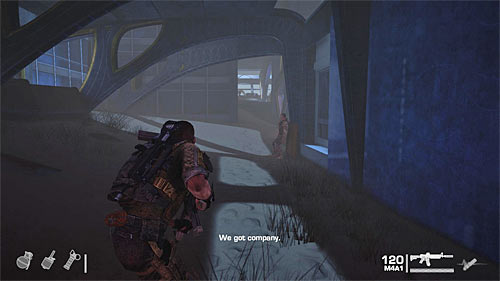
Now you can go towards the passage indicated by the game. After joining Riggs, continue your march through successive rooms and corridors. Stop only at the place shown on the above screen. Do not move too far forward, because you would find yourself under massive fire. Instead, place yourself at the right wall and shoot enemies from this safe place.
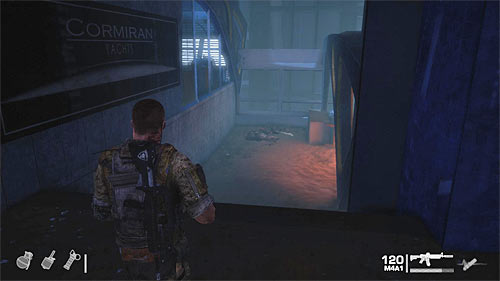
Prepare for next actions only after elimination of at least several enemies. Run forwards and after a while turn right. This will allow you to get to enemies from the flank and eliminate them easily. But this is not the end of your problems, since the adjacent rooms are also occupied by enemy forces. Slowly move forwards, carefully eliminating enemies.
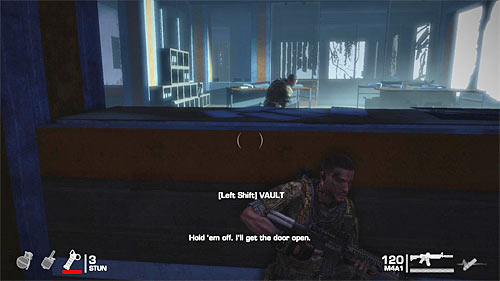
Your current target is the room, from which you can see an entrance to the coliseum. Listen to the conversation with Riggs and prepare to repel heavy surprise attack. I suggest taking positions (along with your teammates) behind covers shown on the above screen. They are located to the right from place, where you had conversation with Riggs.
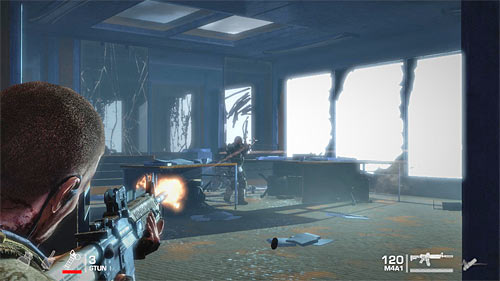
Start attacking enemy units, who trying to approach you and do not let them get close. Since the battle takes place in a small room, it would be helpful to use grenades (also stun ones). Also look around and find ammo crate left in the room.
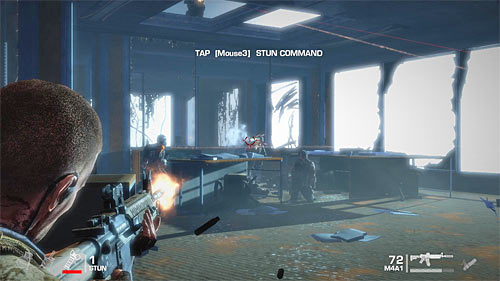
After elimination of first group of enemies, prepare for the second battle with Zulu squad members. Fortunately, this fight differs little from the previous one, except that enemies are heavier armed and use better weapons (P90 machine gun among others - you might pick up one of these).
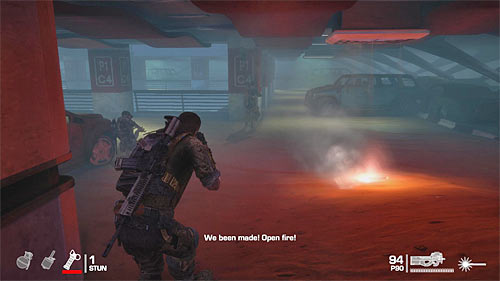
After the fight pick up weapons and ammo and then head to the door unlocked by Riggs. Force it (left SHIFT). Stop only after reaching the underground parking lot shown on the above screen and prepare for tough fights.
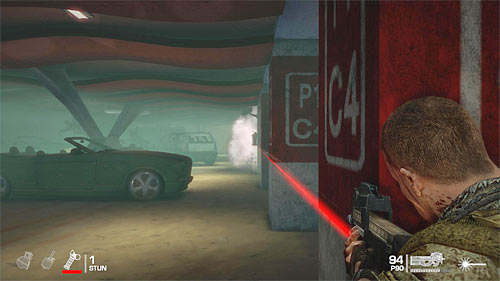
Your current objective is to eliminate all enemies in the area. Start with securing starting place, finding grenade crate on the way. After that, make a decision whether to choose left or right path. Both paths offer similar fights, but I would recommend the left one because there are better covers there (screen above).
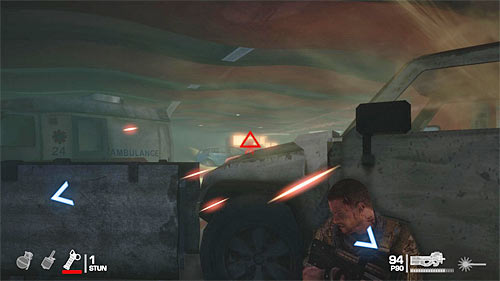
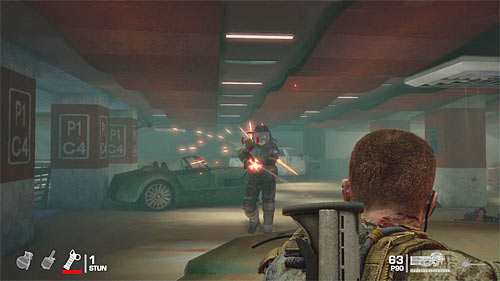
During battles fought in the underground parking lot, you have to particularly watch out for two threats. First of them is .50 caliber gun post (screen 1), mounted on the vehicle visible in a distance. If you have problems with elimination of its operator, aim at canisters near the vehicle or mark the soldier to be killed by your team-mate. Another problem is an elite soldier (screen 2). Once he appears on the battlefield, focus your fir on him remembering about using covers and all grenades you have.
Secure trucks

After the fight head to the exit from a parking lot, where you'll find parked jeep. Open a grenade crate and use the passage unlocked by Riggs. Follow linear corridors now, finding ammo crate along your way. Stop only after approaching an entrance to the coliseum.
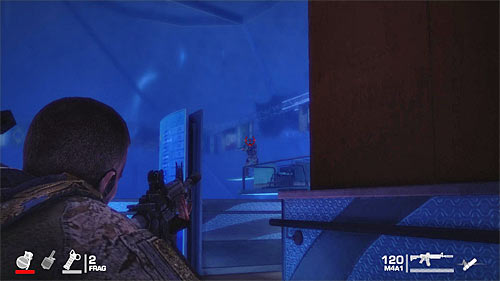
Very useful information is fact, that several initial opponents in coliseum can be eliminated by a surprise. If you have gun with a silencer, it would be good to start using it (there is also a sniper rifle on balconies). Otherwise mark your targets to be killed by Lugo.
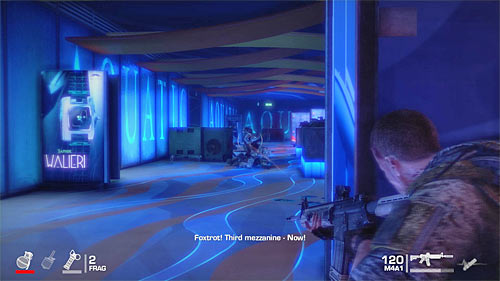
Sooner or later your actions will be noticed by enemies and it will probably happen after using the stairs leading to the lower level of balconies. So start exterminating opponents carefully, remembering about using covers and looking around for ammo and grenade crates.
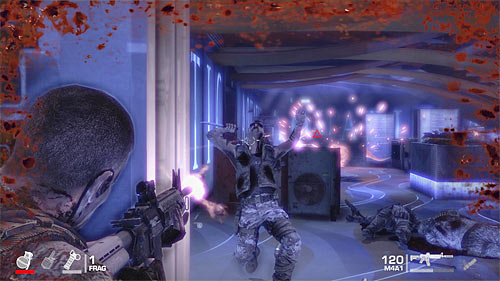
One of the additional difficulties connected with securing the coliseum, is the need to deal with cutthroats emerging from time to time. As you probably remember from one of previous missions, you should eliminate them before they can approach the main character. During your march you can also stand at railings from time to time and eliminate enemies occupying lower balconies.
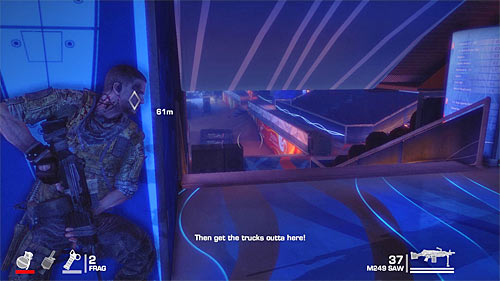
Your objective is to get to the very bottom of the coliseum, so you have to look around for the stairs leading to lower levels. As mentioned before, you do not have to hurry because you'll encounter large groups of enemies on your way there. Remember about using grenades and a possibility to mark targets to be killed.
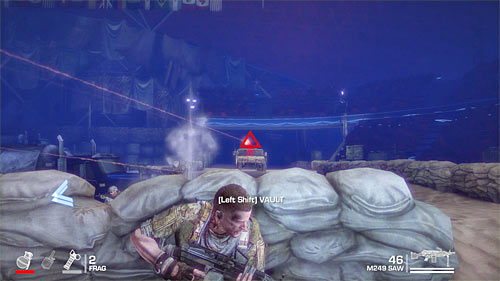
Once you get to the lowest level of balconies, deal with opponents standing near the trucks indicated by the game. Approach parked vehicles and necessarily take cover, because a jeep will appear in a distance. Mark the machine gun operator to be killed, but of course you can kill him by yourself. After that action you'll advance to the second part of the tenth chapter of the campaign.
You are not permitted to copy any image, text or info from this page. This site is not associated with and/or endorsed by the 2K Games or Yager Development . All logos and images are copyrighted by their respective owners.
Copyright © 2000 - 2025 Webedia Polska SA for gamepressure.com, unofficial game guides, walkthroughs, secrets, game tips, maps & strategies for top games.
