SOMA: Delta station
On this page of SOMA Guide you'll find a walkthrough for Delta Station location.
Communication Antenna
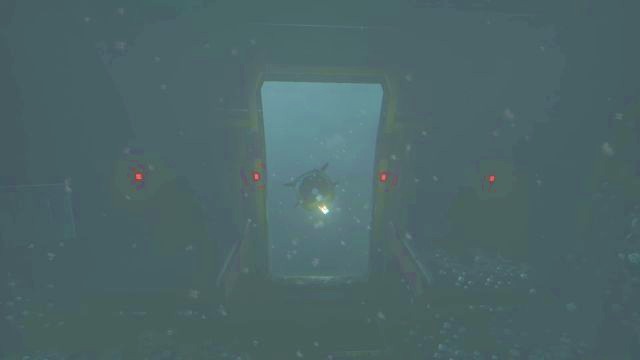
After regaining control over the character, try to get out of the vessel by the hatch you've entered it in the previous mission. You won't be able to, but after a few seconds you will be rescued by the little robot you saved a couple of chapters ago. Climb up through the breach to get on an open space again.
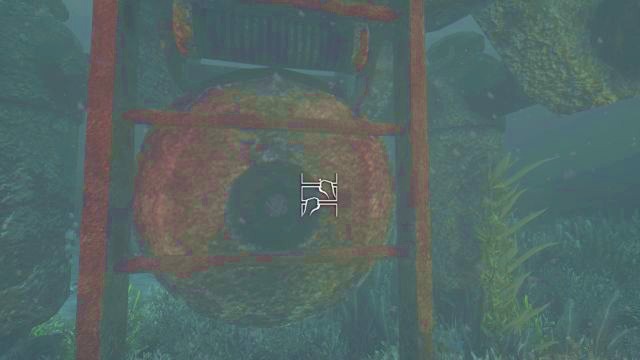
Your task is to get to the station Theta. From the place you've climbed out of the ship you can only go straight ahead, in the direction of a small greenish building with a light on top of it - there's an abyss everywhere else. Go there as soon as possible, climb up the ladder and get to the upper part of the building.
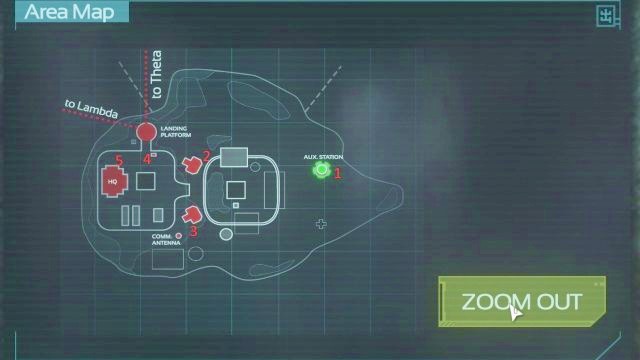
Inside there will be a corpse, on which you can perform a Data Buffer, and right behind those there's a growth, with which you can interact. After completing both of those activities, pick up the tablet lying on the ground, from which you will be able to learn a few interesting things. Put it back down, turn around and flip the level located near the small red light. A screen will appear, from which you will be able to check the map of the surrounding area, with all the important buildings marked on it. Remember it, or look at the screenshot above - this map will make moving around the area a lot easier.
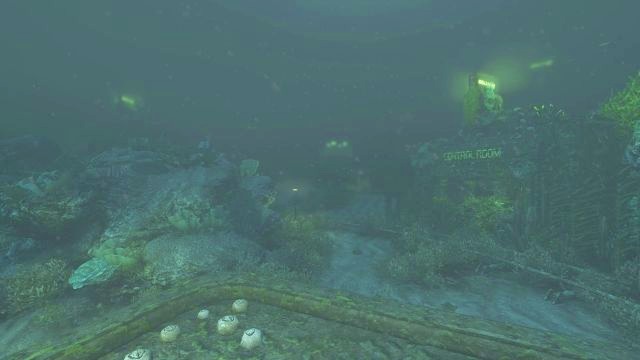
Jump down from the ladder, turn around by 180 degrees and go straight ahead, in the direction of lights. You should soon arrive at a quite large building, with railroad tracks around it - go to the right, along the rails, until you reach a room with a "Control Room" sign on it (point 2 on the map at the beginning of this chapter). There's a crazy, yet neutral robot traveling around the area - ignore it for the time being. Approach the entrance to the mentioned building, click on the doors and wait until your friend gets rid of the problem.
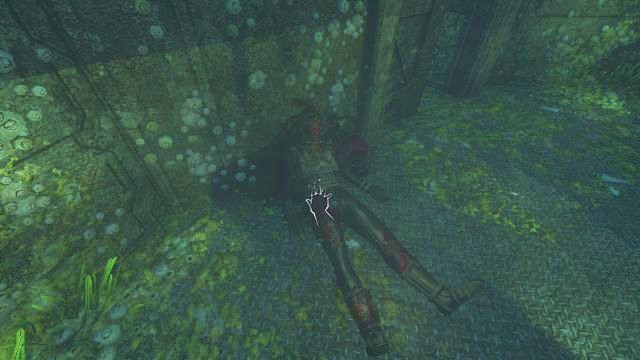
Inside you will find a corpse on which you can perform a Data Buffer, as well as a red switch - press it and listen to the last moments of the unlucky one. Leave the building, turn left from the entrance and go straight ahead, until you reach a Communication Antenna (point 3 on the map at the beginning of this chapter). If you can't find it, check the map from the beginning of this chapter - with it you should have no problems.
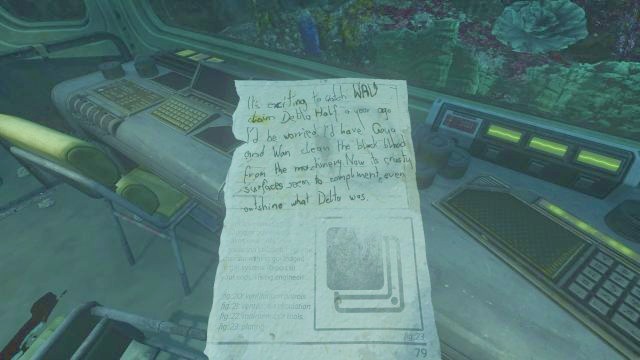
Before activating the panel in front of the building with the antenna, you should first investigate the building itself - approach the doors and open them by activating the control panel (this time your ally won't have to cut through it). Inside, on both walls (to the left and right from the entrance) there are messages written in blood, which can be checked, and a note which can be found on the desk. After checking the listed items, leave the building and approach the control panel of the antenna, located to the right of the entrance.
Call in the Zeppelin
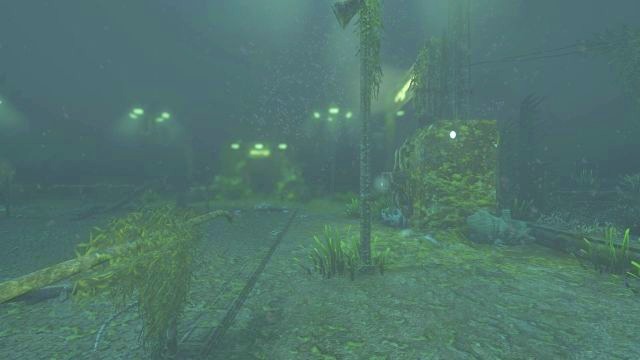
Activate the panel with the button in the upper right corner. You now have to calibrate the antenna properly, so that it can be used to call in the Zeppelin. By pressing the arrows on the panel set the signal in such a way, so that the signal overlaps the yellow line, and set the channel on 5. Thanks to that, you will be able to contact station Theta.
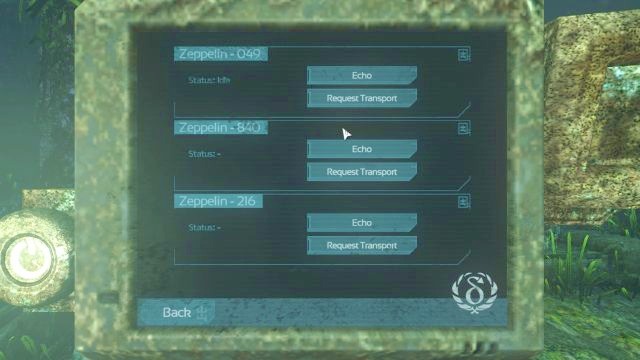
Leave the panel, turn around 180 degrees and go straight ahead, until you reach another group of buildings. There's another control panel here (point 4 on the map at the beginning of this chapter) - approach and activate it, by pressing the appropriate button on the screen. Select the "Zeppelins" option, and then press "Echo" and "Request Transport" next to "Zeppelin - 049". After a short while the requested transport will arrive near your position.
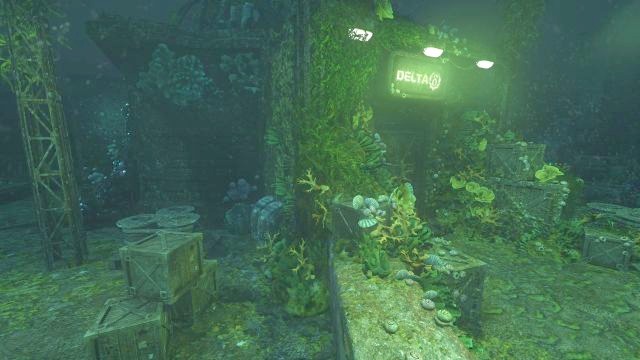
Before you enter it, however, you can listen to the recordings in the panel at which you currently are ("Radio" tab). Leave the panel, turn left and approach the building with the "Delta" (point 5 on the map at the beginning of this chapter) sign on it. The doors are locked, but your friend will solve the problem immediately. Get inside, interact with the growth in front of the entrance, and then press the button right next to it.
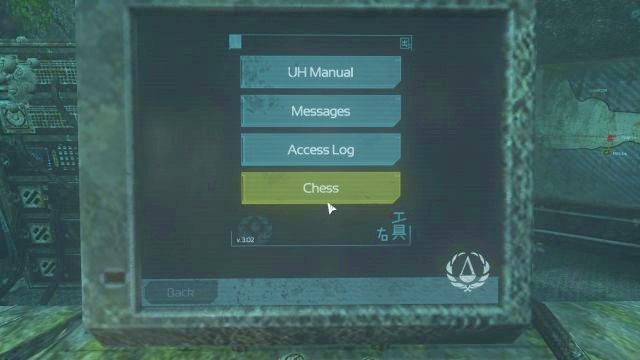
It will activate a monitor, on which you will be able to check a few things associated with the world of the game. After reading through everything, you should check the map located directly behind the computer, as well as the subway lines scheme to the right of your current position. The other door inside this room lead to the toilet, where there's nothing to do, so just leave the area and get outside.
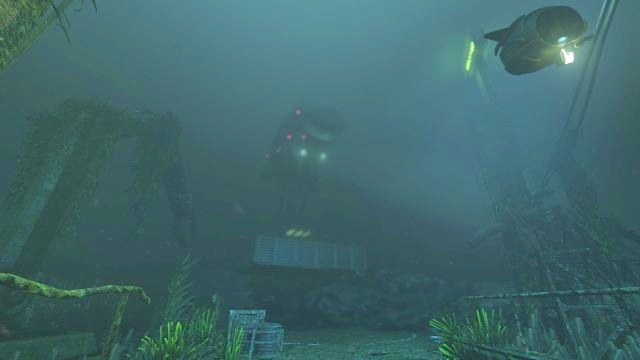
The Zeppelin should land in the area by now - go there and place the Omnitool in the socket to activate the tool. You will learn that you lack a Tool Chip, which was damaged during the last crash. After the conversation with Catherine ends, turn to the left and pick up the weapon from the box that had just opened.
First Hunt
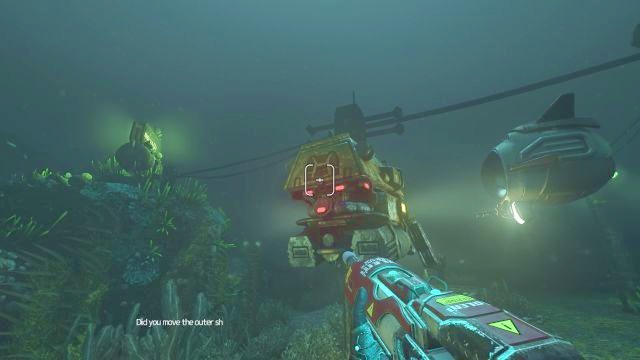
Your task is to kill a robot, from which you can extract the Tool Chip. Go back to the place in which the crazy, neutral robot patrols the area and shoot him a couple of times with your newly acquired weapon - the weapon becomes active when you aim it at the robot from a small distance. After three shots the robot will drop on the ground.
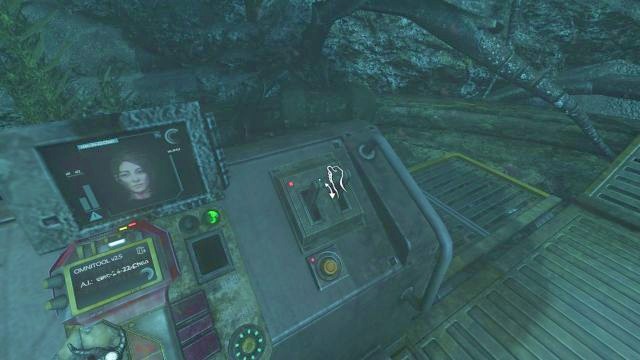
Run towards the robot, take out its Tool Chip and go back to the Zeppelin, to place it inside the Omnitool. After a short conversation Catherine will ask you to press the control buttons. Flip the lever located on the right side of the picture of Catherine, and then press the yellow button below. After a short while the Zeppelin will take off, and you will change your environment.
- SOMA Guide
- SOMA: Game Guide
- SOMA: Walkthrough
- SOMA: All levels
- SOMA: Simon's Apartment
- SOMA: Subway / David Munshi's laboratory
- SOMA: Awakening
- SOMA: Comm station
- SOMA: Ocean depths
- SOMA: Shuttle station
- SOMA: On the way to the Lambda station
- SOMA: Lambda station
- SOMA: CURIE shipwreck
- SOMA: Delta station
- SOMA: On the way to the Theta station
- SOMA: Theta station
- SOMA: Theta laboratory
- SOMA: Theta
- SOMA: Outside Omicron
- SOMA: Omicron station
- SOMA: The descent
- SOMA: On the way to the Tau station
- SOMA: Tau station
- SOMA: Alpha station
- SOMA: Phi station
- SOMA: Walkthrough
- SOMA: Game Guide
You are not permitted to copy any image, text or info from this page. This site is not associated with and/or endorsed by the developers and the publishers. All logos and images are copyrighted by their respective owners.
Copyright © 2000 - 2025 Webedia Polska SA for gamepressure.com, unofficial game guides, walkthroughs, secrets, game tips, maps & strategies for top games.
