Phantaruk: Reach Biomed
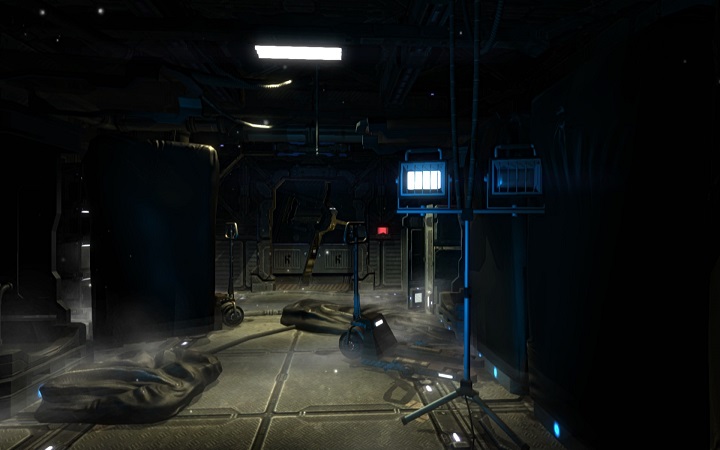
The room you start the gameplay will not provide you with many pieces of information or items that you could use. It's best to head for door presented in the screenshot. When you go to the neighboring room, make sure to investigate items on the table. You will find energy cell and diary entry. You can read it right away or come back later, using the right tab in your inventory.
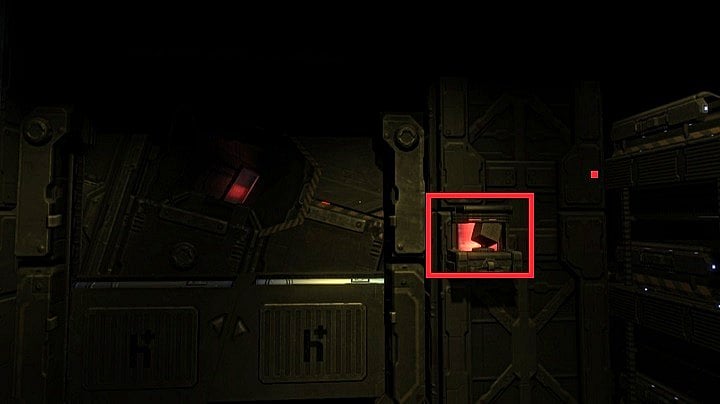
Cell can be used to open the door that will take to the other part of the ship. A transmitter, which will let you listen to the audio version of the log, will be located in the place where the item ought to be placed.
Once you attach the cell, the door will open and you will end up in front of a corridor that will lead you to an abandoned lab. You will come across a side corridor on the left, but going there is pointless. Instead, go straight to the laboratory.
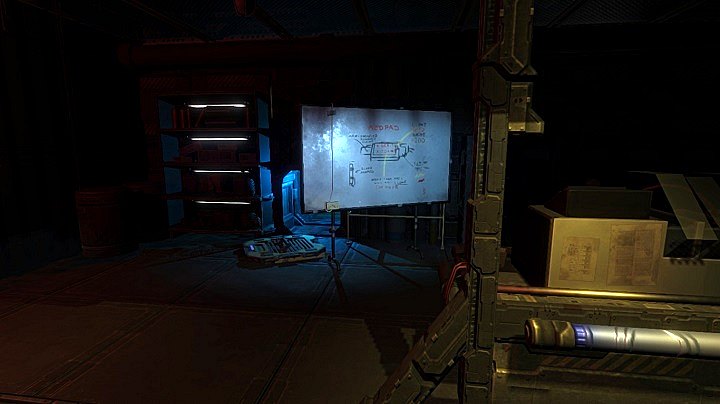
A characteristic spot is the board visible in the screenshot. It represents the device attached to your right wrist. From now on you can check your pulse and level of contamination. There is an open air shaft behind the board, which you can use to move forward. There is another diary entry on the damaged hatch.
Use the air shaft to reach the conference room. There are no items on the tables or shelves, so go straight to the door located on the left of the air shaft. Before you actually leave the room, you will be able to listen to the first recording left by the captain.
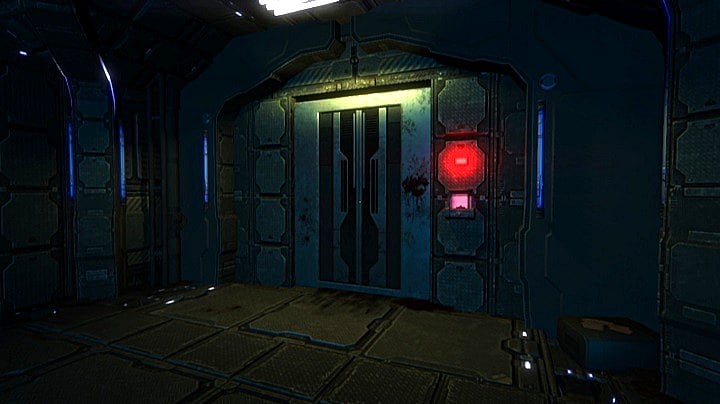
Leave the conference room and you will reach the presented location. The door in front of you is blocked, and the elevator on your right requires cell. To find it, move left and follow the corridor.
You will reach machine room where two important items can be obtained: energy cell and syringe. When reach the chest, on which the items are located, you will undergo symptoms of the contamination. Grab the syringe as quickly as possible and use it. You need to be fast, as reaching the critical state of contamination will make it much harder to actually pick up the item. Another crucial fact is that from now on, the level of contamination in your body will constantly increase, thus you shouldn't waste too much time and obtain another antidote quickly. Pick up energy cell and get back to the elevator. Insert the item in the right slot, enter the elevator and press the only available button.
Once you leave the elevator, you will detect the signal again and listen to the log. When you are done with the recording, move on. Once you get on a batten, the lights will turn themselves on. If you move forward, you will come across another syringe on a table, on your left.
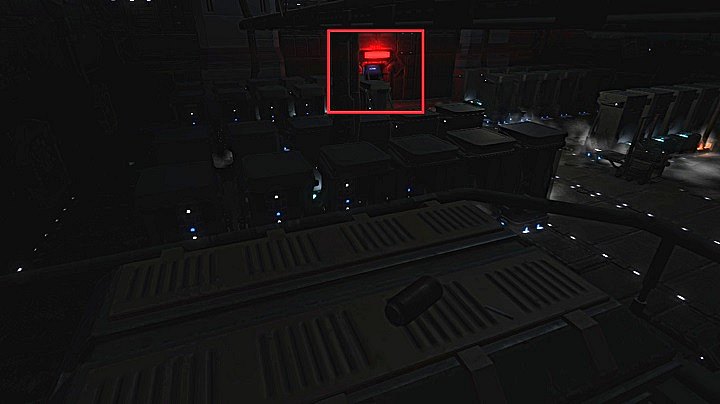
Go left (that's the only available way) and use the stairs to reach the very bottom. Apart from the syringe, you will not find anything useful, so move along towards the door presented in the screenshot.
Once you get to the other side, move along the corridor. You will reach a passage with Biomed sign above it. At the end of the corridor, you will find another air shaft, which is the only way to reach another part of the ship. Get to the other side and interact with the hatch to start another part of your mission.
When you reach the new location, pick up a syringe located on the left, by the door. Next to the door, there is a suit that you can put on. When you move further into the room, once again you will have signal and listen to the log. The place you are currently in is the technician's room.
Pick up the supplies and look around. The door in front of you is active but you will need a code to use it. You will find it on a sheet of paper attached to the board in the gloomy part of the room. Interact with the numeral keyboard, type 5 0 1 and press "Accept". Once the door opens, you will see a short corridor with several side corridors. There are no interesting items in any of them, so it's best to move forward right away. Until you keep away from the door, you will see Phantaruk feeding upon corpses.
When you get close enough, the door will shut itself and both of you will get separated. However, the creature saw you and will hunt you from now on. Thus, you won't be able to explore the ship without any consequences.
Go through the door and head right. There is a table with some items on it: flashlight battery and diary entry. Pick them up and get back to the door. Proceed forward.
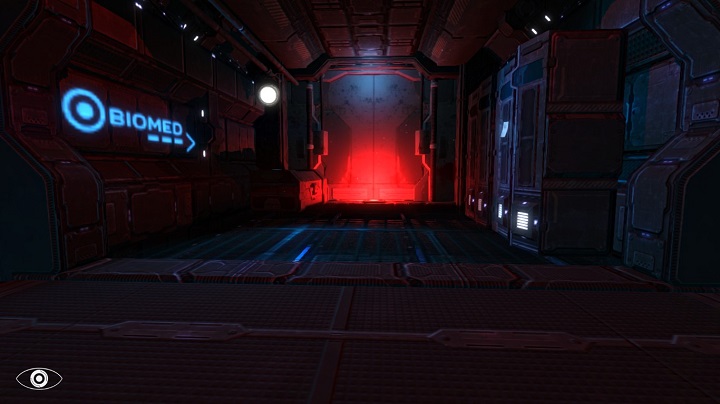
You will reach a place where there will be door in front of you and on your left. You should be able to open them, but it will be better if you go right first. At the end of a short corridor, you will come across stairs, and behind them door presented in the screenshot. Next to them you will find syringe, diary entry and ID card of one of the crew members. The door that you were to open won't be available, and thus you will need to find a different path to the Evacuation Zone.
You are not permitted to copy any image, text or info from this page. This site is not associated with and/or endorsed by the developers and the publishers. All logos and images are copyrighted by their respective owners.
Copyright © 2000 - 2026 Webedia Polska SA for gamepressure.com, unofficial game guides, walkthroughs, secrets, game tips, maps & strategies for top games.
