Phantaruk: Destroy the ship

Examine the equipment in the open display at the wall after you leave the sluice. You will find two batteries, a syringe and an oxygen mask there. Thanks to wearing the latter you don't need to control your health by using the device on your wrist - both values will be visible now on the right edge of the screen. The mask is greatly limiting your sight radius, which can make the game much harder.
Once you gather the equipment, go towards the same door which you previously unlocked by using the medical access card. Your target is to reach the ship's bridge. You can do it only by reaching the morgue.
[Threat]

While the task seems to be easy, it gets complicated when you get close to the door. Phantaruk is just behind the door. You can even hear the characteristic music played when he is in your sight. Luckily, the solution to the problem is much simpler than you might have thought. The oxygen mask is an important clue for this part. In Biomed-2 section you can notice some smoke which gets there from the lower floor. The smoke disorients the creature and greatly limits his sight.
Stand directly at the door, but not close enough to open it. Wait for Phantaruk to walk away from the door (you can notice he did by the music) and walk through it. Crouch by using the "CTRL" key and don't get up. While in this position, you can move freely. If you don't remember the direct road to the morgue, you can check the above map. After walking through the door [1] you must turn left. Stick to the smoke and keep going ahead, until you notice the wall [2] in front of you. At this point you must turn to the right and keep moving ahead until on the right side you notice the corridor [3]. Go towards that corridor and keep walking until on the left side you notice the wide door to the morgue. Through the glass you can notice another sluice. Go towards it and quickly interact with the scanner.
[End]
Advice: Stick to the right side between point [1] and point [2]. You will keep your distance from the monster and you won't leave the smoke. Between points [2] and [3] stick to the middle of the wide corridor. You can lose the cover occasionally, but you shouldn't be detected if you'll keep moving. Remember that you must be crouching until you enter the sluice. You shouldn't use the flashlight or run.
![[Threat] - Destroy the ship | Walkthrough - Walkthrough - Phantaruk Game Guide](/phantaruk/gfx/word/450082259.jpg)
[Threat]
After leaving the sluice you will see the above view. What's interesting on the current section is the fact that one of the best ways for completing it is running. You can use the corridor on the right [1], but you will only find two rooms there. In one of them there is a syringe and in the other one there is a battery and Phantaruk. It will be better if you decide not to collect the items. Directly in front of you there will be a canteen[2] and an access card on one of the tables. The card will be required for gaining access to further sections of the ship. Pick it up and quickly return to the corridor. At this point you should start running. The canteen is directly connected to the left part of the corridor (when considering the above picture as orientation point) and that is where you should go.

If you see the above location, then you're on the right path. Leave through the second door and go towards the first room on the left. You will see some light and a desk under the window. On the desk you will find the second access card which will be required for gaining access to the crematory. Run towards the card, pick it up and then run towards the corridor. Go immediately to the left and run to the end of the corridor. On both sides of the door there are the readers. Activate each of them and move forward.
Remember that you are still chased by Phantaruk and you cannot allow yourself to lose even one second. Thoroughly think and plan your actions so that the operation goes smoothly.
You can keep running to the crematory. The only available path leads to the left and you won't find any useful items on your way. Turn to the right at the end of the location and enter the crematory. On the left side you will notice a computer with which you should immediately interact.

All the bodies in the morgue will be automatically moved to the ovens, creating a corridor between them. Quickly run through it towards the elevator. Press the activation button so that you reach the next floor. What's very important, in difference to all other elevators you used in the game, this one has the activation button inside it, next to the door.
Speed is important in this section. You must reach the elevator as quickly as possible, because Phantaruk will be running at you until the elevator's door close in front of him. If you enter the elevator but won't press the button, then you will quickly die.
[End]
Once at the higher floor, you will quickly see a syringe lying on the right. You can pick it up and go ahead. At this point it is the only available path.

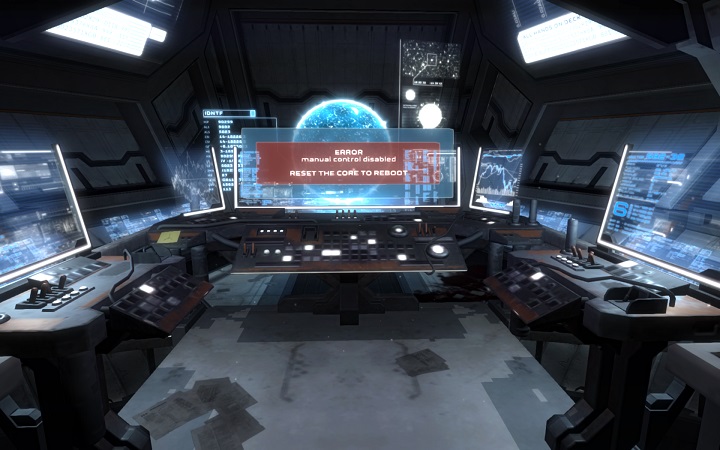
You will see a computer in front of you. Due to the malfunction, you won't be able to interact with it yet. You must walk downstairs and enter the area directly under the computer.

Interact with the object shown on the picture. Once you do it, the computer will be repaired. Select the only available option and start the self-destruct procedure.
The rest of the game is a cutscene. Watch the ending credits and start the game from the start in order to obtain all the achievements. Good luck.
You are not permitted to copy any image, text or info from this page. This site is not associated with and/or endorsed by the developers and the publishers. All logos and images are copyrighted by their respective owners.
Copyright © 2000 - 2026 Webedia Polska SA for gamepressure.com, unofficial game guides, walkthroughs, secrets, game tips, maps & strategies for top games.
