Hellblade 2: Huldufolk Chapter 4
In the fourth chapter of Hellblade 2, Seanua will venture deep underground to win the favor of the Hidden People. On this page of the guide you will find a detailed description of the passage of the stage with an explanation of all puzzles and available finds.
The fourth chapter of Senua's Saga Hellblade II will take you on a journey deep underground where the mysterious Hiddenfolk subjects the titular heroine to a series of challenges. This fragment of the game is filled with various puzzles and combat sequences. Our guide provides solutions to all of the puzzles and shows the exact locations of every collectible there is to find here.
- Descent to the caves
- How to use blue lanterns?
- How to solve the puzzle with the waterfall?
- How to deal with water specters?
- How to solve the riddle in the illuminated garden?
- Following the light
- How to solve the last puzzle in the caves?
- How to free Illtauga?
Descent to the caves
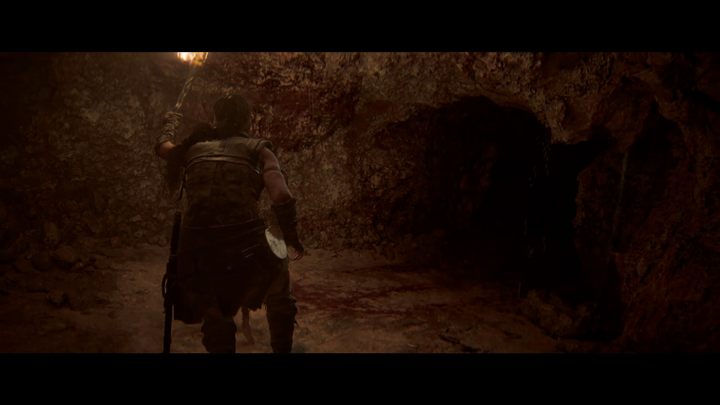
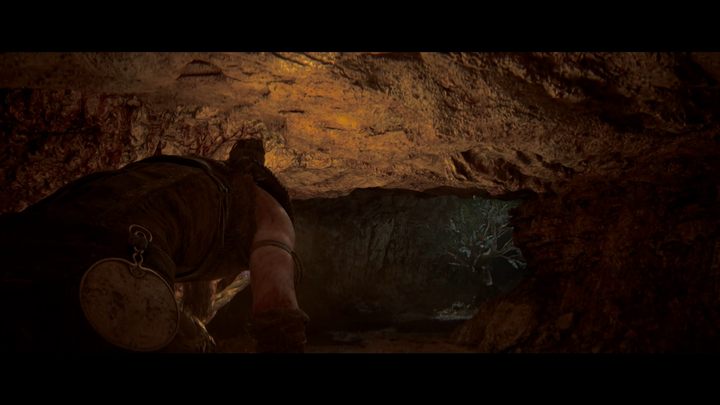
- Chapter 4 sees Senua enter an extensive network of caves hidden below the lake's surface. Squeeze through the narrow passage, and continue through claustrophobic corridors. In the initial part of the tunnel, look for red stains on the ground, as almost right behind them, you can find another stony head on the left.
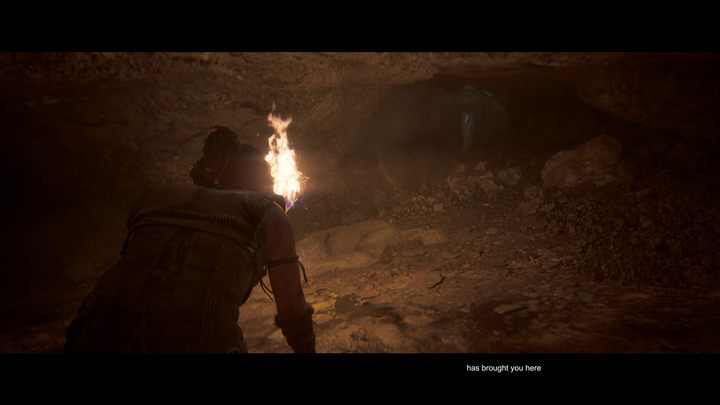
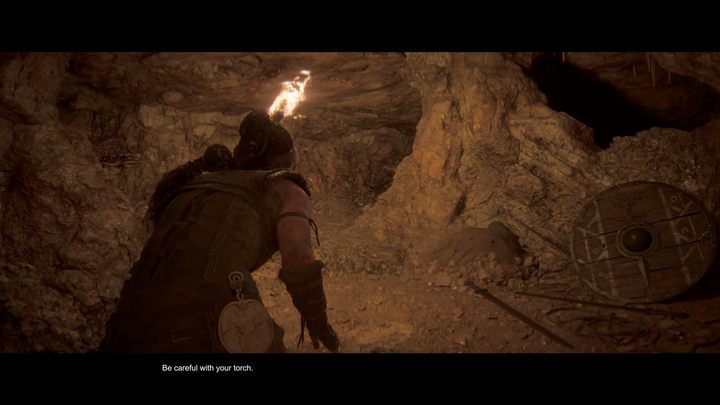
- At some moment of the journey, you can notice a remote Lorestangir in a crevice between the rocks. You'll have the opportunity to unlock it soon. After you reach a more open section of the cave, look to the right. Look for a shield lying on the ground. The path situated left from the shield will take you to a collectible.
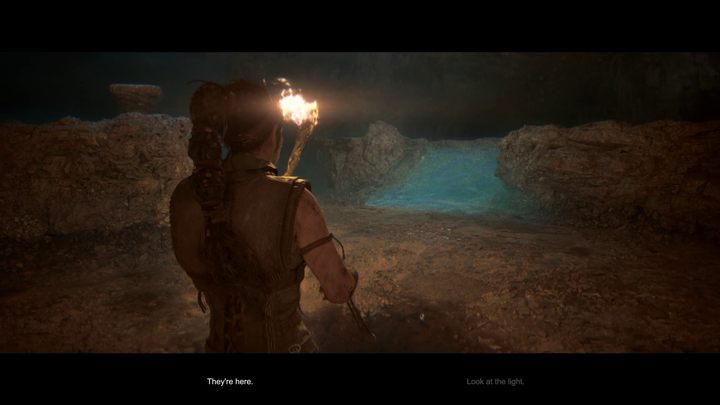
- The narrow pathways will lead you to an open chamber where you will get a new variant of puzzles based on using the lights.
How to use blue lanterns?
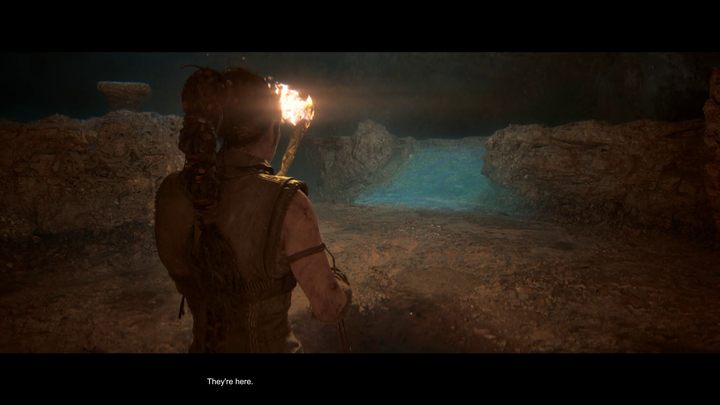
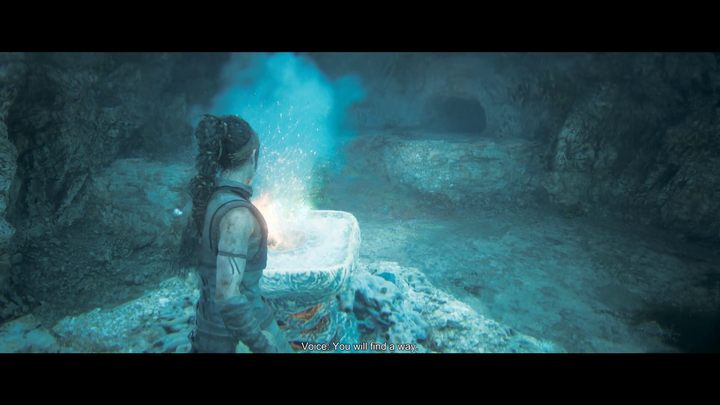
- In the middle of the room, you will find a semi-transparent, bluish structure. You can walk through these elements, but if you shine light on them with the special lantern, they will become material objects. You can test this out by climbing a rock ledge nearby and lighting the lantern found there (use the Interaction button at the pedestal).
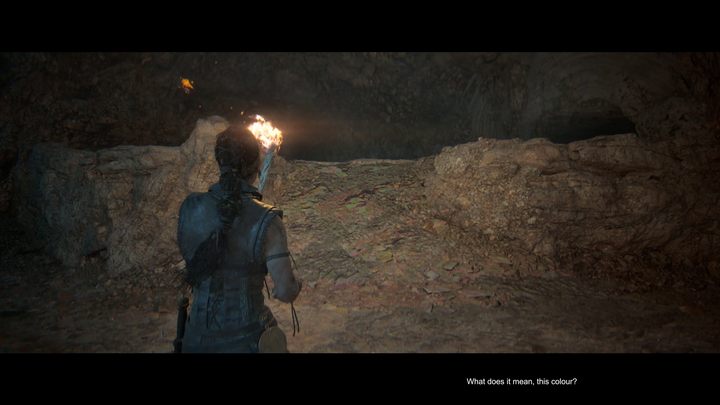
- The lantern will glow with a blue flame, and you'll be able to continue by crossing the created ramp.
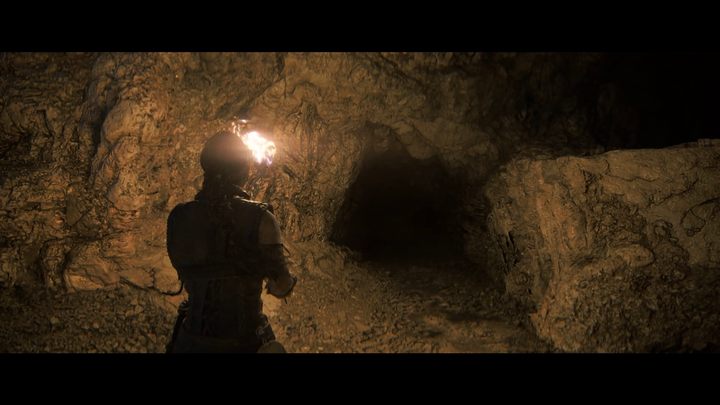
- Continue your journey through the narrow corridors until you come across another, vast chamber. To get to the higher area of the room, use the tunnel to the right of the ledge you've jumped from moments ago.
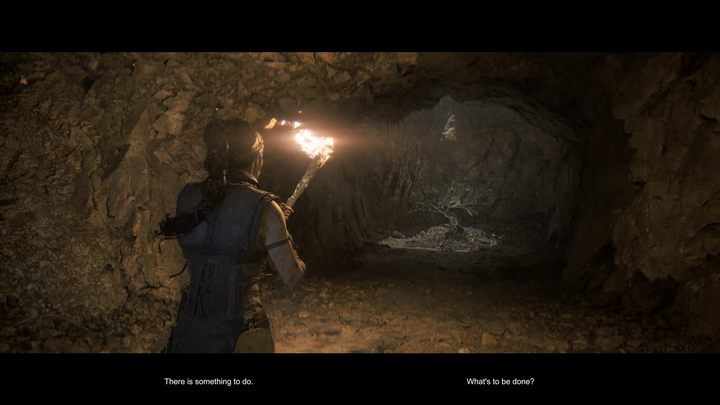
- Before you start interacting with the next lantern, turn your back to the blue fire. On the opposite wall, you will find another hidden pathway leading to a tree-collectible.
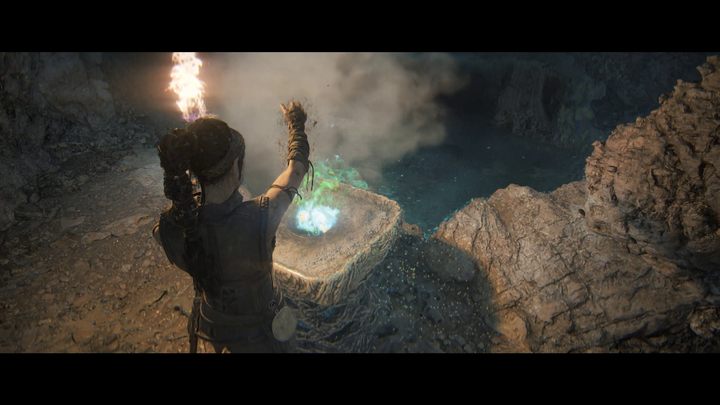
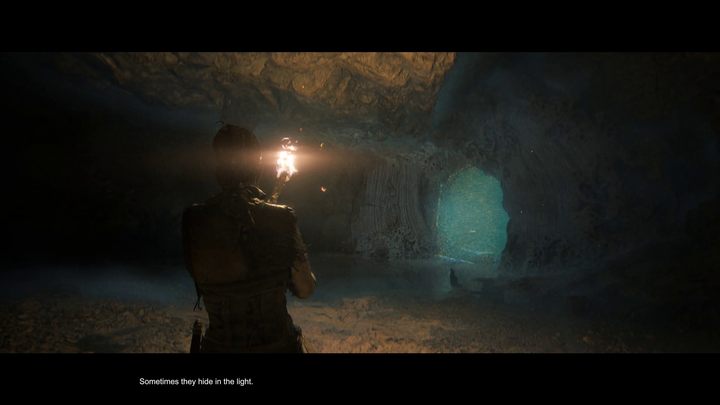
- You can extinguish lit lanterns (to do that, press the Interaction button while standing next to one). Extinguishing the flame will reveal a passage in the wall one floor below. Go through it to continue with the journey.
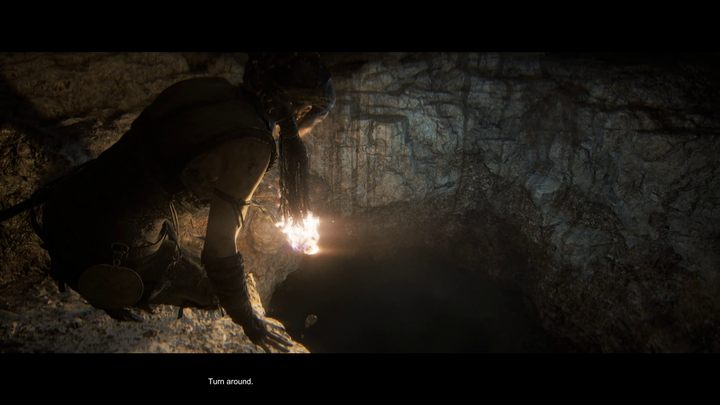
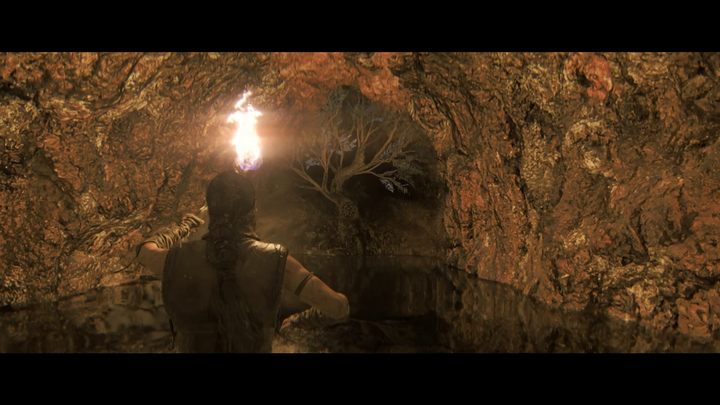
- The road will lead Senua to a gaping hole in the rock. After a moment of hesitation, the heroine will jump into the water below. Wait before you continue along the path. Instead, turn around and go a few meters forward. At the end of the flooded corridor there is another stony face.
How to solve the puzzle with the waterfall?
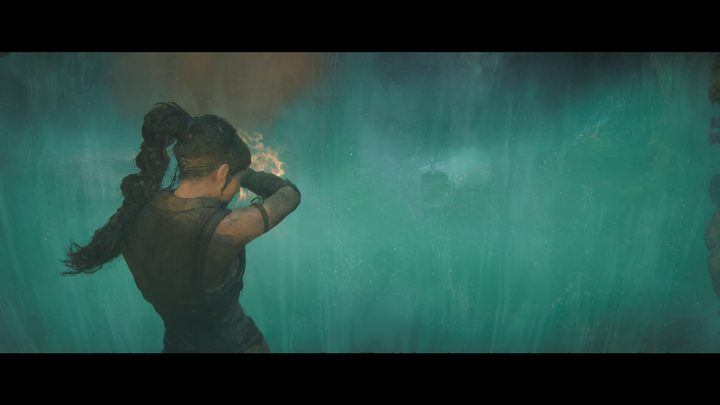
- The flooded corridor will lead you to a chamber with another puzzle where you need to create a bridge to get to the other side of the cave. However, the encountered waterfall extinguishes the lantern every time you try to light it.
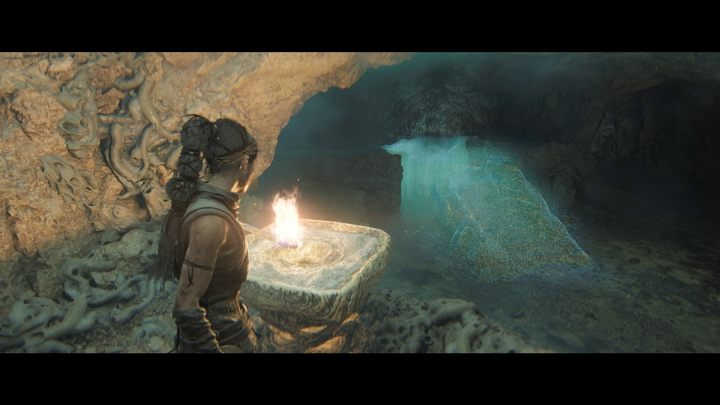
- First task will be climbing a rock ledge in the room BEFORE THE WATERFALL. You must have a lit torch with you (if it is extinguished, you can light it anew opposite the waterfall). While standing on the elevation, light the lantern. The light will materialize a ramp leading to the elevation on the other side of the cave.
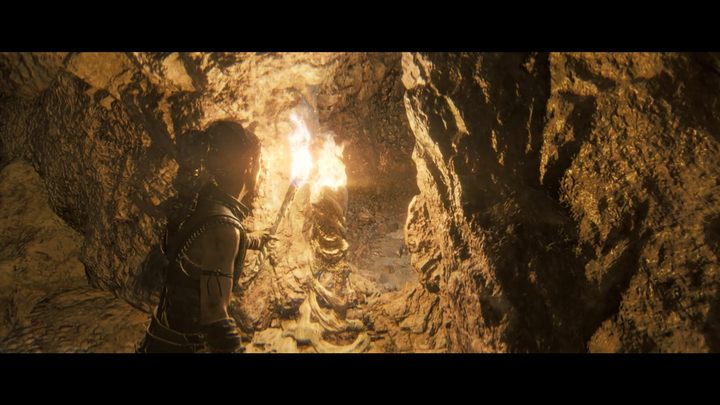
- Walk along the new path and light a fire on the small column found in a hole between two sides of the cave. This fire source will allow you to reignite the drenched torch after crossing the waterfall.
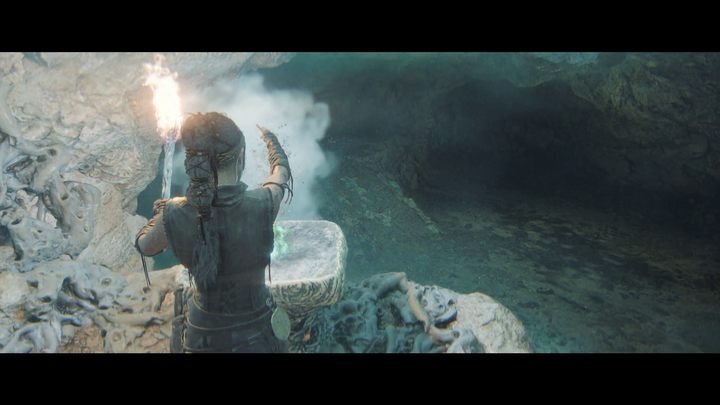
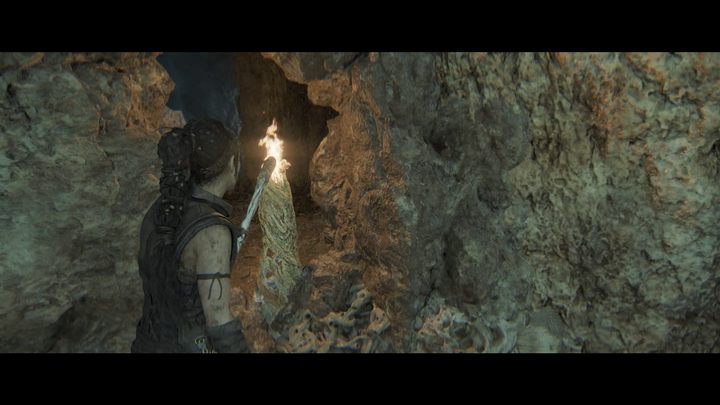
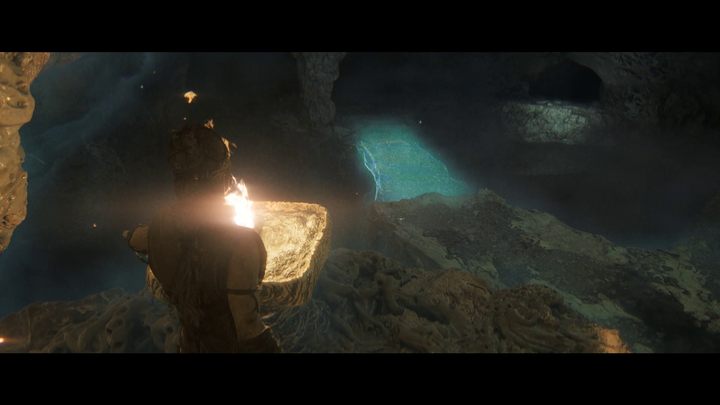
- Return to the ledge with the lantern and extinguish it. Go through the waterfall and turn left. Approach the column you've lit before and light your torch again. Head back towards the bridge, lighting a lantern along the way. The light will materialize a bridge that will allow you to cross to the next part of the cave.
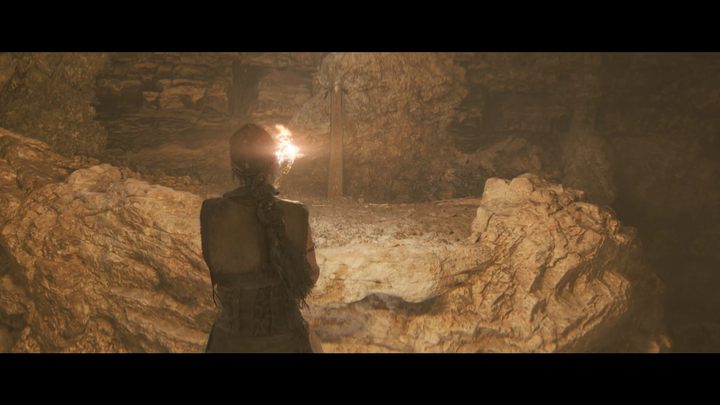
- Look to the left while crossing a low corridor above the chasm. About halfway, you can see a Lorestangir on the other side of the cave. You will get to it by jumping from the ledge and crossing a stony bridge.
How to deal with water specters?
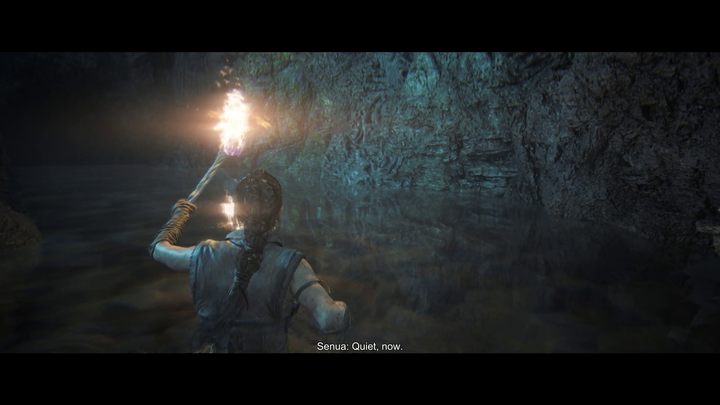
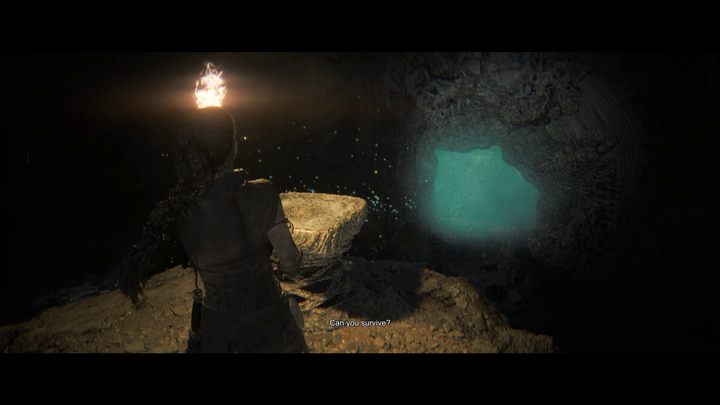
- Soon after, you'll reach a room flooded with shallow, murky water. There are restless souls inhabiting these underground waters, but you're protected thanks to your lit torch. Walk through the water to a lantern located on the other side of the room. Extinguish it to unlock a pathway in the wall.
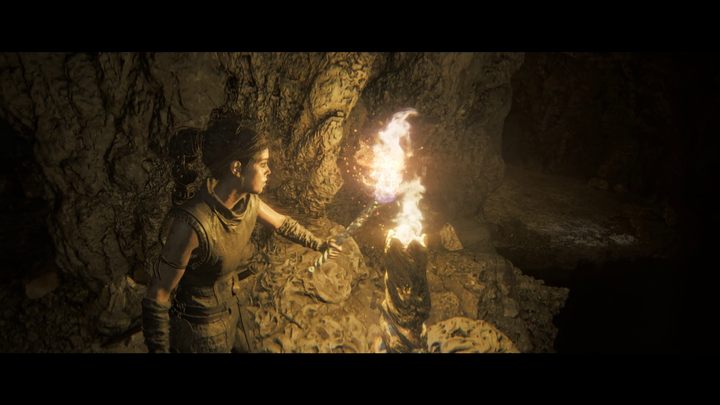
- Along the way to one of the next rooms, a small waterfall will extinguish your torch. You can light it again by using the fire source on the left side of the cave.
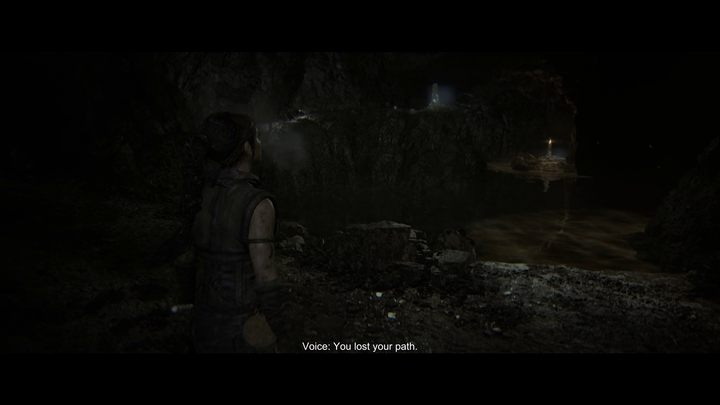
- The goal of the puzzle in the next room will be lighting a lantern that along with further found along the way, will create a path of light through the water.
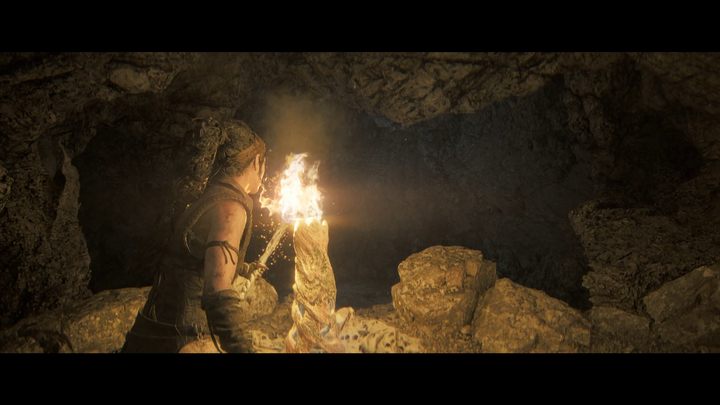
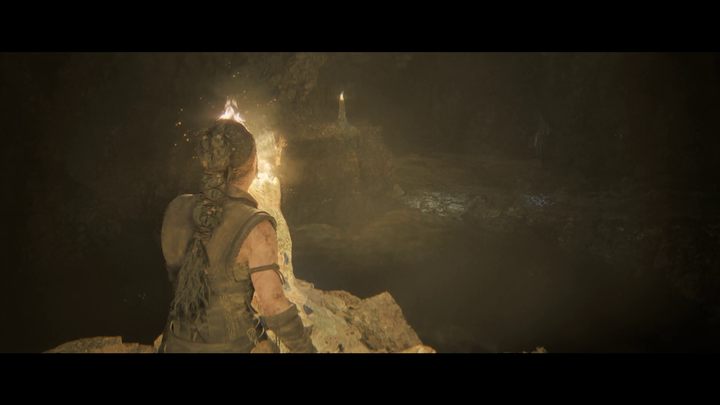
- Cross the waterfall on the left side of the room. Light the torch using the fire source at the end of the path. Turn around, and locate a torch found at the edge of the water. Light it up.
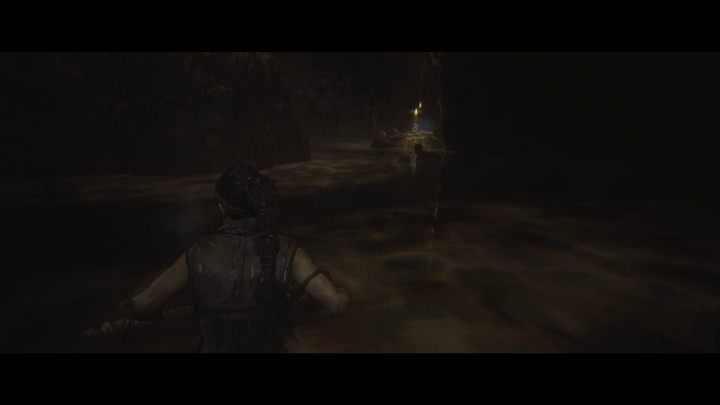
- Now you can return to the shore and carefully enter the water. Follow the light streams created by the lanterns. When approaching narrow and dark fragments between the lanterns, cross them quickly and decisively. Keep moving.
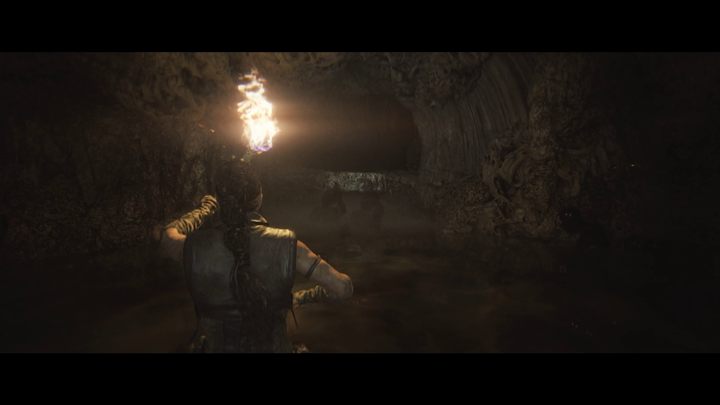
- The final section will be crossed with a torch in hand. You will find a suitable place to light it up on a small islet encountered along the way.
- Sometime before reaching the other shore, the water falling down will extinguish your torch. Senua, in panic, will speed up. Don't stay idle here and run straight for the shore.
How to solve the riddle in the illuminated garden?
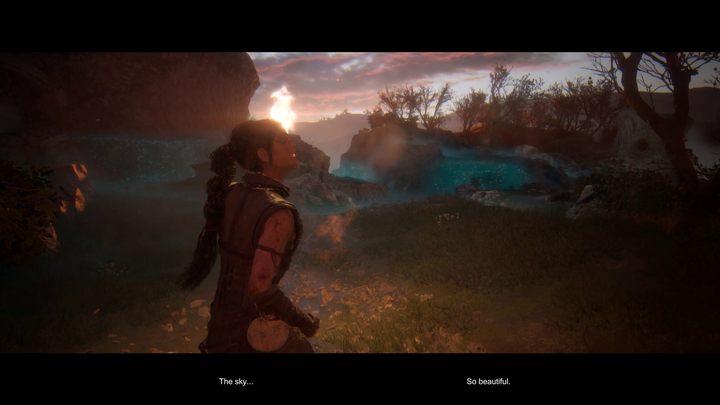
- Continuing along the dark corridors, you'll finally reach a picturesque garden lit by the evening light. The mysterious, luminous figure you saw earlier, will hand you a lit torch using a portal in the wall. You're going to need it to solve the puzzle.
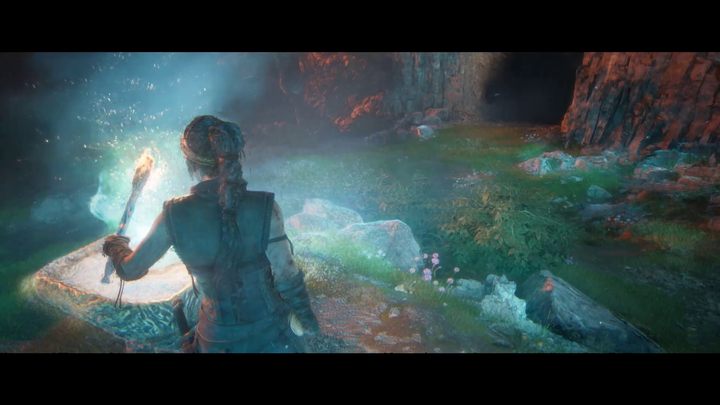
- First, light the lantern on the elevation directly in front of you. This will allow you to continue forward, deeper into the garden.
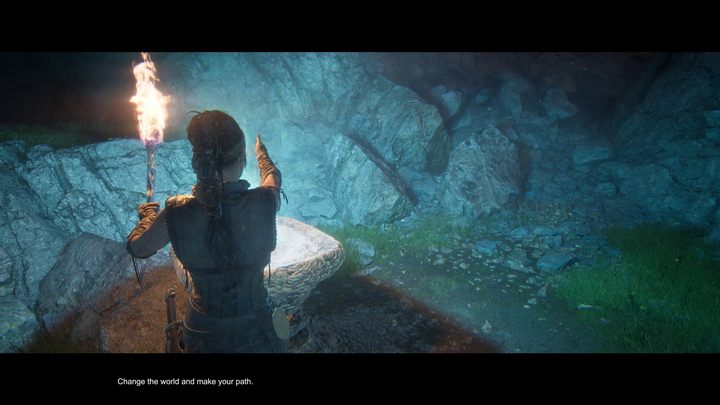
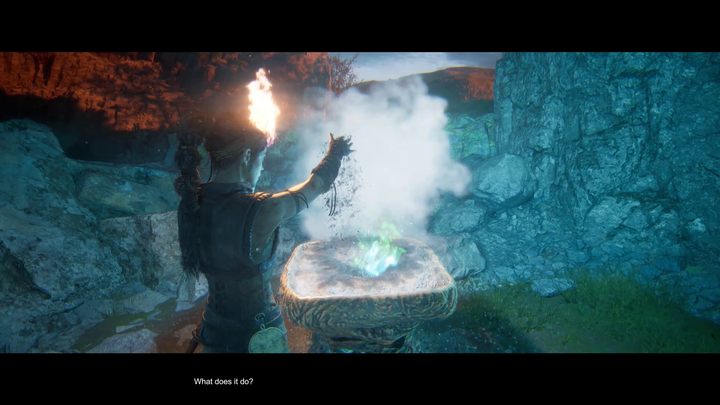
- Go to the other end of the open space and extinguish the lantern found there. A pathway between the rocks will appear after dousing the flame. Approach the next lantern and extinguish it. This will open a new pathway.
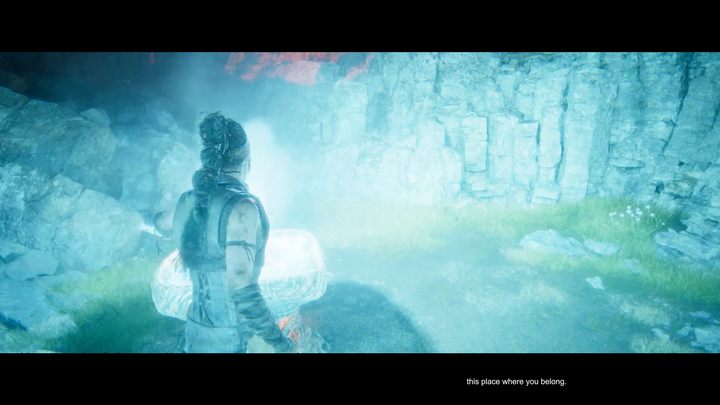
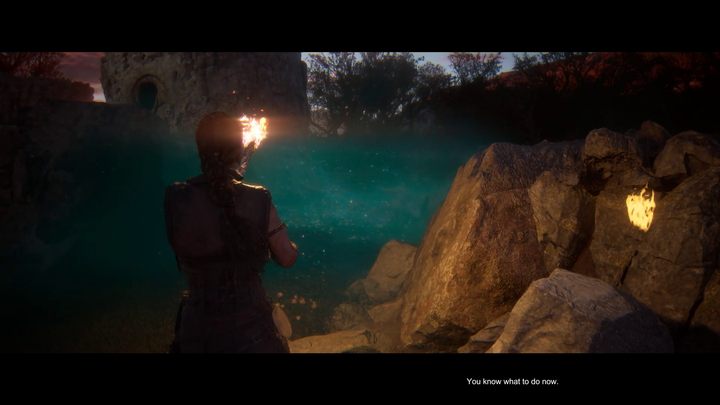
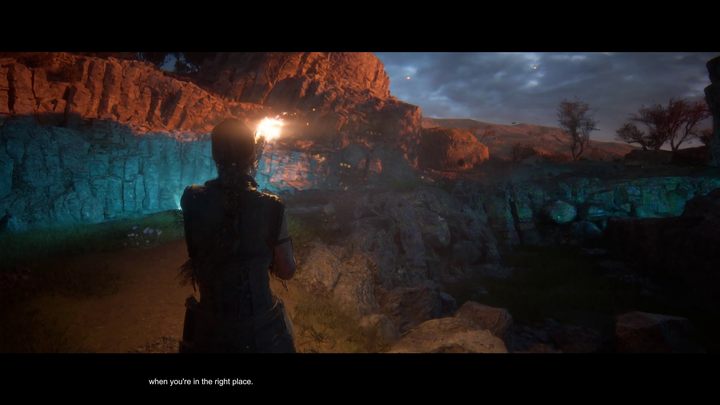
- Return to the lantern at the end of the garden which you've had extinguished a little earlier. Light it up and return to the other lantern. Light it up as well. Your actions have restored the lanterns to their original state, but the difference is that you are now at the right side of the rock wall and can access the upper path. Access the upper path with the ramp located at the edge of the garden.
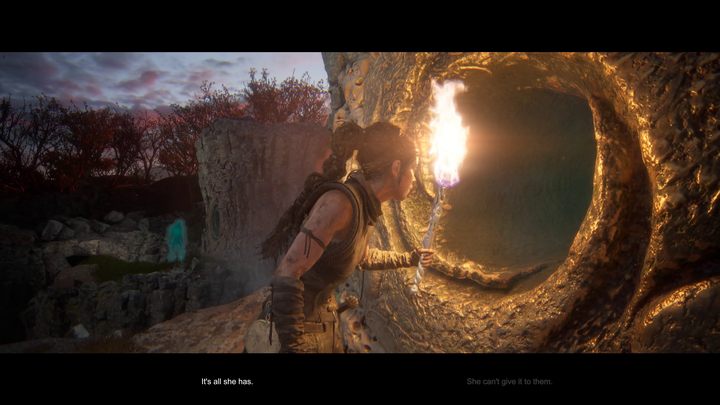
- At the end of the path, you will reach a chasm. On the other side, you can see the luminous figure. Senua will hand it the torch, and the figure will open a new pathway for you. Drop down from the ledge next to the portal. Cross the newly unlocked bridge.
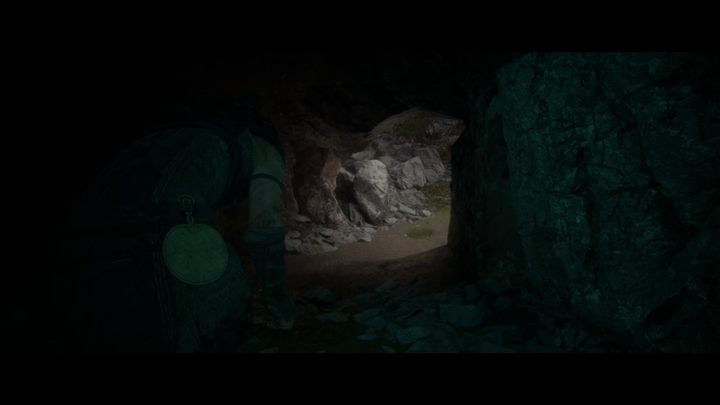
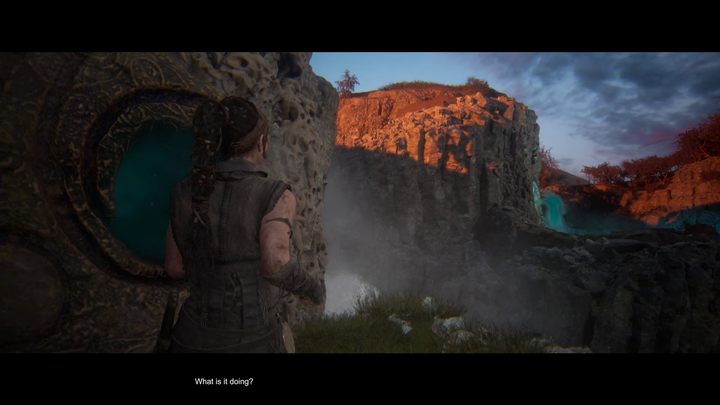
- Turn off the lantern behind the bridge and then enter the tunnel created in place of the ramp. You will find yourself at the other end of the previously encountered portal. This time, the figure will hand the torch back to you. Go through the tunnel to return to the lantern, light it up, and then enter the upper path.
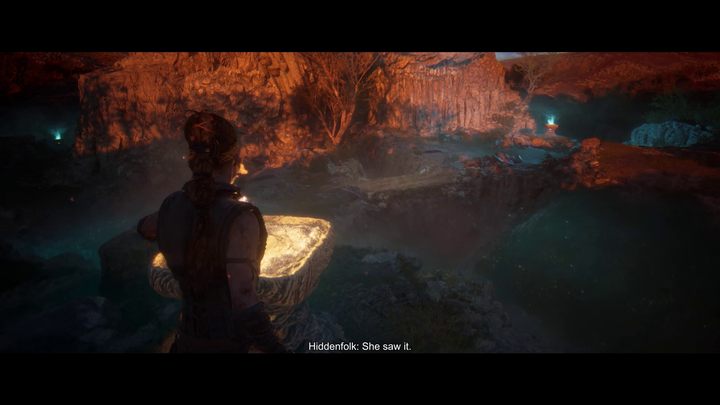
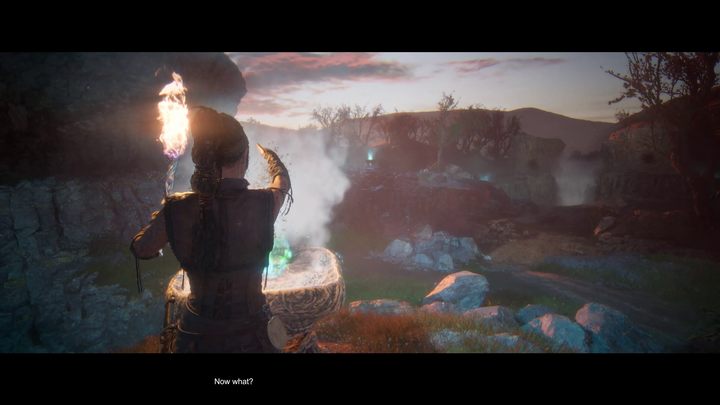
- You'll pass a lantern - light it up as well. The newly opened bridge will lead you to the very beginning of the garden. Return to the first lantern you lit here and extinguish the flame.
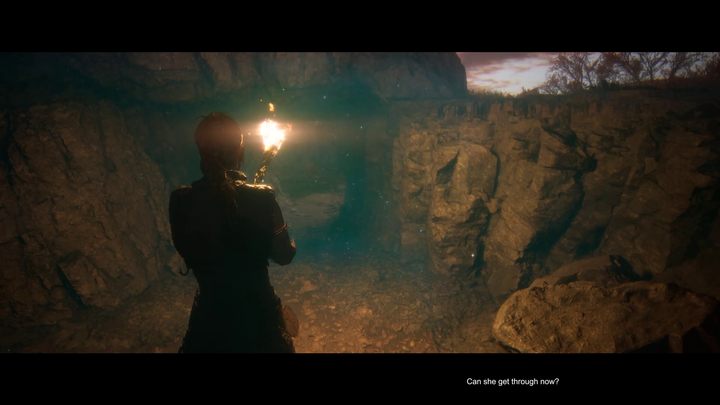
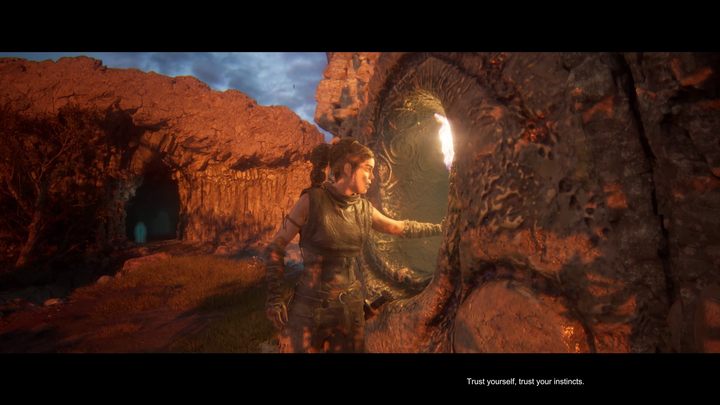
- Go through the tunnel that appeared on the other side wall. It will lead you almost to the exit from the garden. The final task will be to hand the torch to the luminous figure, who will light the first lantern and unlock the exit from the garden.
Following the light
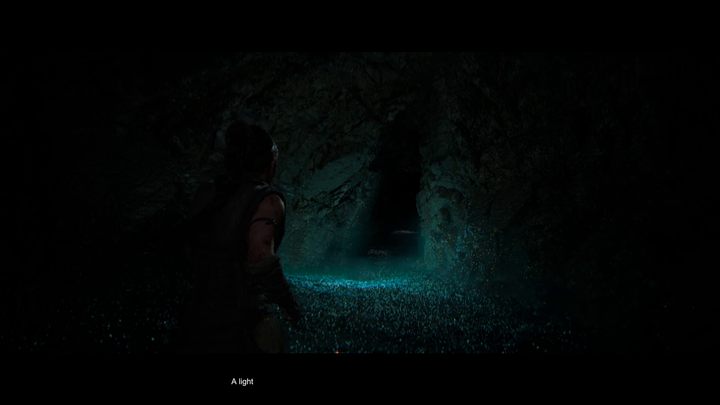
- You're begin another sequence involving dark corridors and caves. Without the torch, the heroine is at the mercy of the mysterious, greenish light accompanying her.
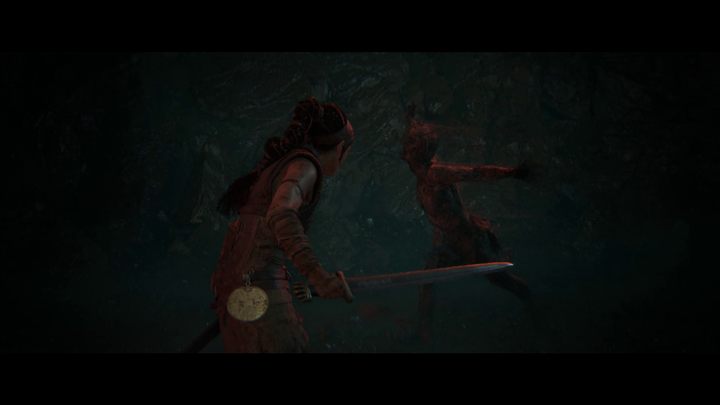
- At some point, you'll be attacked by a group of feral Draugrs. Be careful, as their claw attacks are hard to notice and mitigate.
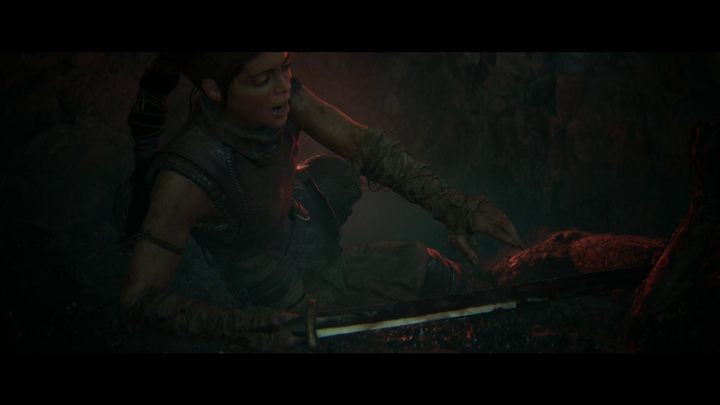
- You'll have to faces some more Draugrs along the way forward. Defeat enemies and continue following the light.
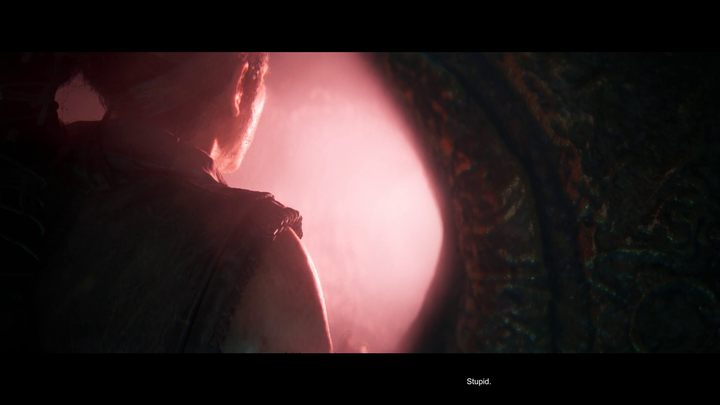
- The sequence will end as you approach another portal in a wall. The voice coming from the inside will ask for your sword. Reluctantly, the protagonist will hand the sword, but right after that it turns out that there are monsters close and you're without your weapon.
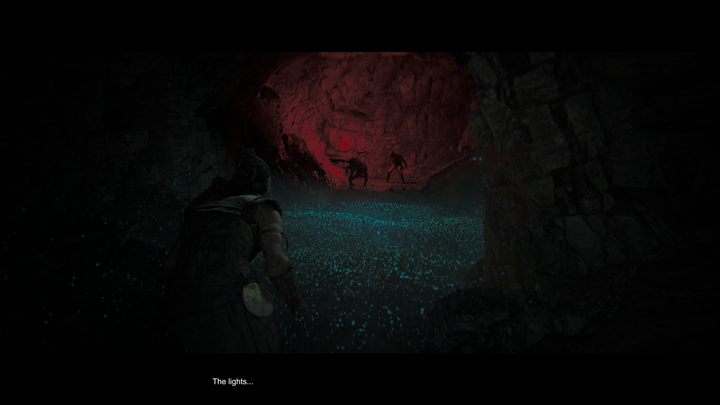
- From now on, your task will be to keep very close to the speck of light as it offers some protection from the monsters. Carefully observe the path of the light and use Sprint (hold SHIFT or LB) when needed.
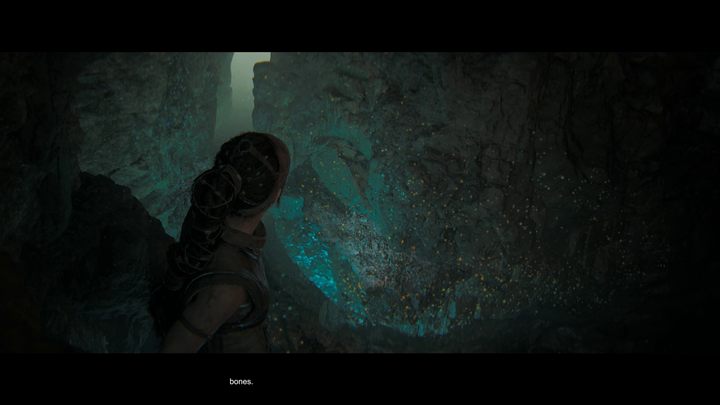
- After this stressful sequence, the light will lead you to an exit from the darkest section of the caves. Before you reach the fissure in the wall, however, you'll need to cross a narrow pathway over a chasm.
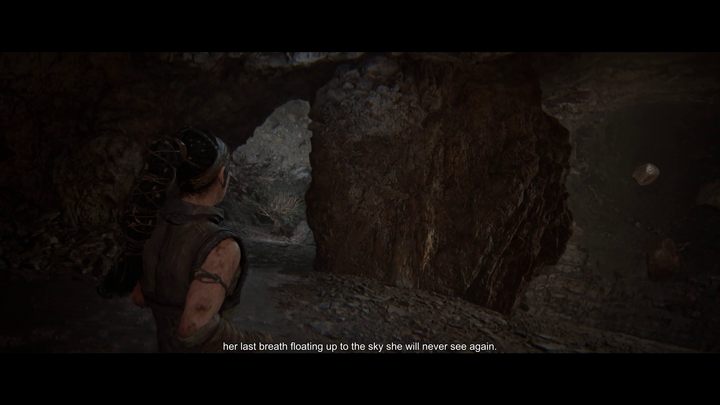
- In the more illuminated part of the cave, follow the path. Make a short stop when you see levitating boulders. There is another stony head to the left of them.
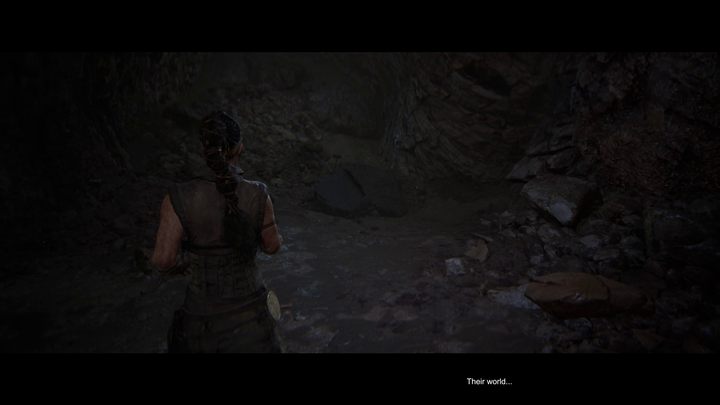
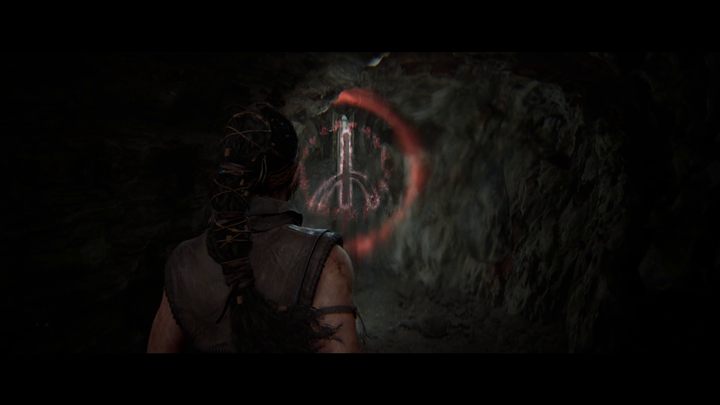
- Another collectible is waiting right before the chamber with the final puzzle of the chapter. Instead of turning left into the passage, walk a few steps forward and turn right. At the end of the newly found corridor, you will find a Lorestangir.
How to solve the last puzzle in the caves?
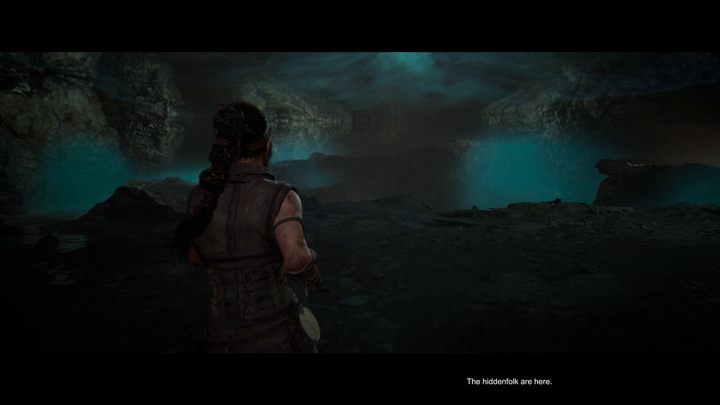
- The last puzzle of the chapter is in the large chamber with levitating boulders.
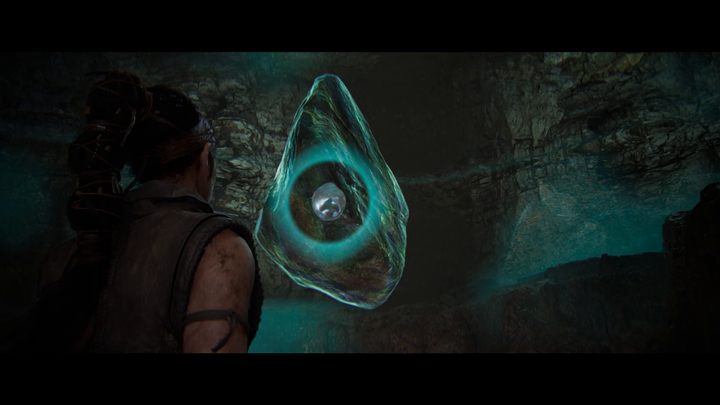
- Head to the left until you reach a large, levitating boulder. Send the bubble (use Focus on it) on the right to the ceiling of the cave. Now go around the chasm and interact with the large bubble in the middle of the chamber. This will create a bridge over the chasm.
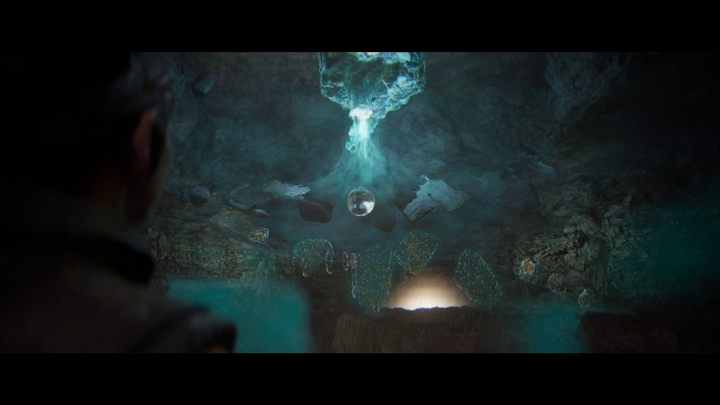
- After a pile of rocks stops your advance, once again use the middle bubble. The boulders will disappear, and you will be able to move on.
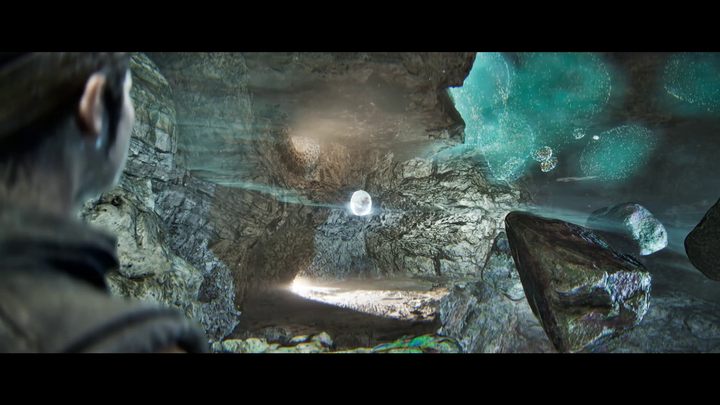
- Upon reaching the opposite side of the room, reactivate the middle bubble again. The rock shelf created in this way will allow you to activate the third bubble in the chamber. This one will unlock the gate itself.
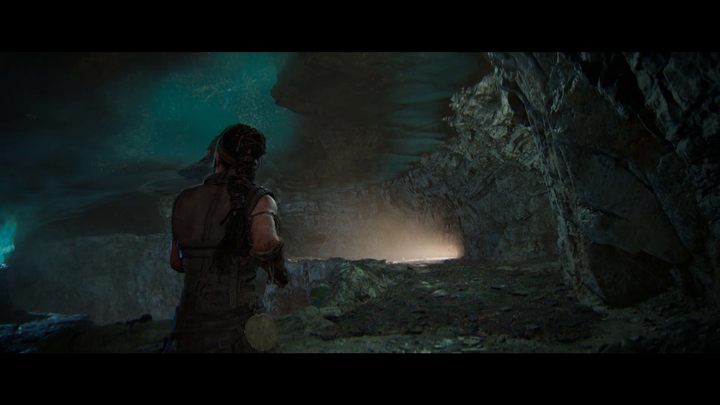
- Go to the gate by once again circling the entire room. Just before the end, you'll need to activate the middle bubble again to open a bridge leading to the gate.
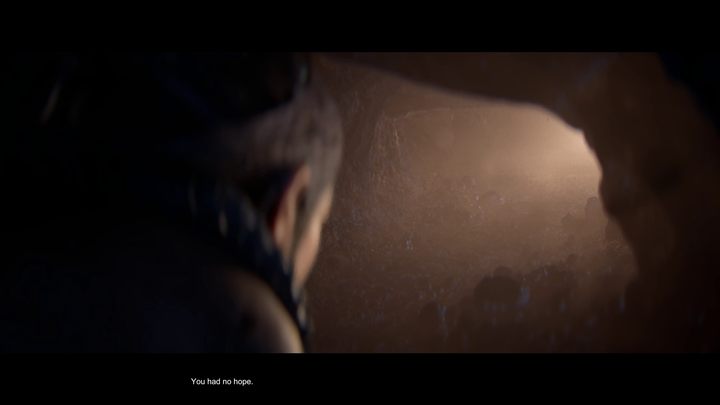
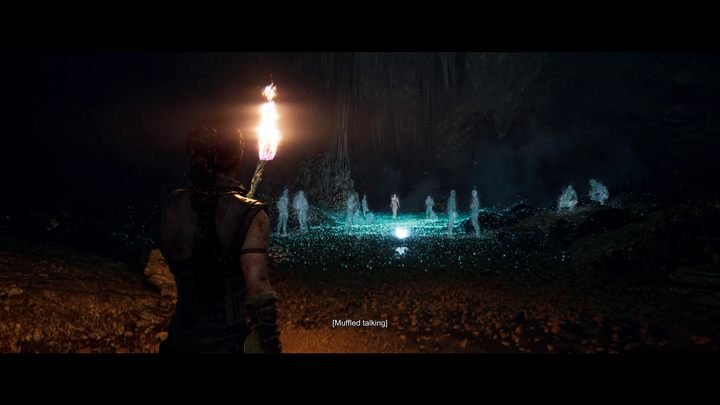
- Entering the lit tunnel behind the gate activates a longer plot sequence where Senua learns the secrets of Huldufolk and the origins of Gigantess haunting the area. During this sequence, you will only need to occasionally move forward.
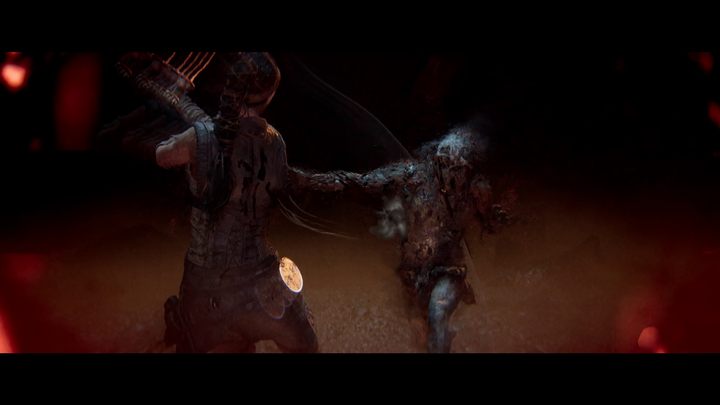
- However, before finally leaving the caves, you'll have to face Draugrs again. Thanks to the portal, Senua will recover the sword from herself in the past.
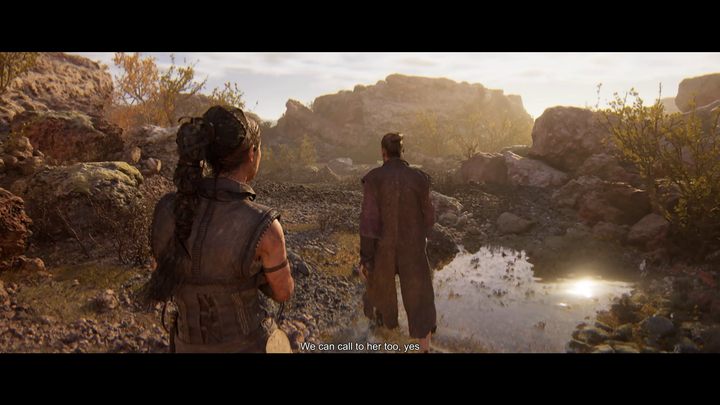
- After the fight and the ensuing cut-scene, you'll meet Fargrimr again. Follow the man to the ritual area.
How to free Illtauga?
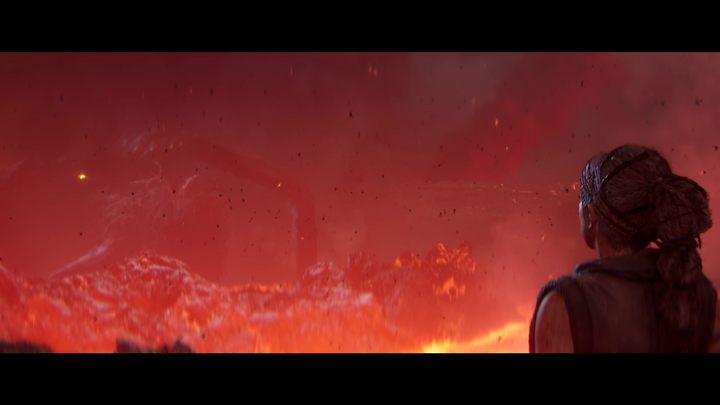
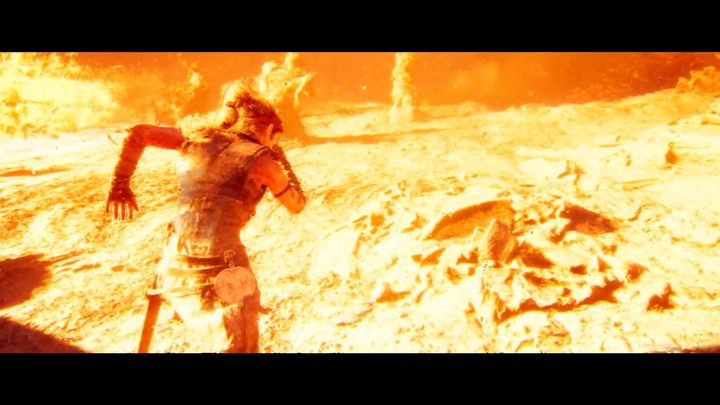
- The performed ritual will take you to the inside of the volcano. Your task here is to sneak from one dark hideout to the next ones, avoiding deadly blasts of heat along the way. Try to feel the rhythm in which the blasts ensue. Also, don't try to cross to more than one hideout at a time.
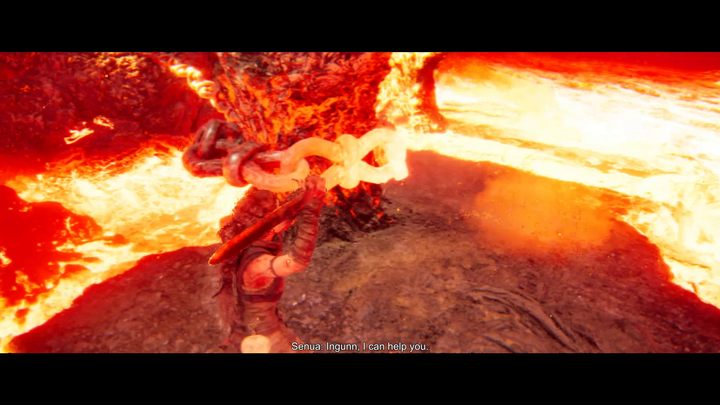
- When you reach one of the chains binding the Giantess, use the Attack button, and Senua will break the chain.
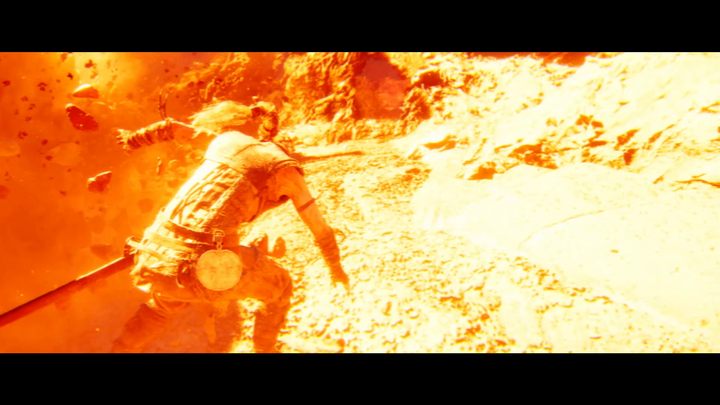
- The volcano sequence is not very long or demanding. The only potentially problematic part is when the barriers protecting you from fire start to fall apart. This is when it is important to not stop at a single barrier for longer than one cycle of fiery blast.
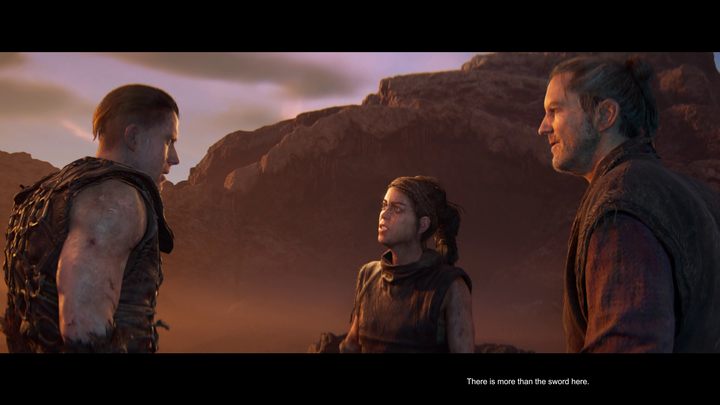
- After breaking the last chain, the spirit of Gigantess will be released, and Senua along with her companions can continue with the journey.
You are not permitted to copy any image, text or info from this page. This site is not associated with and/or endorsed by the developers and the publishers. All logos and images are copyrighted by their respective owners.
Copyright © 2000 - 2025 Webedia Polska SA for gamepressure.com, unofficial game guides, walkthroughs, secrets, game tips, maps & strategies for top games.
