Hellblade 2: Bardarvik Chapter 5
The fifth chapter of Hellblade 2 will take you to the coastal area of the Bardarvik settlement. On this page you will learn how to solve symbol puzzles, as well as how to defeat the sea giant Saegeirr.
In the penultimate chapter of Senua's Saga Hellblade II, the heroine will have to face the deadly sea Giant threatening the village of Bardavik. On this page of our guide, you'll find a detailed walkthrough for the chapter that includes solutions to all puzzles and locations of hidden collectibles.
- Road to Bardarvik
- How to solve the puzzle with the symbol?
- How to solve the puzzle on the beach?
- How to defeat the sea giant Saegeirr?
Road to Bardarvik
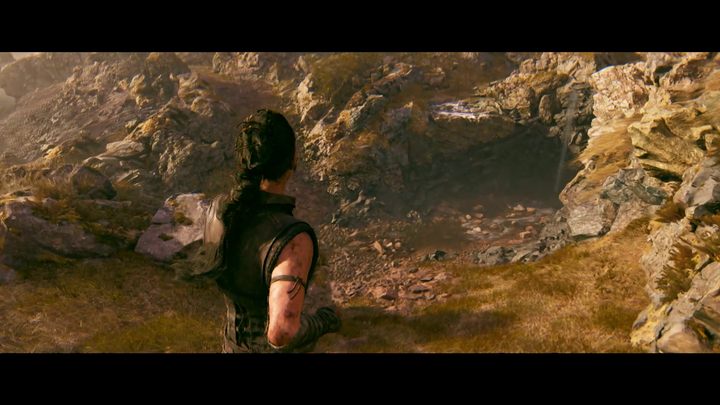
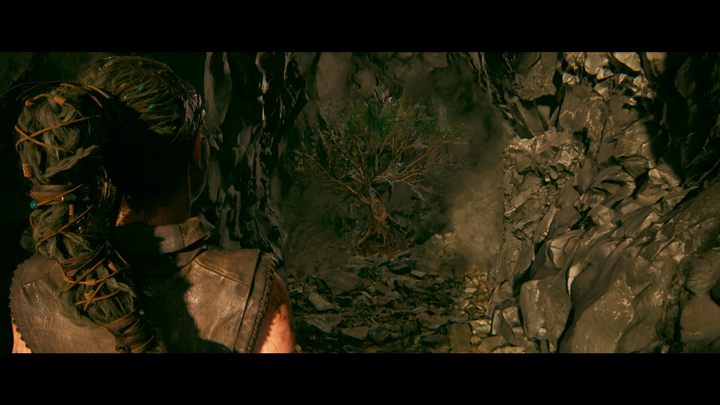
- Chapter 5 begins with a scene where the trio of heroes walk along a seaside path. During this tranquil walk, stop for a moment at the small pit next to the waterfall and stream. In the cave beneath the waterfall, another stone face will be waiting for you.
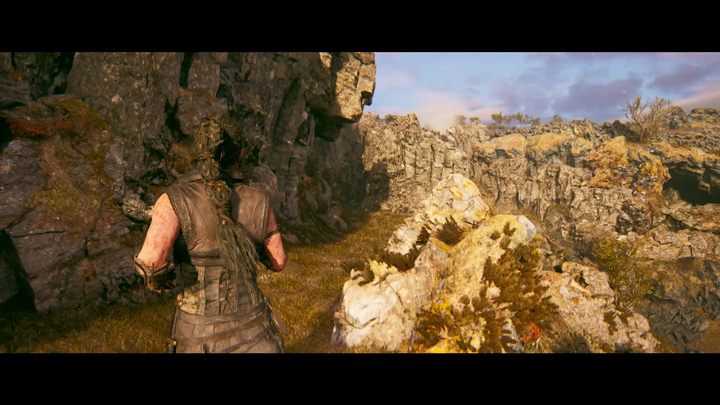
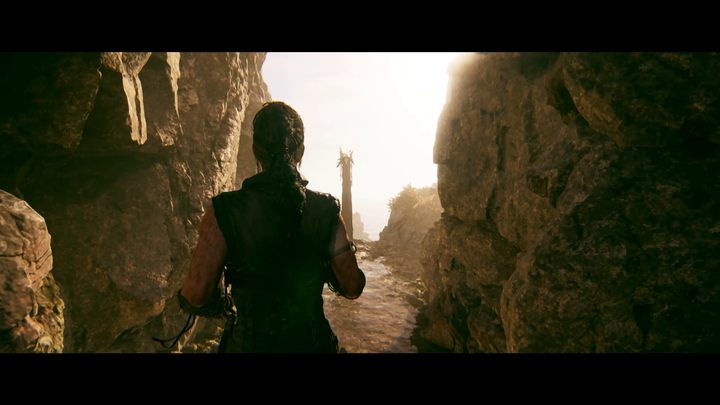
- A few steps further, while following the path uphill, sharply turn right into a branch of the path leading to the top of the waterfall. There will be a Lorestangir near the ledge.
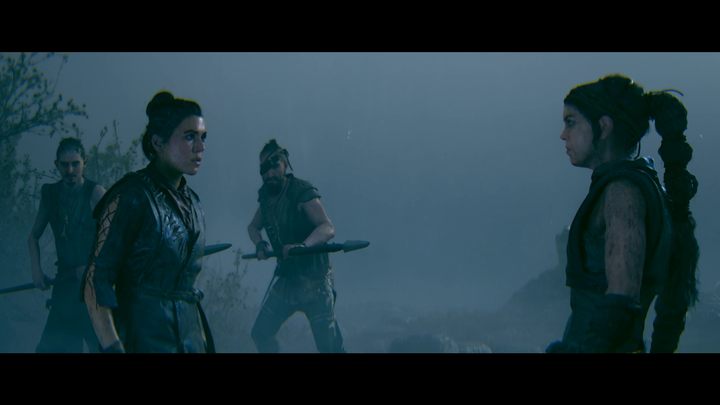
- Continue your journey until you encounter a patrol consisting of local warriors led by Astridr. During the cut-scene, the woman will explain her motivations and tell of the problem of the sea Giant attacking her people. After a longer cut-scene, the team will split, with the protagonist joining the newly met female leader of Bardarvik village.
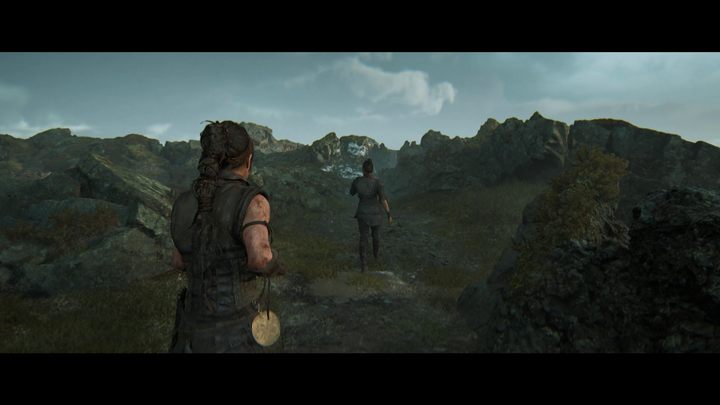
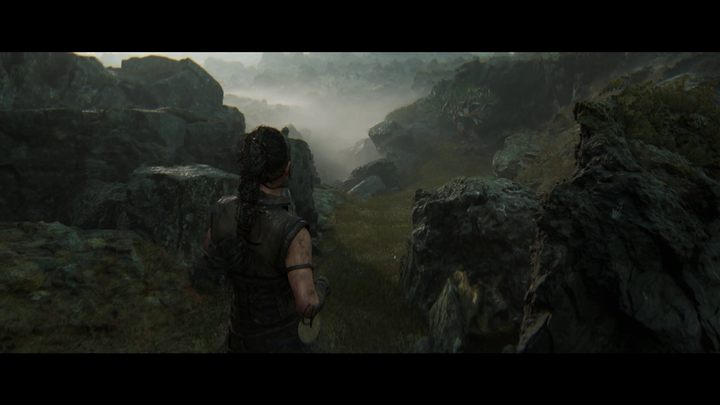
- When traveling through the wastes riddled with sharp rocks, stop at the first narrowing between the rocks and look to the right. A stony head is found there.
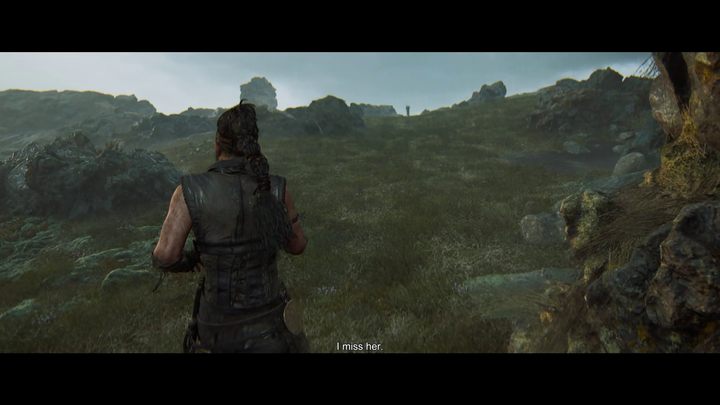

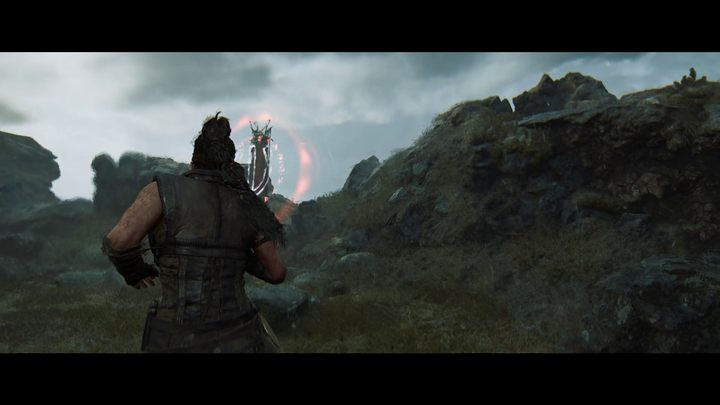
- Continue the journey with Astridr - during it, you'll have to climb steep rocks several times. Before you reach destroyed wooden stairs, you'll enter a more open glade. Head to the right side of it where there is a pathway leading through a small tunnel in a rock. After you pass the tunnel, you'll find another Lorestangir.
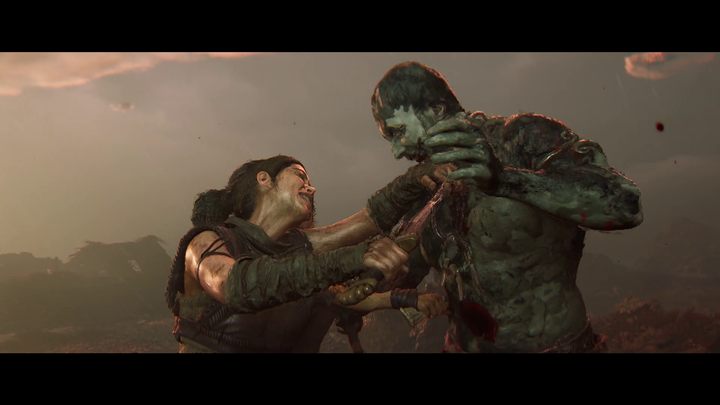
- Follow the village leader. At some point, the woman duo will be attacked by Draugrs. During the ensuing combat sequence, your task will be to defeat every incoming monster, while Astrid will proceed forward to warn the inhabitants of the nearby settlement.
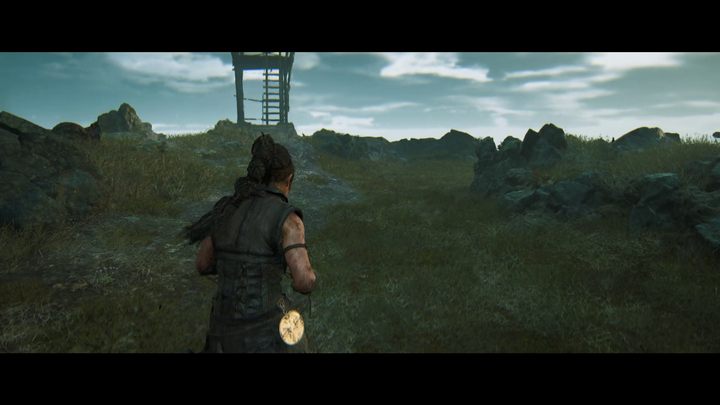
- After defeating the enemies, follow the path until you reach a puzzle involving a symbol.
How to solve the puzzle with the symbol?
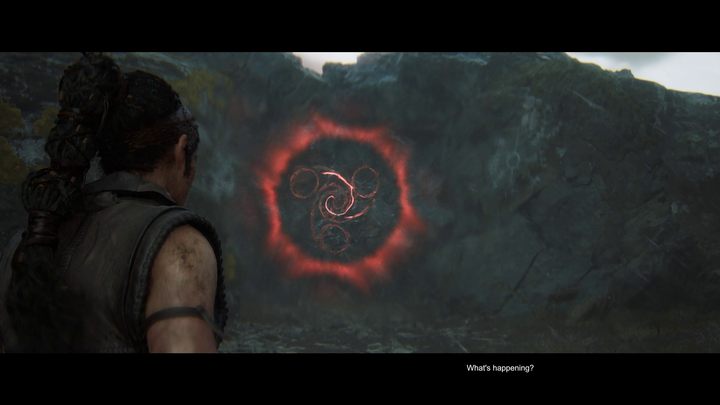
- Activate the symbol at the gate, then look for shapes in the vicinity.
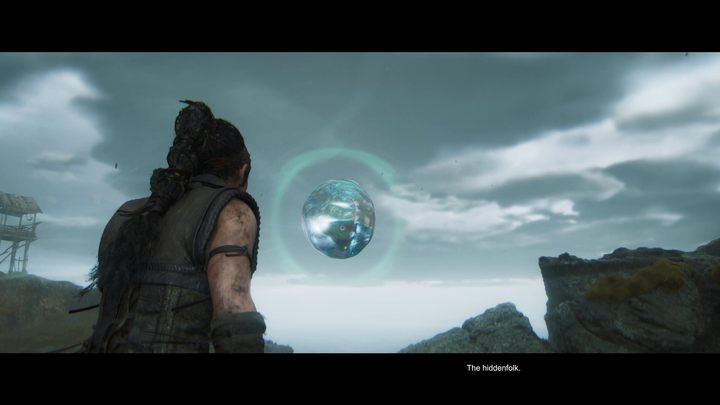
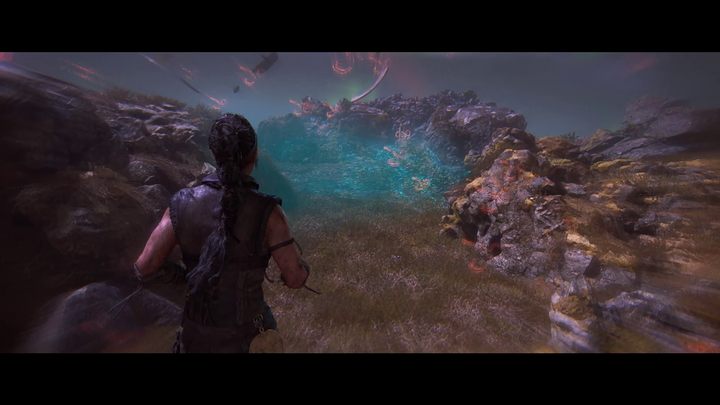
- First, activate the bubble above the chasm (use Focus to do this). Pass through the semi-transparent gaps in the rocks and follow the path opened in this way.
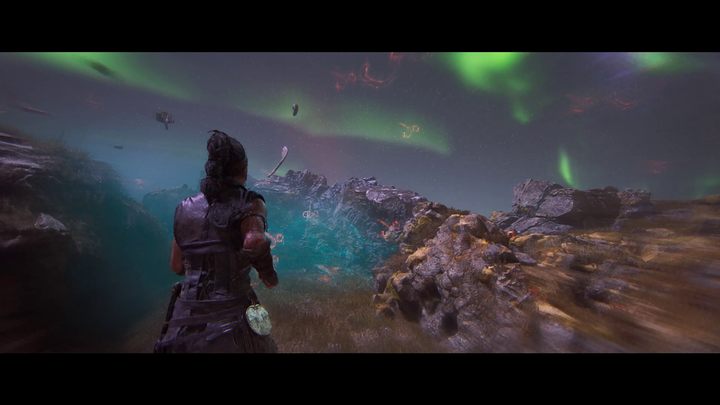
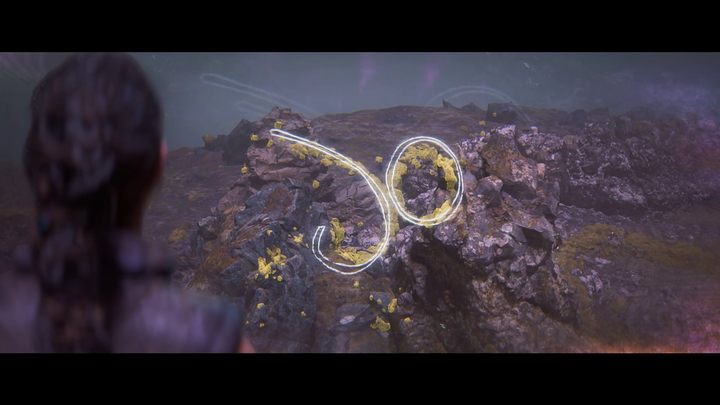
- When you see small levitating symbols, point the camera towards the open space inland. By standing at a right angle and using Focus, the lichens in the distance will create a fragment of the sought symbol.
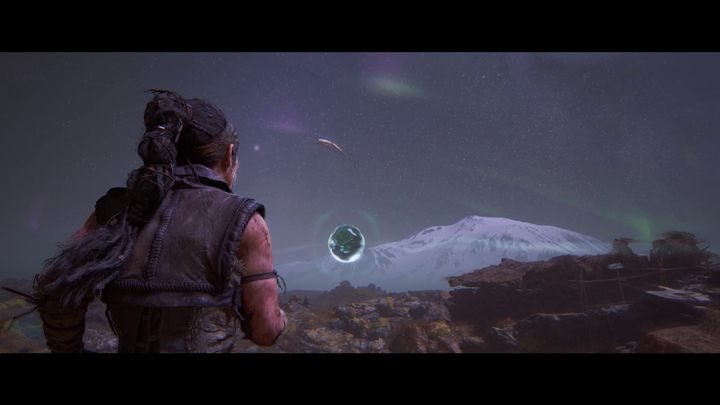
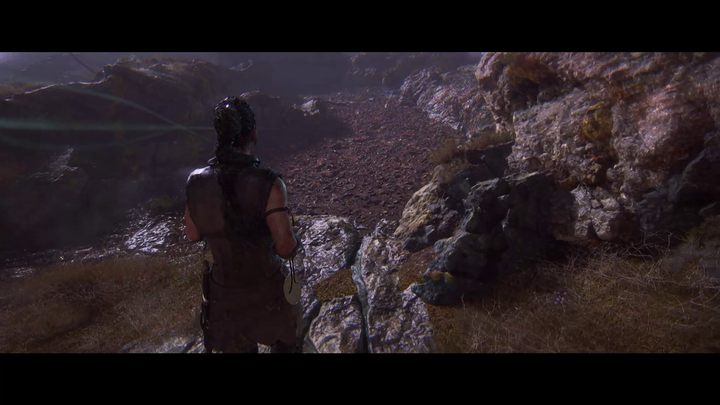
- Now take a few steps back and stand at the ledge above which there is light creating a spectral bridge. Activate the bubble on the left that levitates deeper inland. This action will materialize a bridge for you which you can use to cross to the other side.
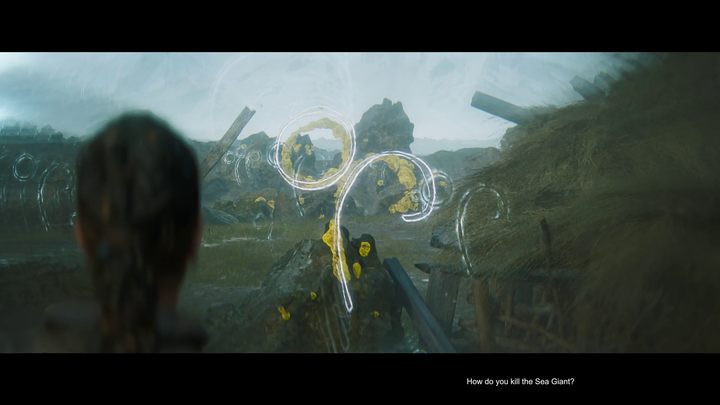
- Line up at the end of the path behind the destroyed hut on your right. After some fine-tuning, the lichens directly in front will create a fragment of the symbol.

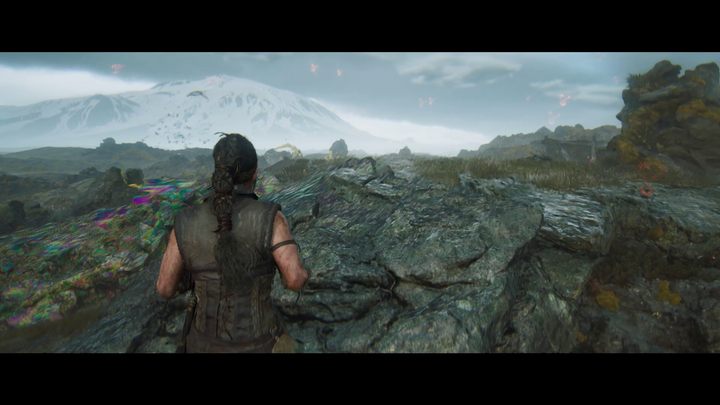
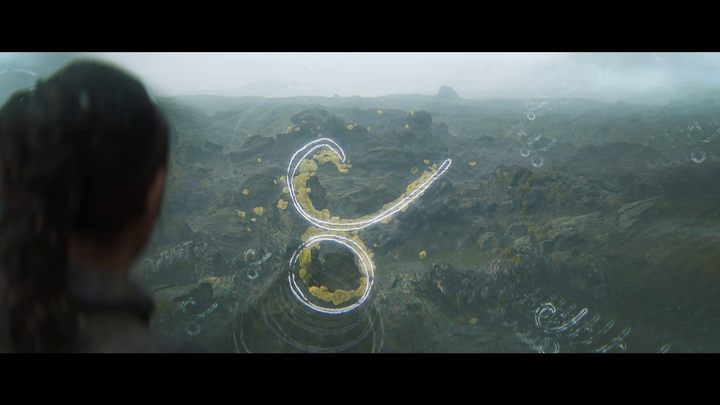
- Finally, approach the first bubble (levitating above the chasm) and interact with it. Climb the stone ramp to a small elevation behind your back. By looking deeper inland, you'll find the final fragment of the symbol.
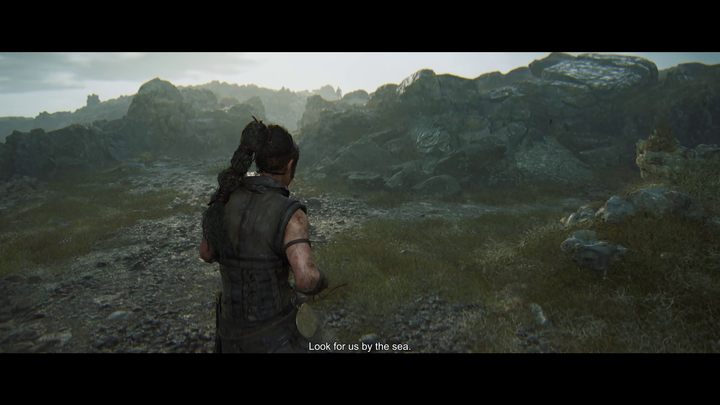
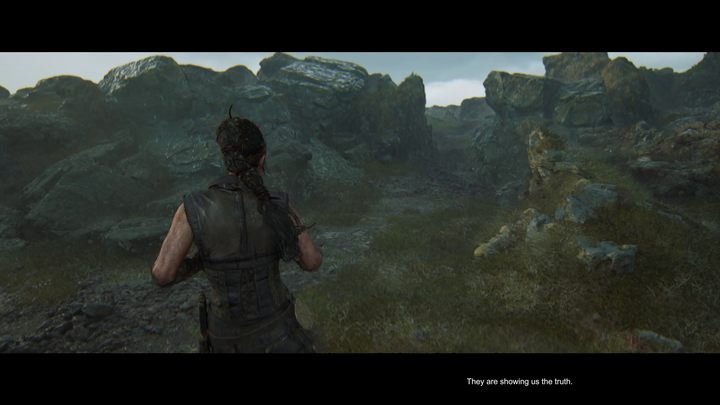
- You can now approach the open gate. Follow the path. Before you approach Astridr waiting on the hill nearby, turn right and follow the path inland. You will find another pathway leading to a stony face. Get back to the main path and continue until you reach the brown-hued beach.
How to solve the puzzle on the beach?
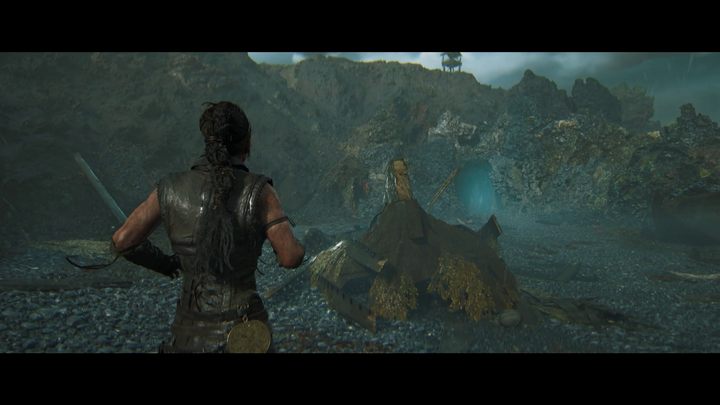
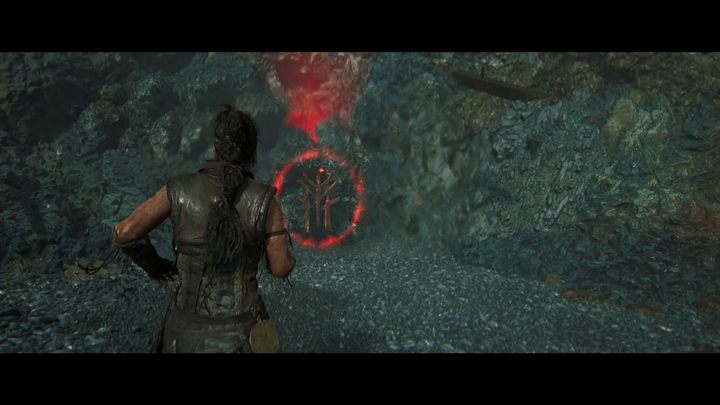
- On the beach, full with ships washed ashore, you will encounter another symbol puzzle. Activate the gate.
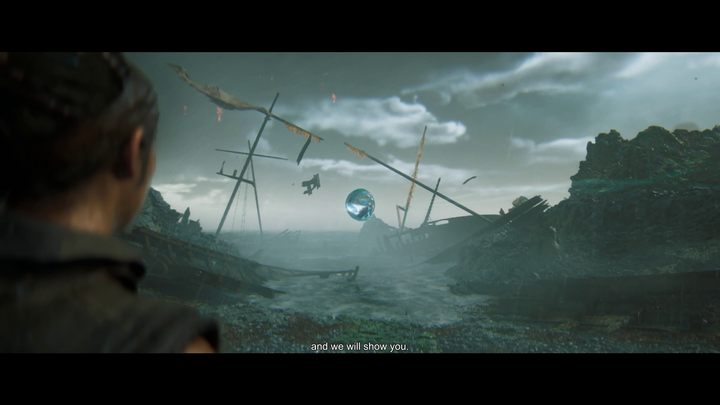
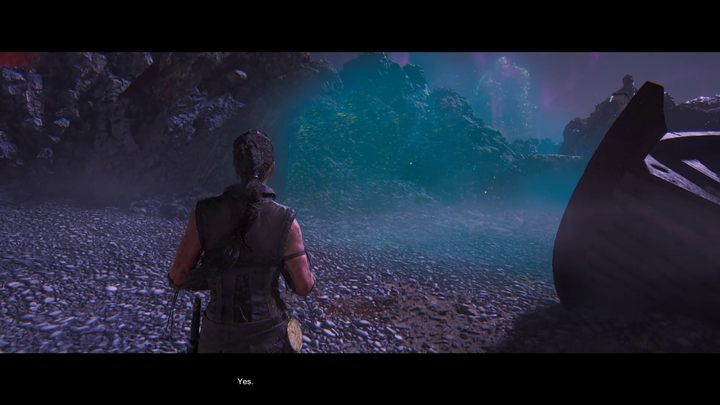
- Activate the bubble above the ocean, and then circle the wreck on the right (when looking in the direction of the gate).
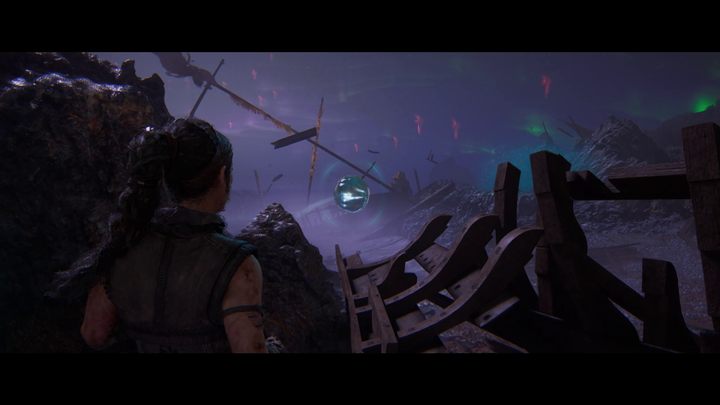
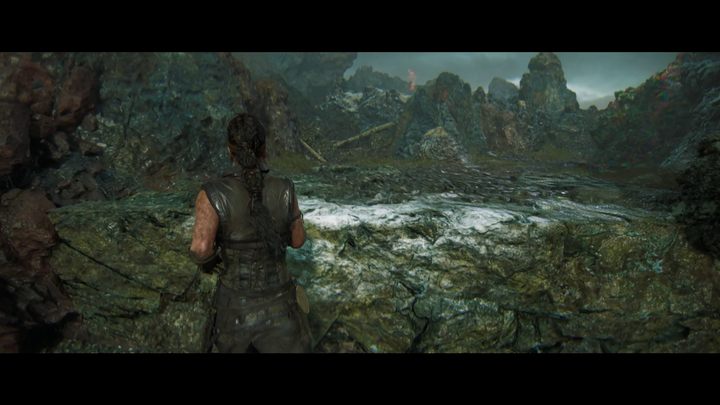
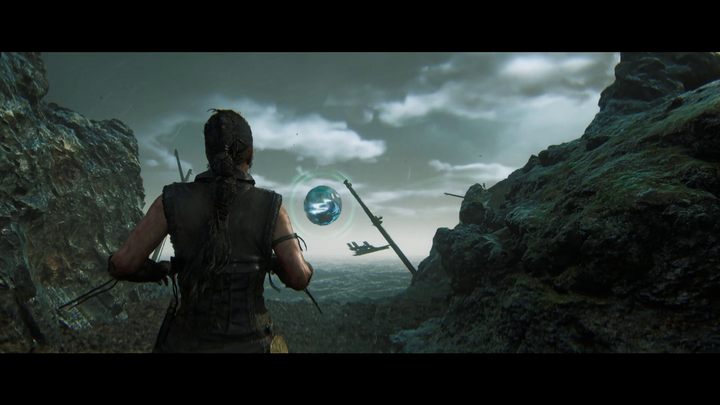
- From behind the ship, once again activate the ocean bubble. This will allow you to climb a rock ledge on the left. Follow the path laid before you until you reach the cliff. Activate the bubble located there.
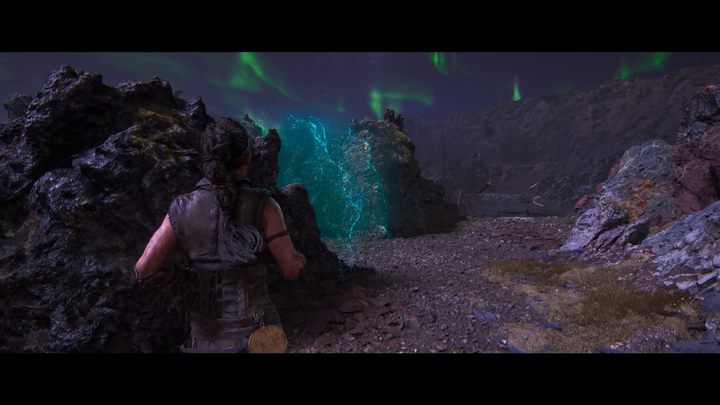
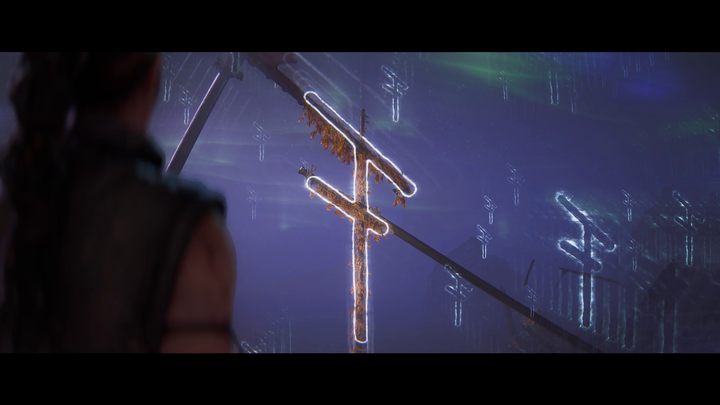
- Make a few steps back and proceed through the newly opened pathway on the left. Stand on the cliff and look towards the wrecks. The overgrown masts will create a fragment of the sought symbol. Activate your Focus and the first phase of the puzzle will be completed.
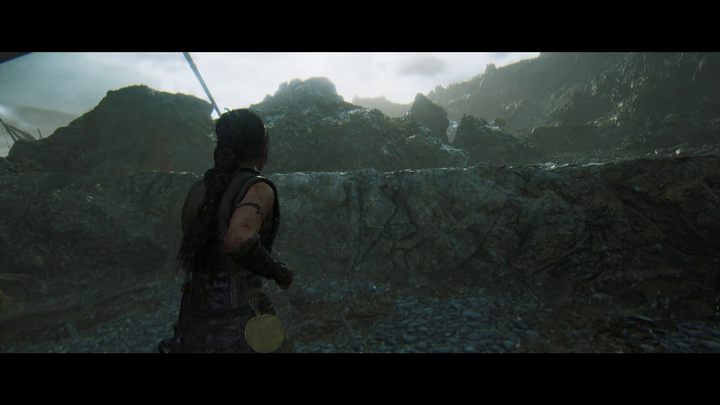
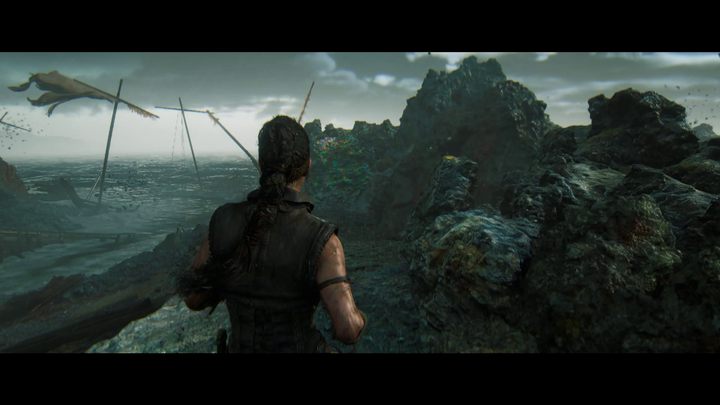
- Return to the beach and then once again activate the first bubble. Head to the rock shelf on the left side (when looking in the direction of the gate). Continue along the newly opened path until you reach a pile of boulders blocking the way forward.
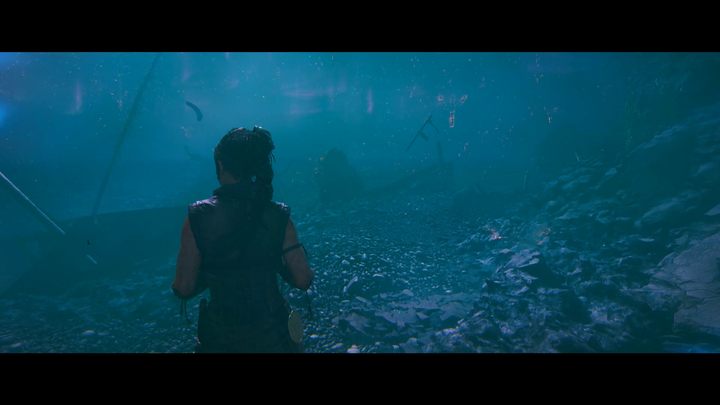
- Once again look towards the first bubble and activate Focus. The boulders will disappear, allowing you to continue.
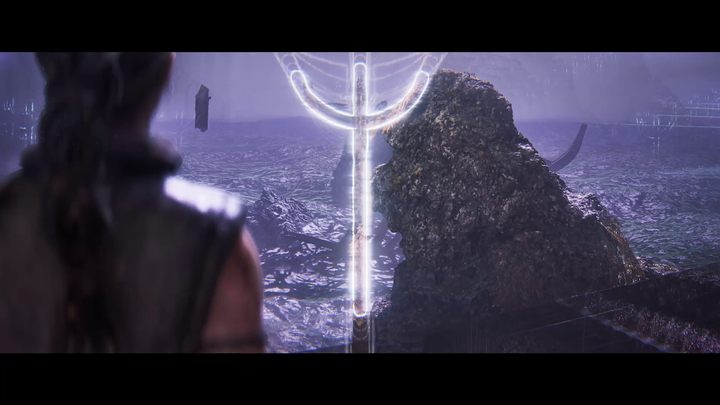
- Literally a few steps further, look towards the ocean. The yellowish lichens will create another fragment of the symbol that resembles a trident. With the fragment activated, continue along the path.
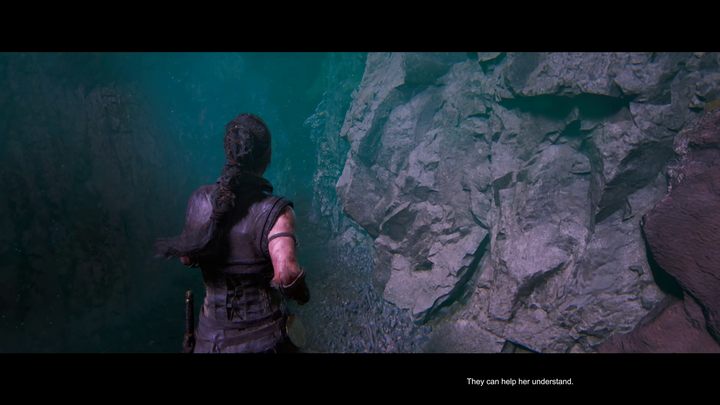
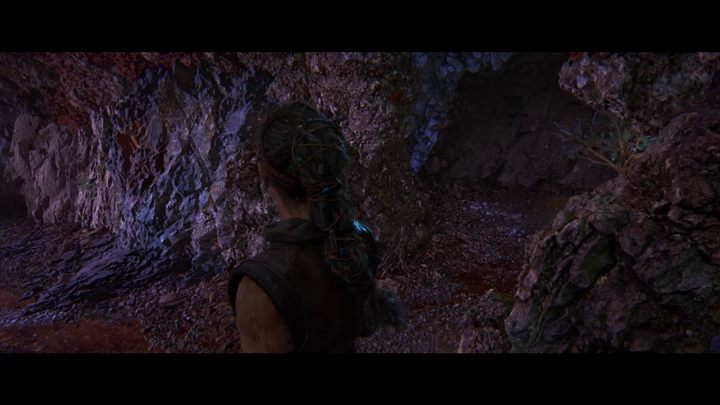
- Before you activate the next bubble, go inland and enter a semi-transparent light. It will lead you to a narrow pathway and a tunnel. About halfway down the tunnel, look to the right to find a stony head.
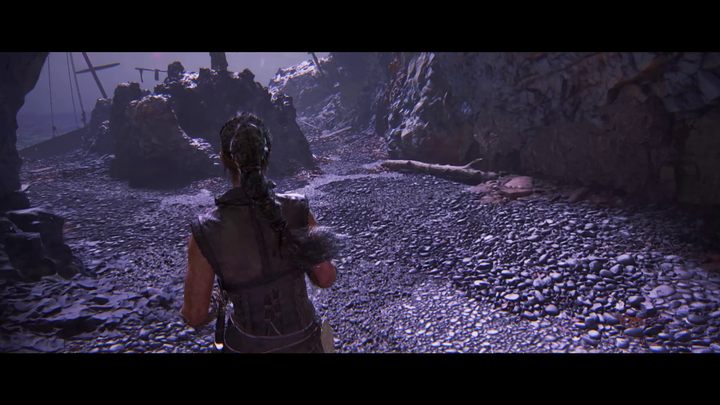
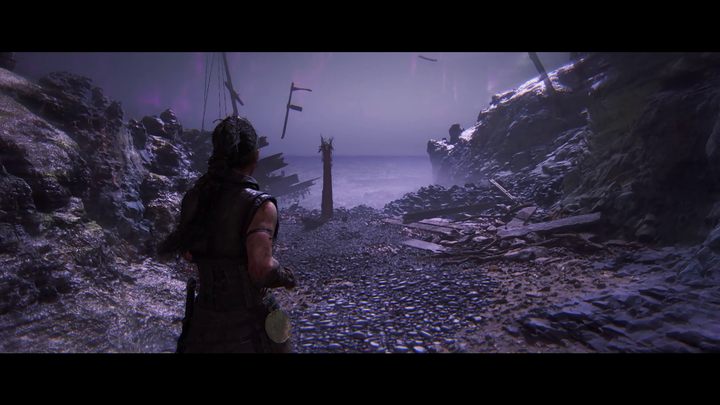
- After exiting the tunnel, you'll reach a small beach. There is a Lorestangir on the right. After unlocking the collectible, you can safely return through the tunnel to the earlier beach and continue solving the puzzle.
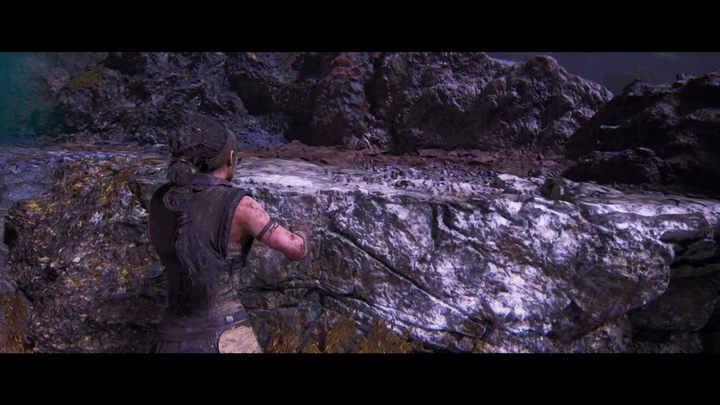
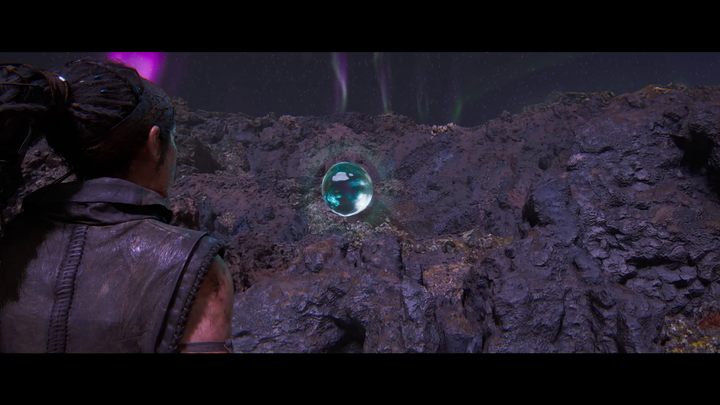
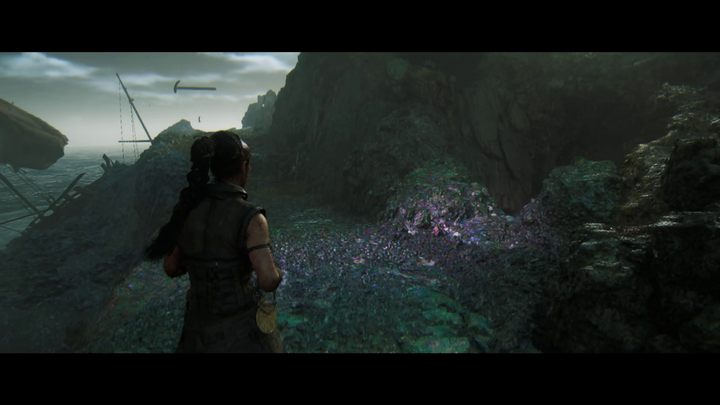
- Climb the stone ledge on the left side of the beach (when looking at the ocean). On the right side of the path, you can notice a gap between the rocks where another bubble is levitating. Activate it and cross the materialized bridge.
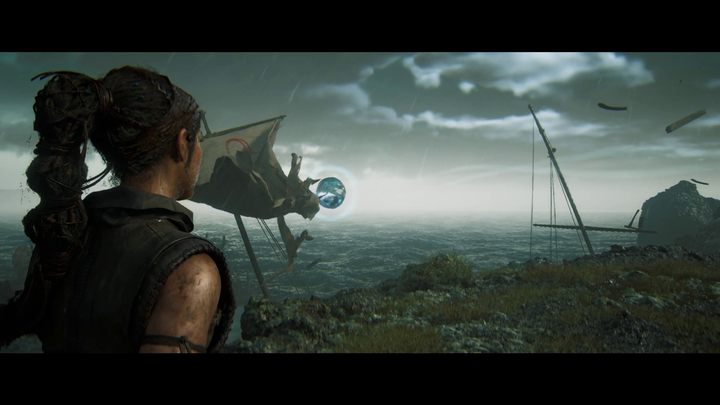
- A bit further down the road, your path will be blocked by boulders. Use the bubble above the ocean to remove them.
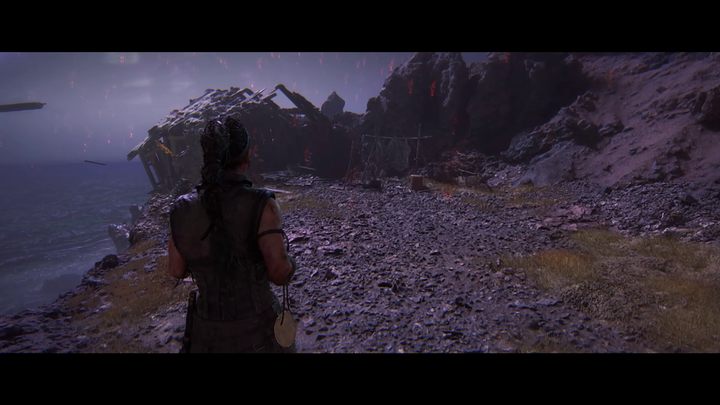
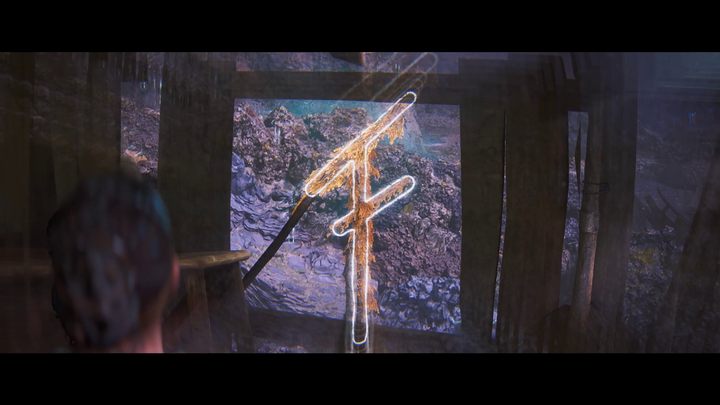
- The road will lead you to a ruined hut on a cliff. Get inside it. Look through the window to find the final part of the symbol. After activating it, you can safely return to the now opened gate.
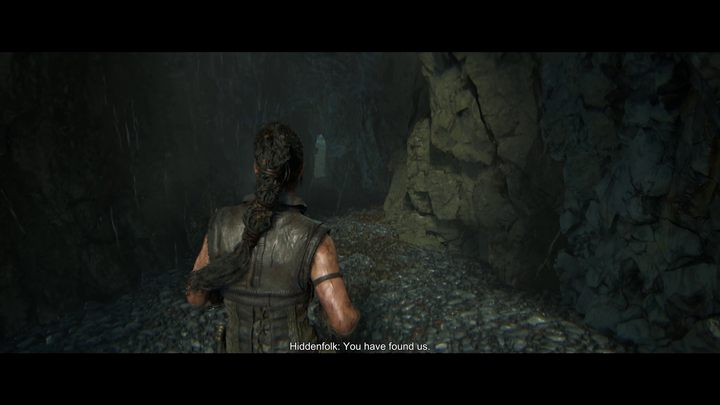
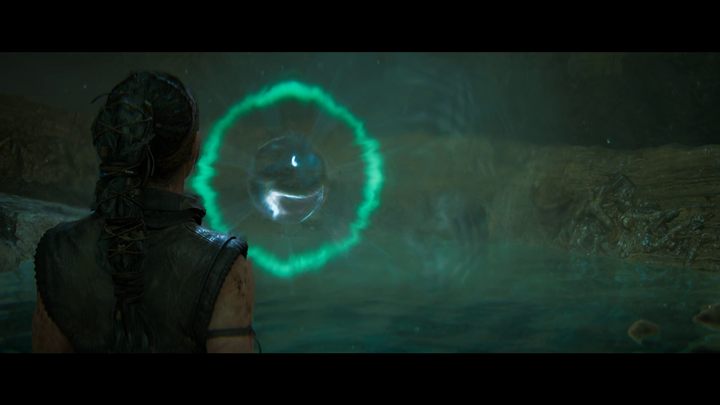
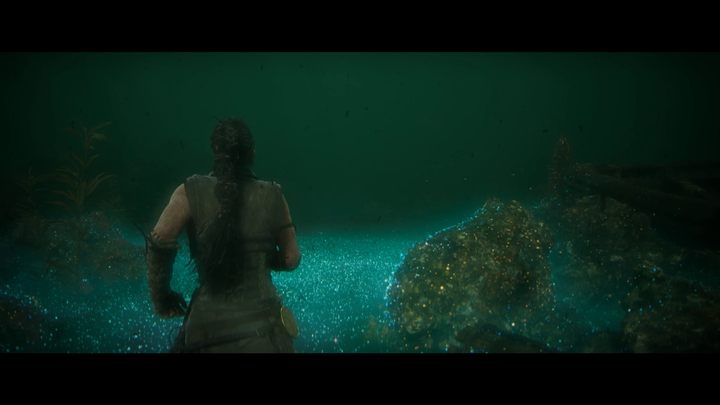
- Beyond the gate, you'll enter a cave. After a short walk, you'll reach a pond. Use your Focus on the bubble that will appear from it. During a staged sequence that will take place a moment later, simply follow the path laid out for you.

- You will reach a beach located next to Bardarvik. Proceed in the direction of the village.
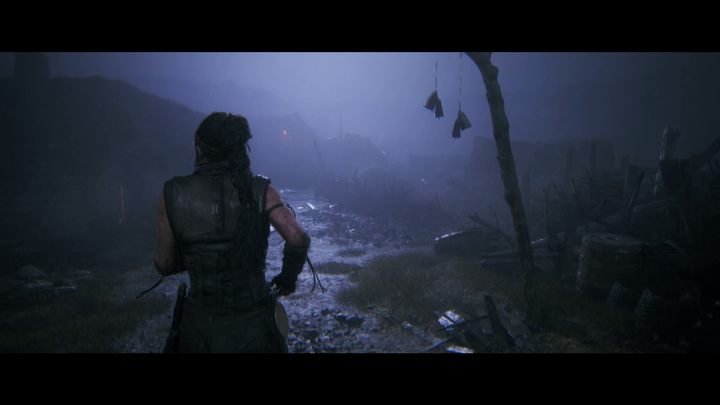
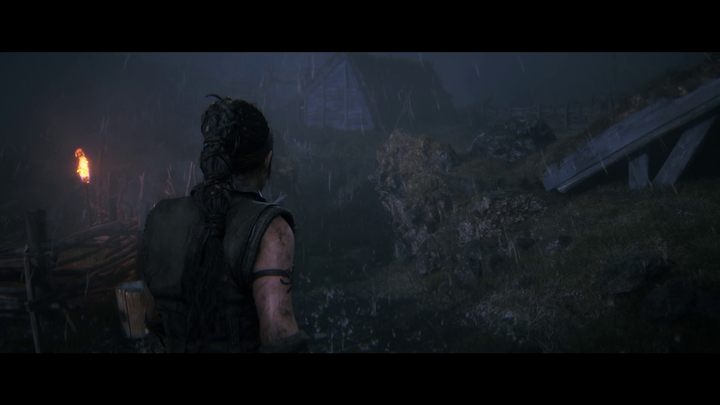
- Next to the signpost with attached bells, go left into a side path. At the end of the path, there will be another stony face.
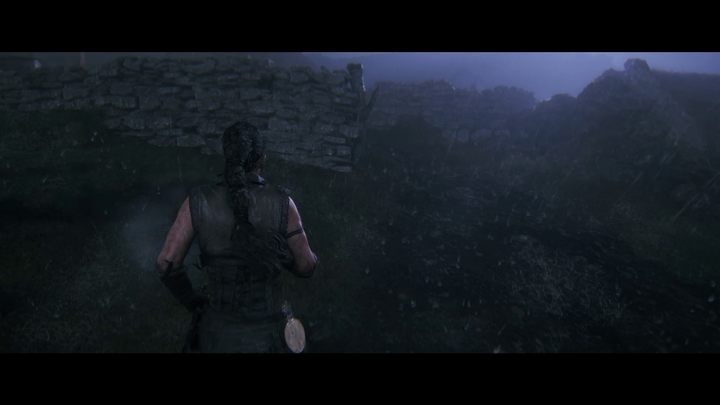
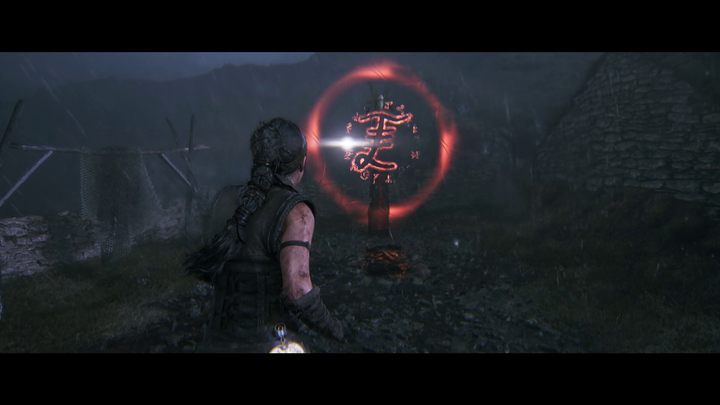
- Keep following the main path until you reach a whitish wall next to one of the buildings. On a small plot of land, you'll find the final Lorestangir in the game.
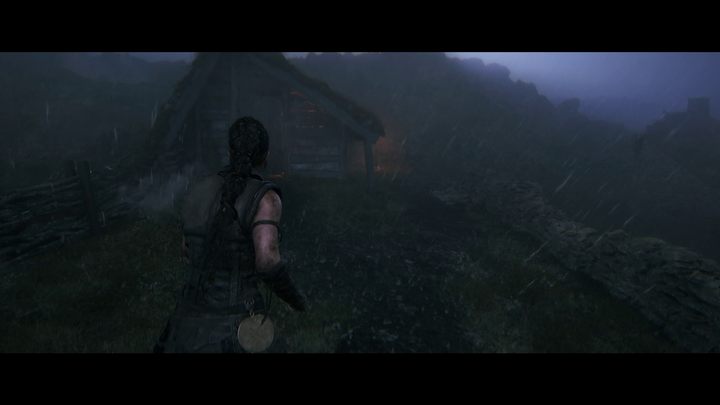
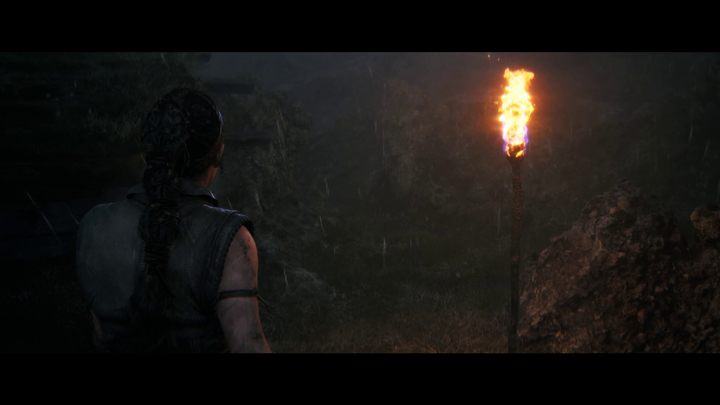
- Before you proceed and push the plot forward, take a detour to the wooden hut right from the Lorestangir. By circling it, you'll find the final stony head.

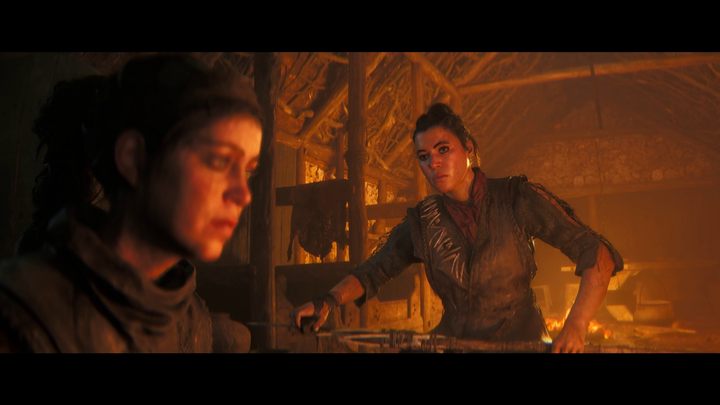
- After exploring the entire village, go to Astrid's hut. You will recognize the building thanks to bright light and opened front door.
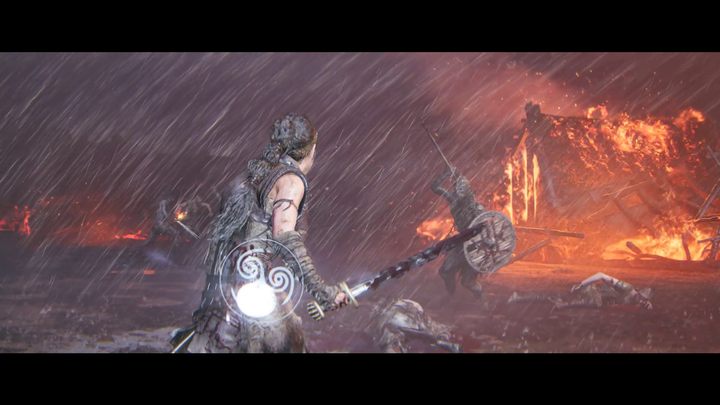
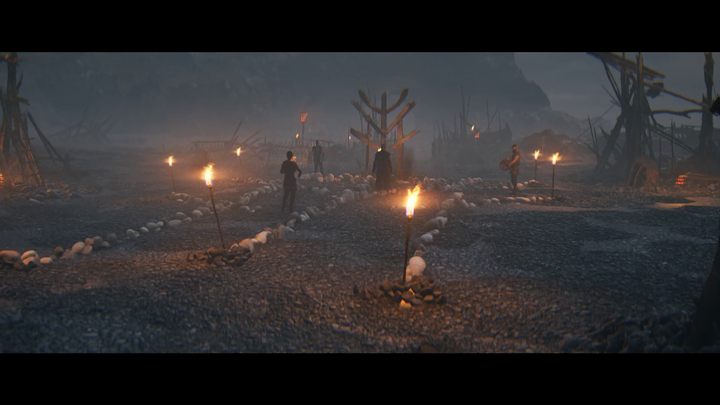
- The conversation between both women will be interrupted by Draugrs. After repelling the attack, you'll be taken straight to the ritual and fight against Giant.
How to defeat the sea giant Saegeirr?
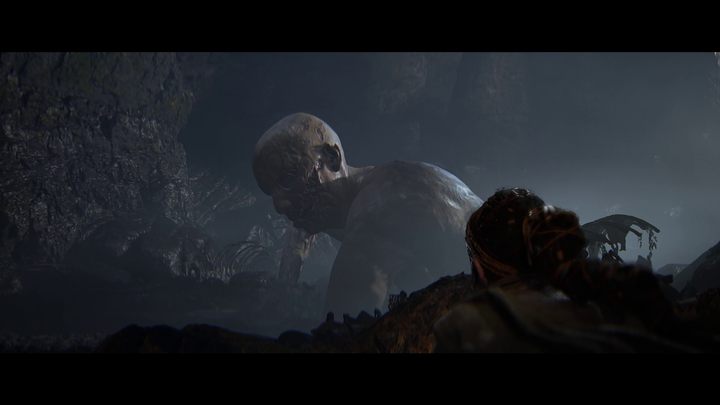
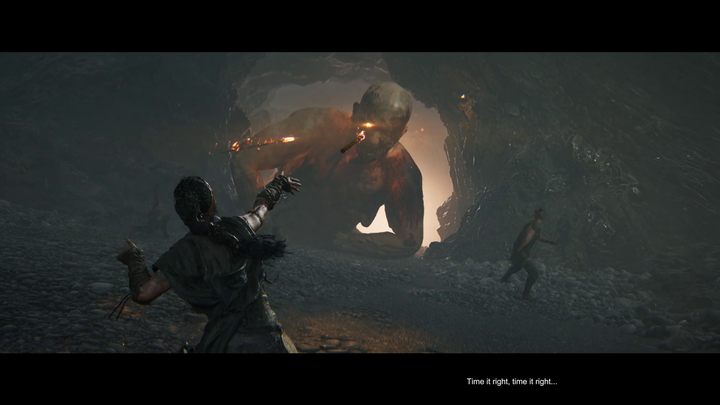
- In the heavily scripted sequence where you attempt to lure the Giant from the cave, your task boils down to following the predetermined path and escaping the angered colossus. At a certain moment, Senua will grab a flaming spear that she will throw at the Giant (press the Attack button).

- With the monster having destroyed the palisade, the fight will be taken to an abstract location slightly reminiscent of the volcano from Chapter 4. Just like that location, your task will be to avoid incoming sea waves.
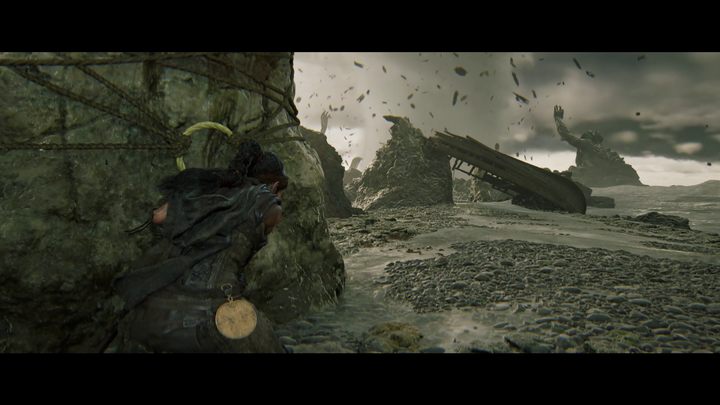
- You'll do that by using metal wheels attached to boulders as cover. When you reach such a contraption, use Interaction button to grab it. Thanks to this, Senua will survive the devastating impact of the incoming wave.
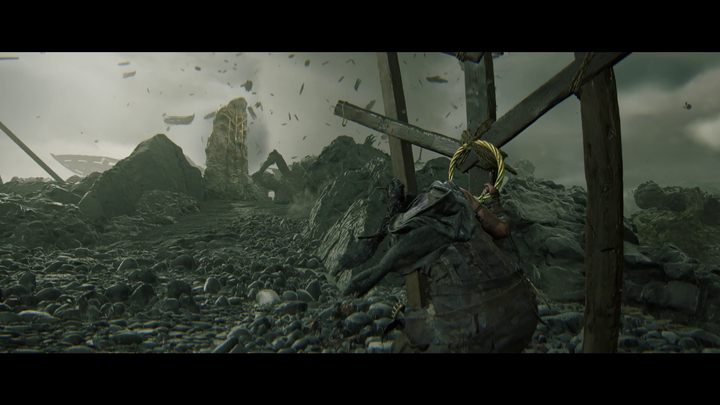
- In the second phase of the sequence, the boulders will be replaced by wooden structures that break when a wave hits them. You need to stay mobile at all times and don't stay in one place for more than one wave.
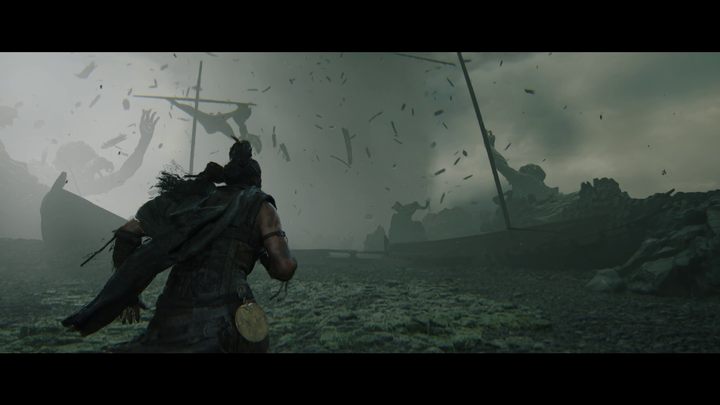
- The final part will be a sprint to the eye of the cyclone. Beware of objects falling from the sky. Their trajectory seems random, so the task may bring some problems. However, being hit doesn't set you back that much, as Senua will respawn not far from the death location.
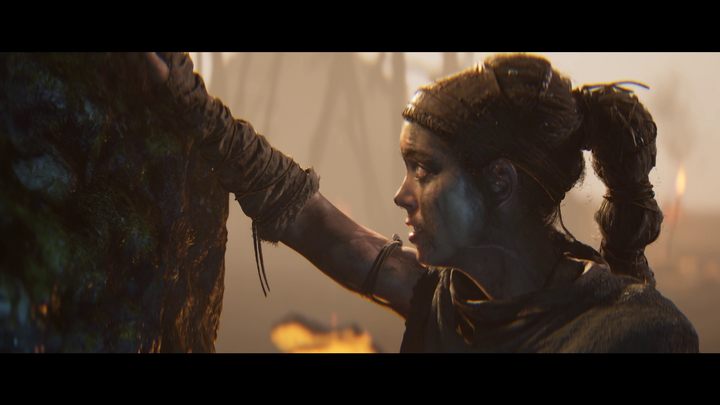
- After the dynamic sequence, the heroine will finally reach the heart of the storm where she will manage to reconcile with the Giant. The threat is fortunately over and this is is the end of Chapter 5.
You are not permitted to copy any image, text or info from this page. This site is not associated with and/or endorsed by the developers and the publishers. All logos and images are copyrighted by their respective owners.
Copyright © 2000 - 2025 Webedia Polska SA for gamepressure.com, unofficial game guides, walkthroughs, secrets, game tips, maps & strategies for top games.
