Hatred: Mission 2 - Marina
Main Objectives
- Find a way out of the sewers
- Exterminate the Marina residents
- Survive the raid
Optional Objectives
- Cleanse out the pier
- Exterminate the hotel guests
- Hunt down the hunters
Main objective: Find a way out of the sewers

The second mission of the campaign starts in the sewers. As soon as it beings, you should gain some distance from the cops chasing you and hide behind cover, as it will be a lot easier for you to eliminate them that way. Get behind the wall and wait for them to come at you. From their bodies you will collect two new pieces of equipment - SMG and Flashbangs. The first one, although slightly lacking in the power, has a very high rate of fire, as well as a large magazine, making up for that shortcoming a little. Flashbangs, on the other hand, disable all the targets hit for a few seconds, making them vulnerable to your attacks - it comes in handy when fighting in tight, narrow spaces, with large groups of enemies, when you are unable to use regular, explosive grenades. You can use both of those pieces of equipment during this section of the mission as much as you want, without worrying about running out of ammo - you will be dealing with tens of SWAT officers throughout the sewers, so you shouldn't run out of bullets.
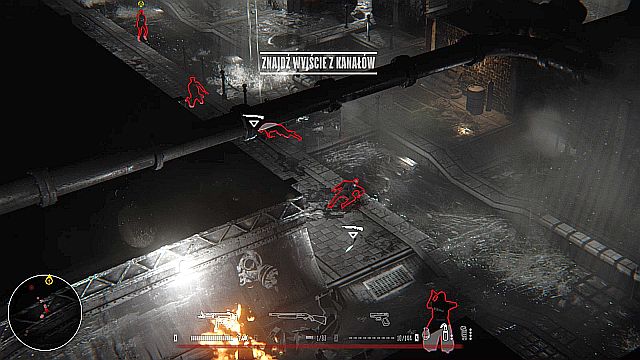
Swap your Shotgun for the SMG if you have a decent amount of rounds for your Assault Rifle, and if you lack them, swap it for it instead (it should leave you with the SMG, a Shotgun and a Pistol). After finishing off the last SWAT member, you will have to deal with a lone policemen, coming at you from across the tunnel. Eliminate him and enter the room he just came from - there will be a target you can perform execution on in order to replenish health. Before you enter the said room, you will stumble upon a crossroads - tunnels leading to the left and to the right. The left tunnel contains a single target to execute, so if you do not need healing head to the right one instead.
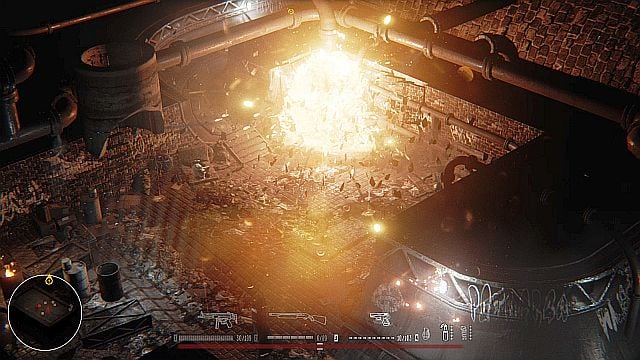
A small encounter with a group of policemen awaits you at the end of the said tunnel - fortunately, those are the "regular" cops, equipped with pistols, which shouldn't be a problem for you. If you want to conserve your ammo, there's an explosive barrel near them, which can be blown up by shooting at it - this should kill most of the cops. After arriving at a more open space, refrain from further exploration, as there is another group of enemies approaching your position - it is better to just hold your ground and eliminate them from afar, without the risk of sustaining any injuries.

You will get to another crossroads - one way leading to the right, and the second one along the left wall. In the right one you will find a couple of Molotov Cocktails, and a small group of SWAT members will emerge from the hatch located there - it is a good idea to eliminate them, so that they will not be able to ambush you from behind. After finishing them off, collect SMGs and Flashbangs located near their corpses and head to the passageway on the left side, from which a few more SWAT officers will come at you.

After leaving the narrow passageway, you will arrive at the next open location. There is a group of SWAT officers closing on your position from the North - use the firing range given to you by your current position (hold the aim, which, by default, can be activated by pressing and holding the right mouse button) and eliminate them from a safe distance. Afterwards collect all the gear they dropped and continue your journey to the left side.
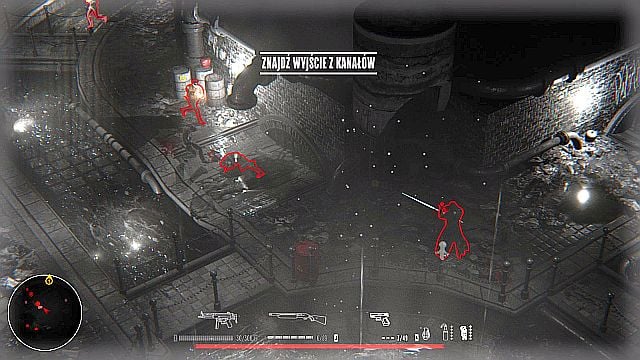
It is worth to move a little faster here, as there is another group of SWAT officers closing on your position from the North, and an explosive barrel and a gas tank can be found on their route - you can fire at them a few seconds before they arrive at the exact spot to eliminate them without wasting any ammo. If you are unable to do so, do not worry - you should have more than enough ammo left to eliminate a larger group of cops with ease, and in case of sustaining serious injuries, you should be able to locate a large amount of executable targets in your closest vicinity.
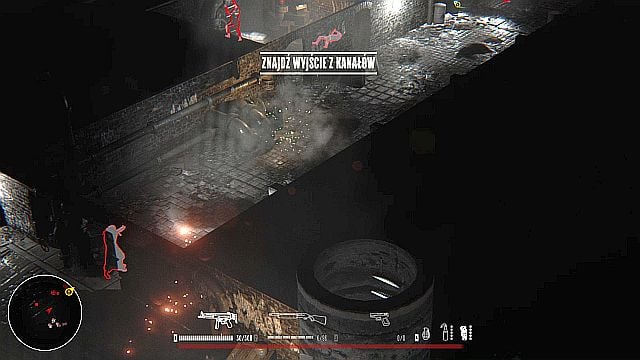
Continuing your march, you will arrive at another open room - you can expect a group of SWATS officers coming at you from the North and North-Easter directions, but you have a perfect firing position, which should allow you to eliminate them from a safe distance. There is nothing else to do here, so pick up any gear they dropped and go further into the sewers. At the end of the corridor, on the right side, there will be an entrance to the further section of the tunnels - don't rush there, however, as your enemies have set up an ambush and will try to hit you with a Flashbang, making you a lot less effective for a couple of seconds. It's best to just run in and immediately leave the room, so that the flashbang blows up in the air, without the option to reach you. Now you just have to finish off the enemies, coming at you from the North-East.

After breaking through the ambush, you will arrive at another crossroads. A small group of enemies will approach you from the right side. After getting rid of them, replenish your ammunition, as well as health, and head towards the passageway leading to the North - there's no more enemies in the area, so you can travel without worrying about getting ambushed. Once you arrive at the hatch, a short cutscene will initiate and the scenery will change.
Main objective: Exterminate the Marina residents
Optional Objective: Cleanse the pier

You will be given a new task, to exterminate (80) residents of Marina. Similar to the previous mission, there is really no point in focusing solely on running around the map and killing people as fast as you can - by completing the optional objectives you will be able to kill several times more people. After emerging from the sewers, head East, to the place marked with a ship icon. Upon arrival, you will be given an optional objective called "Clear the Pier".

You objective is to simply kill all the people located directly on the pier (scattered around the bridges, to the East of your current position), as well as those which can be found in the close vicinity of the water. Start the mission by entering the pier by using the Southern entrance - this way you will not be able to miss a single target, and after completing this objective you will arrive almost at the spot the next one starts at. You should explore the pier very carefully, as there is a large amount of different pieces of equipment to collect here (such as, for instance, Molotov Cocktails, or ammunition), or Grenades (which will soon come in handy) located in the Northern section of the pier After completing the optional objective, you will be given a respawn point.

After coming back to the mainland, you should be able to locate a small building (with the Port Office logo on it), located to the North of the exit from the pier you just came through. You can find a Shotgun, as well as a Bulletproof Vest inside the building. The second item is what matters the most - from the start of the mission and all those SWAT officers you have fought, you are surely lacking any protection at the very moment. Besides those two pieces of equipment, there are no valuables in the area, so just head North, until you reach the place in which you will unlock another optional objective.
Optional objective: Exterminate the hotel guests

After arriving at the location of a huge building, you will be given an optional objective called "Exterminate hotel guests" - the aim of this mission should be more than obvious. You should use your newly acquired grenades here - throwing a single, well-aimed grenade will cause an enormous explosion, blowing up a huge portion of the hotel, setting most rooms ablaze, and killing of majority of hotel guests located on the ground floor. Afterwards, just head on the first floor and eliminate all the remaining civilians. Making such an uproar will get the attention of the law enforcers, so be ready for some large group of cops closing in on your position.
Optional objective: Hunt down the hunters

After killing off all the hotel guests, as well as policemen, and unlocking another respawn point, collect all the pieces of equipment dropped by the cops and head North, to the last, third optional objective. There are no valuable items along the way (aside from Pistols, but after the last encounter with the cops you should have more than enough bullets for that weapon), which is why you should just focus on getting close to a small forest. There you will be given the optional objective called "Hunt the hunters" - you must kill all the shotgun-wielding hunters in the area. Watch out to not just run into all of them, because their weapons will shred you to pieces in a matter of seconds - exploit their weakness (short range of shotguns) and kill them off from afar. Afterwards you will be given another respawn point. Pick up all the ammo left by them - you will soon need it.
Main objective: Survive the raid
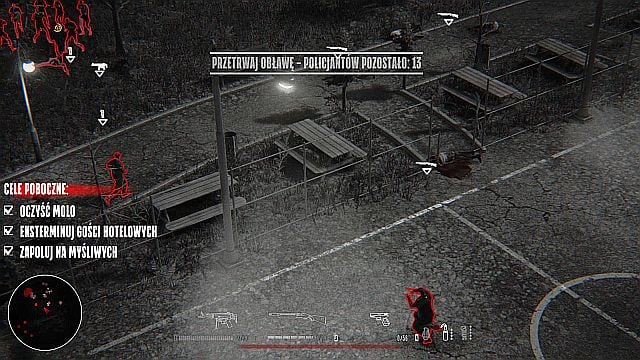
During the completion of one of your objectives (after killing 80 people), you will be given another main objective - "Survive the chase", during which you will have to eliminate 20 policemen, who will flood the area around your character as soon the requirements are met. It is a good idea to find some cover, even from a single direction, so that the enemies will not be able to surround you - this time you will be going against a SWAT unit, which can kill you off in a matter of second if they manage to catch you off guard, on an open terrain. Take care of them, heal your wounds by performing executions and head towards a zone marked with a green icon on your radar in order to finish this mission.
You are not permitted to copy any image, text or info from this page. This site is not associated with and/or endorsed by the developers and the publishers. All logos and images are copyrighted by their respective owners.
Copyright © 2000 - 2026 Webedia Polska SA for gamepressure.com, unofficial game guides, walkthroughs, secrets, game tips, maps & strategies for top games.
