Get Even: Stealing the prototype and destroying the data
In this page you can find the walkthrough for a level in Get Even that takes place in ADS corporation's (Advance Defense Strategy) main building. This memory is called "Job for Robert Ramsey". In the first part you must steal CornerGun's prototype. Getting there requires a lot of stealth and exploration although the game allows you to eliminate guards. In the second part you must escape from an ambush.
- Solving valves puzzle
- Going through the area with guards
- Find the code that opens the door
- Stealing CornerGun
- Escape from the ambush
Solving valves puzzle
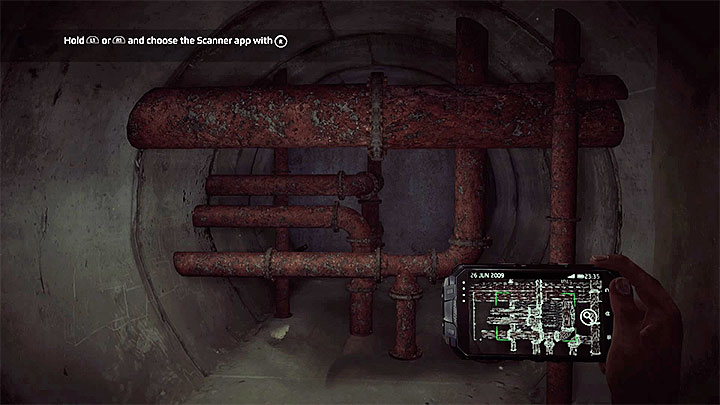
After reading the e-mail you must start following the linear path. During that you can help yourself by using an UV lamp (visible footprints). When you are on your way you must examine the note lying on the ground. After that you must crouch and go through a small hole. When you reach the pipes presented in the picture above you can, for the first time, experience the game mechanic in which you get rid of anomalies by using the scanner. When you see white dots (instead of green) you will know that anomalies are nearby. After locating them you must face their direction and perform scanning.
Here, you make the pipes disappear which unlocks the passage but anomalies that are found in the later parts of the game usually have the opposite effect, that is they allow you to "summon" items that can be used, e.g. as an additional cover.
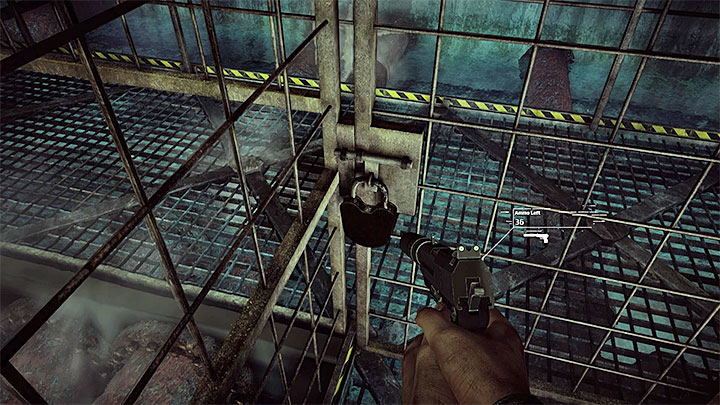
Soon, you reach a room with a closed gate. Before you do anything you should go right and scan the blue substance.
Your journey can be continued in two ways. The first option is to use the pistol and destroy the lock (shoot at it at least two times). If you choose this variant you will get a small reprimand from Red for using a not very sophisticated solution.
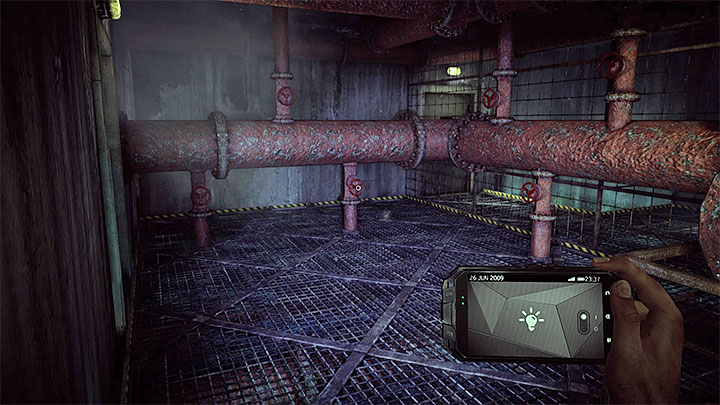
The second option is to make a hot gas disappear. You can find it in the passage left from the gate. In this case you must use the six valves presented in the picture above. The solution for that puzzle is generated randomly but despite of that completing it is not that difficult:
- Approach each of the valves and examine them.
- Your goal is to have all valves turned to the right. If that happened with the valve that you chose then, after turning it, you must leave it.
- If a valve turned left then you must interact with it again and turn it right (it will go back to its default state).
After turning all valves the hot gas will disappear. Crouch and proceed further.
Warning - Choosing this variant allows you to get Call the Plumber trophy which can be obtained during the later parts of exploring ADS building.
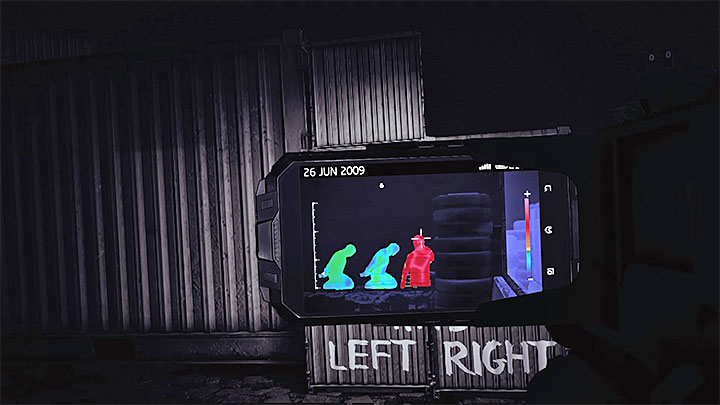
Go through the subsequent corridors until you find yourself in a dark area. There is a rifle that can be taken. This is another tutorial for using the CornerGun. Go to each marked point with the weapon equipped and press lean left or right buttons. After each action like that you must find an enemy (red color) and eliminate them with a headshot.
After completing all tries you must help yourself by using the phone to locate new anomaly (white dots on the phone's screen). By doing that you unlock the new door.
Going through the area with guards
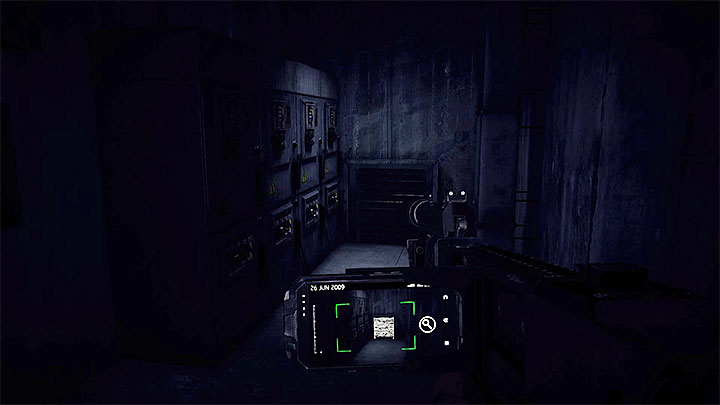
You are now in the corridor next to the underground parking and from now on you will encounter guards. If you want to eliminate your enemies (you receive a warning from Red each time you do that) then you should try to sneak on them from behind and defeat in close quarters combat or kill them with headshots because otherwise they alarm the entire area. However, if you want to avoid them you should use the radar (map application in the phone) so you can see their locations and field of view.
You can open the door located in front of the starting point (when you do that you will be behind guard's back when he goes on a patrol) or go to the room on the right and remove an anomaly that blocks the entrance to a vent. When you enter it you can go to toilets where you can also find one guard.
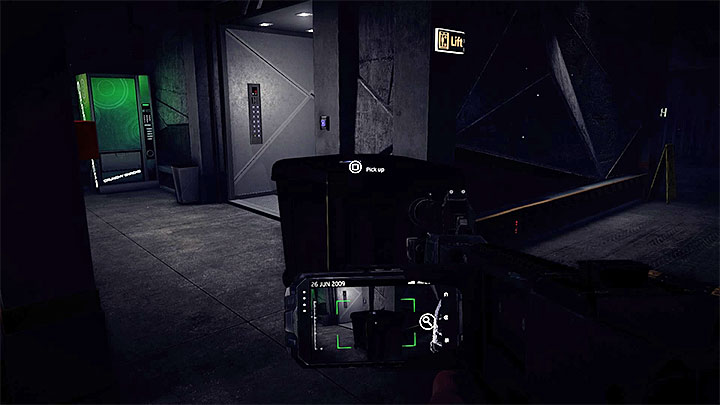
During your walk through the underground parking it is recommended to stay close to the left side. On your way you can activate other anomalies which creates additional obstacles that can hide Black from guards' view.
The easiest way to leave the parking is to reach the elevator in the left part of this place because that elevator has the weakest security. Alternatively, you can use the main elevator located in the opposite end of the underground parking but the risk that you can be detected is high. The elevator on the right is out of order. The choice of elevator has no impact on this level because after you use it you appear in one of the two points that are very close to each other. From here the journey through the ADS building is the same.
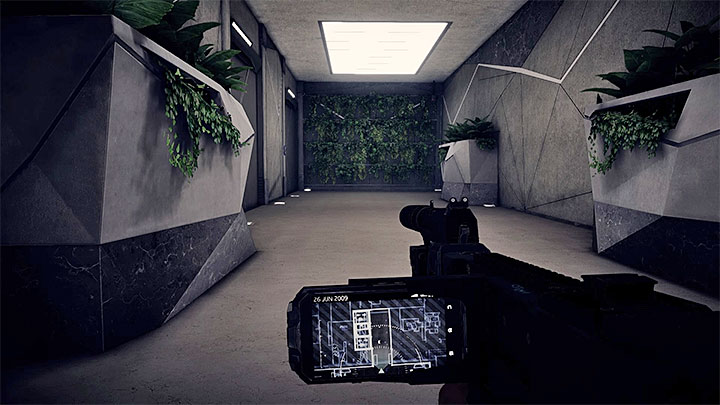
Regardless of which elevator you chose you are now in a new part of the building. There are two guards on the lower level - one is patrolling the nearby corridors and the second one is in the lobby (he regularly turns 180 degrees). Another guards are on the floor and the most problematic one is the guard that looks on one of the stairs. Before you move to another location in the building you should check the corridors around the lobby and examine a few identical posters that are on the walls.
When you reach the lobby select those stairs that are not guarded and then find a new elevator on the next floor. Use it to travel to the new floor.
The elevator takes you to the twelfth floor. There are a few guards near the starting place and it is recommended to wait for them to spread out (if you solved the valves puzzle then this is the place where you receive Call the Plumber achievement that is given to you for sabotaging sanitation).
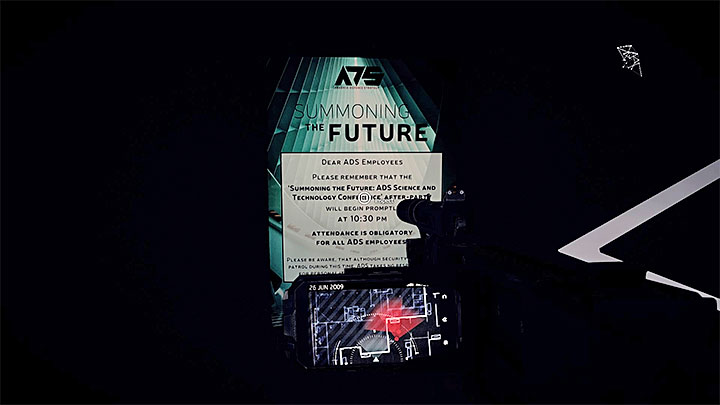
BEFORE you move forward you should examine the left wall and look at the new poster presented in the picture above. This one is different from those in the lobby and because of that it is treated as a separate track.
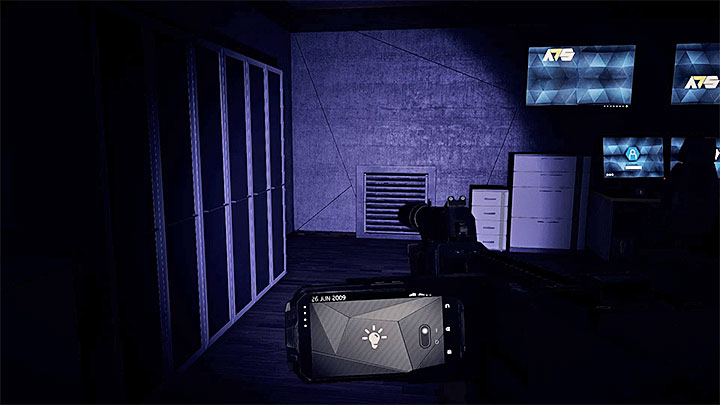
You can, of course, start eliminating guards on this floor (there should be four of them in total) but if you want to avoid confrontations then you should go right and enter the monitoring room. When you get there you should start with finding two new tracks - you can read a message saved on one of the computers and pick up the crumpled note (UK Veterans Service).
Now, in the monitoring room, you can find the vent shaft presented in the picture. Use the scanner to get rid of the anomaly and go through the vent shaft.
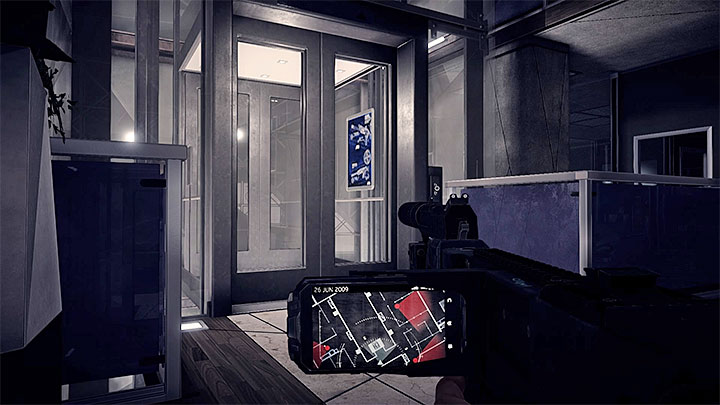
You are in a dark room near the corridor with a guard. Wait until he stops abusing the vending machine and goes away. Leave the room. Go left and soon you will reach yet another elevator. If you want to keep being stealthy then you must crouch so you won't be detected. You can stop sneaking when the elevator reaches new floor because, for now, you won't encounter any enemies in this part of the building.
Find the code that opens the door
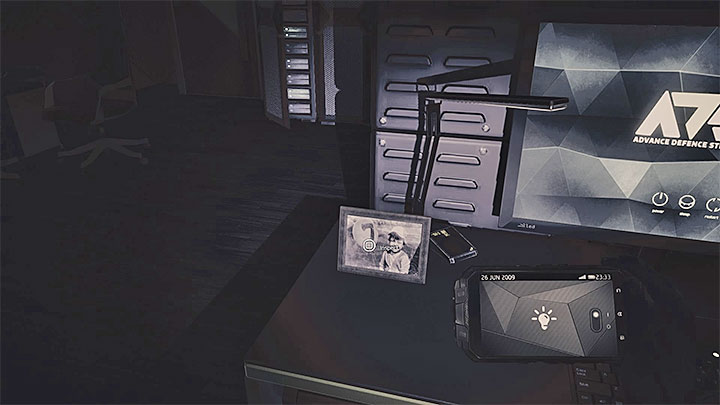
Start exploring the new floor because this allows you to find a newspaper clipping and a document. Your goal is to reach the closed door that requires a four-digit code to open them.
In order to find the code you must carefully explore the floor. Start with checking the room that is the closest to the closed door. There, you can find the photo with a number on it.
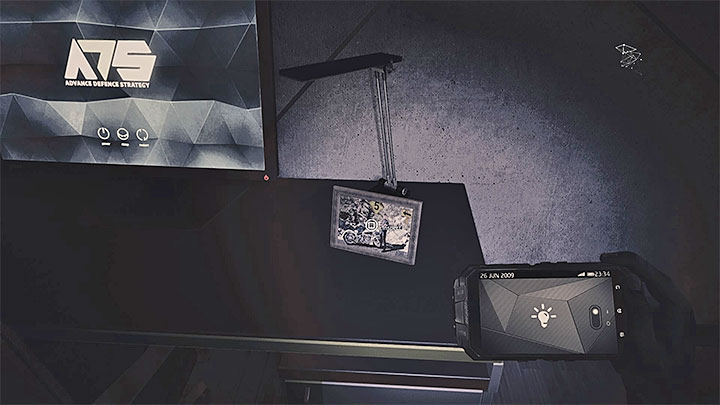
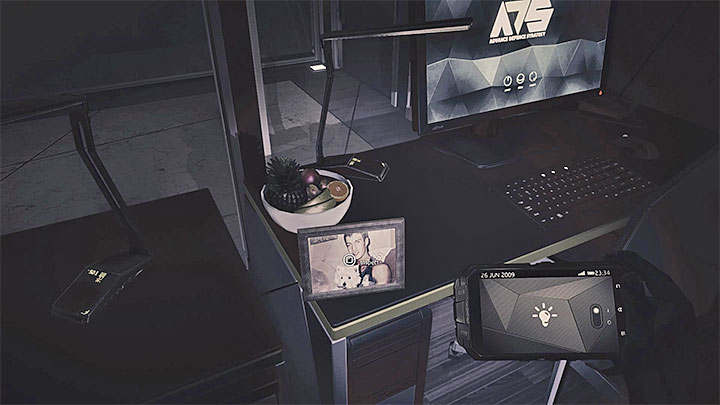
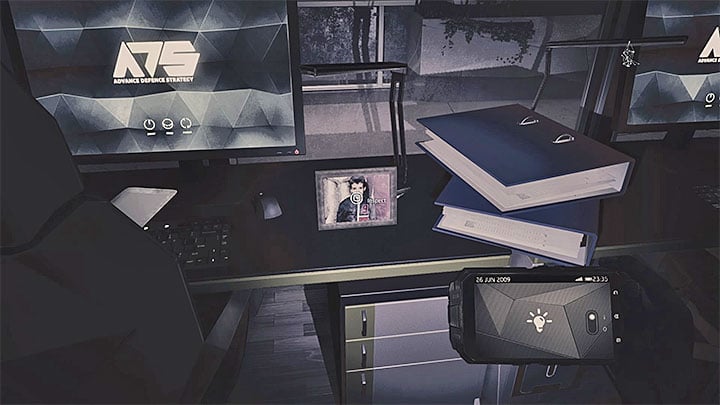
Another three photos are in the big office on the opposite side of the floor. Just like before, examine them in order to automatically add them to your "collection".
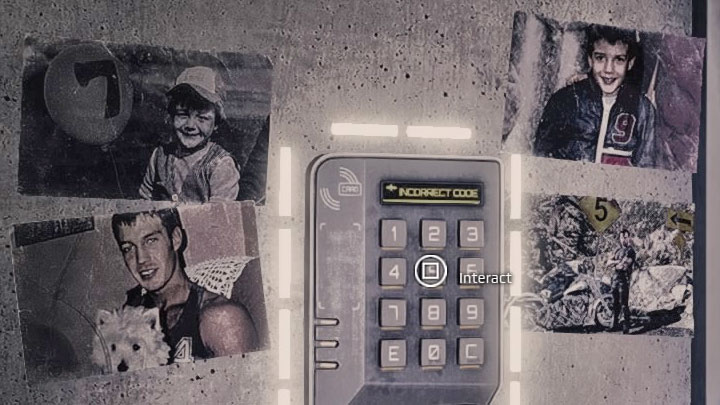
You can now return to the panel that allows you to enter the code. Notice, that the photos are now on the wall. This is the right combination:
- The number from the upper left photo (in our case it was 7)
- The number from the upper right photo (in our case it was 9)
- The number from the bottom left photo (in our case it was 4)
- The number from the bottom right photo (in our case it was 5)
Stealing CornerGun
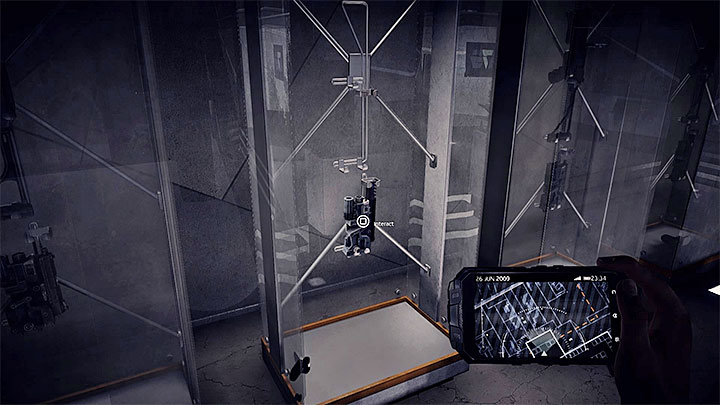
Enter the newly opened room and interact with the computer booth. You can now approach the glass cabinets and take the CornerGun from one of them.
Escape from the ambush
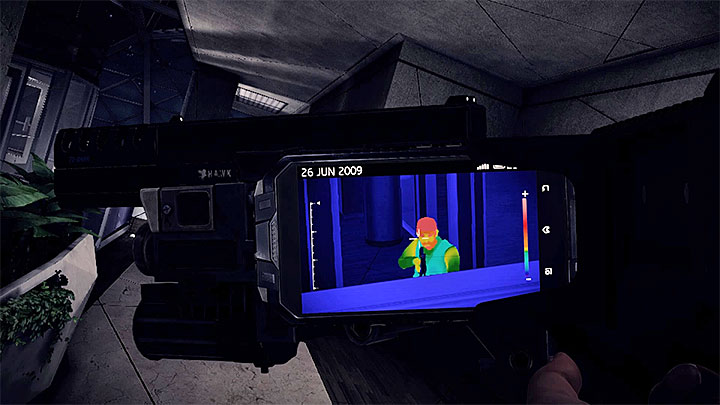
If Howard didn't die earlier you will now listen to his speech. Opening the door will cause new enemies to appear on the floor. You can start using the CornerGun to eliminate them. Place yourself near small walls and corners and use thermal vision to locate your enemies and eliminate them with headshots. You must reach the opposite side of the floor which is the area where you were previously searching for photos. Shortly after leaving this location you should receive a message from Red and, after that, the memory will stop.
- Get Even Game Guide
- Get Even: Game Guide
- Get Even: Walkthrough
- Get Even: Black
- Get Even: Find and save the hostage
- Get Even: The meeting in the building B
- Get Even: Exploration of the building B
- Get Even: Stealing the prototype and destroying the data
- Get Even: Further exploration of building B
- Get Even: Learn about the victim's identity
- Get Even: Reach Jasper before he gets murdered
- Get Even: Exploration of building C
- Get Even: Get access to the kidnappers' computer
- Get Even: The interrogation of Rose Atkins
- Get Even: Further exploration of the C building
- Get Even: Reaching Roger Howard
- Get Even: Confrontation with Red
- Get Even: Black
- Get Even: Walkthrough
- Get Even: Game Guide
You are not permitted to copy any image, text or info from this page. This site is not associated with and/or endorsed by the developers and the publishers. All logos and images are copyrighted by their respective owners.
Copyright © 2000 - 2025 Webedia Polska SA for gamepressure.com, unofficial game guides, walkthroughs, secrets, game tips, maps & strategies for top games.
